small space

Camping at Hirz Bay, Lake Shasta, California: A small brown Chihuahua’s Perspective

20150525_134302
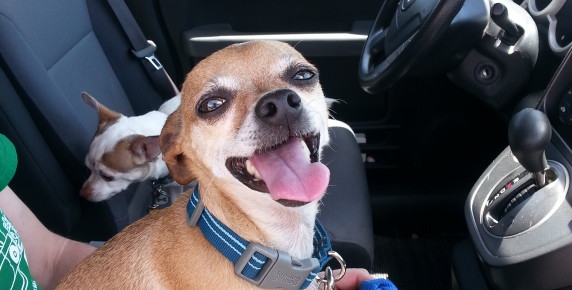
I am very excited to make my debut on Make Room! So much so I am shaking RIGHT now. I also shook earlier today when we went to Camping World AND last night when my new giant dog bed came crashing down. But more on that later. My name is Petie Peterson Aspinall-Heinzelman. I am a terrific little guy with a big personality and penchant for the ladies. I also enjoy the constant warmth of a blanket and a lap to go with it. I am incredibly soft and smell great. My people parents really struck a gold mine when they adopted me.

We are on a camping adventure. Right now. I know, its extremely exciting. 24 hour access to my favorite person in the entire world, Bryan Heinelman, 1000’s of new smells, car rides, hunting lizards, laying in the dirt, filthy, sweaty humans that need cleaning. ITS ALL JUST SO EXCITING. Okay, I need to change the subject, I’m shaking again.
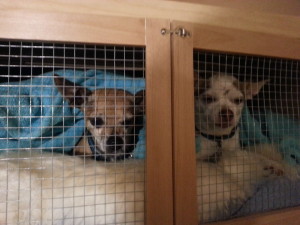
We left yesterday morning. At first I was concerned (more shaking). Maybe I wasn’t going with. That happens and it makes me very angry. That morning though I saw Spanky’s crate come out of the bedroom (why do we always take Spanky’s crate?) and I knew it was happening- ROAD TRIP! I’ll be honest, it was a long car ride. And I was forced to poop in some less than desirable locales. Towards the end, and I’m not proud of this, I kind of lost it. Okay, truth, I really lost it and screamed bloody murder the last few miles to our destination. But in my defense enough was ENOUGH. A dog can only ride in a crate with his adopted brother and his adopted brother’s raggedy smelly “baby” for so long.
We got to the campsite and it was warm (my favorite night time temperature), my people made themselves busy readying my new giant dog bed. Spanky and I secured the perimeter and let the dogs in the area know we had arrived. We had our kibble- some new flavor I was a little suspicious of. While I was making my mind up about it Spanky swooped in and finished it. So rude. We really should leave him at home more often.
Then is was bedtime! My absolute most favorite time of the day!
20150523_192701
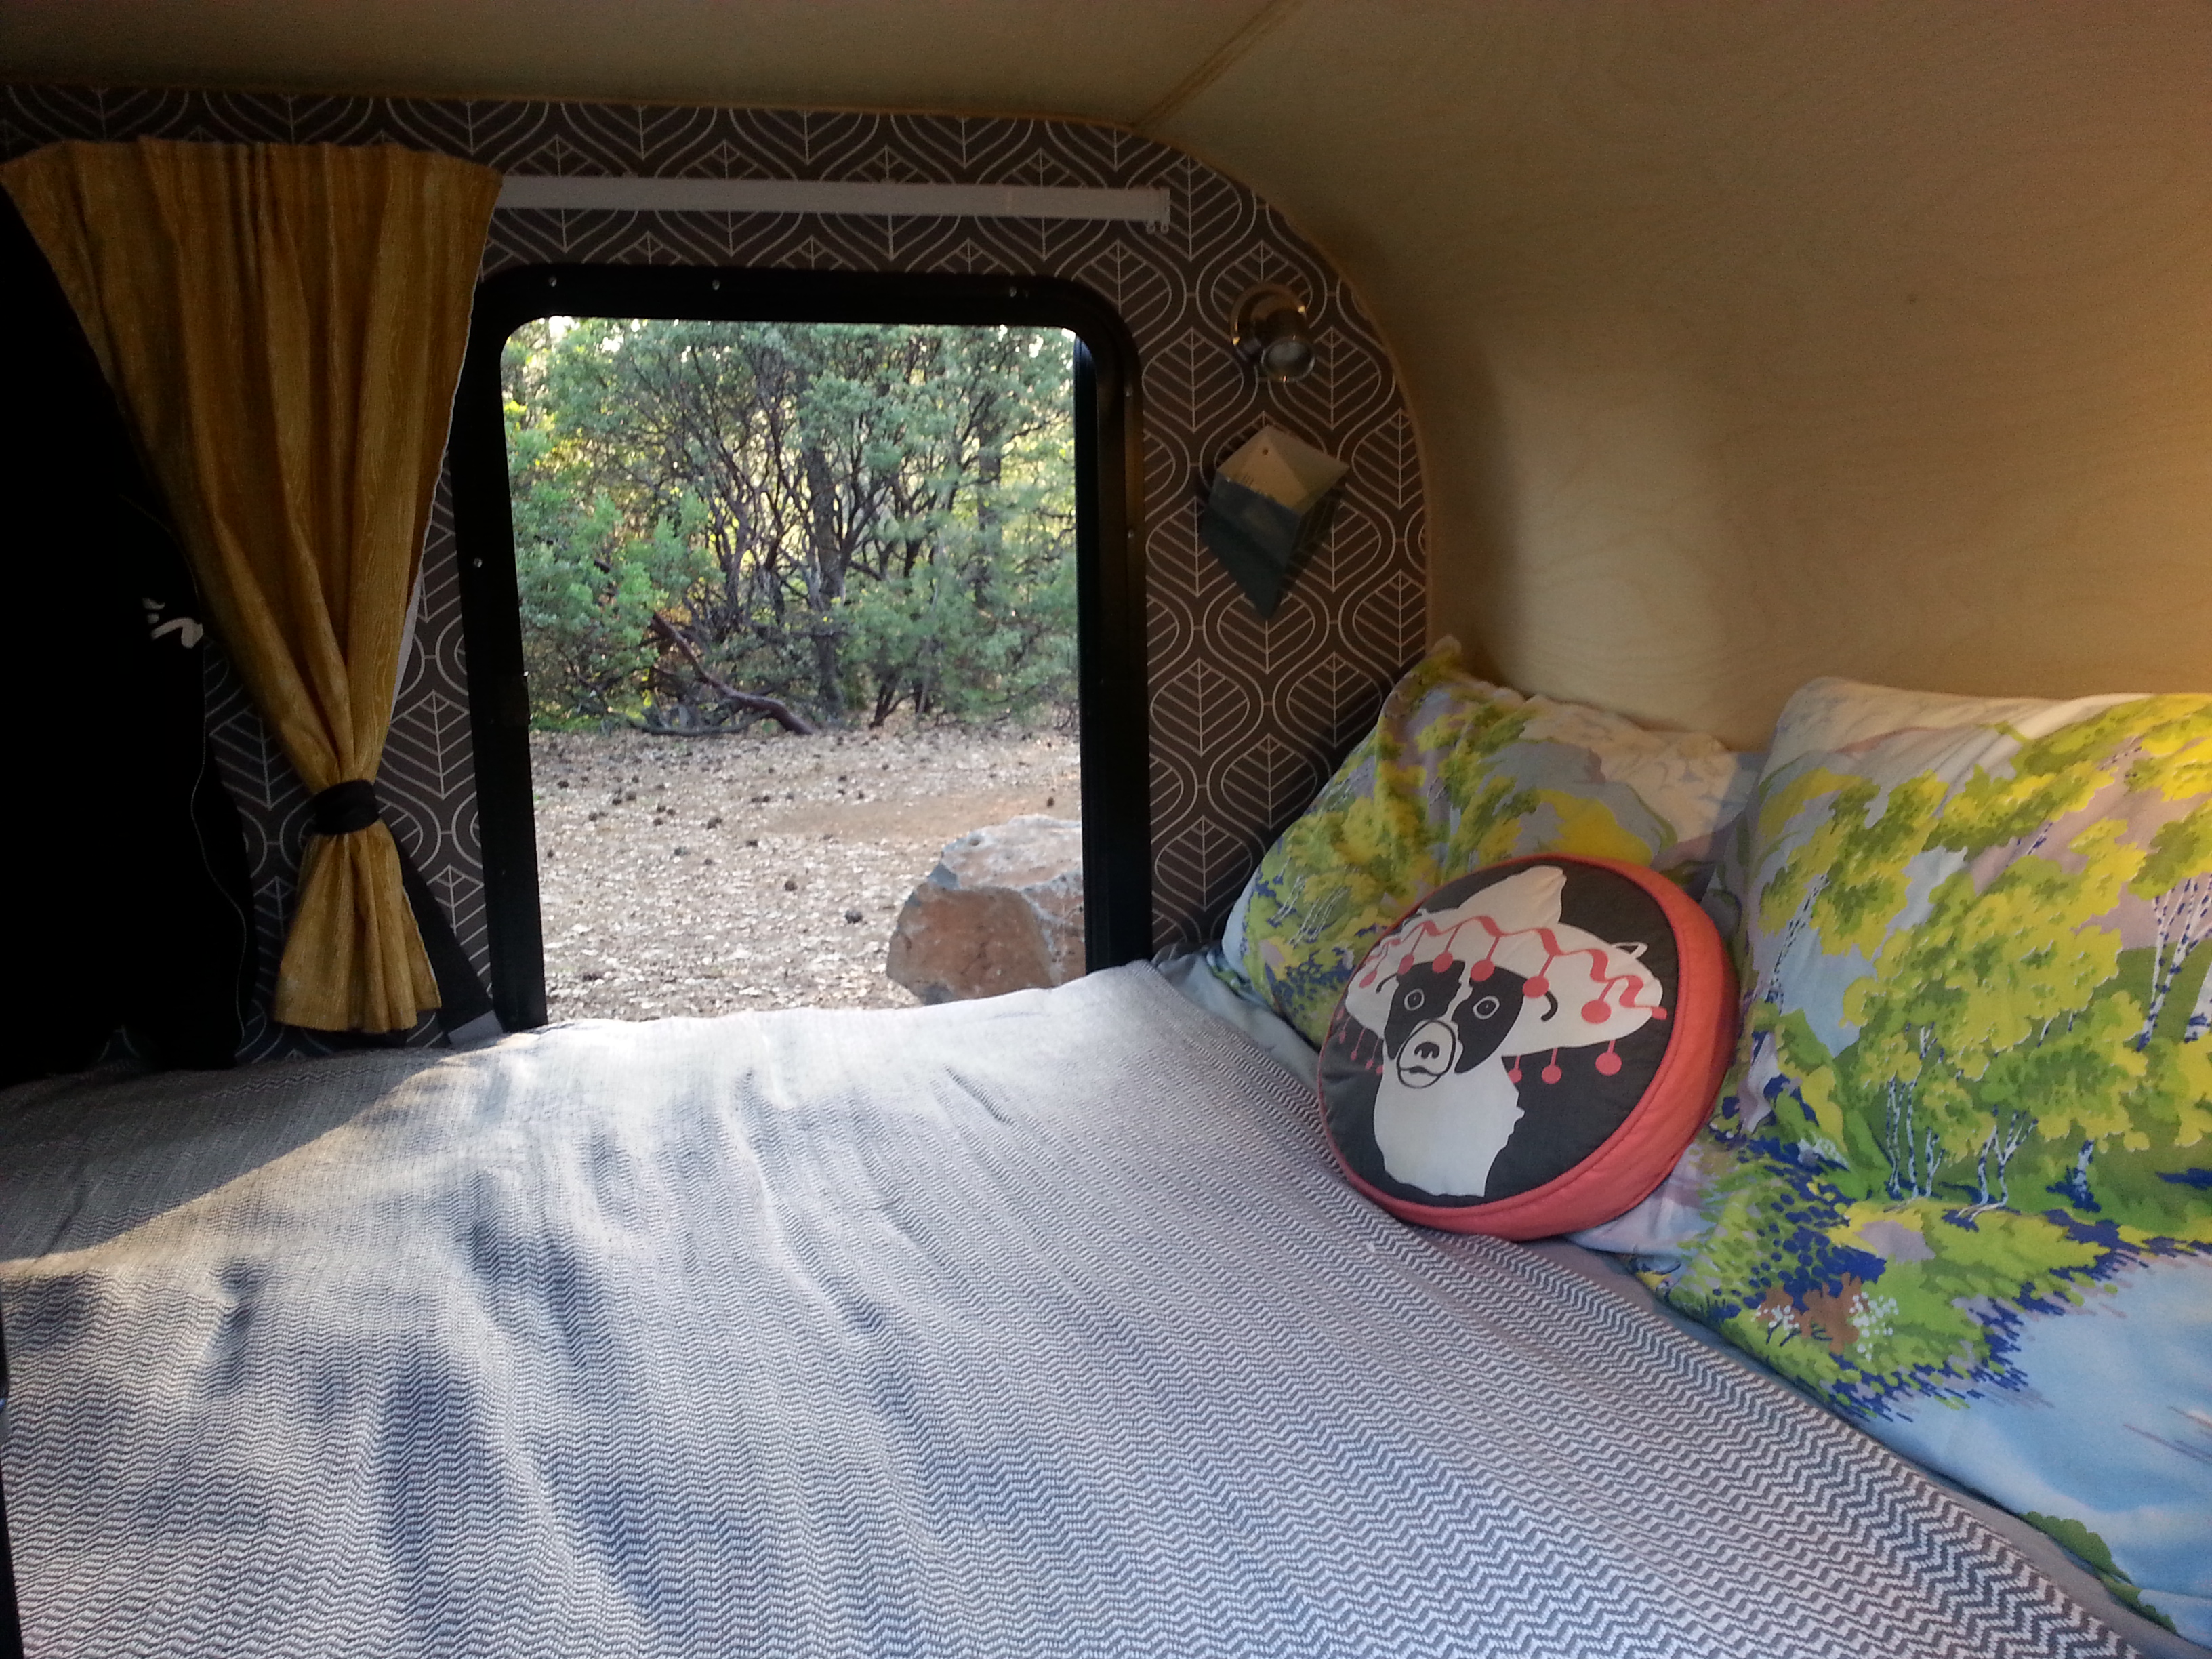
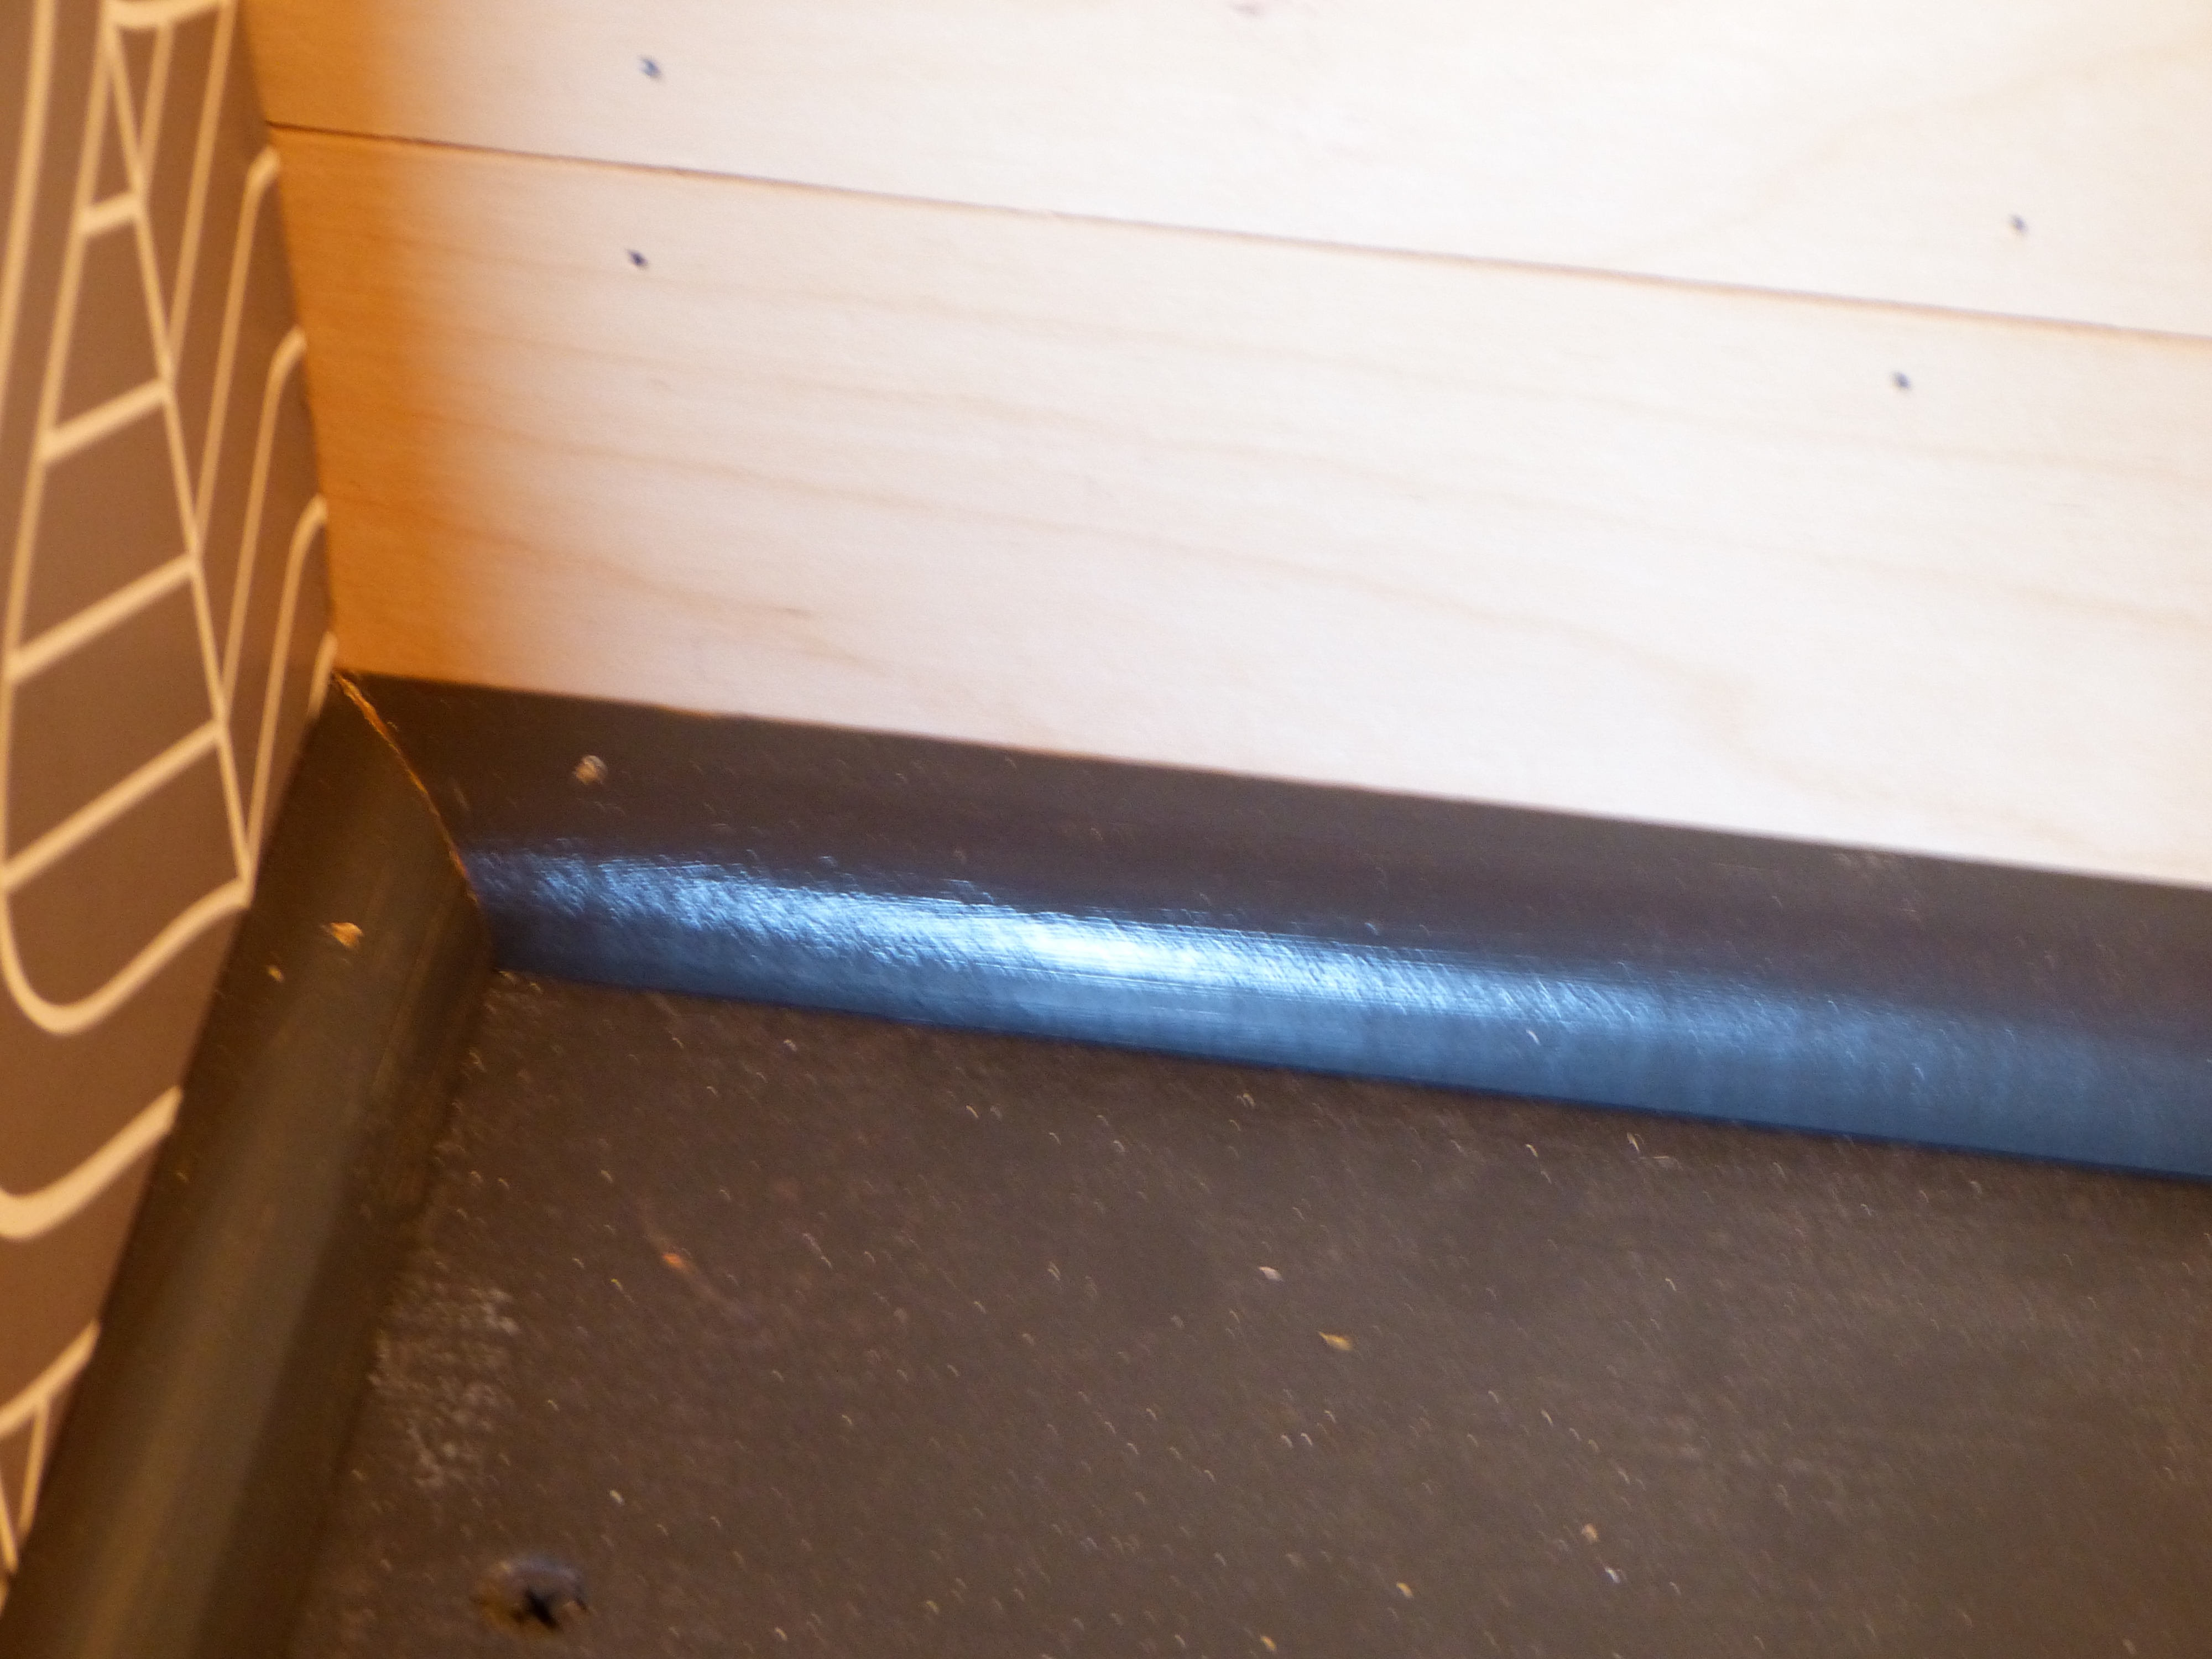
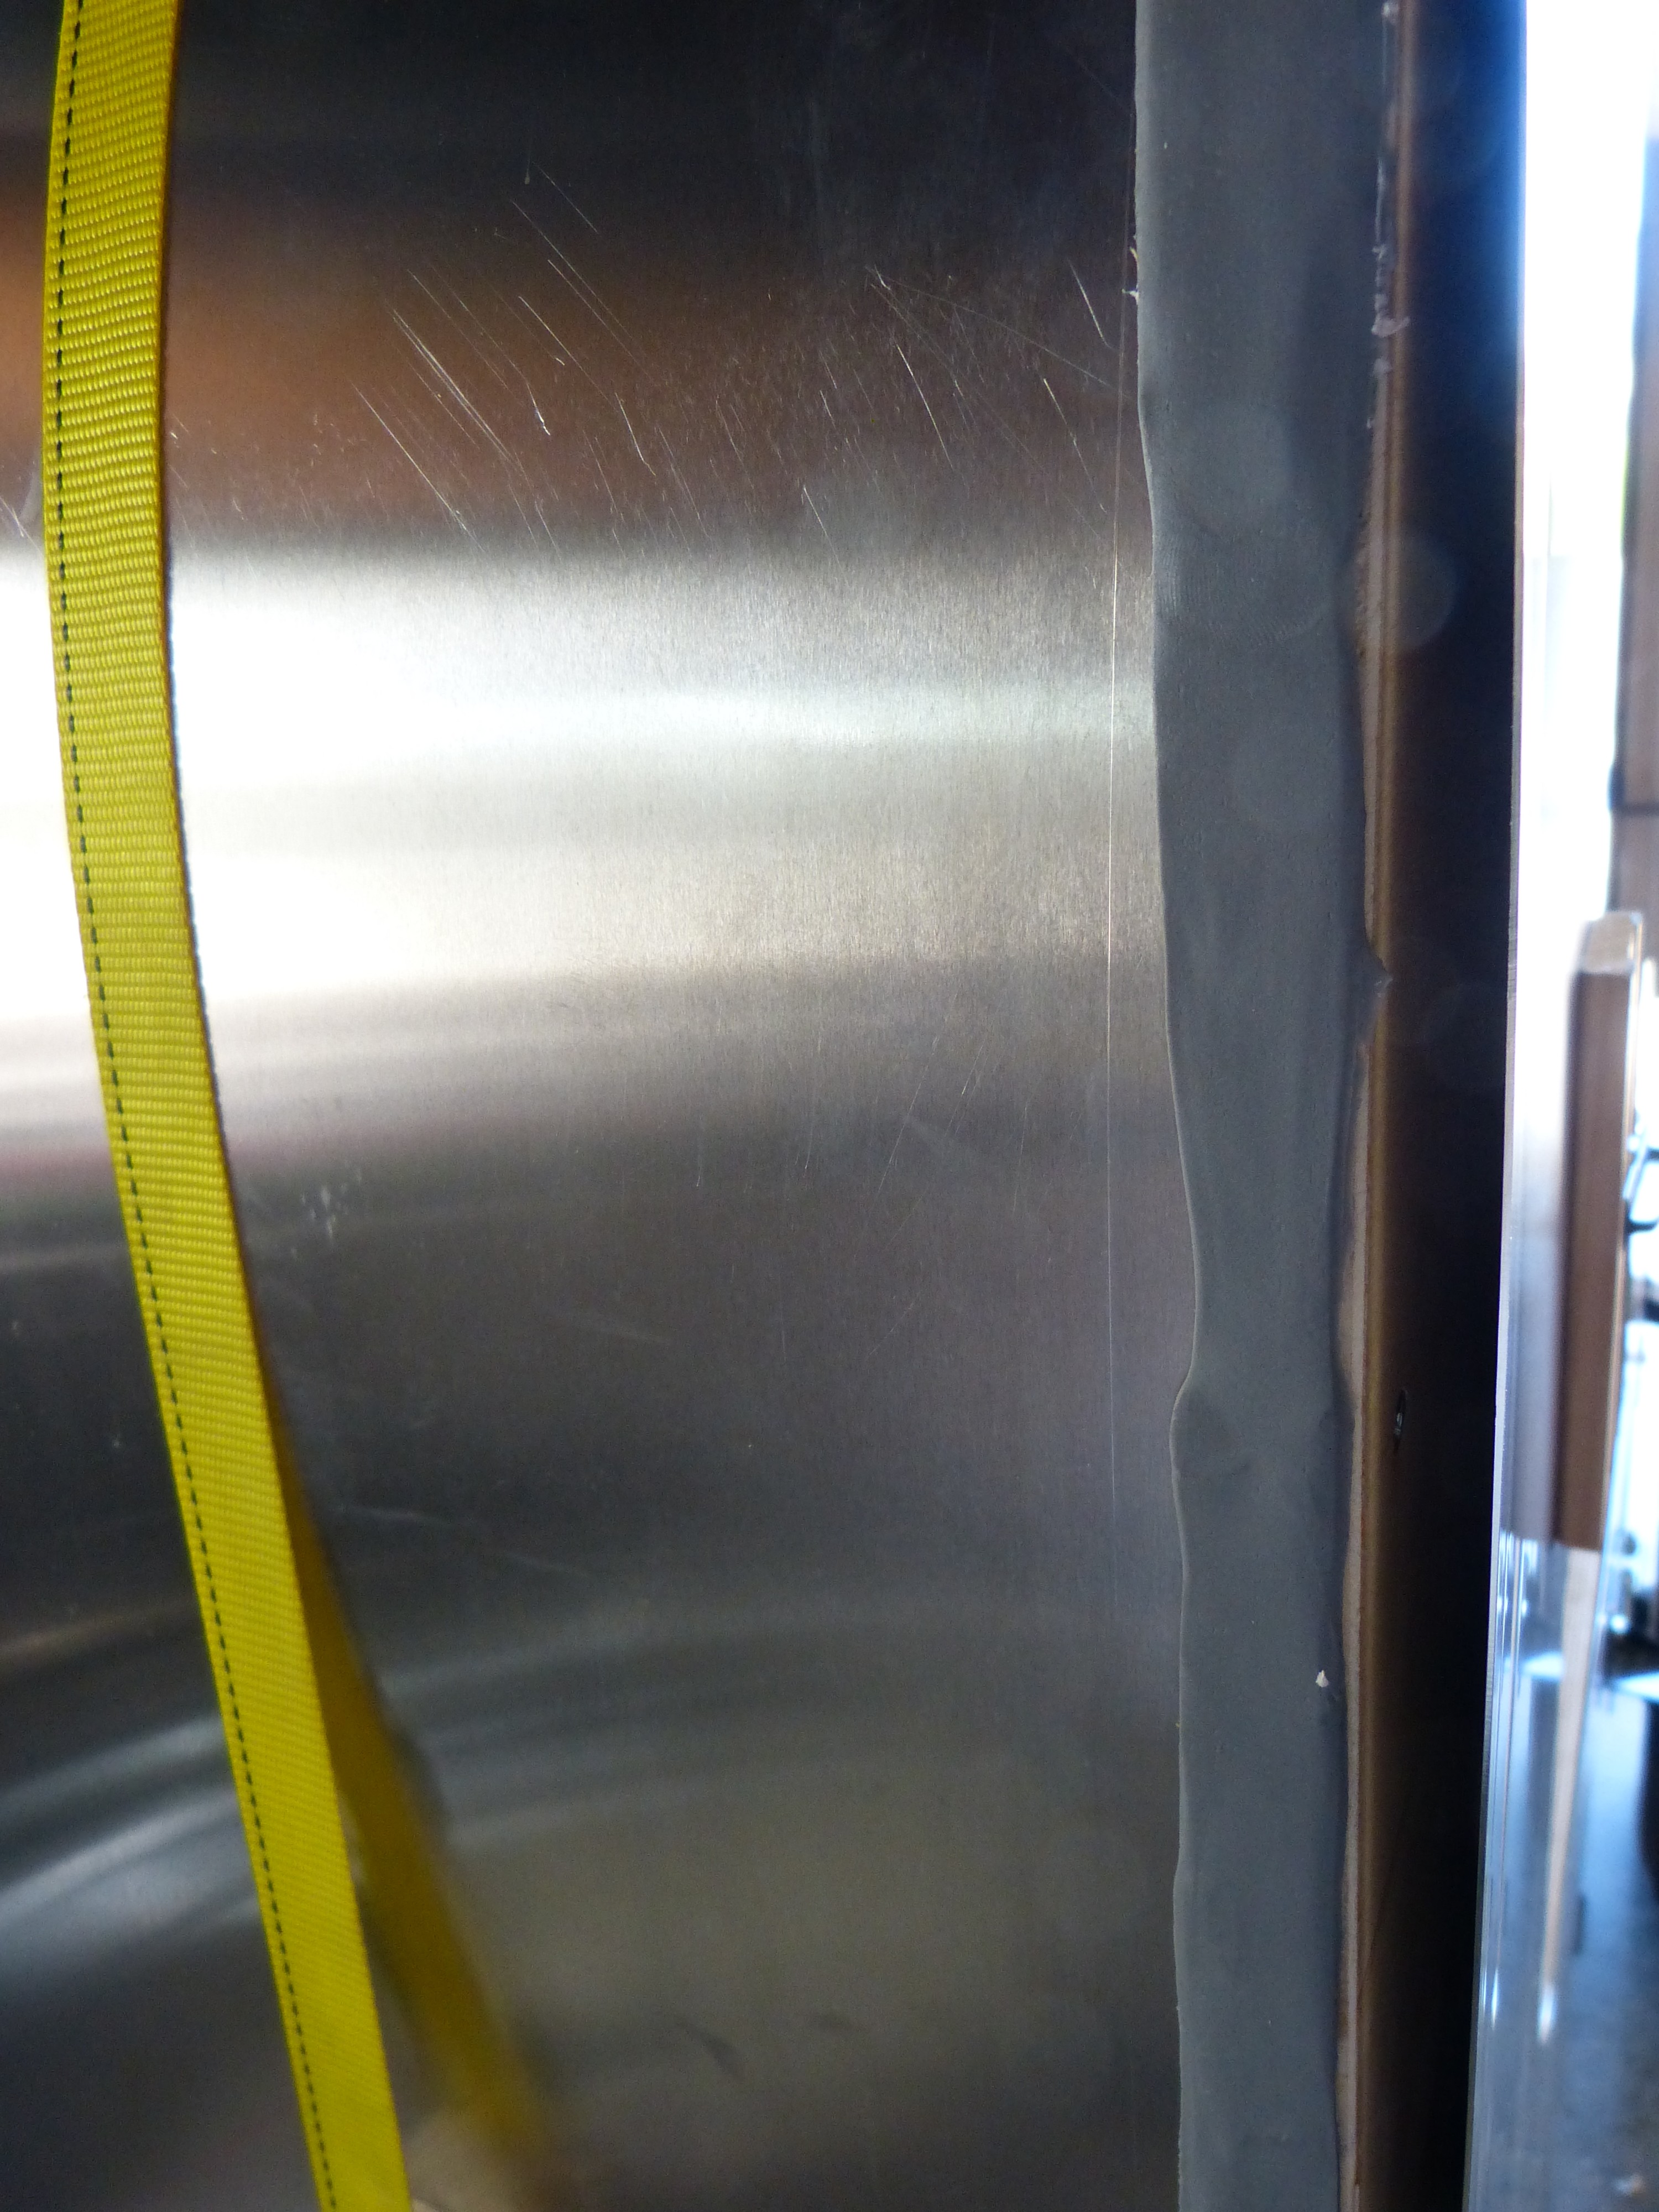
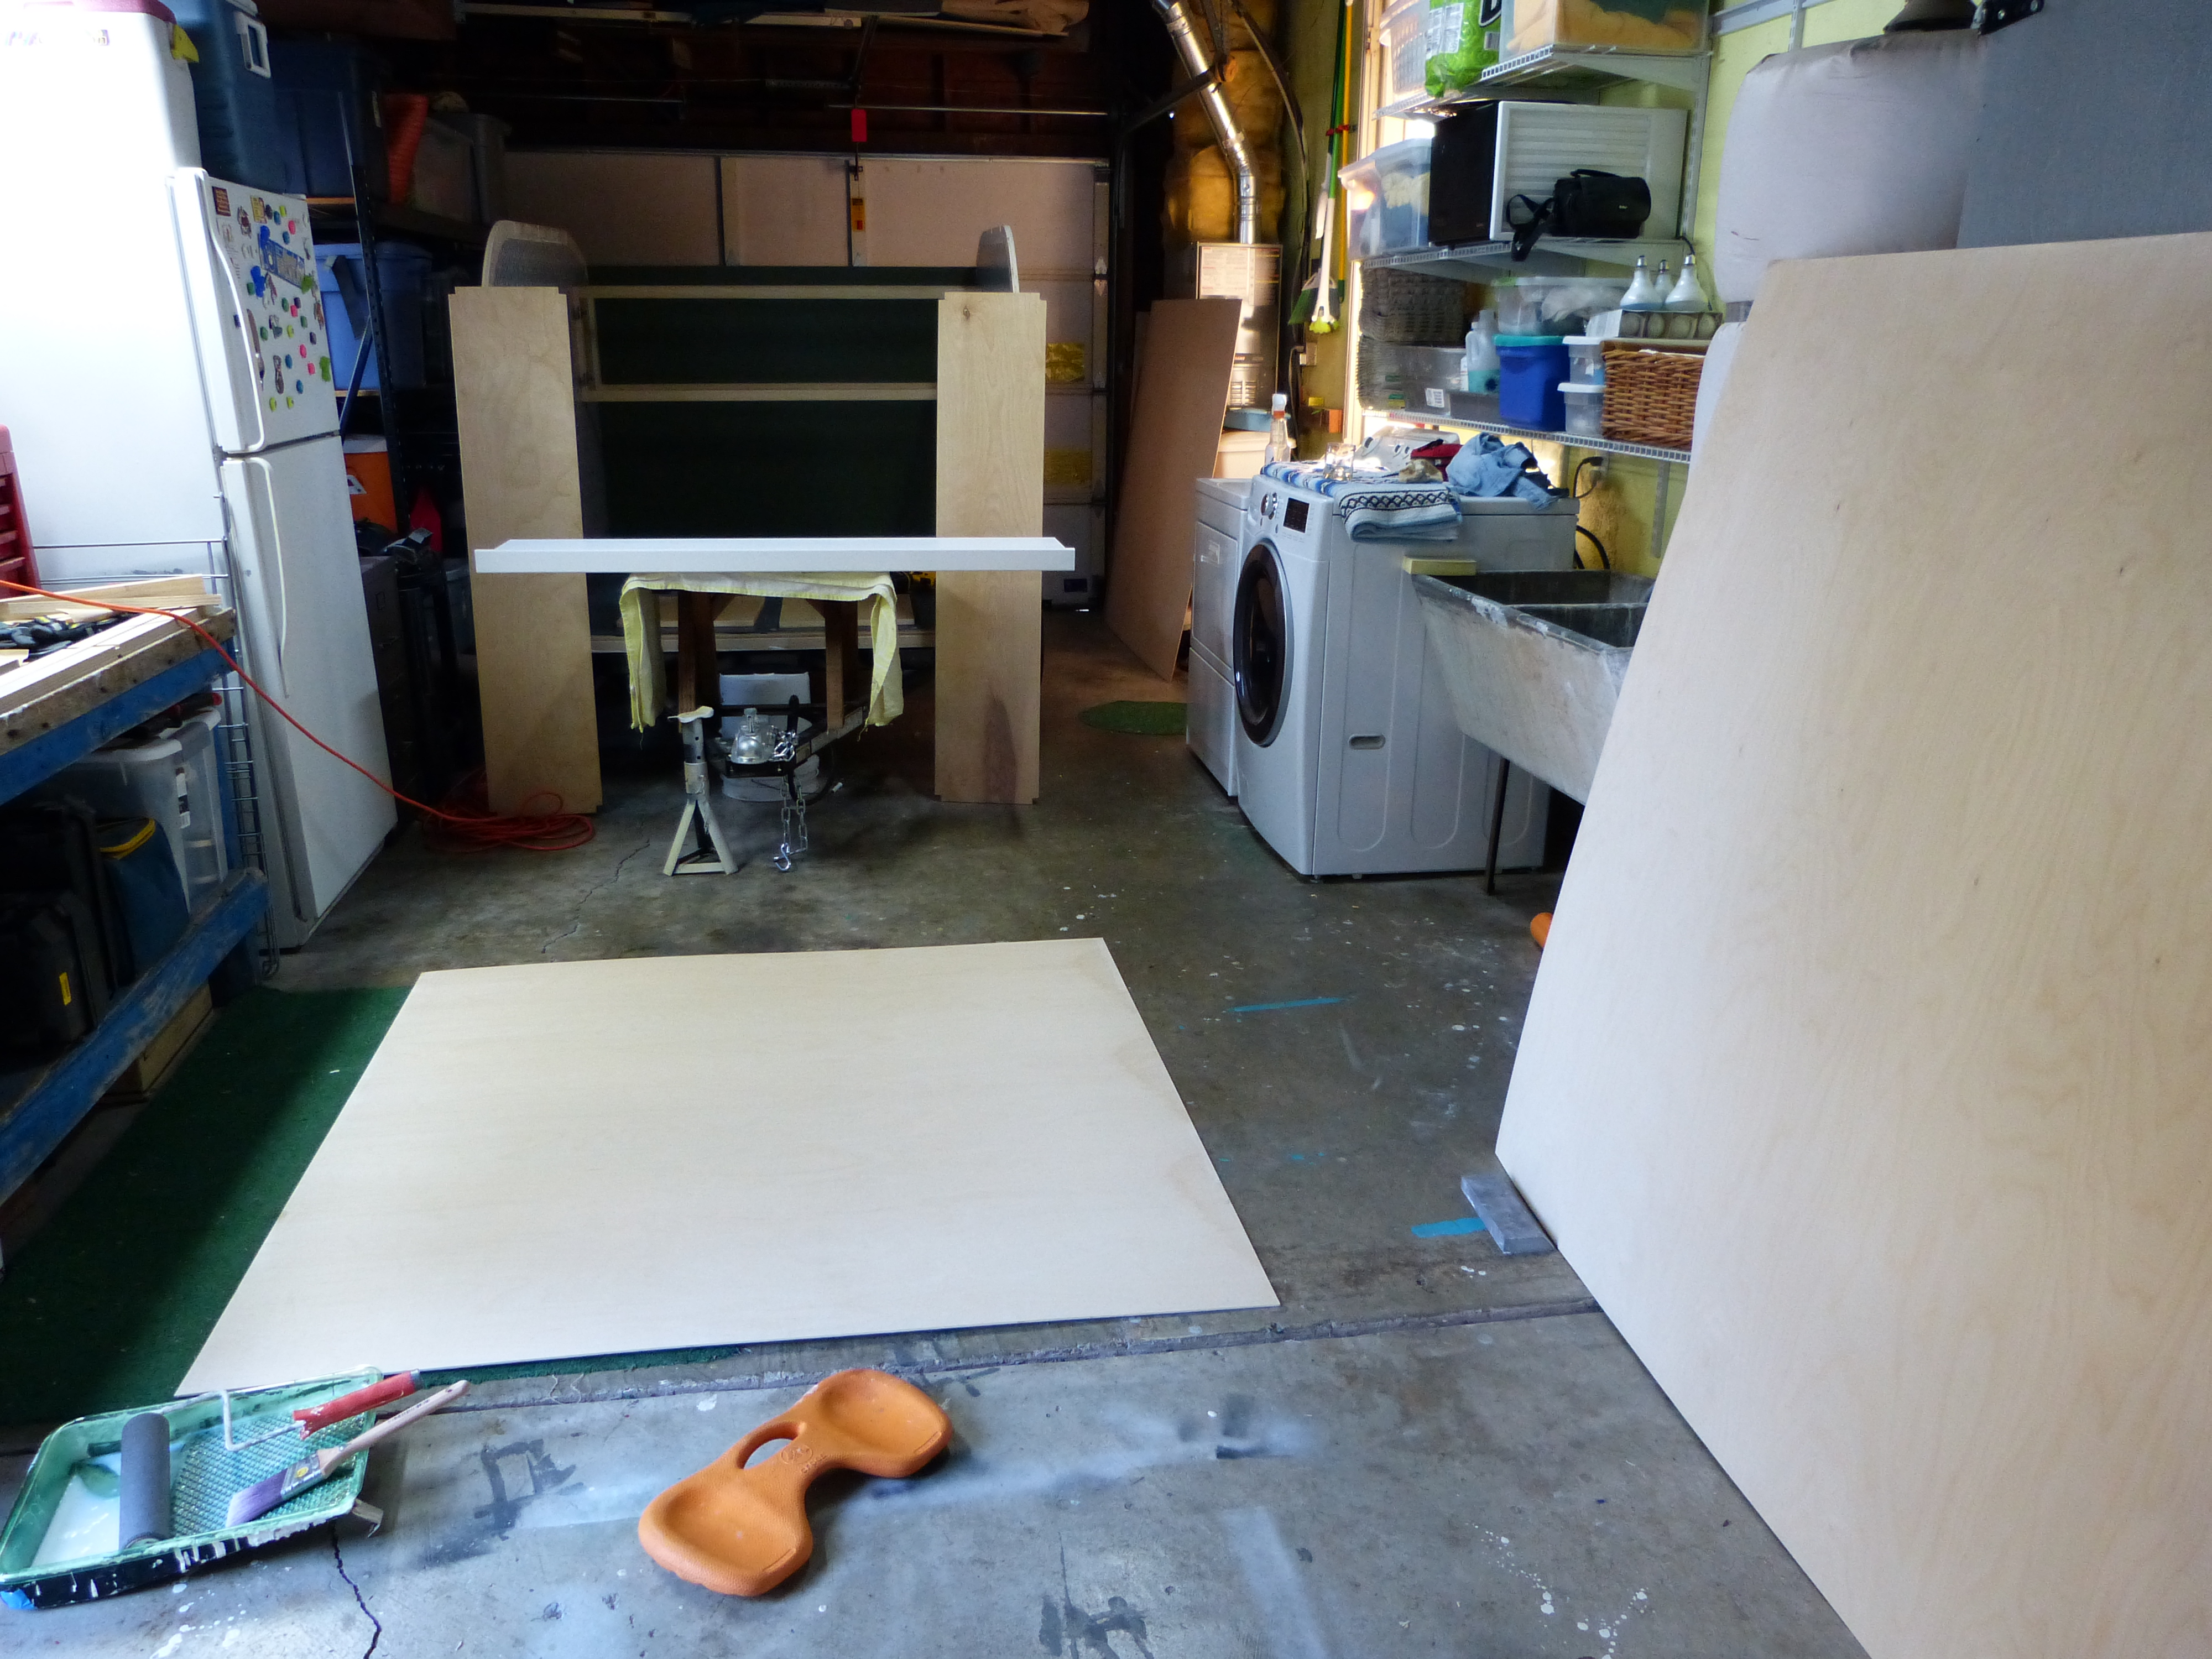
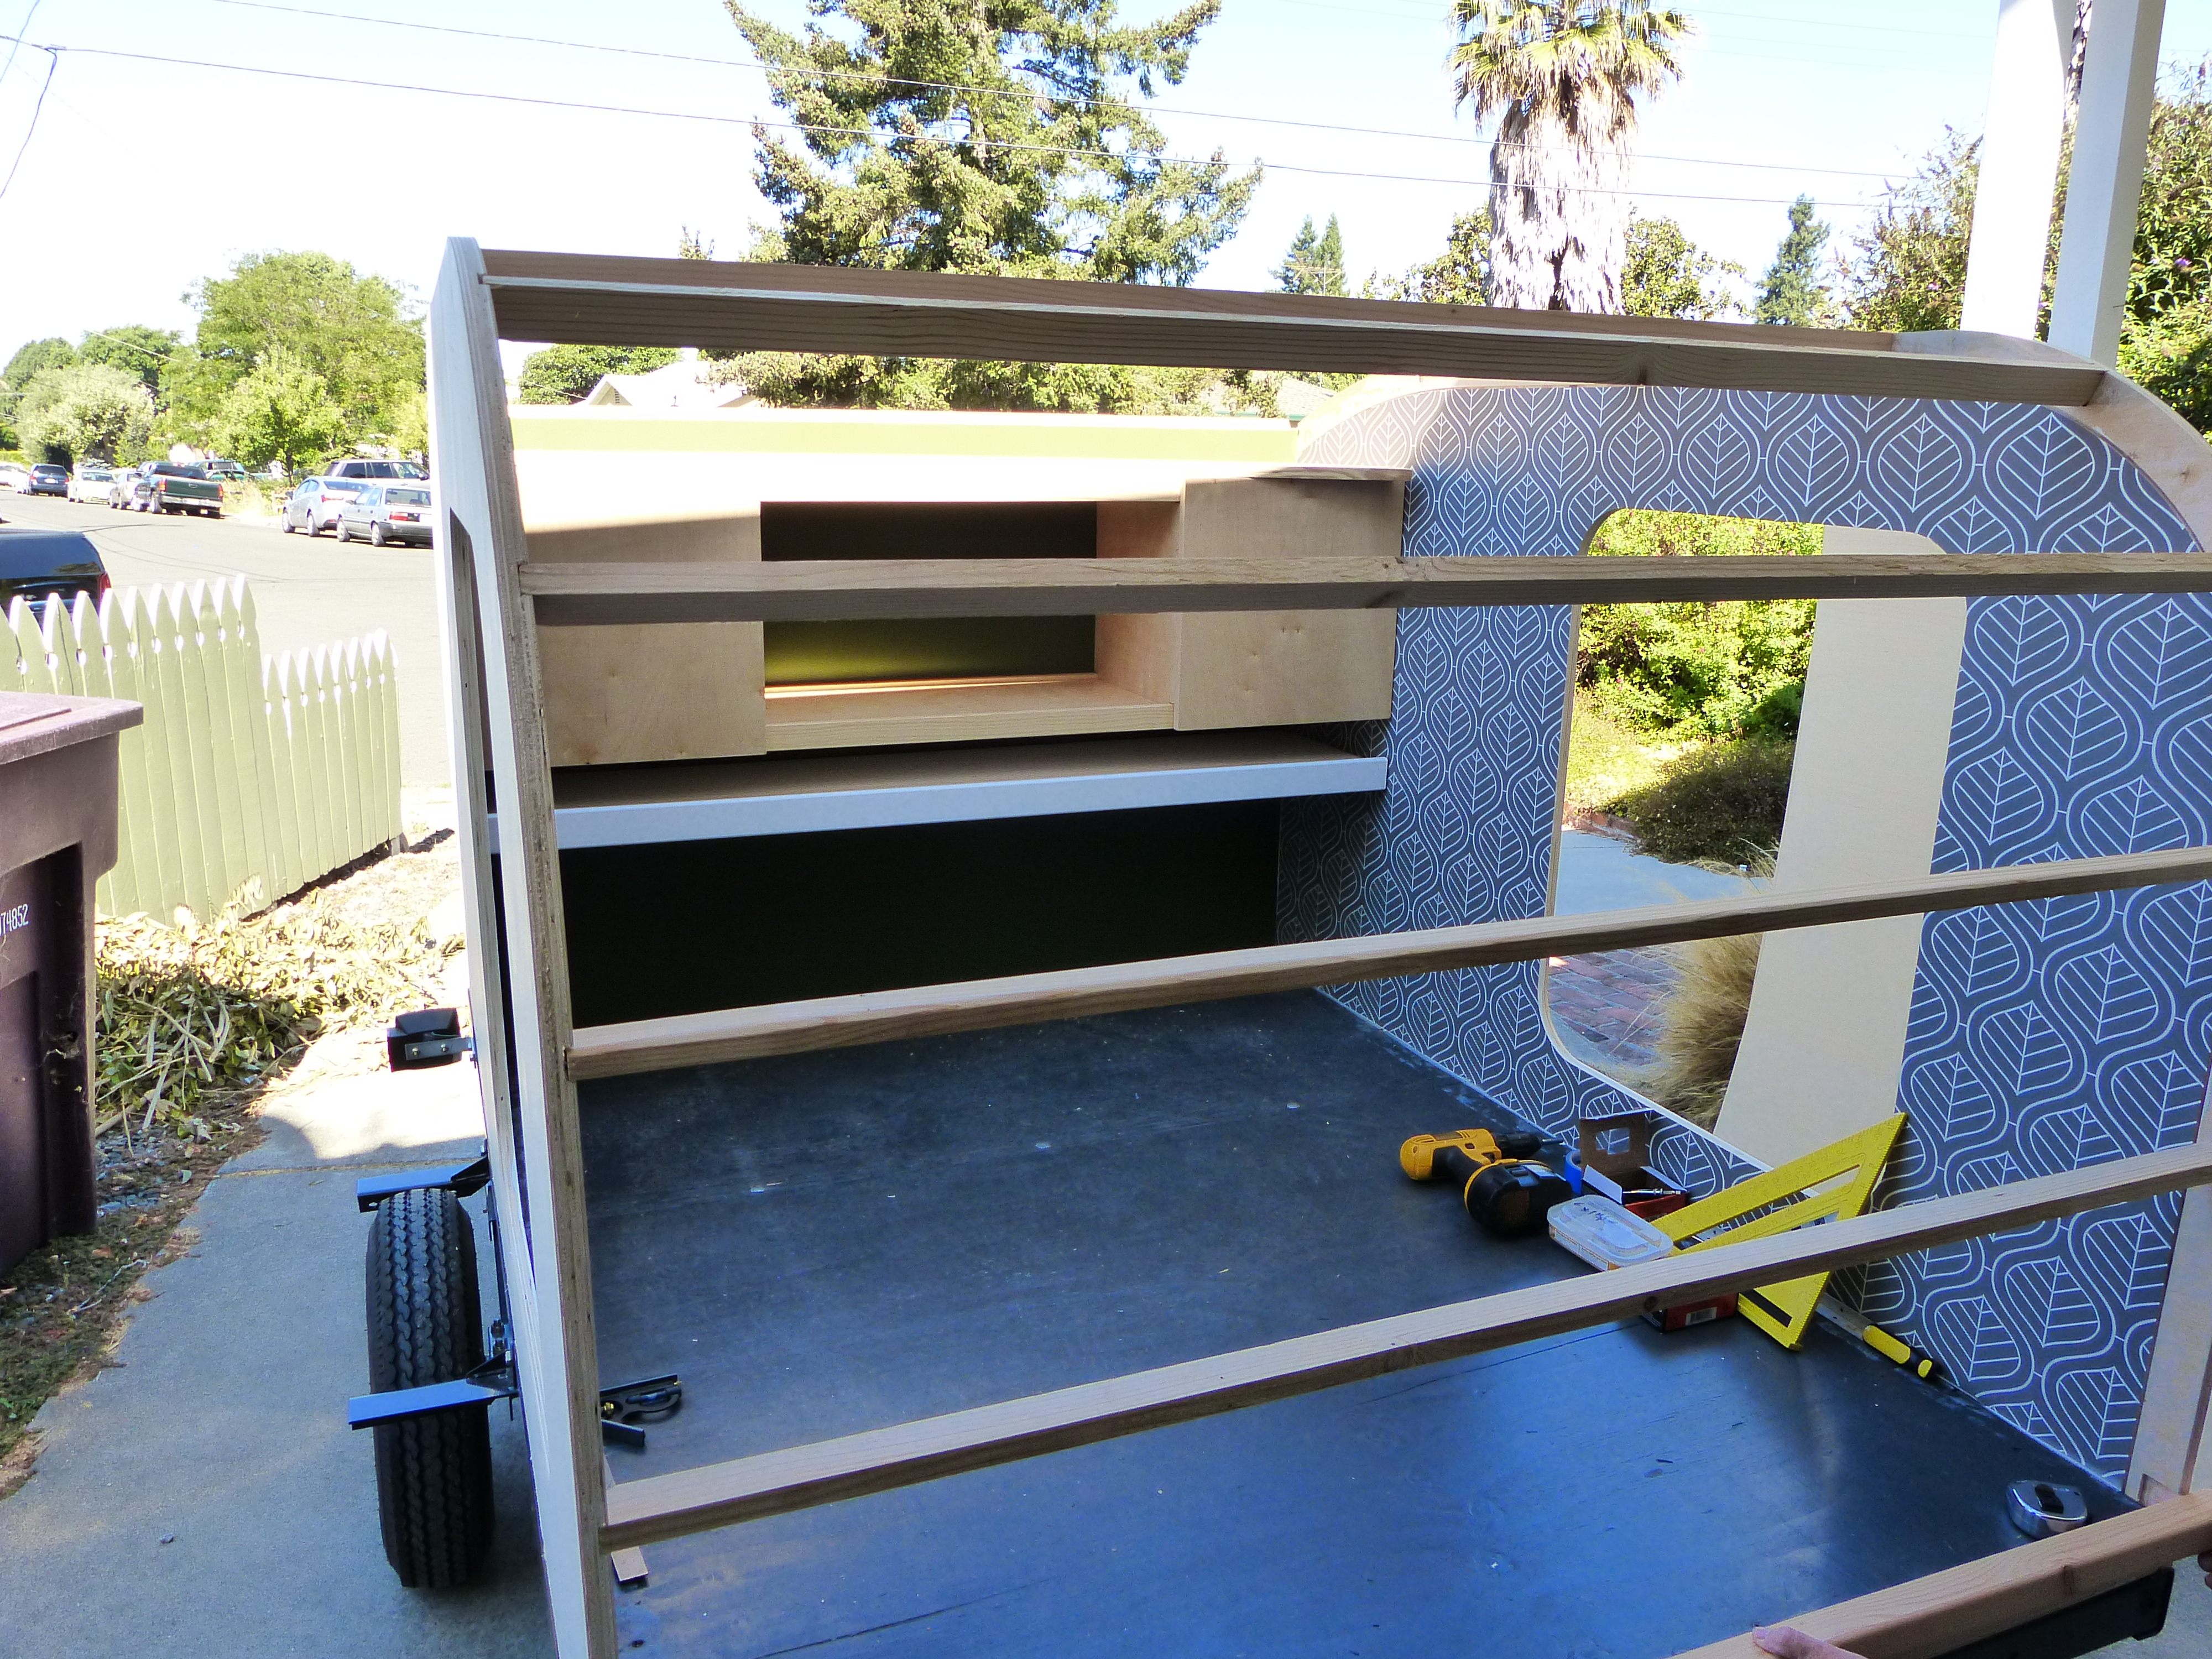
We all climbed into my new giant  bed, started to settle in, and then CRASH!!!!! My beautiful new bed came crashing down. Dark red liquid rained down all over. My people parents jumped out of my bed. I stayed behind and shook. I heard exclamations, something about a “catastrophic failure”, lots of jostling and Bryan Heinzelman uttered some words I found quite shocking. Fortunately Bryan Heinzelman, besides having a colorful vocabulary, is a god among men and was able to fix my lovely bed. The next morning I saw that this had happened:
20150524_104717
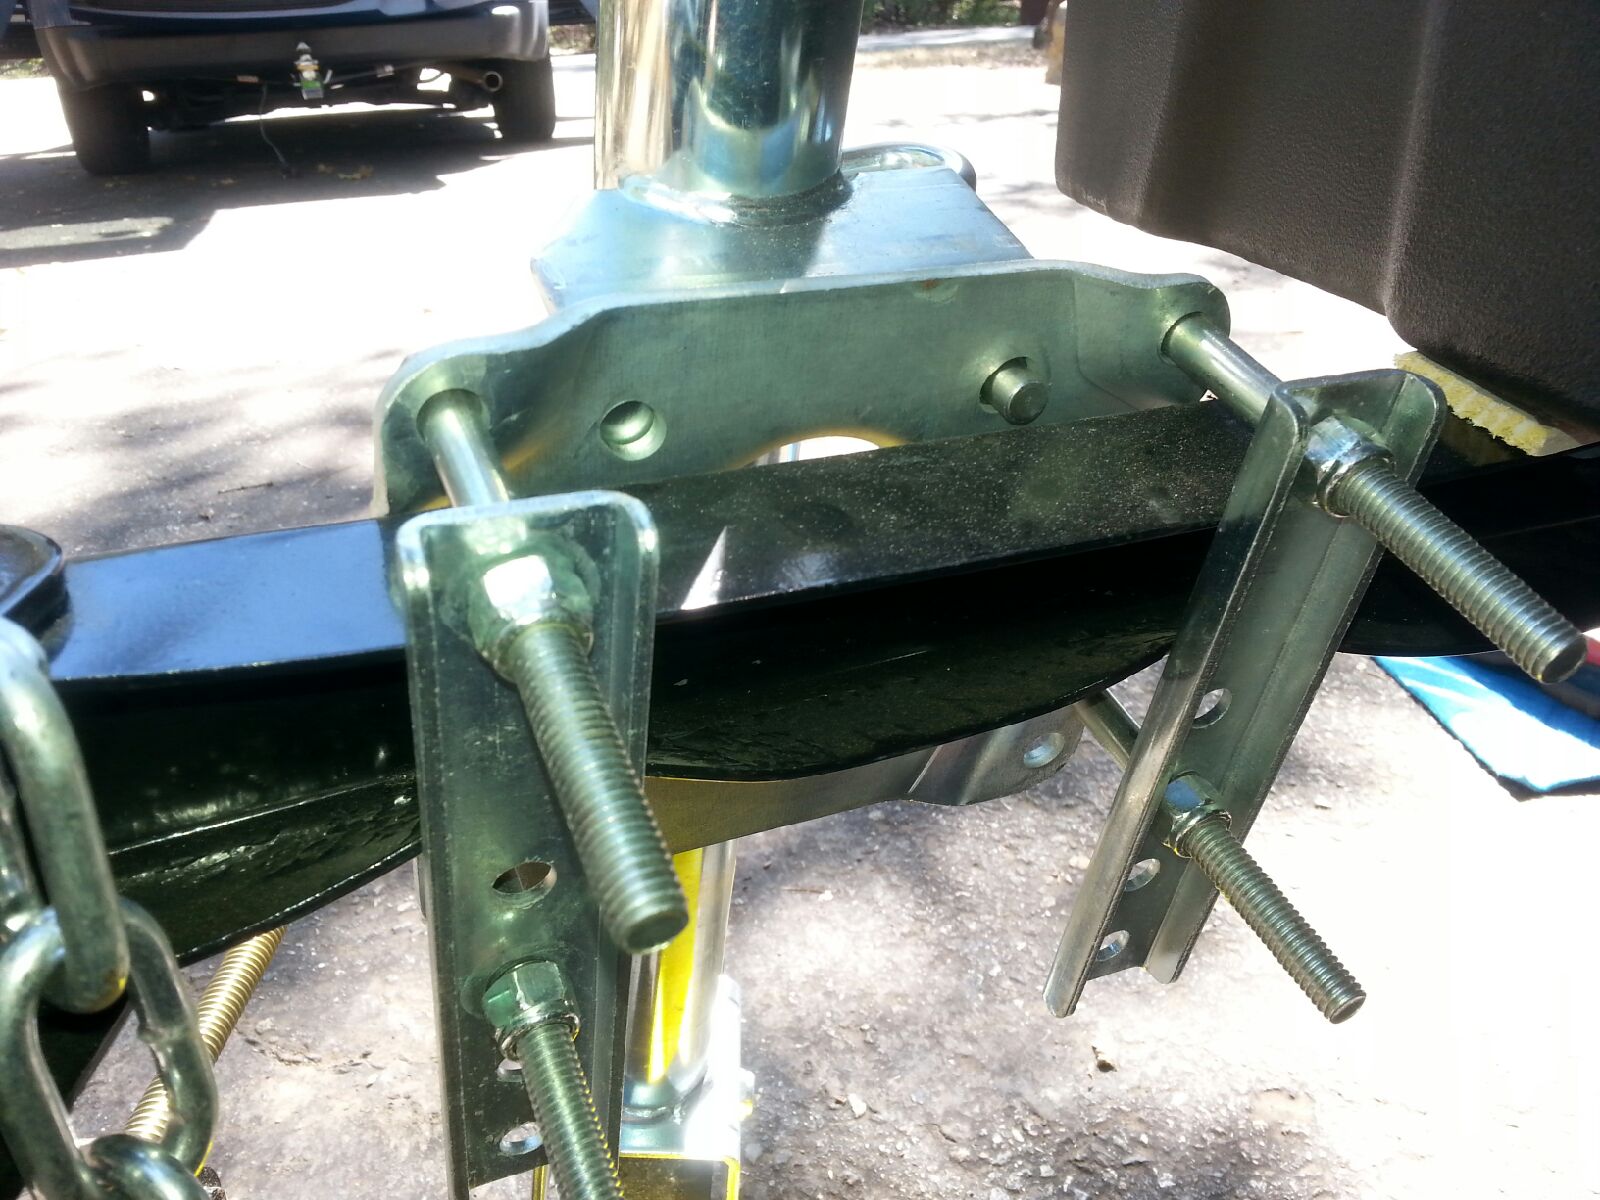
 Apparently the frame isn’t supposed to be all wavy like that. I blame Spanky. That extra kibble he ate put us over weight.
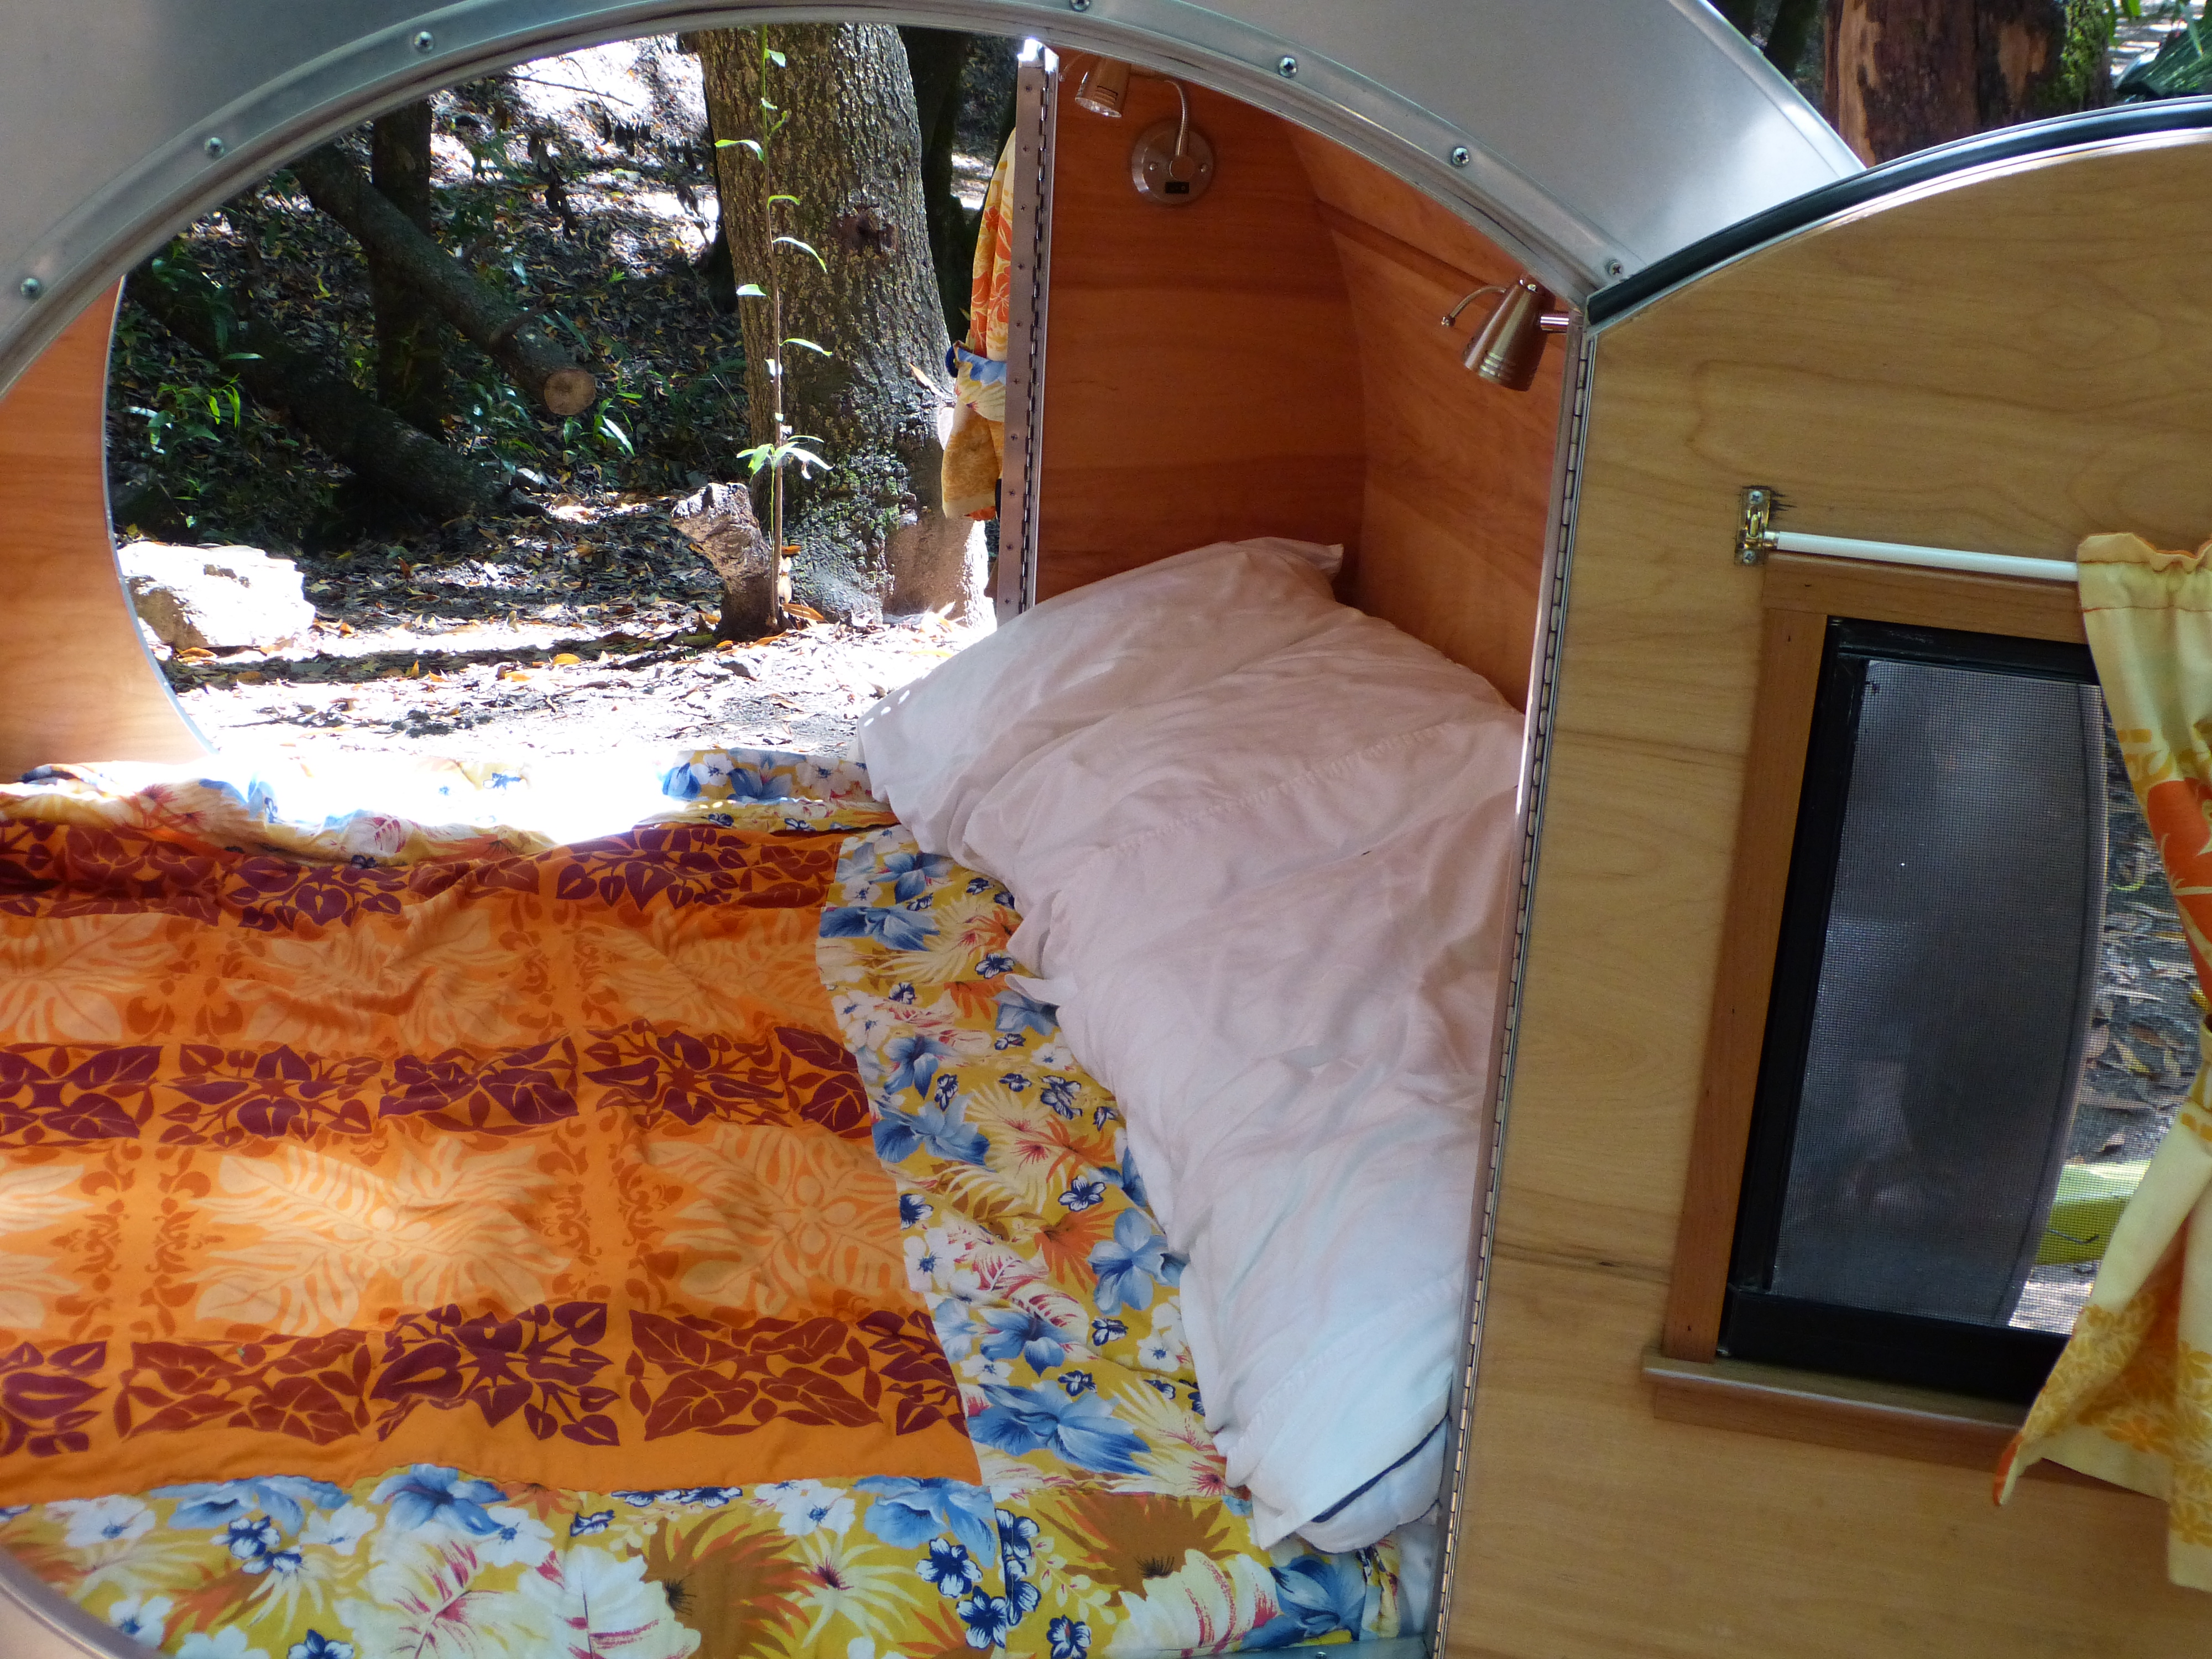
We returned to our blanket-y cacoon to watch this:
20150523_215949
Then, things were pretty much great. I slept wedged between my people blissfully all night. Apart from having to tolerate my lame new kibble AGAIN, it was an excellent morning too. Lots of sniffing, peeing and sitting in the dirt. I felt quite dangerous and wild.
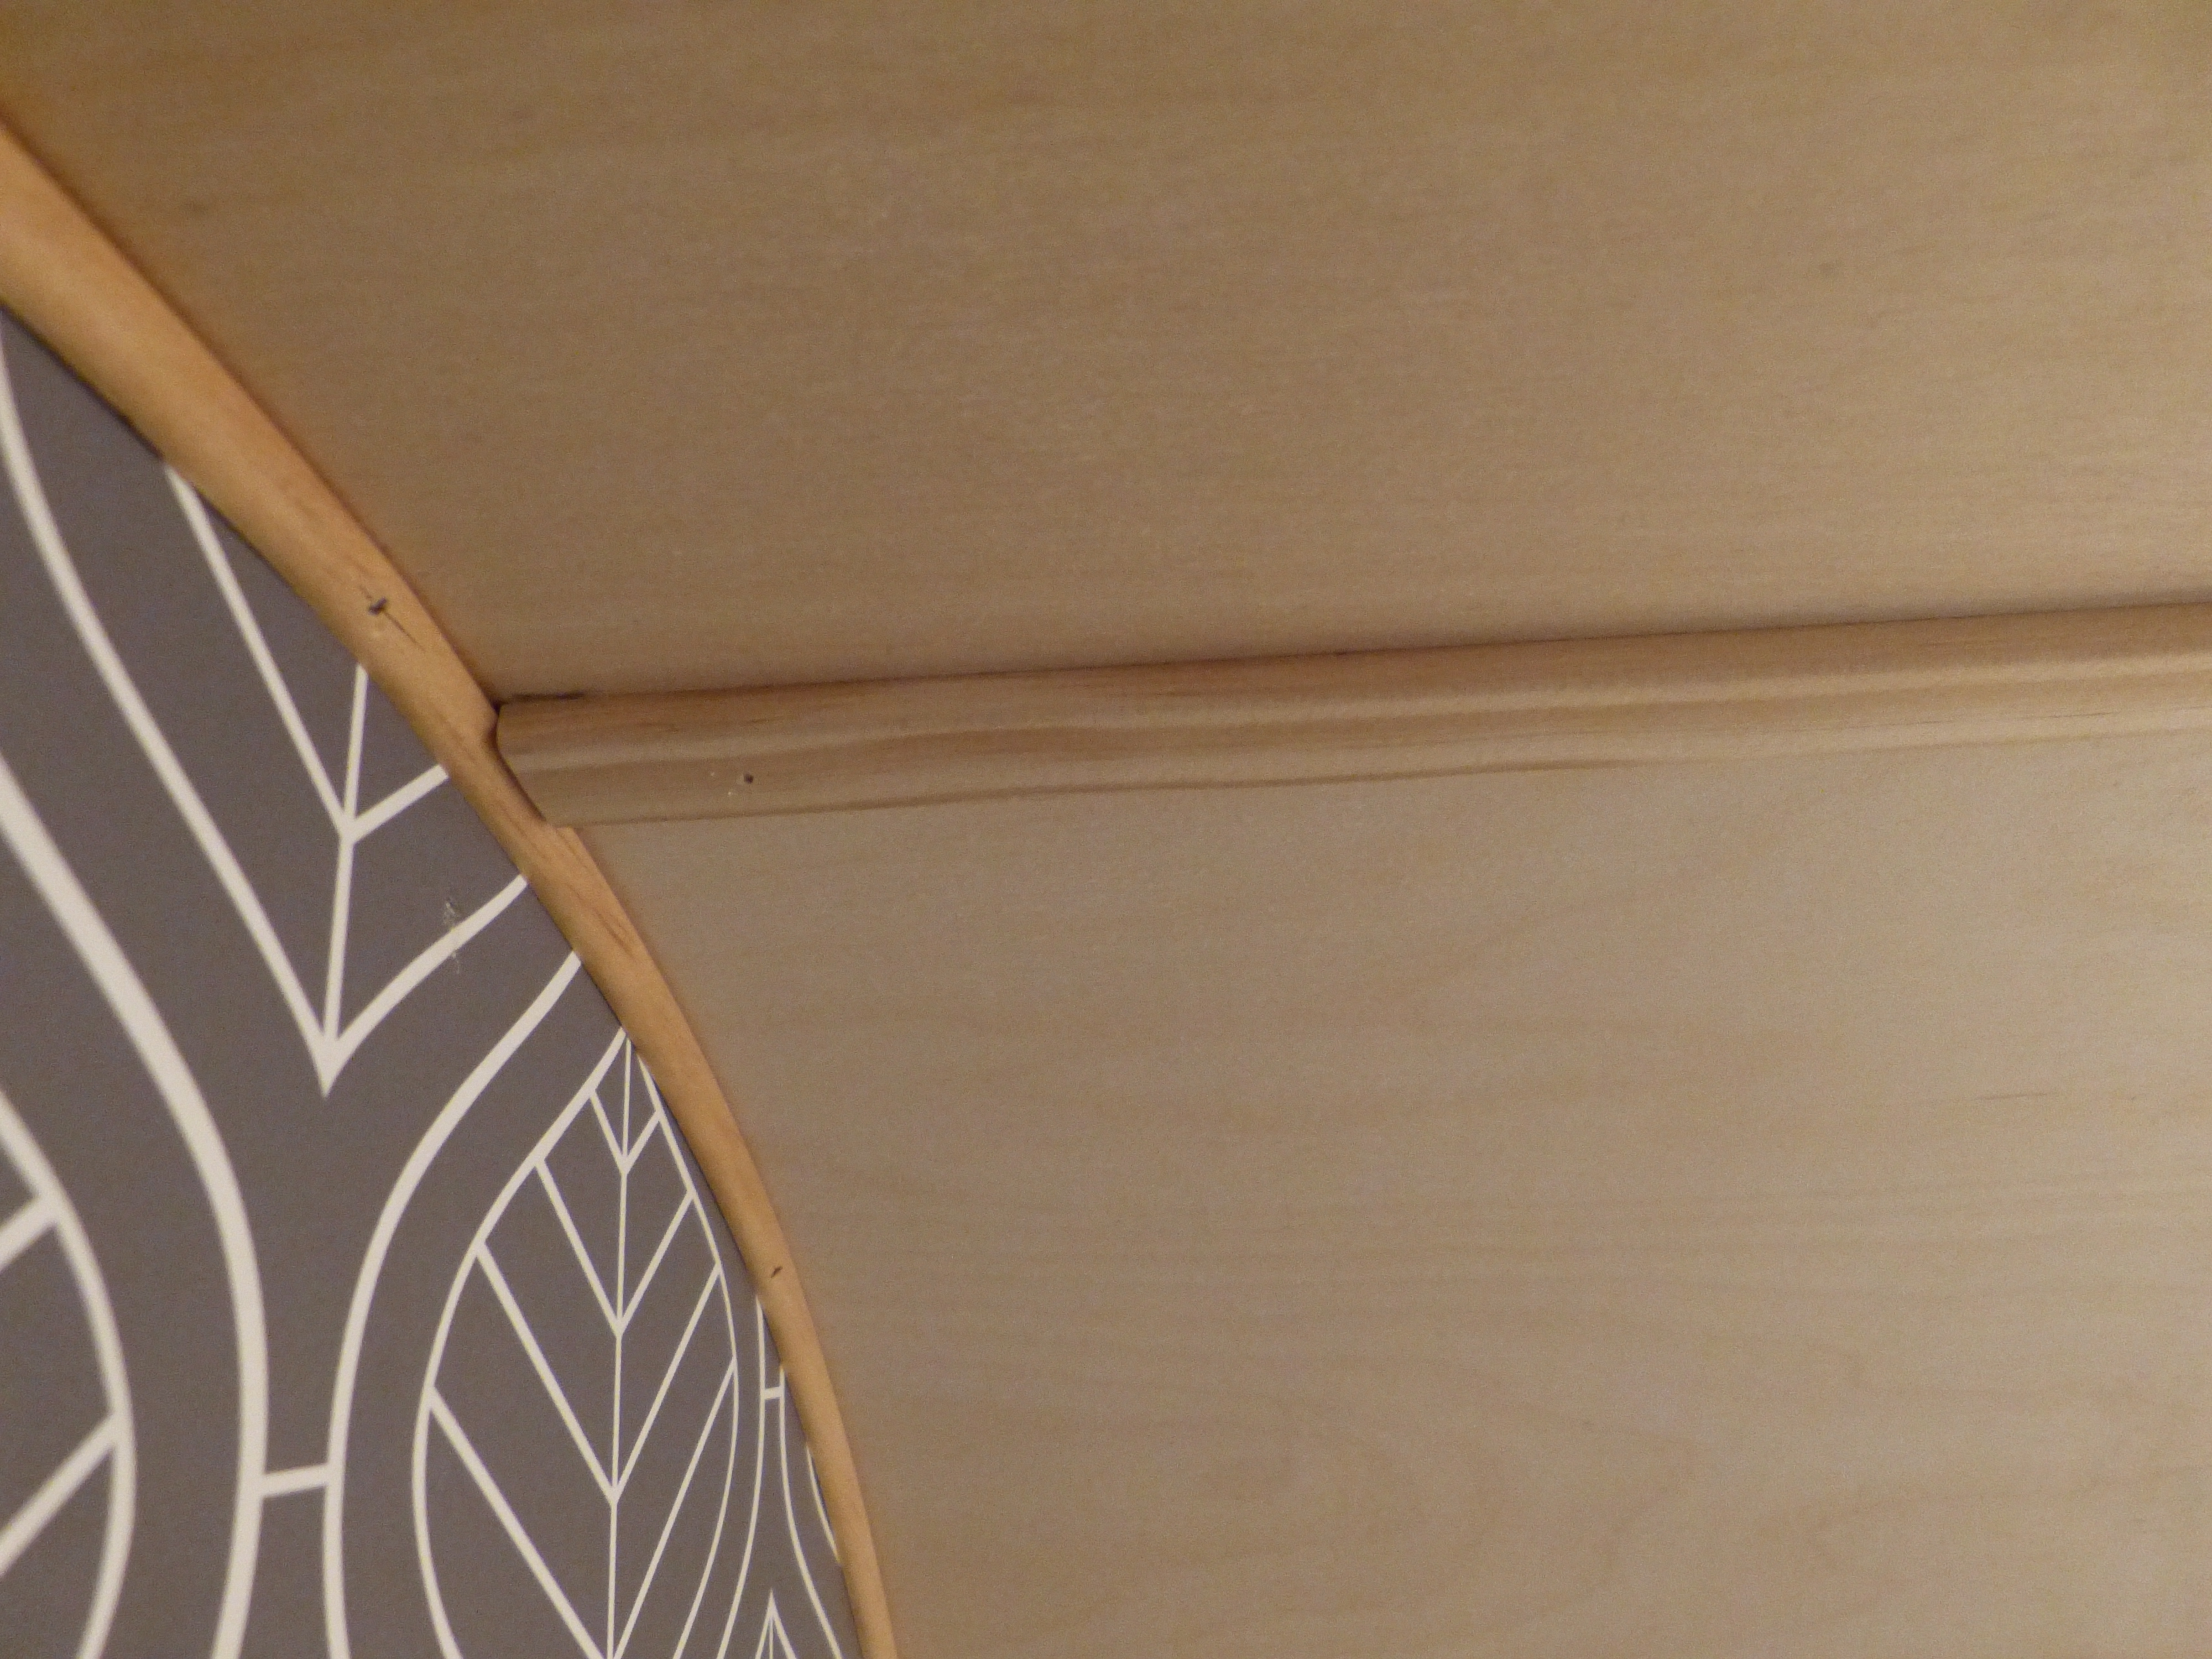
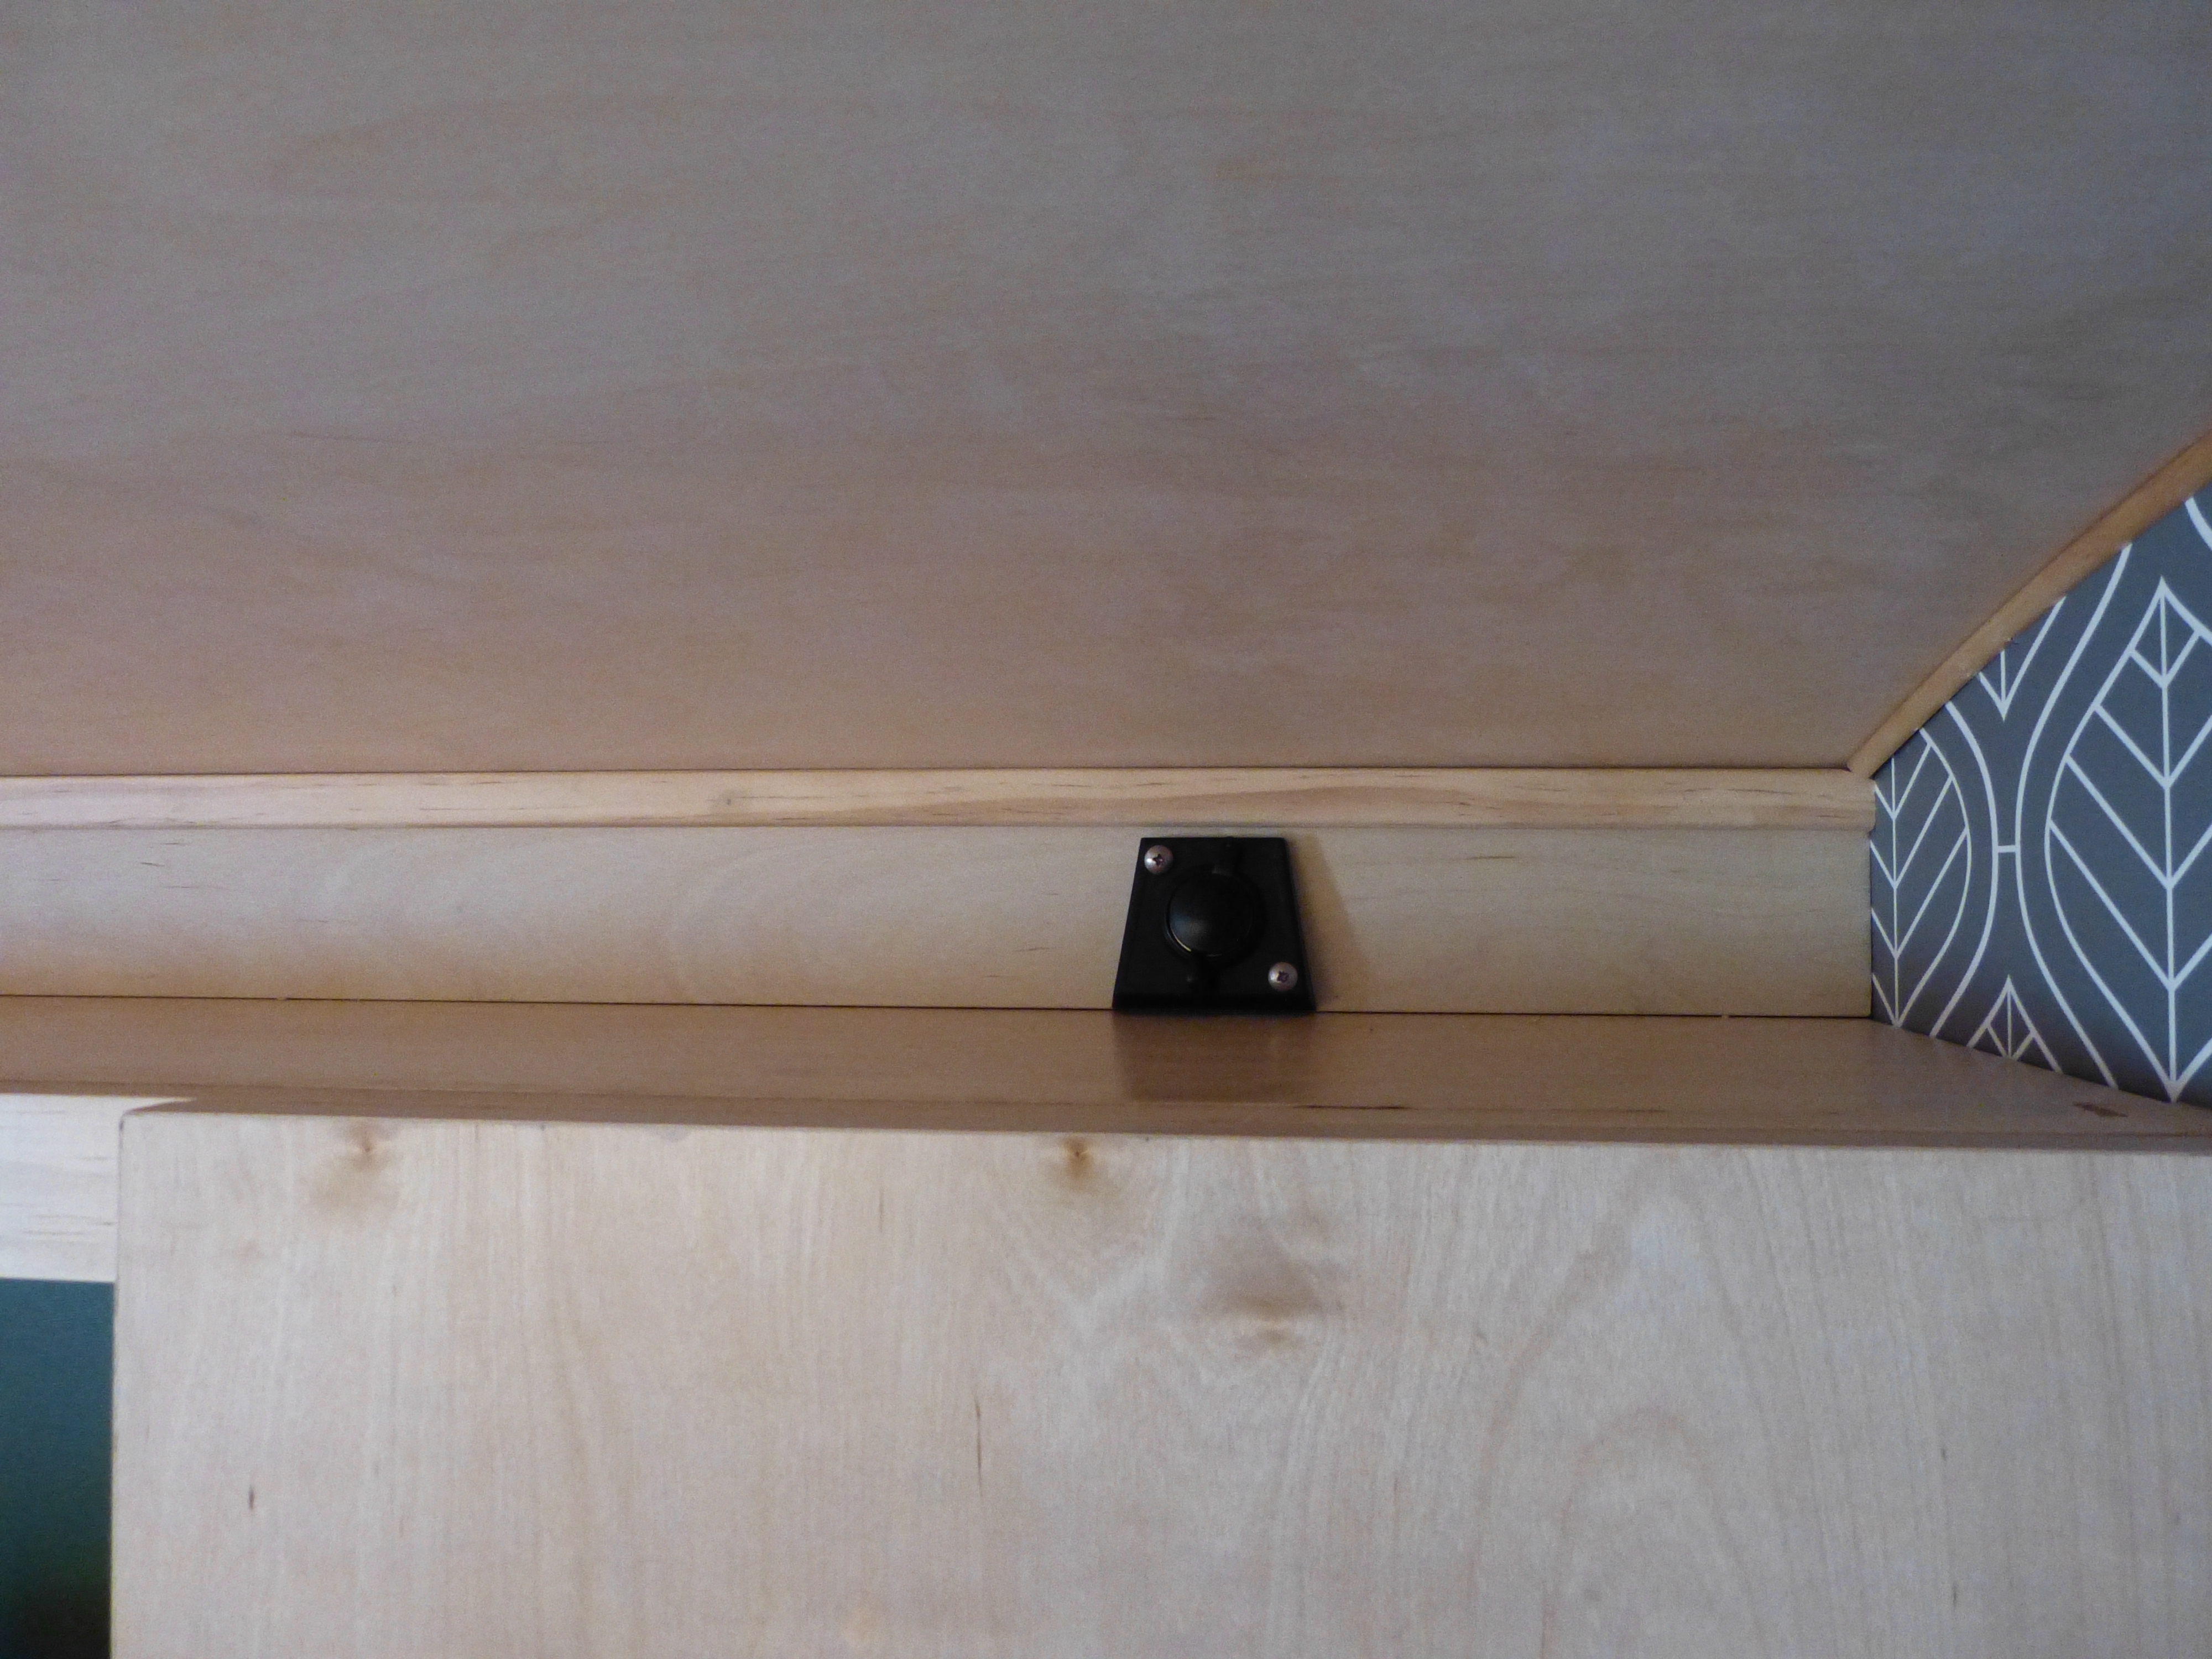
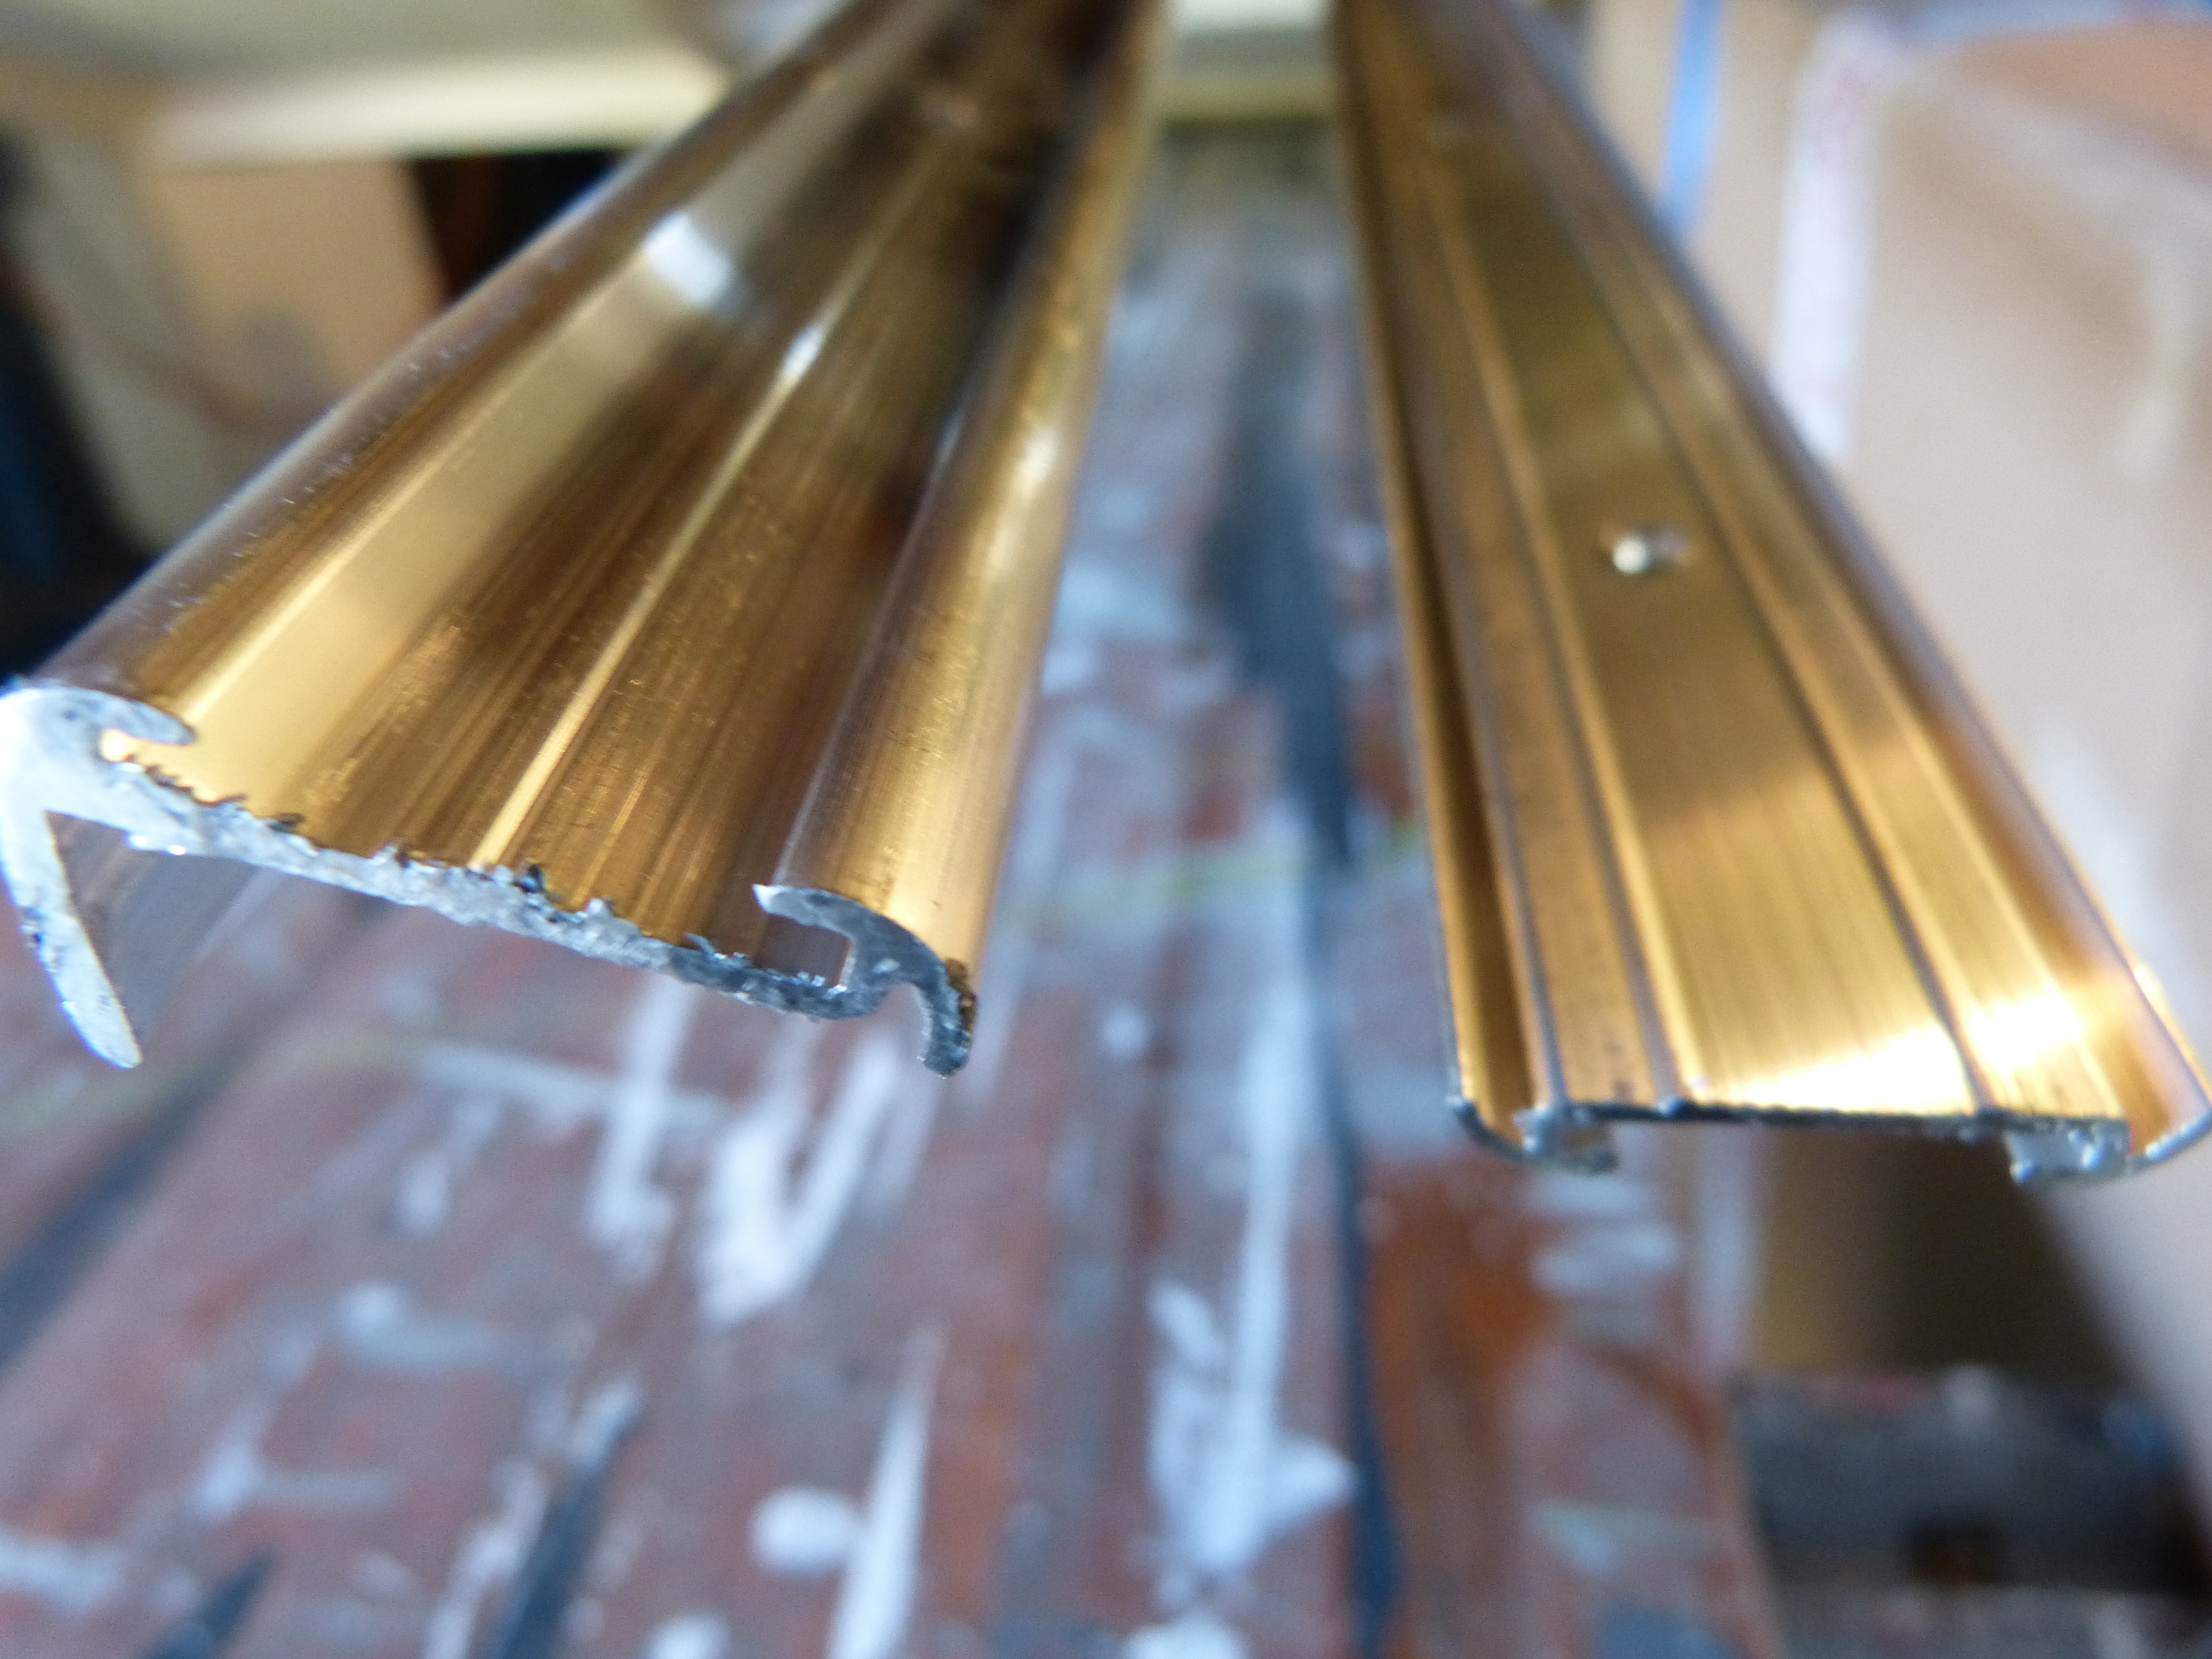
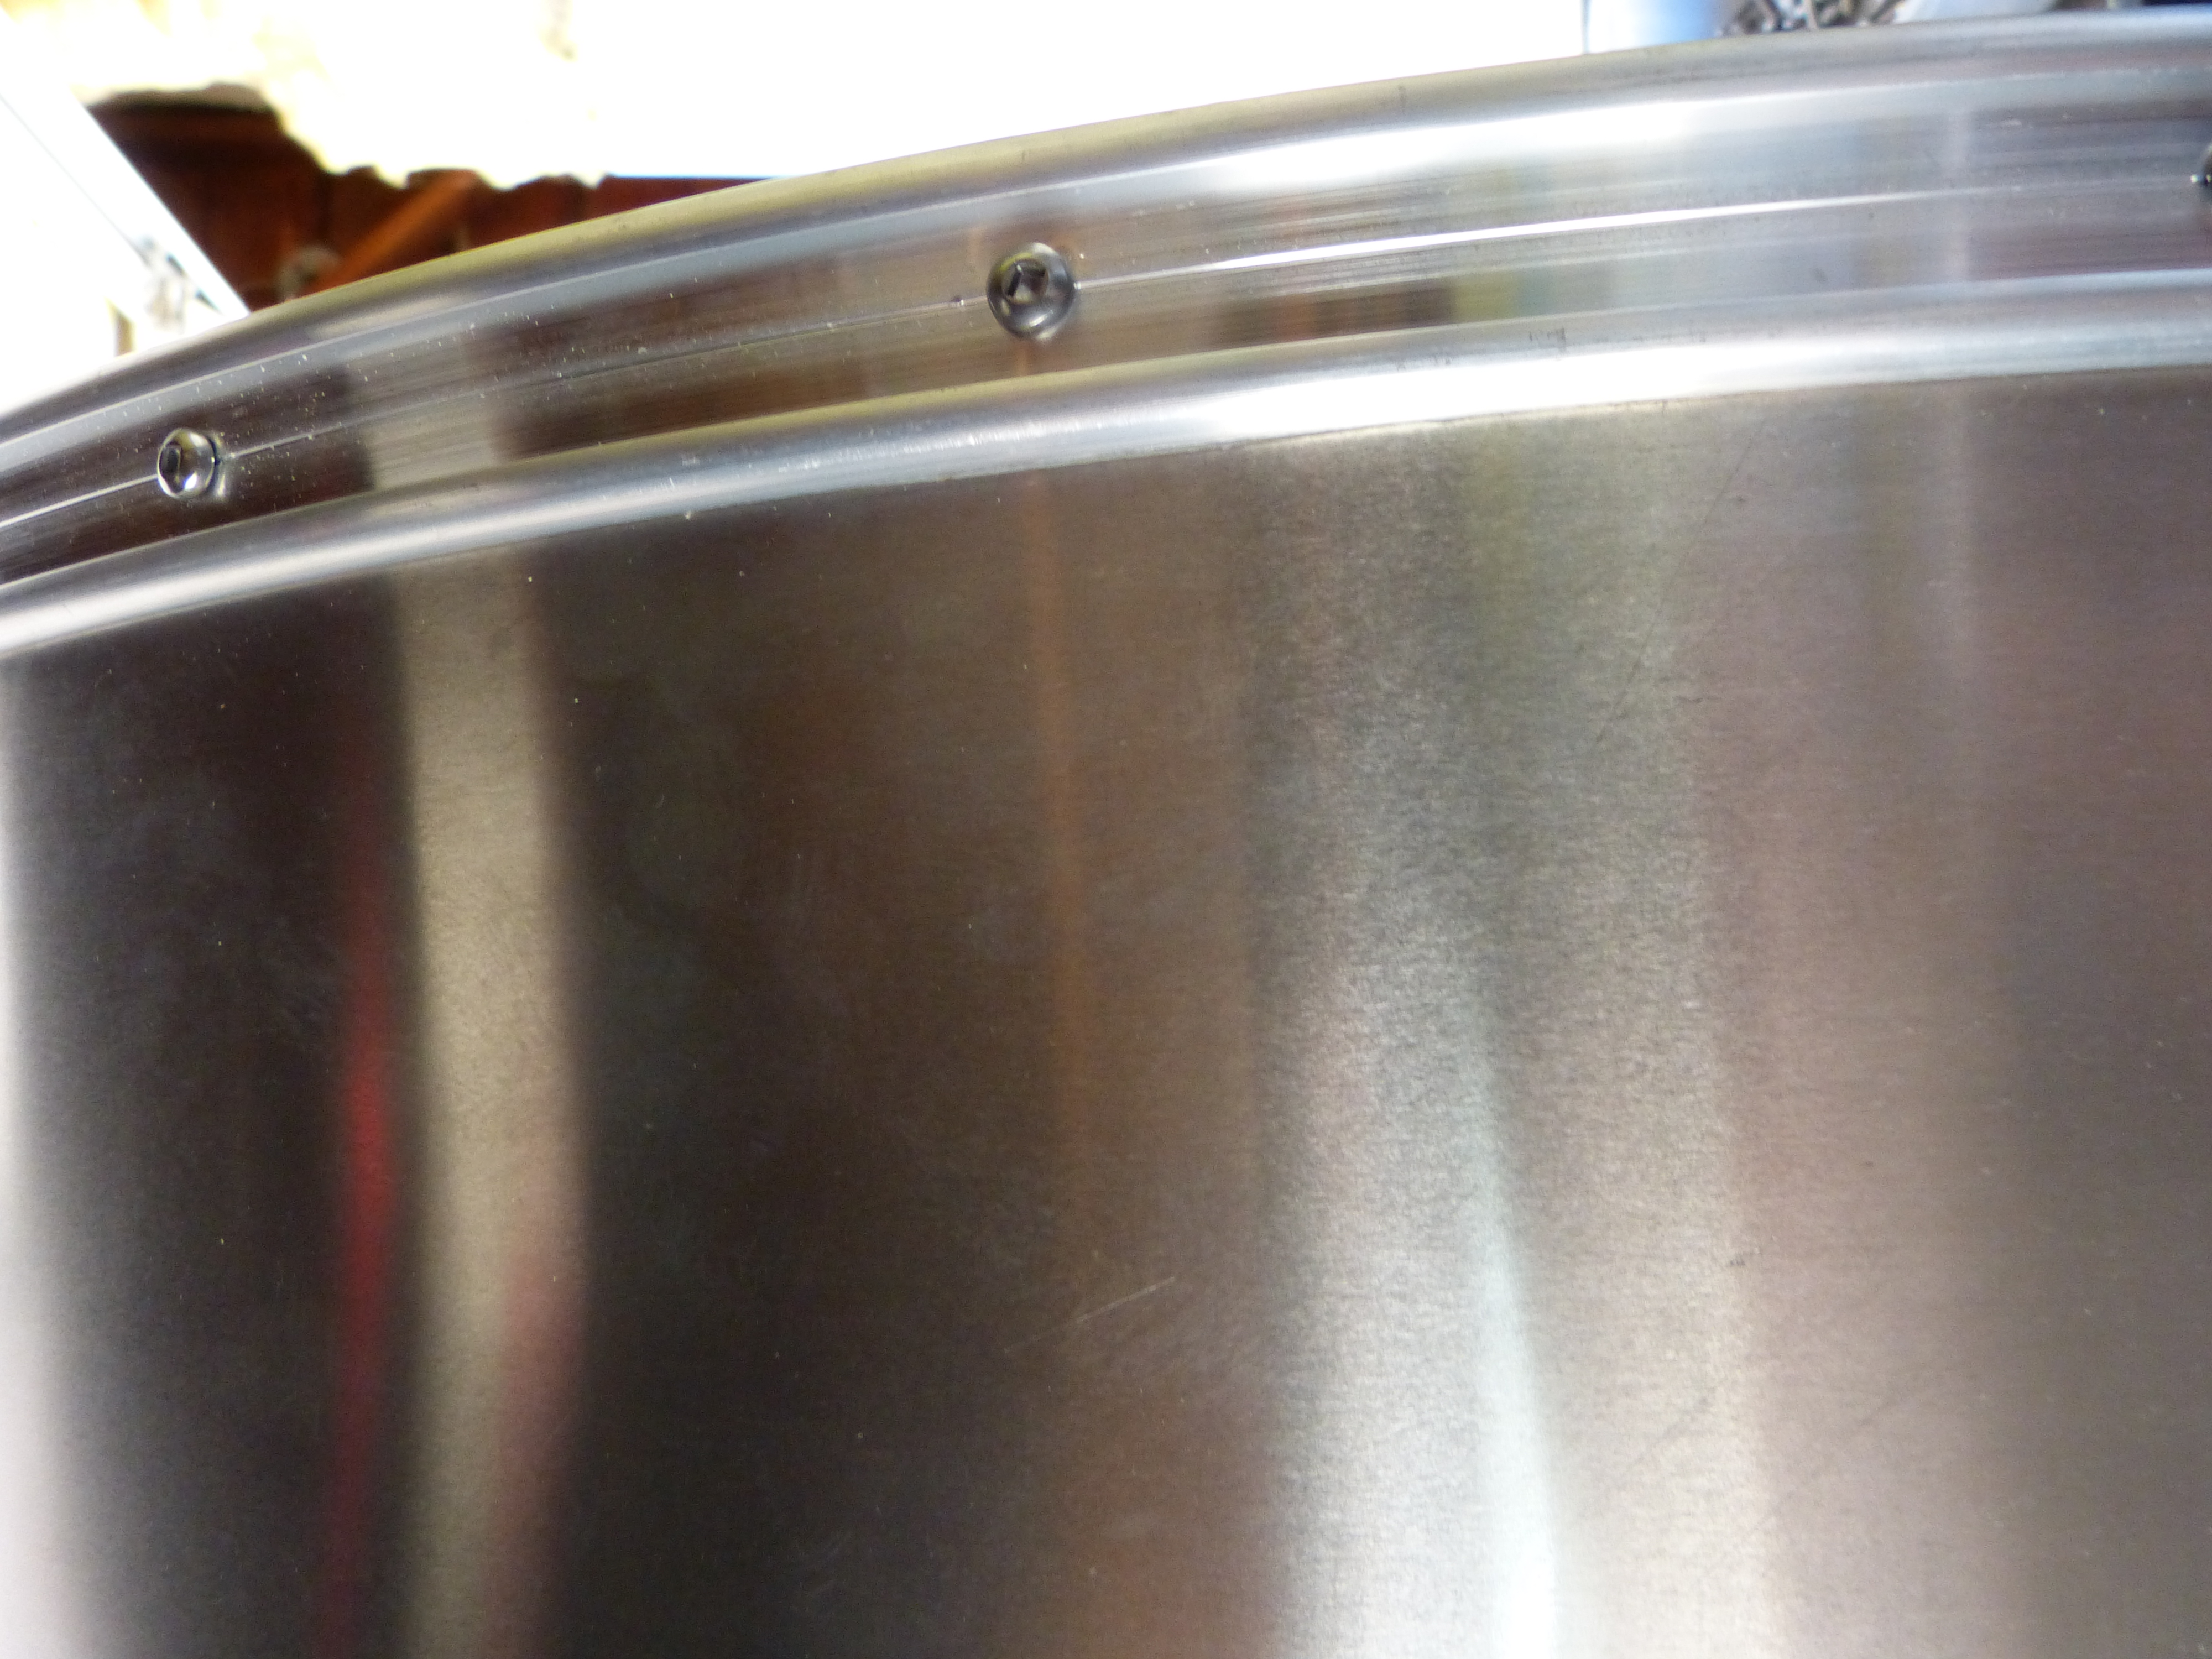
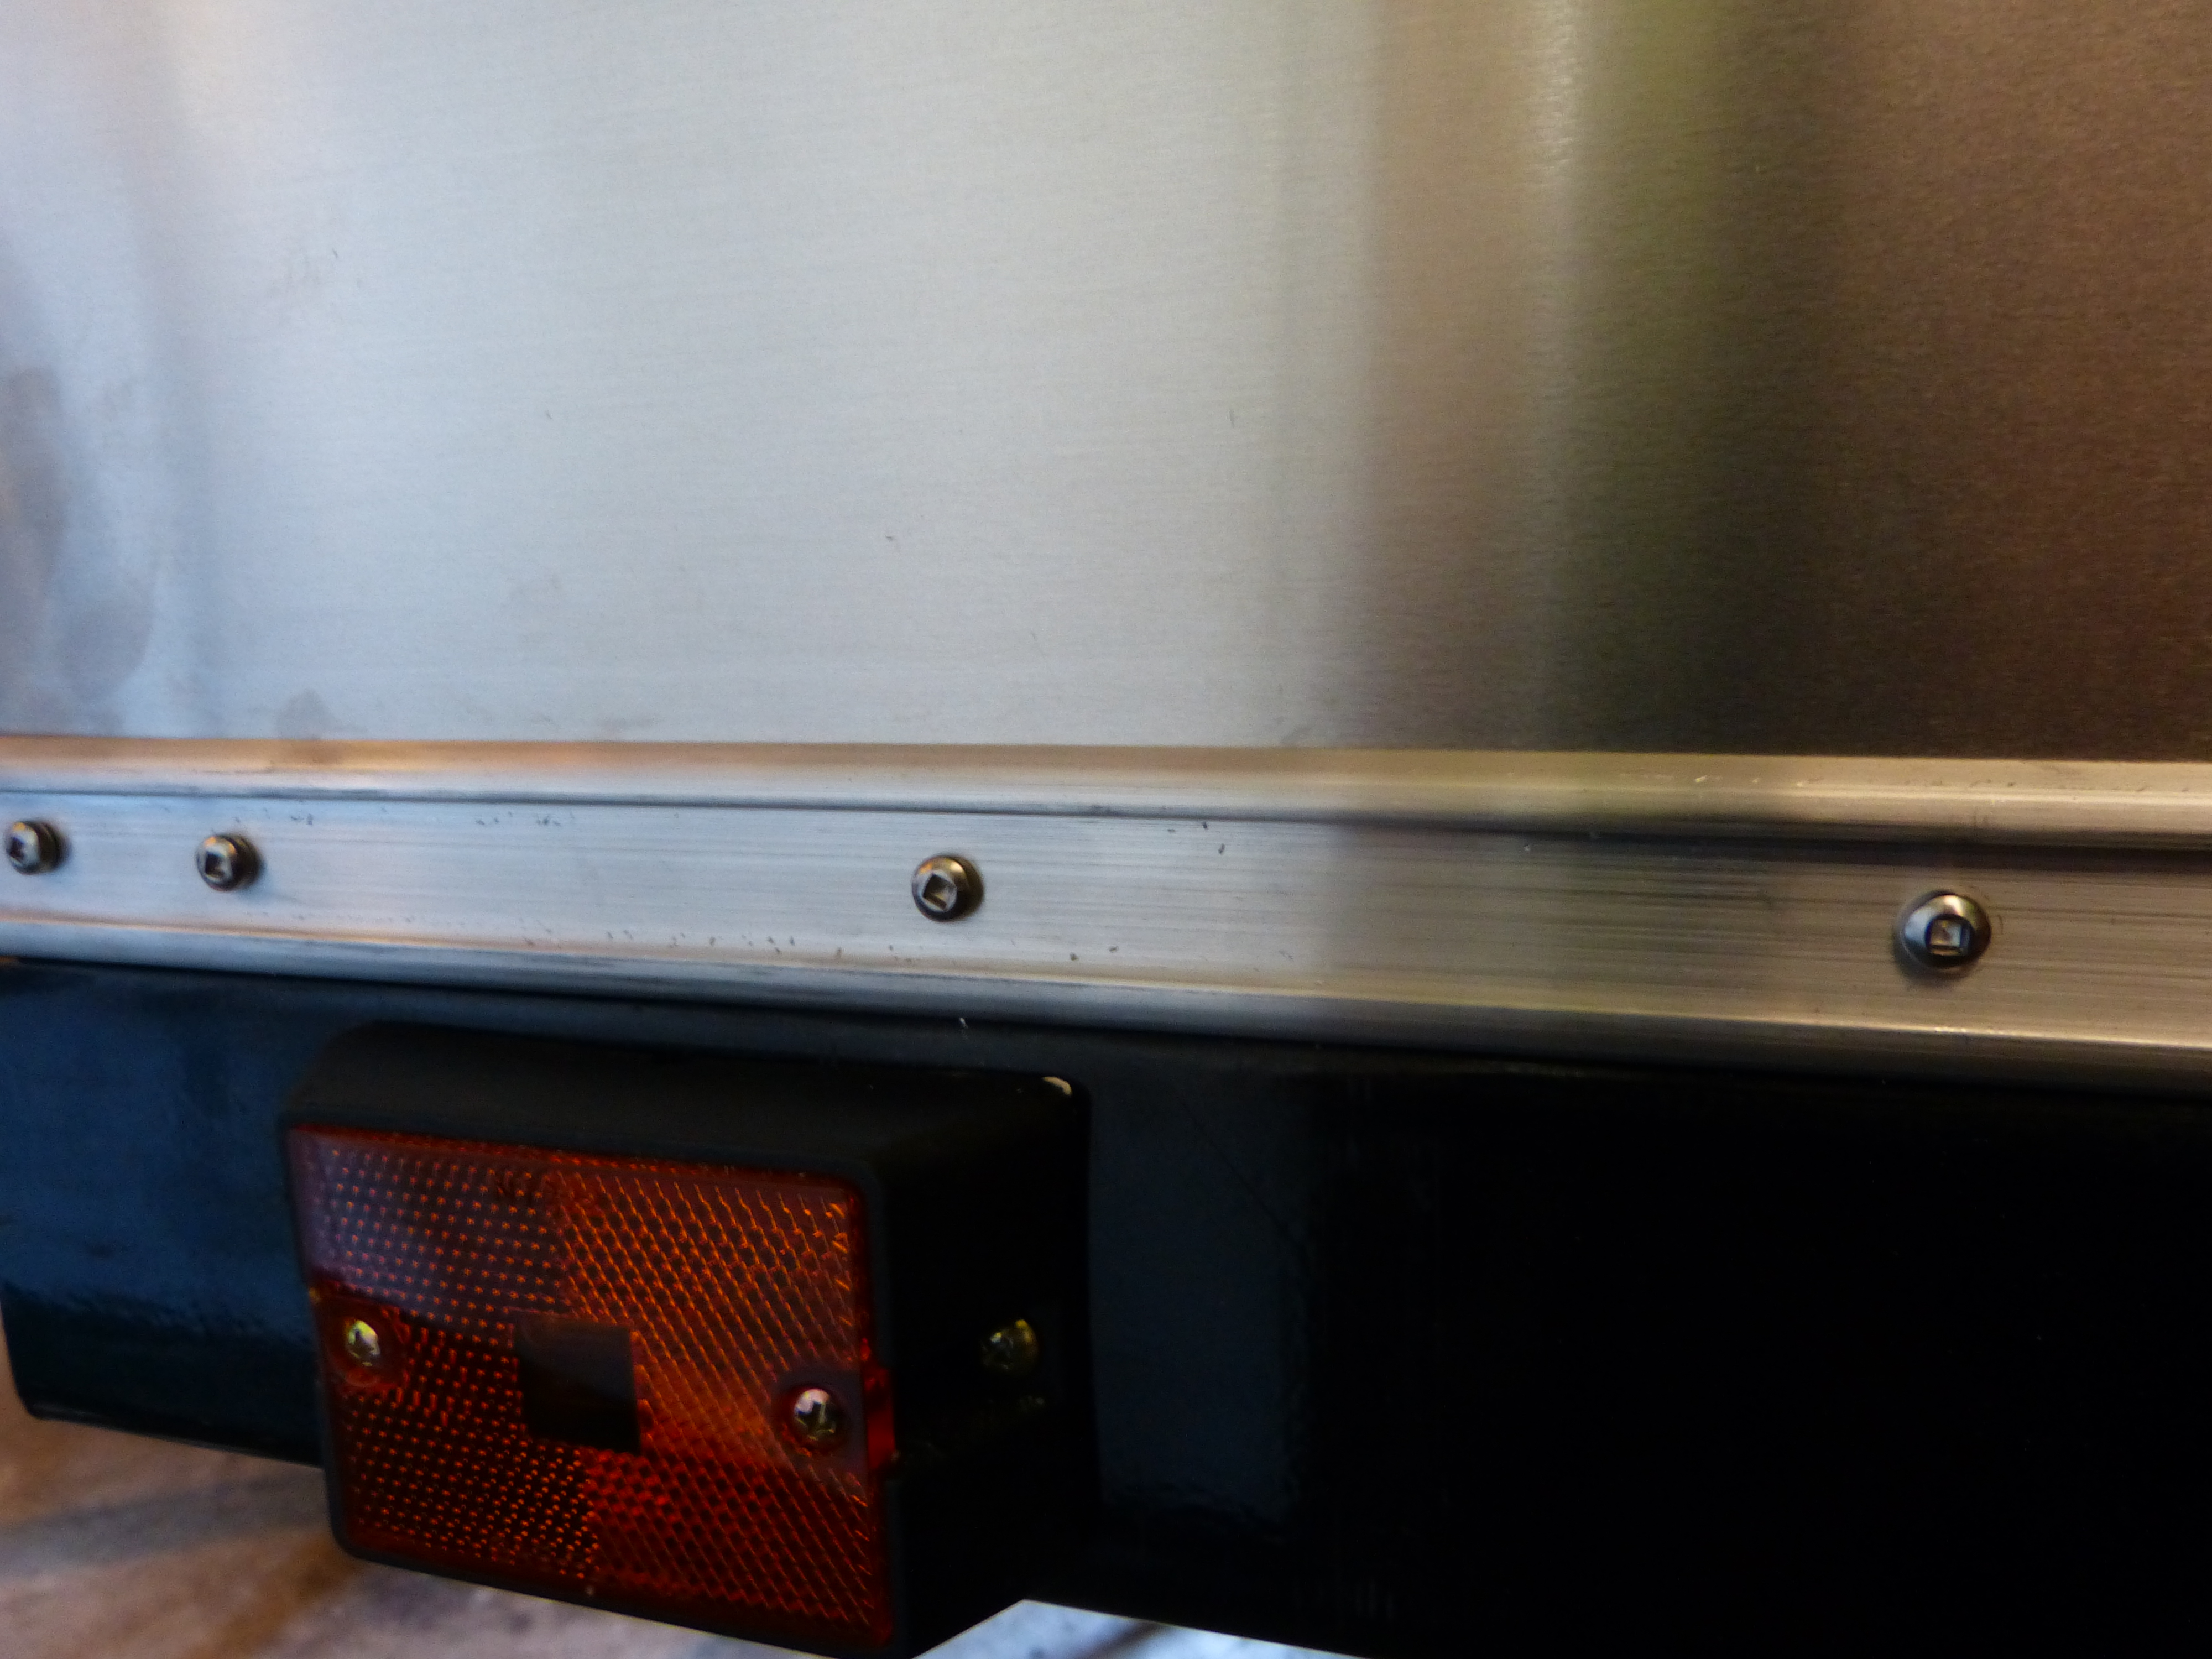
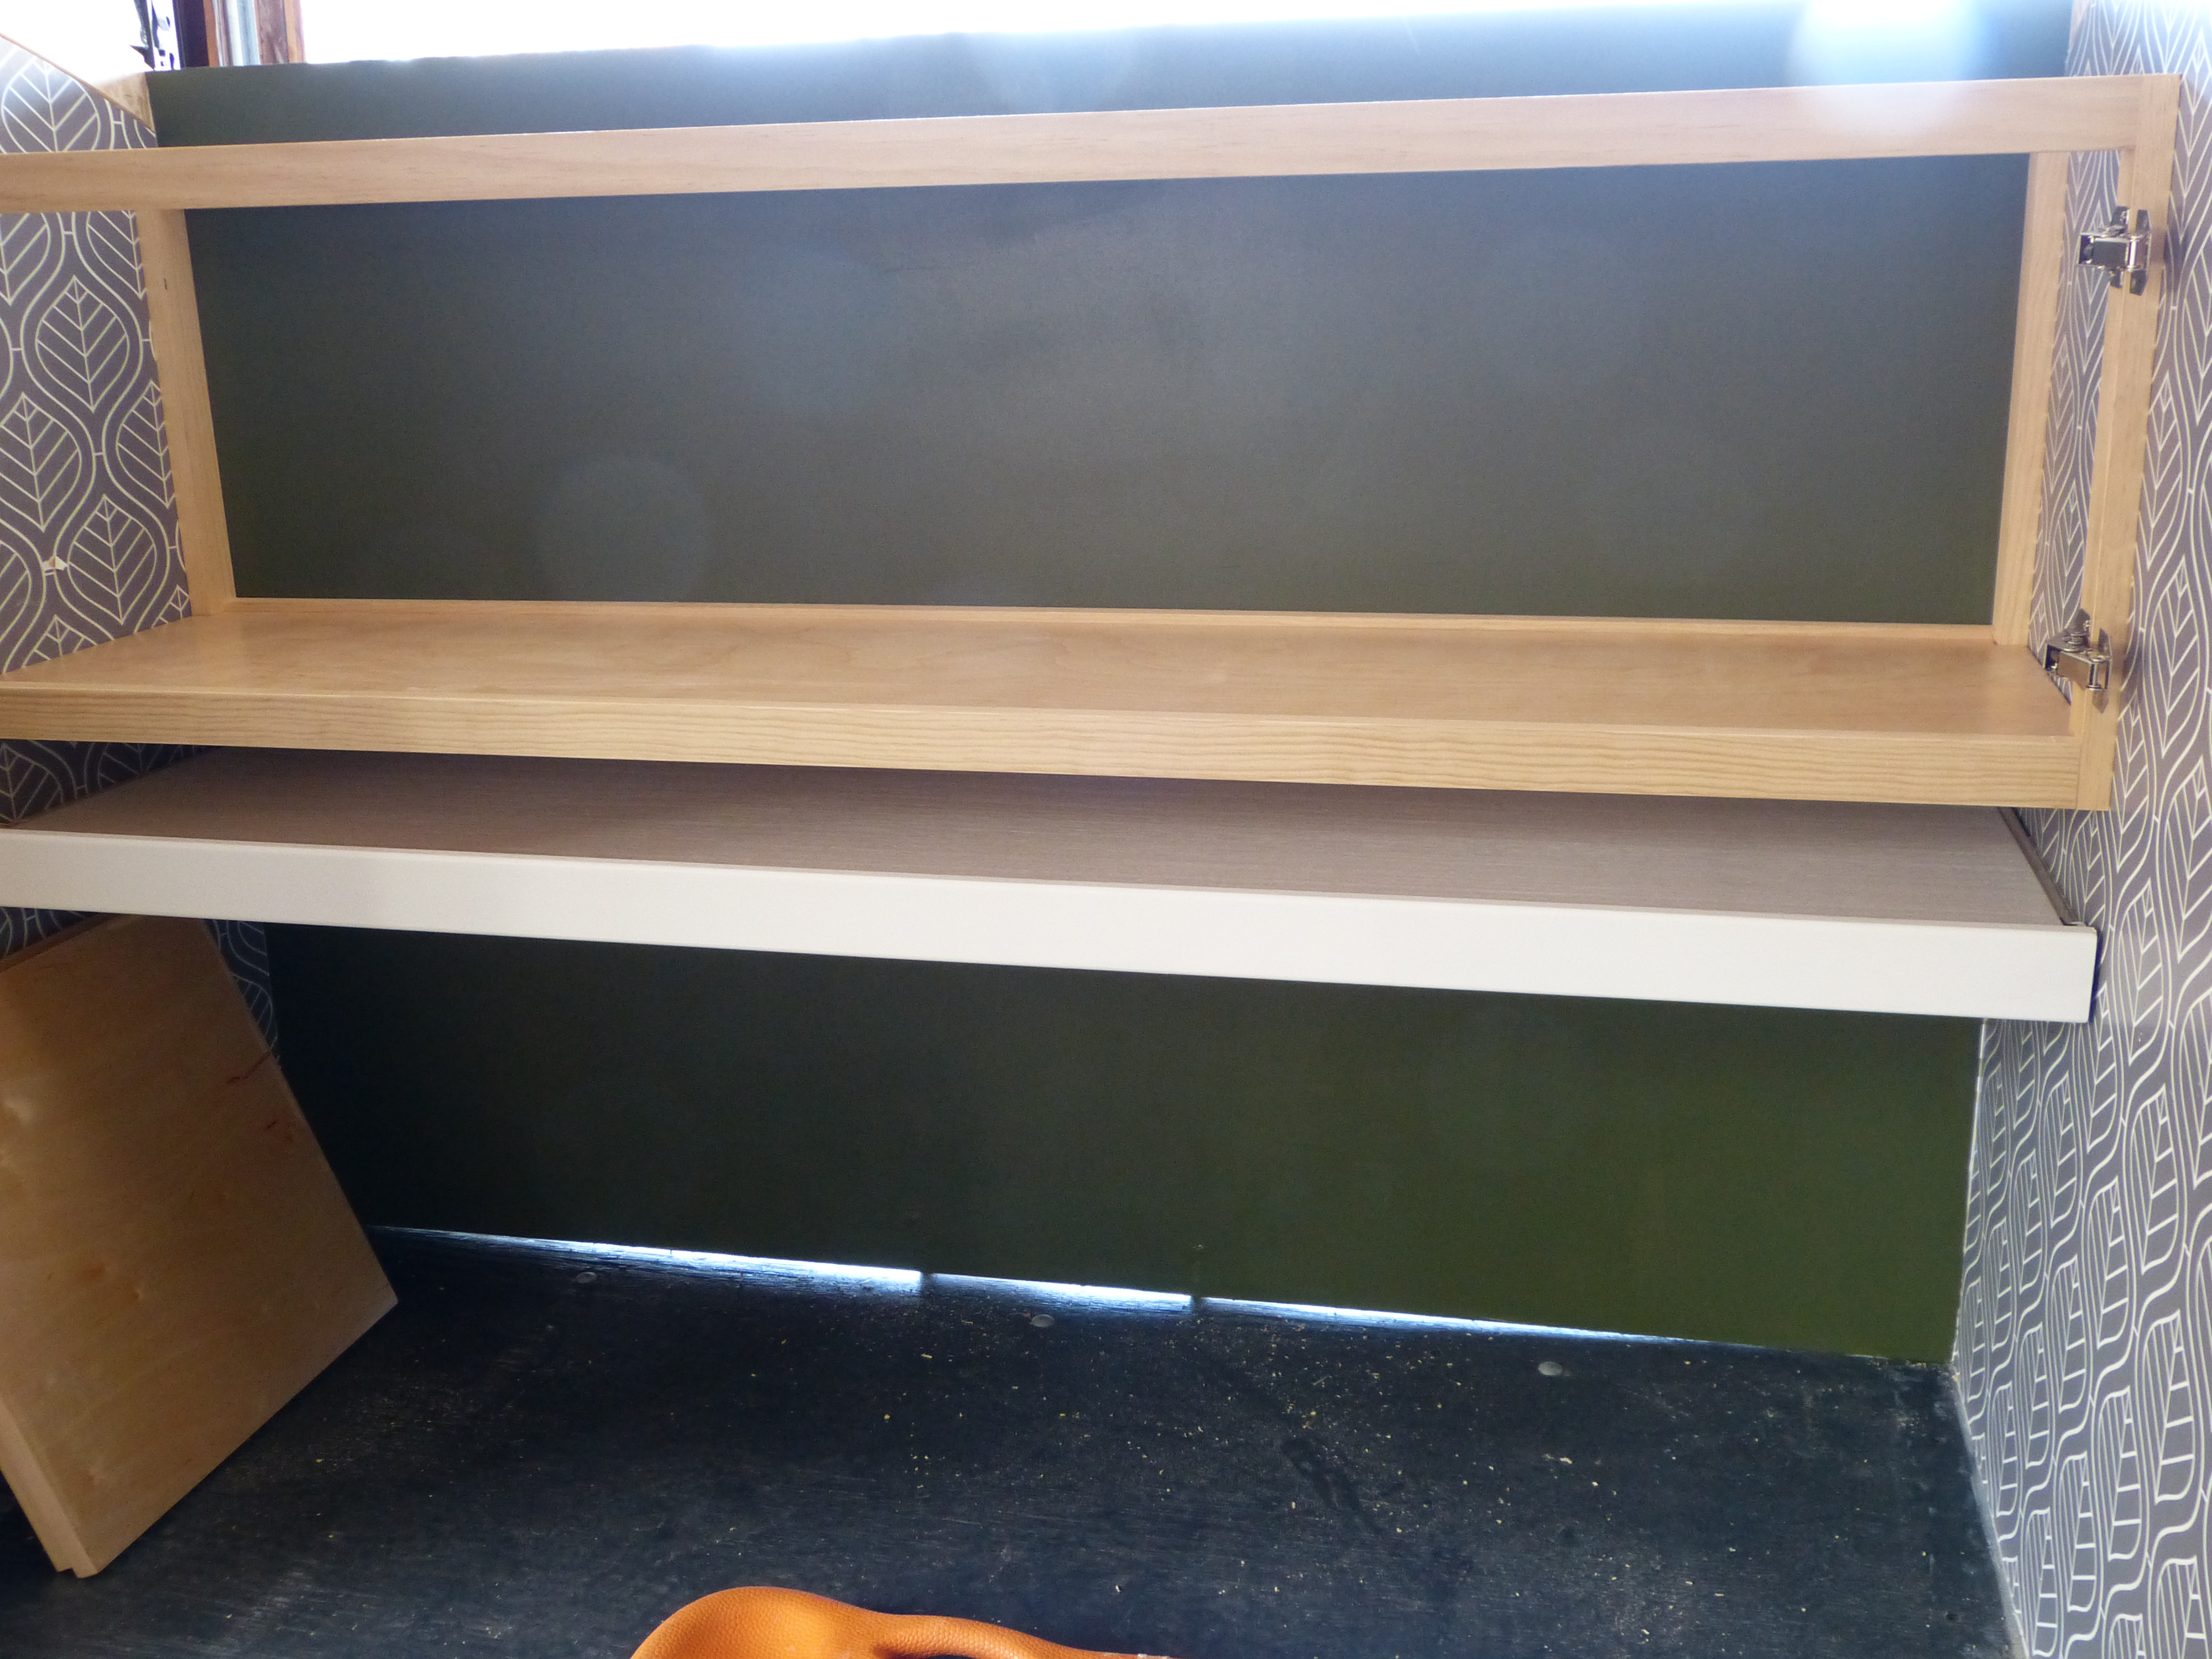
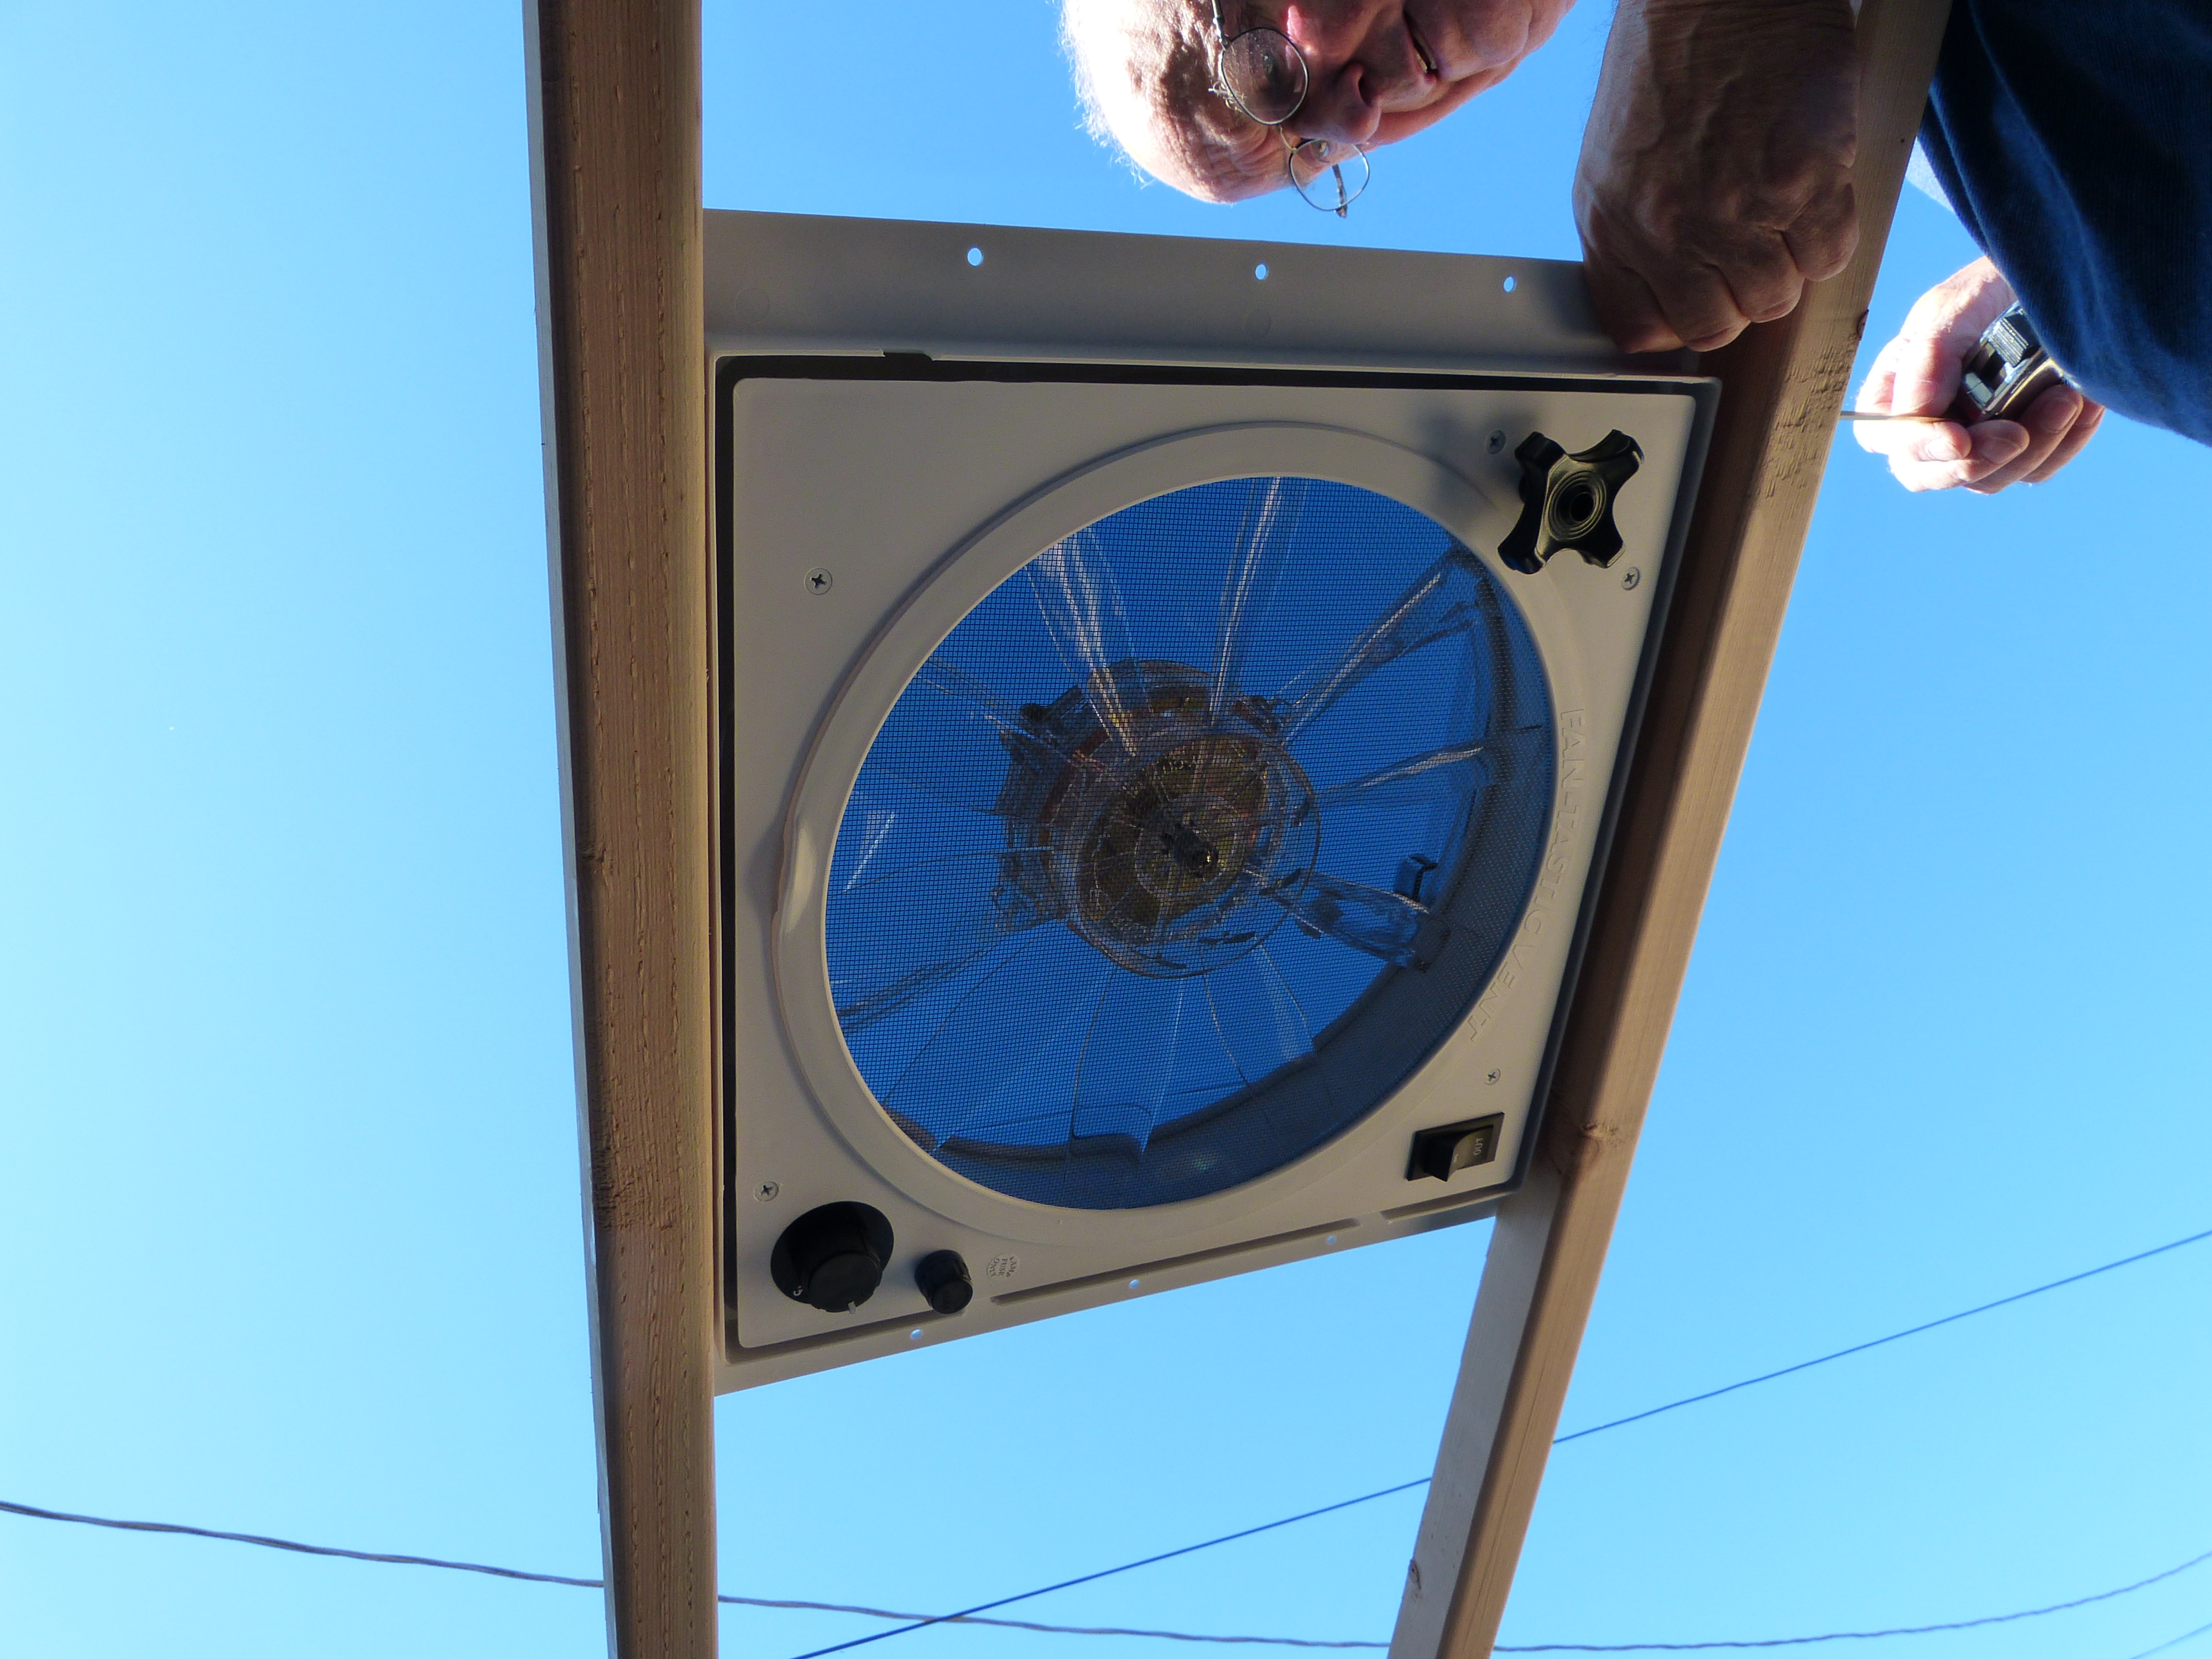
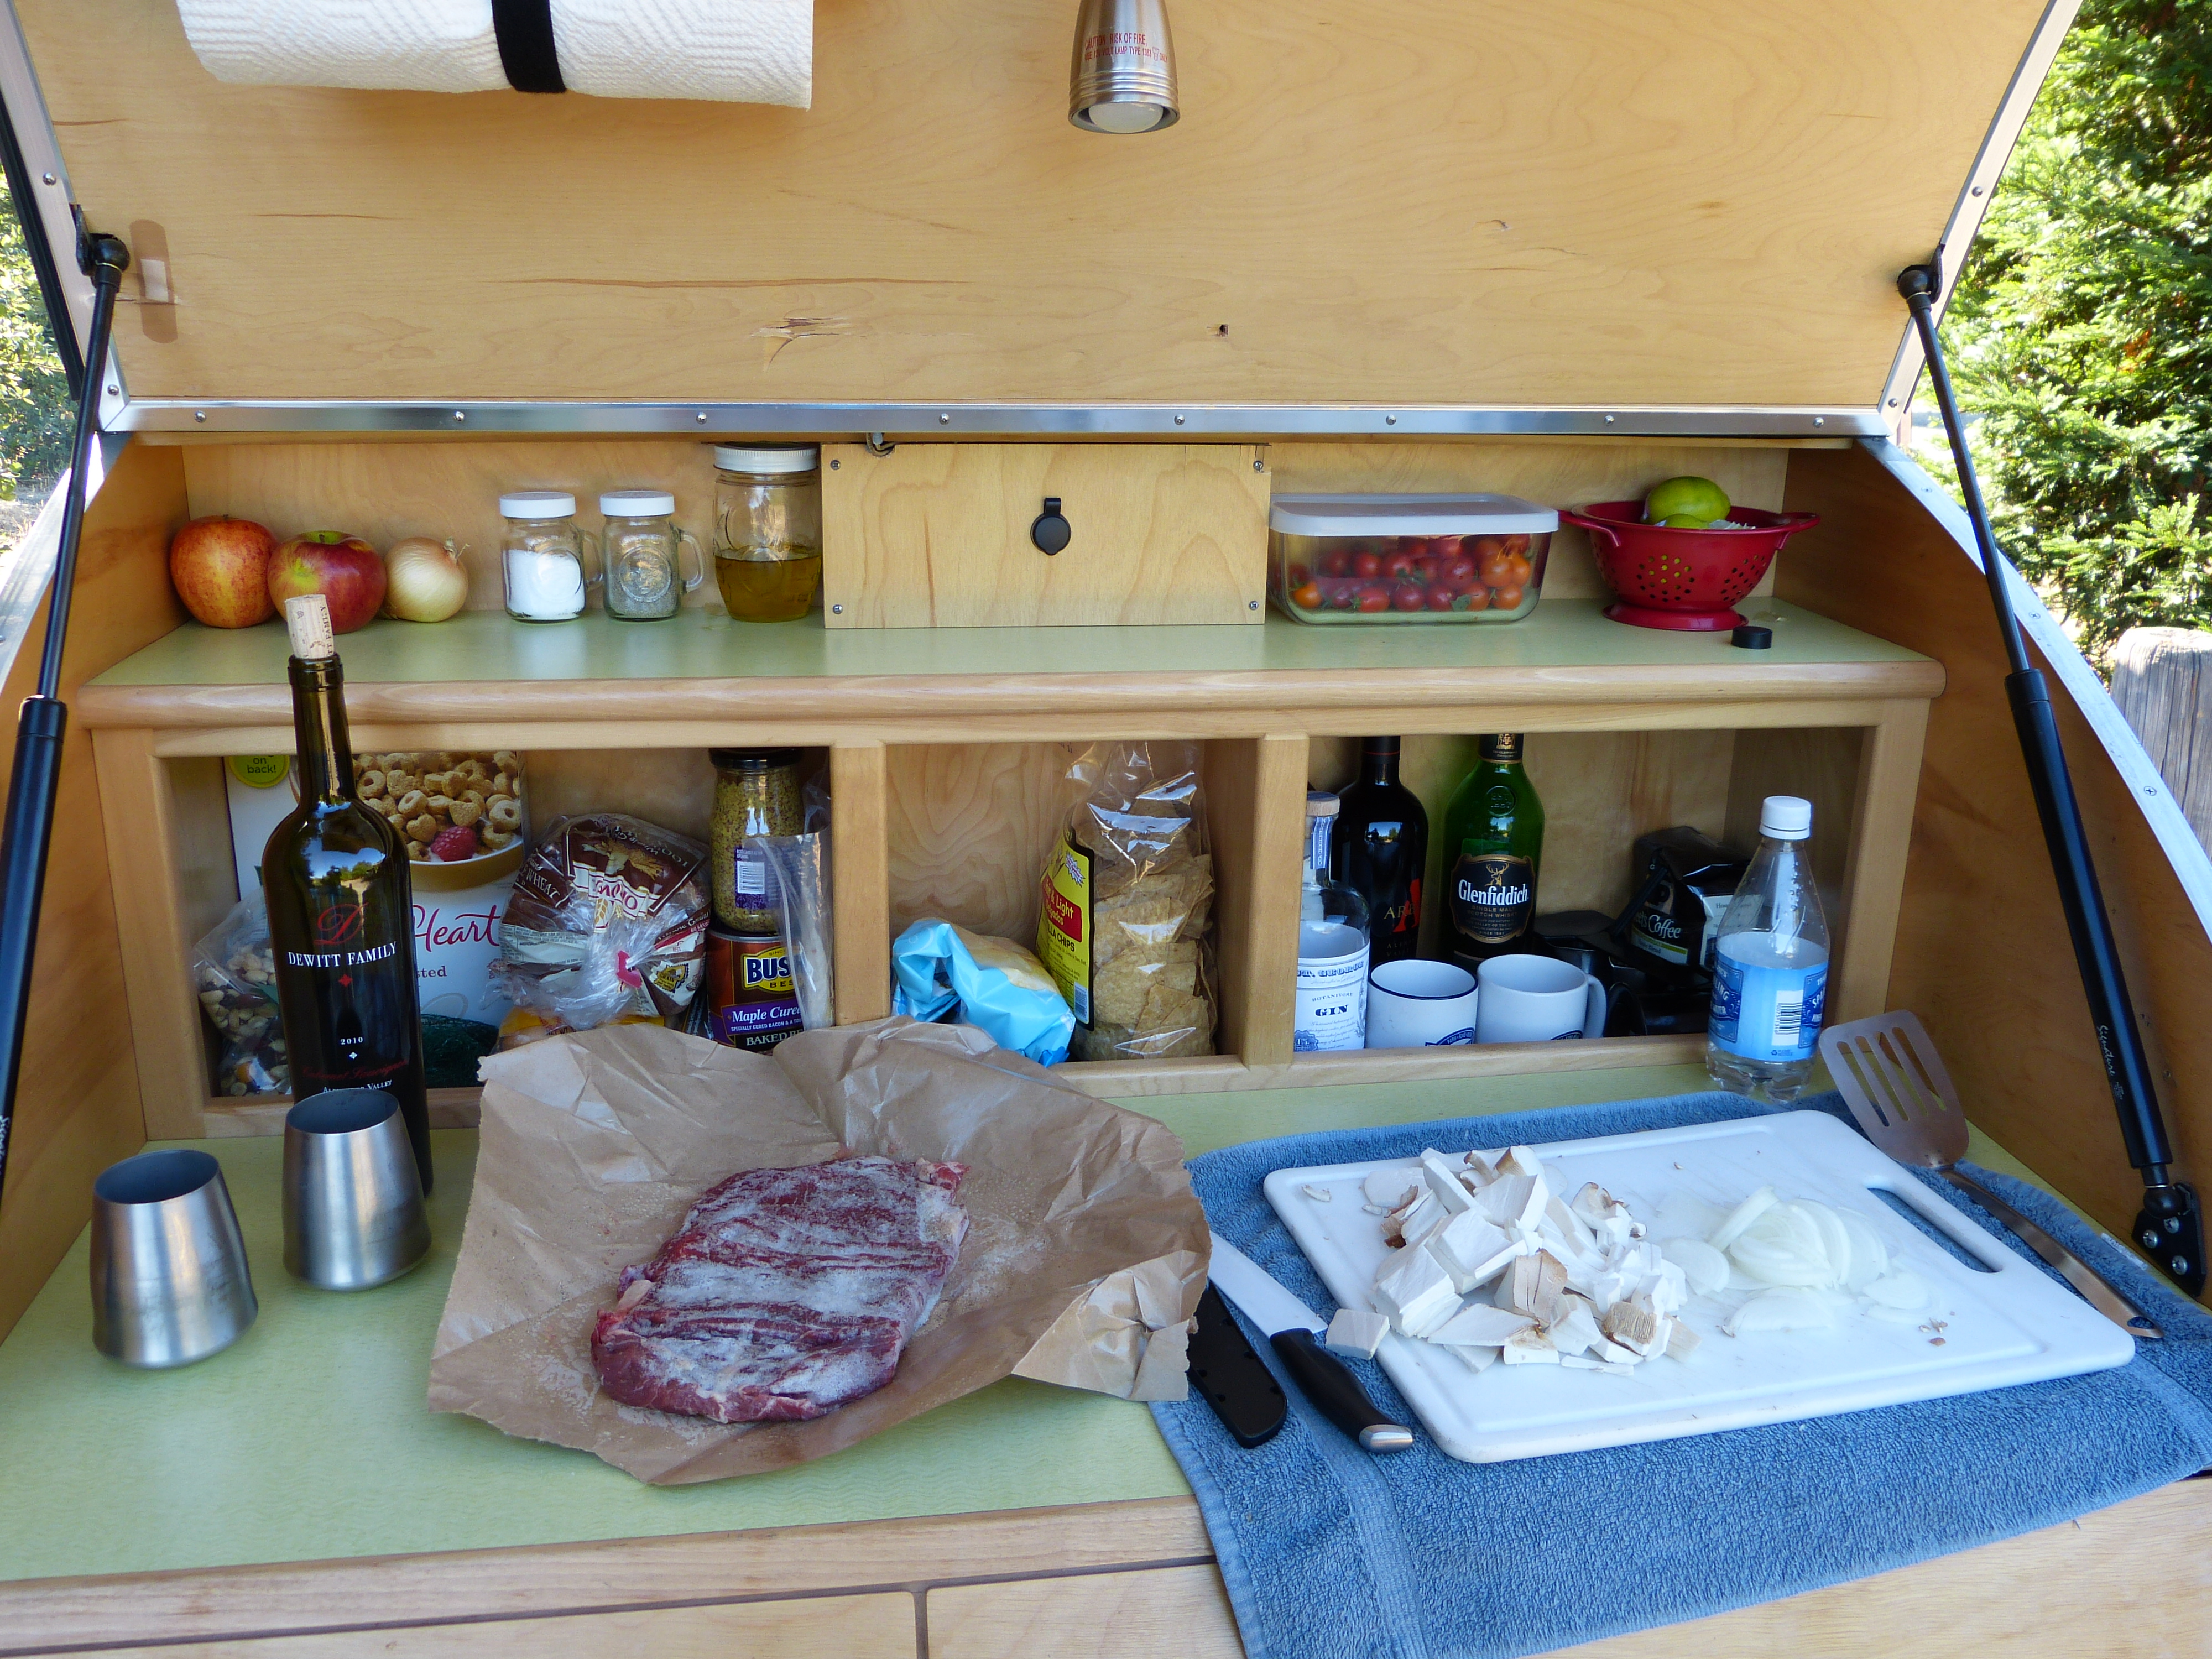
Until we were packing up for our outing. Then all hell broke loose. MORE loud noises, MORE unseemly language from Bryan Heinzelman. I’ll put it down to stress, but he and I are going to have a little chat if this continues. I am a dog with delicate sensibilities. I sent Spanky to investigate while I stayed back in my crate (and shook). He reported back that something on our bed’s hatch had broken. I really don’t know what a hatch is, other than that’s where the treats and snacks and my stupid, embarrassing harness are kept:
20150524_110518
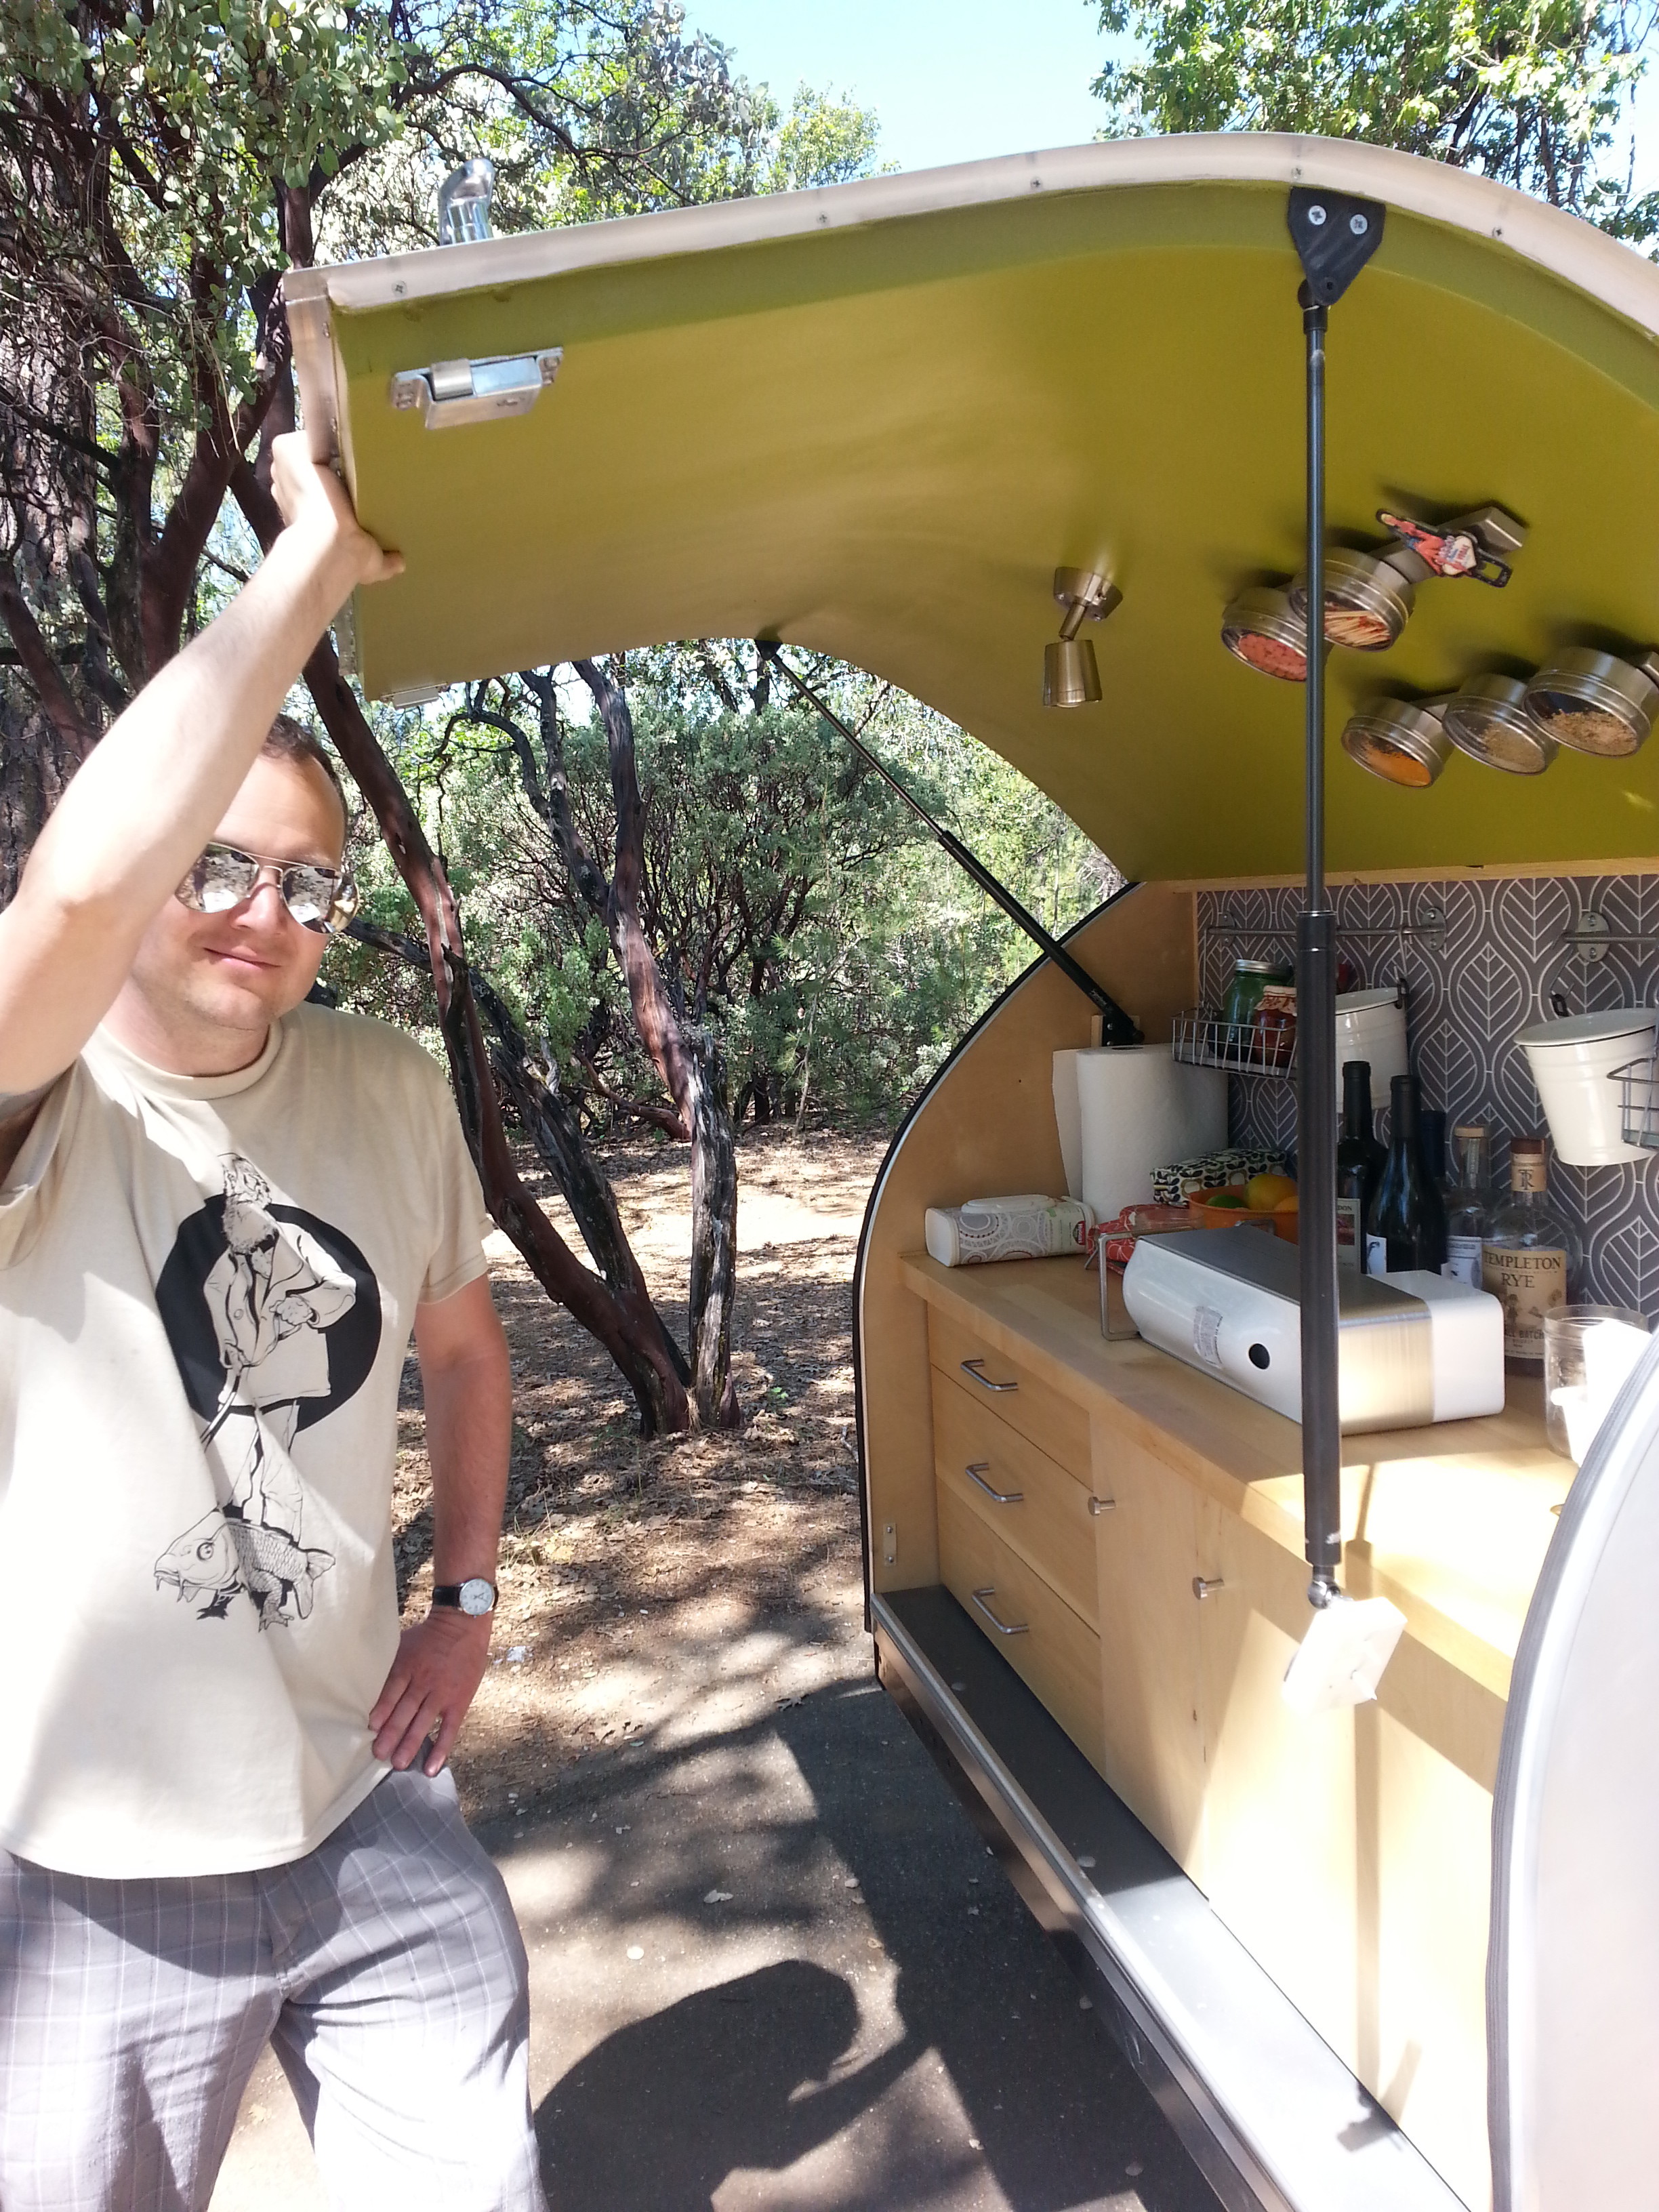
There was a lot of murmuring on the part of my humans and eventually we got in the car. and drove a LONG way to some exotic place called “Camping World”. Various items were purchased. Including a tie out for Spanky and I. So humiliating. Spanky may need to be tied up but I certainly don’t. He’s always ruining everything for both of us…
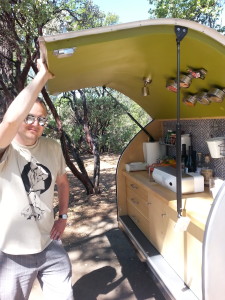
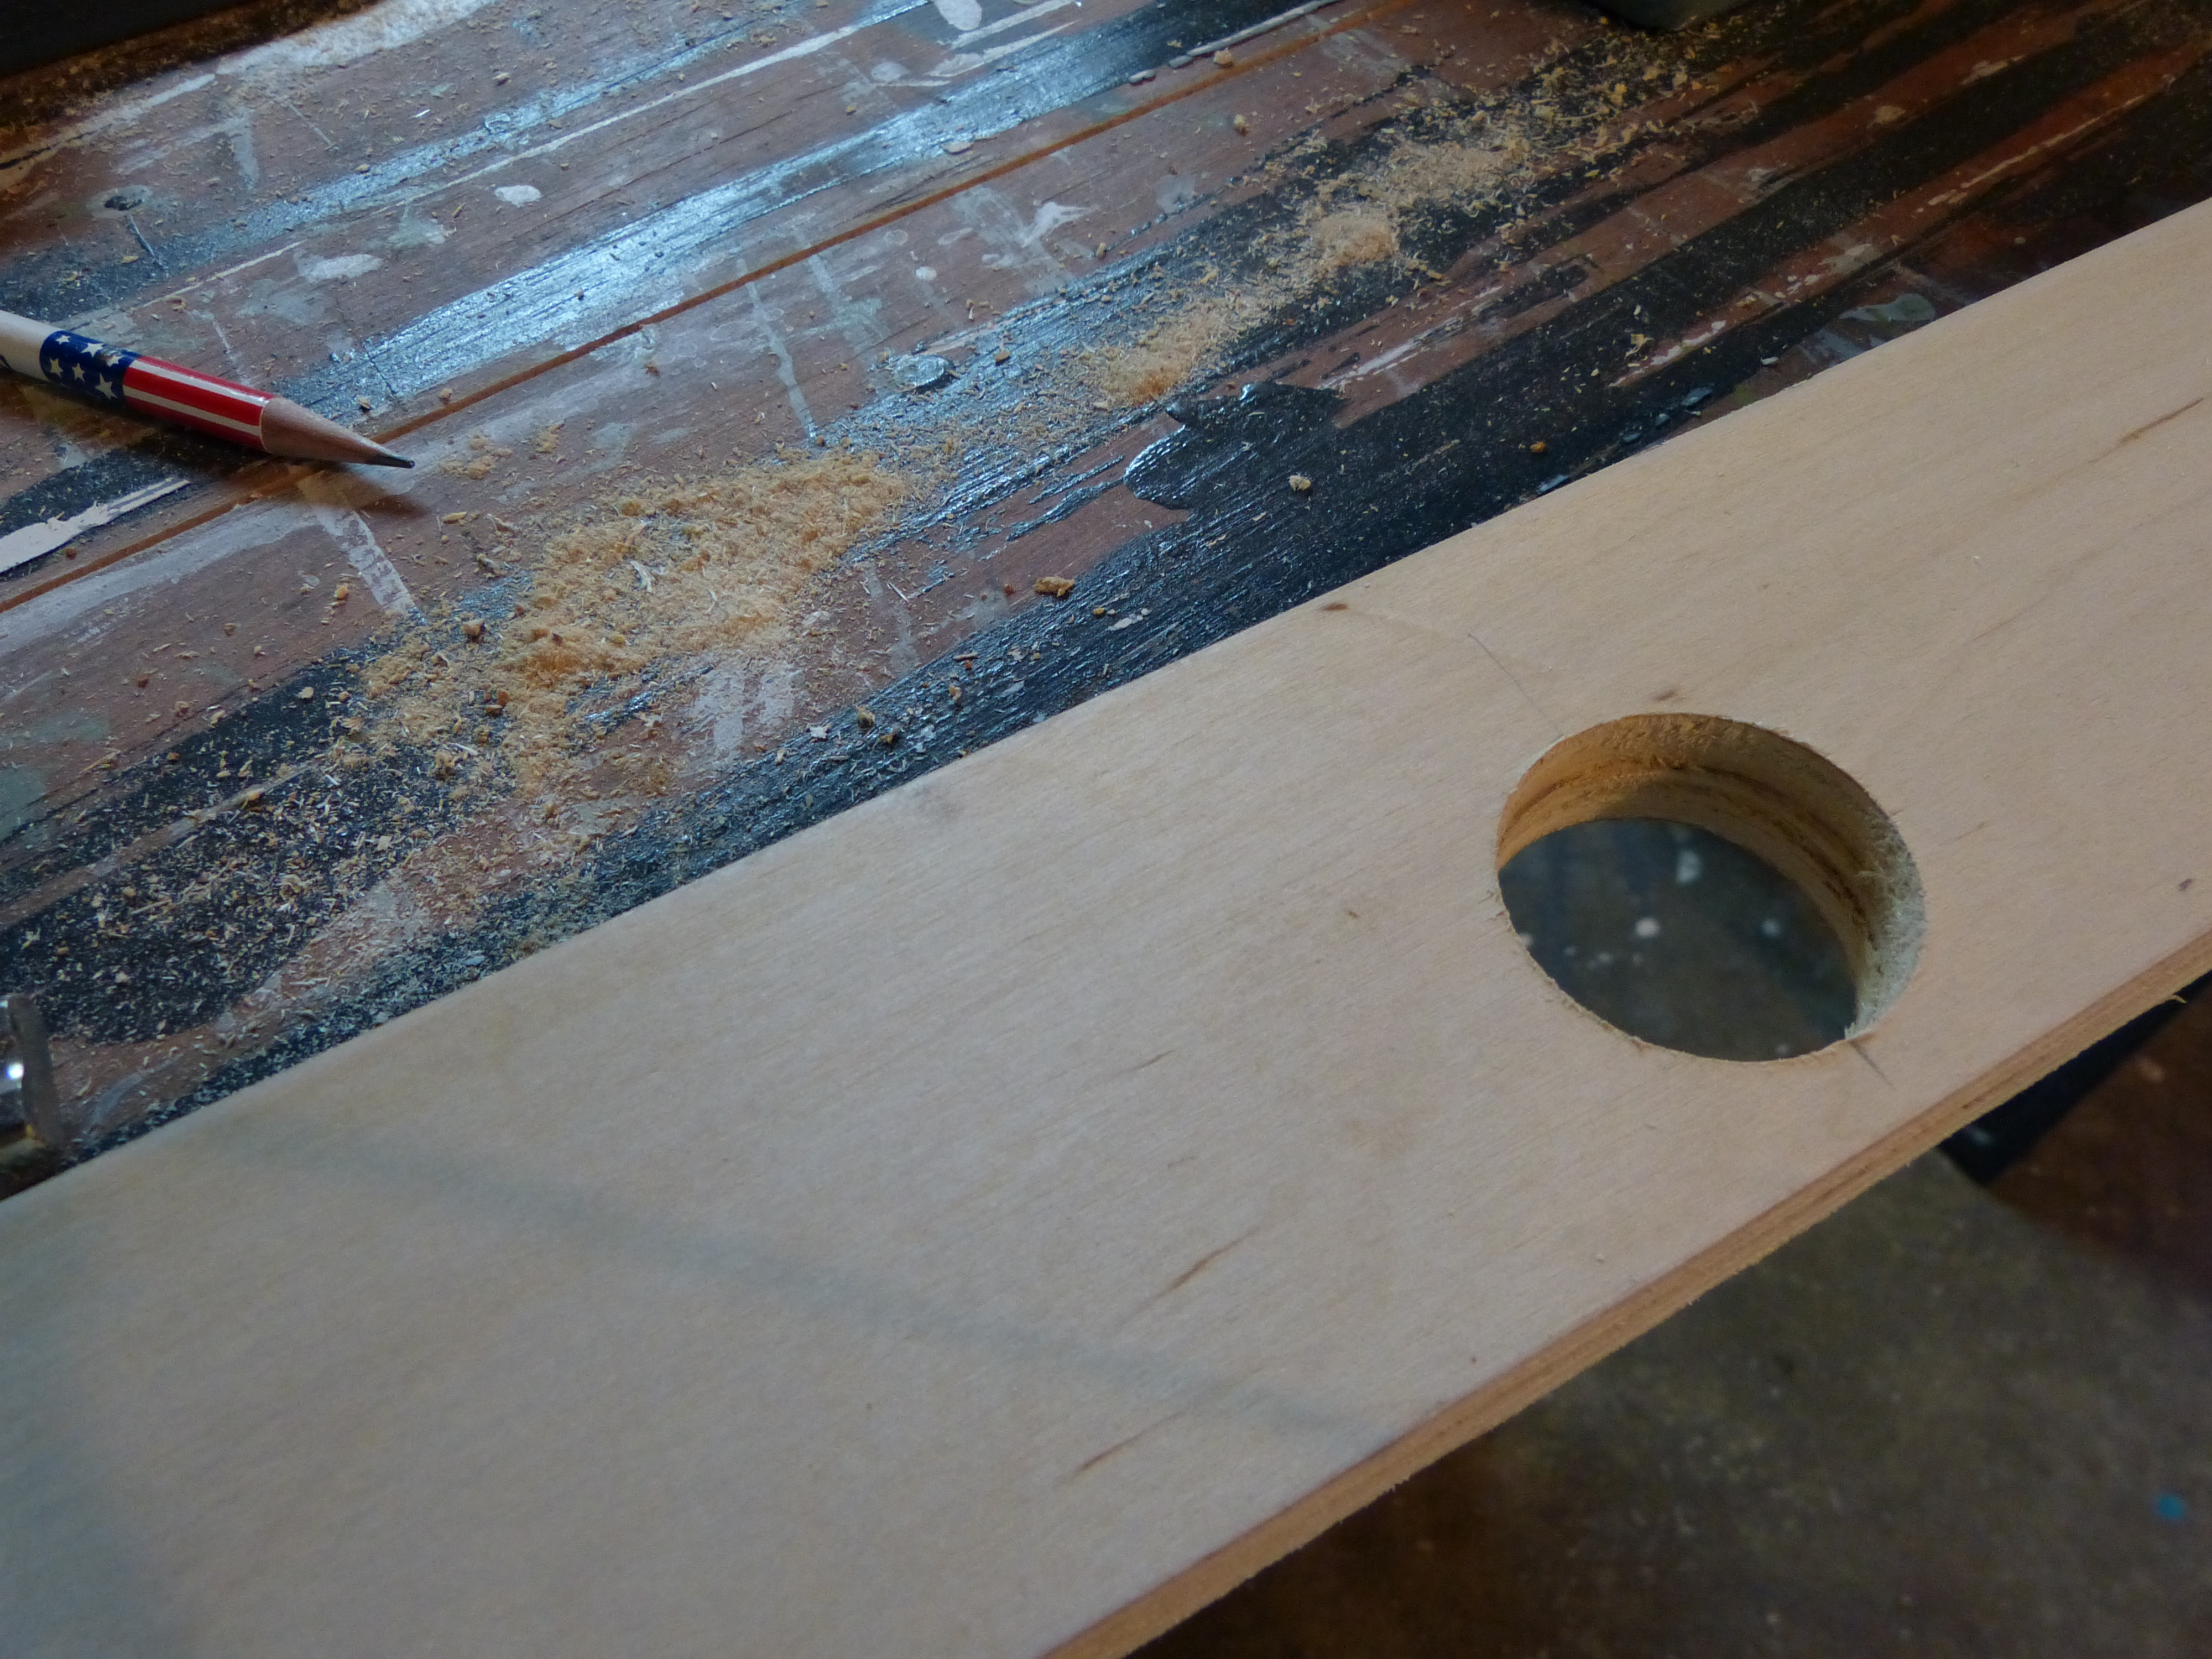
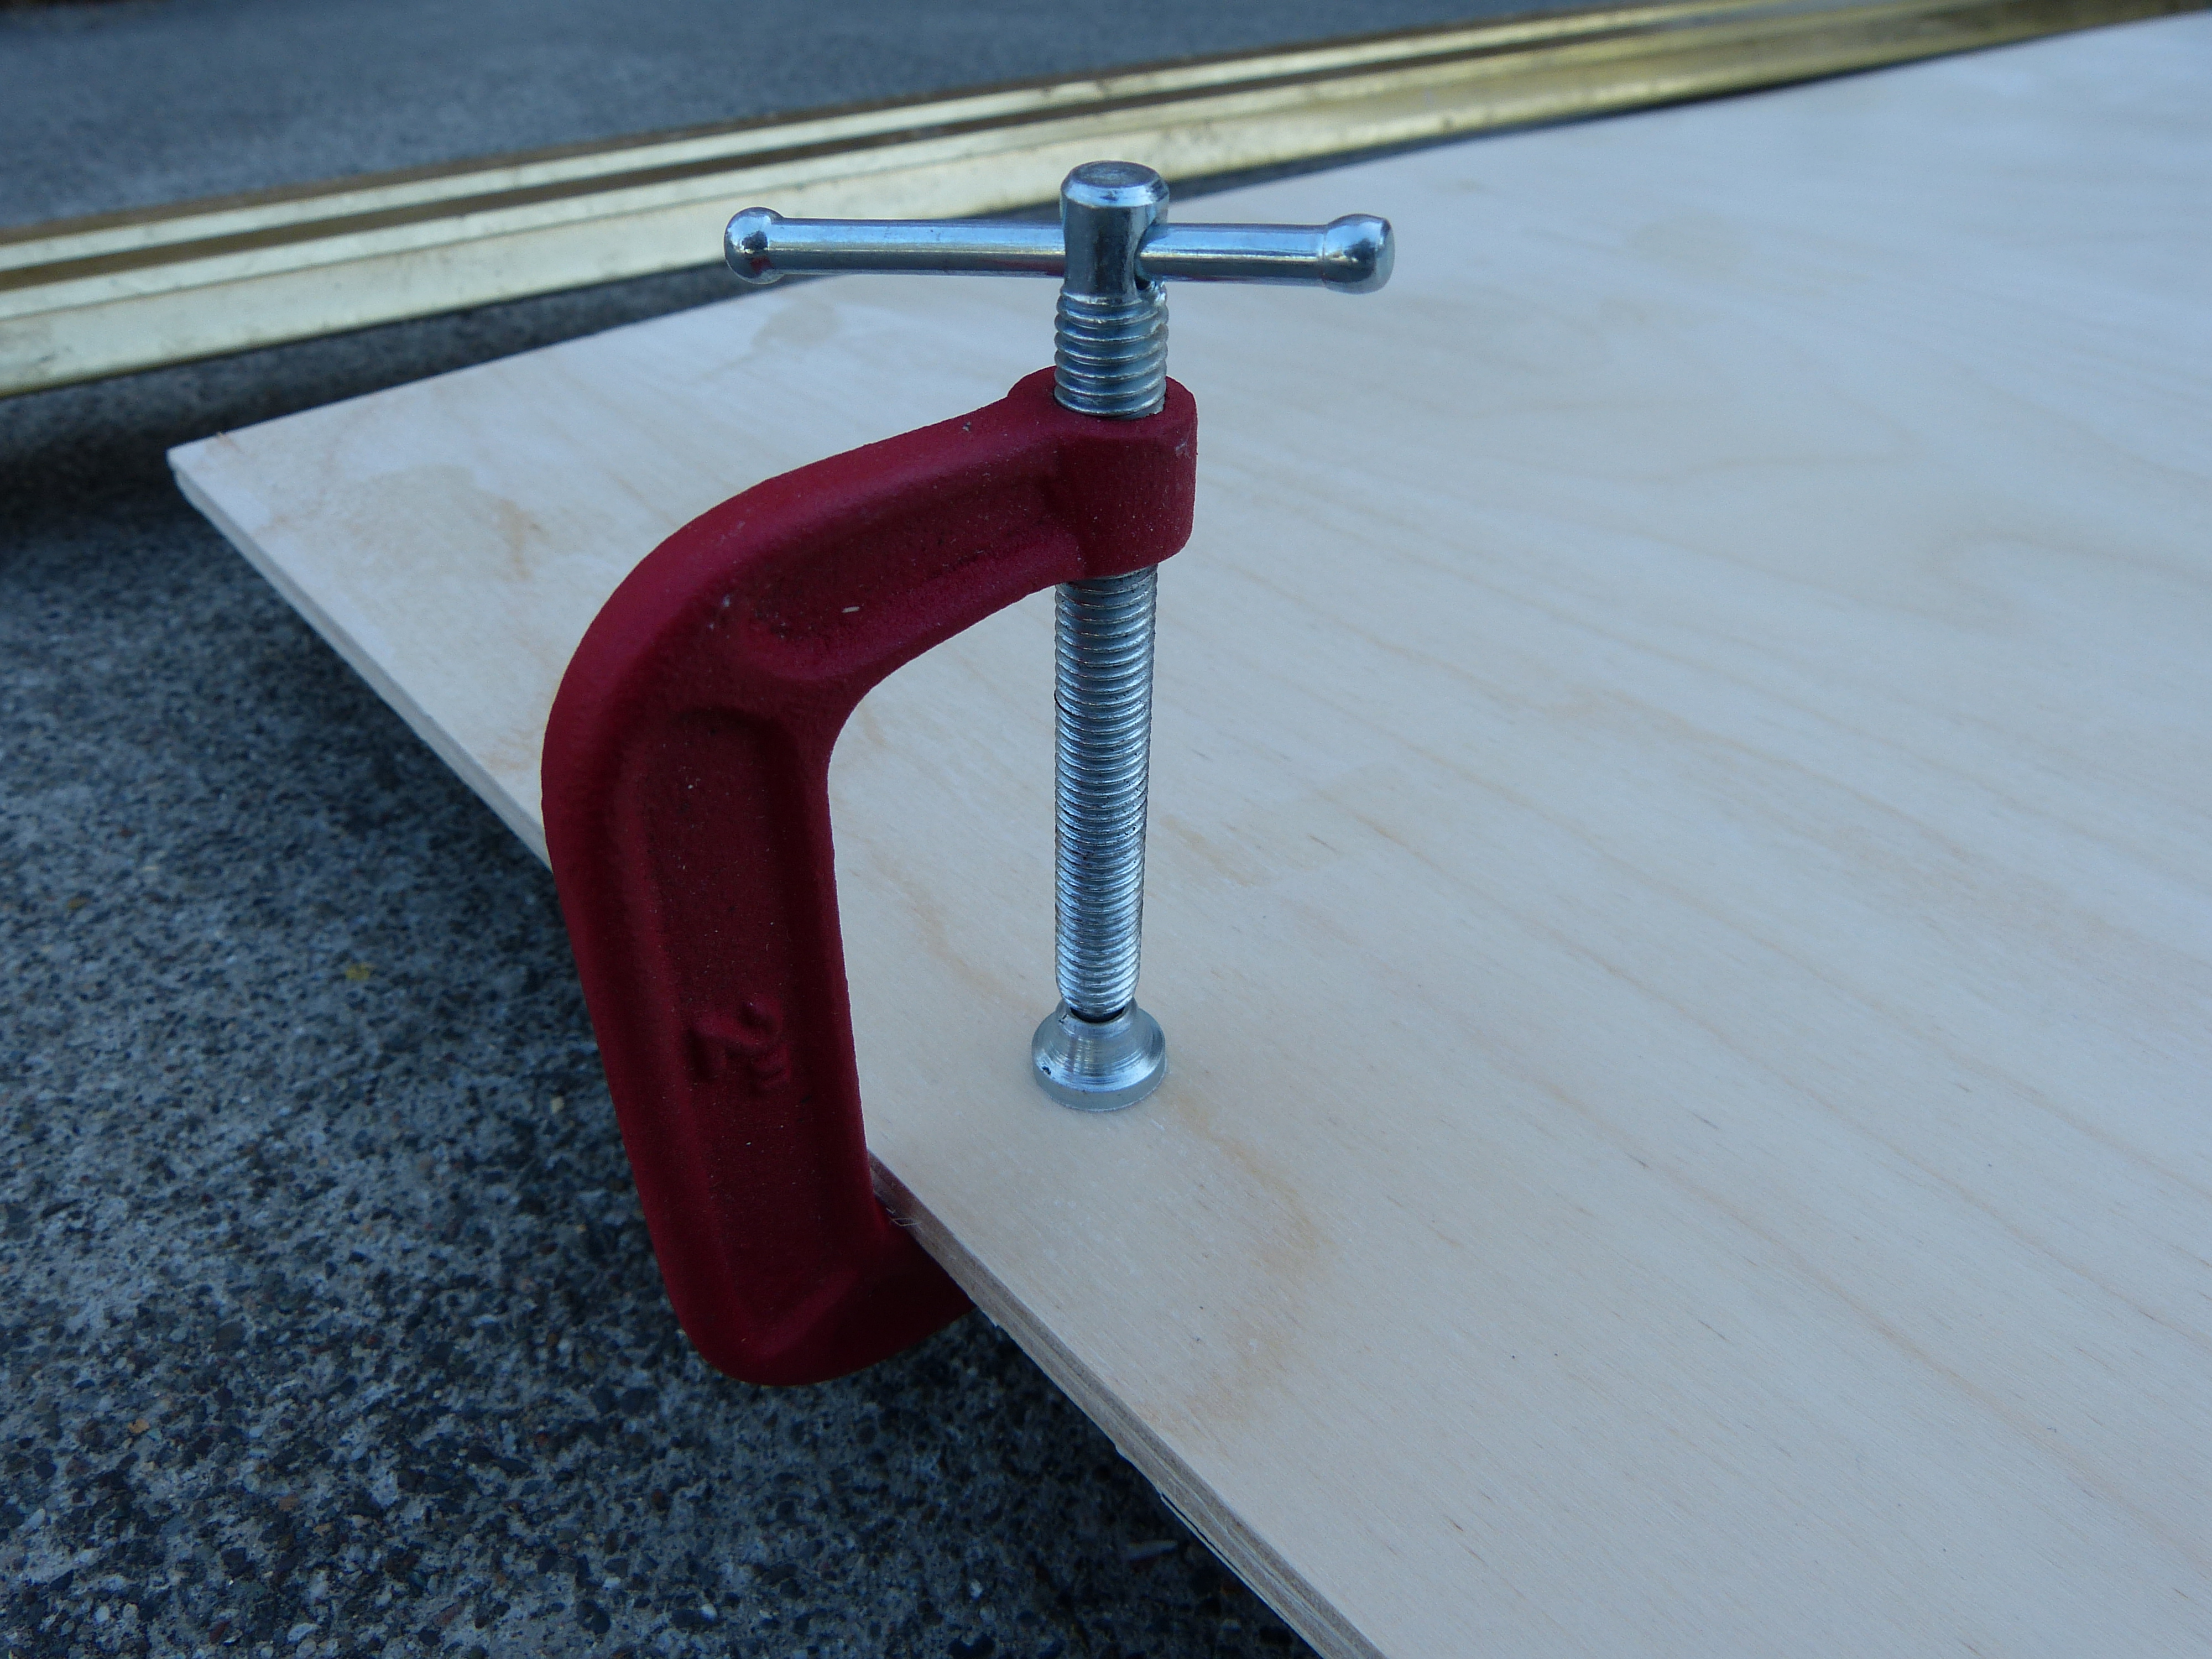
After being tied up (grrrrrr.), the humans set about fixing my bed permanently. I watched on admiringly; Bryan Heinzelman’s muscles flexed, sweat beaded on his brow as he installed the new jacks. He really is awe inspiring.
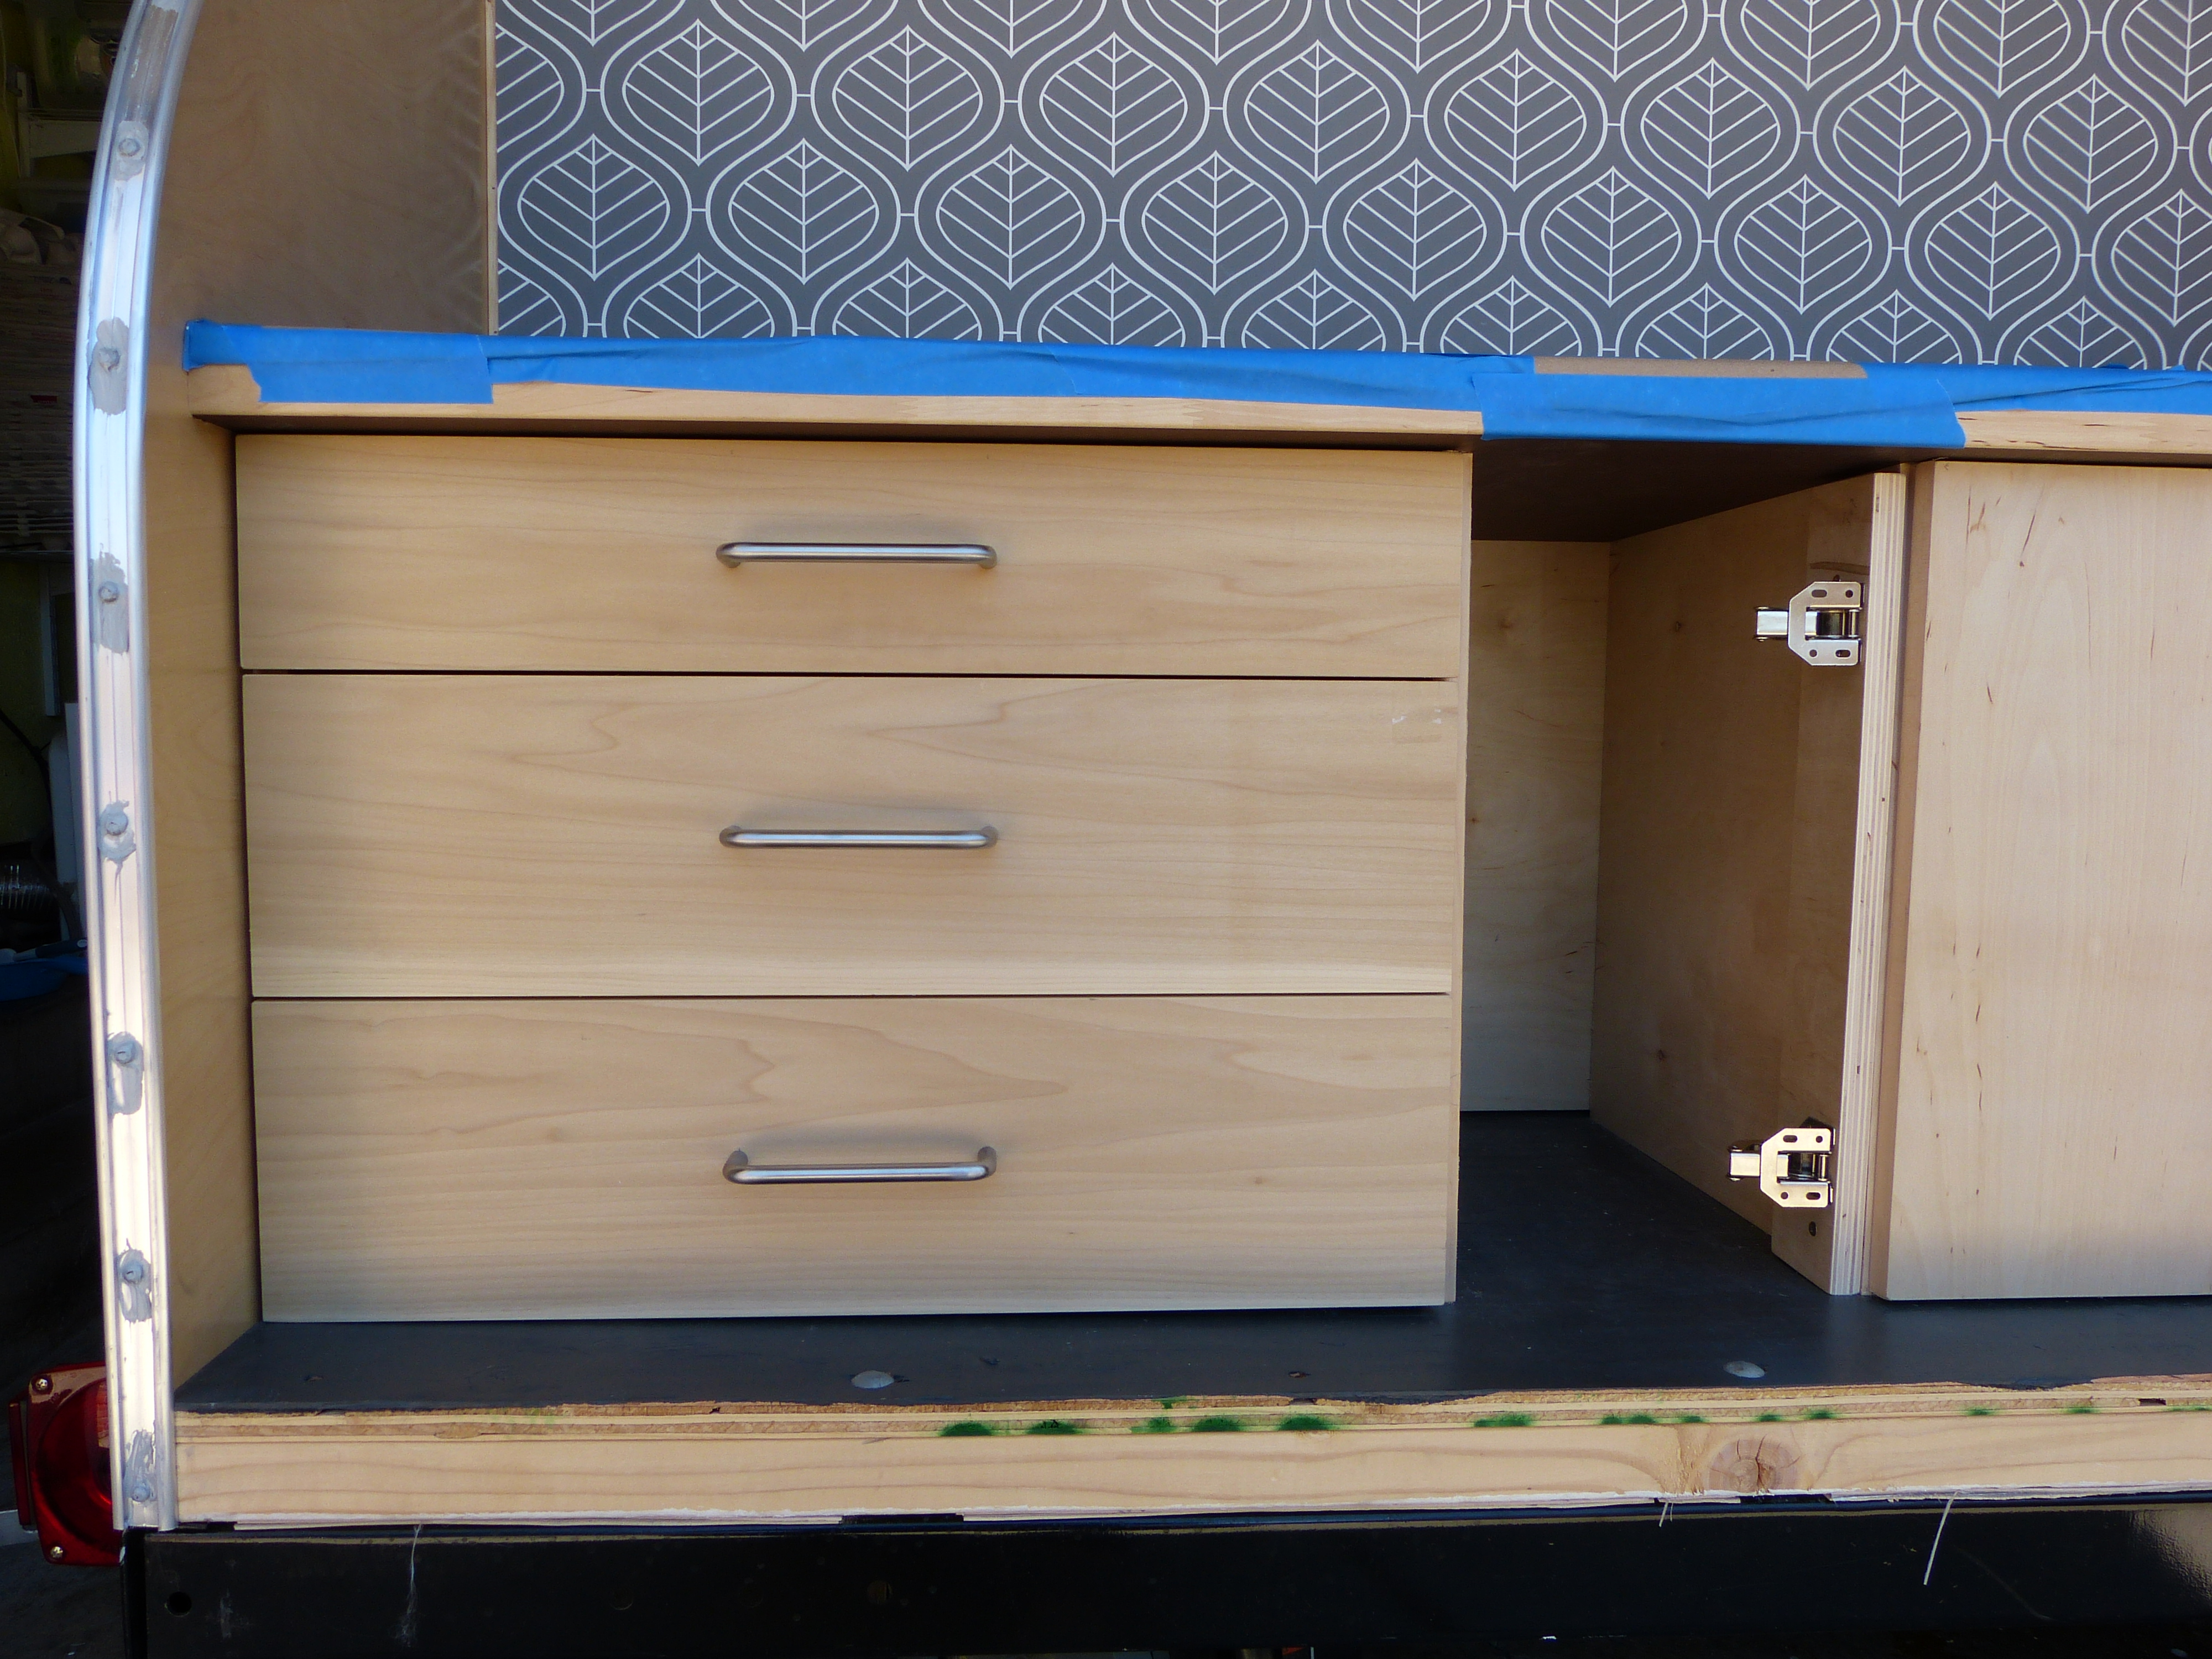
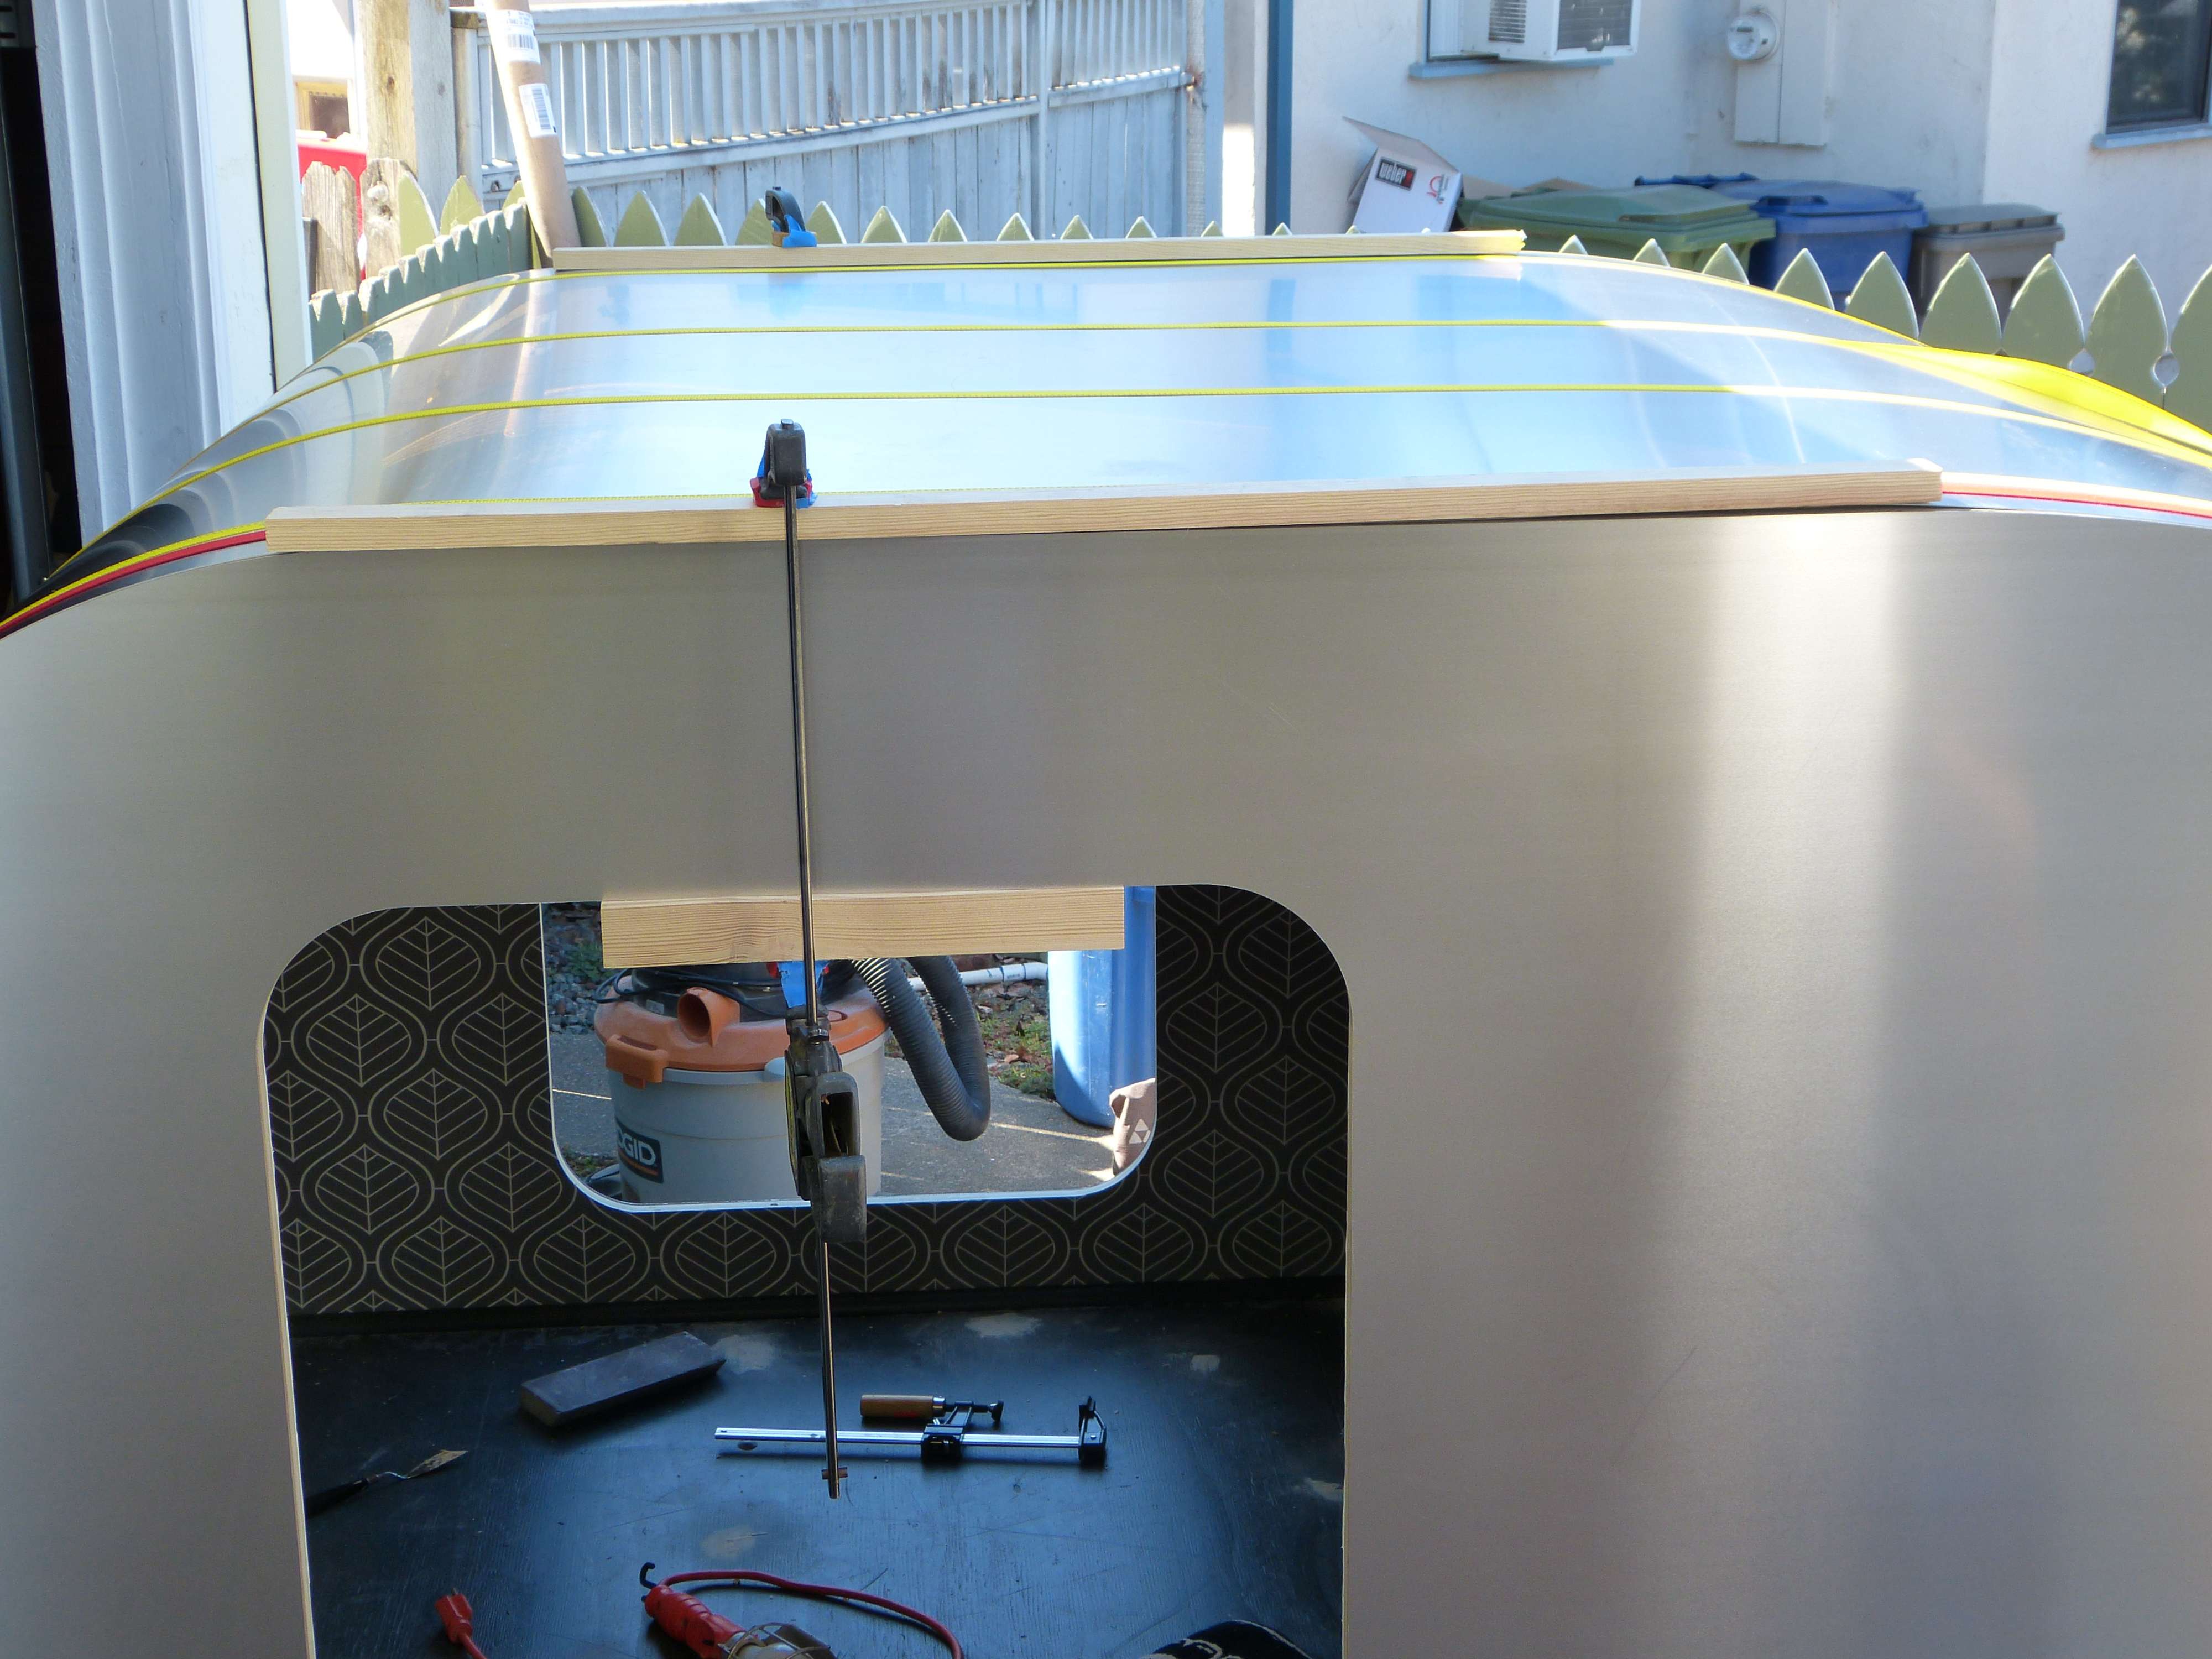
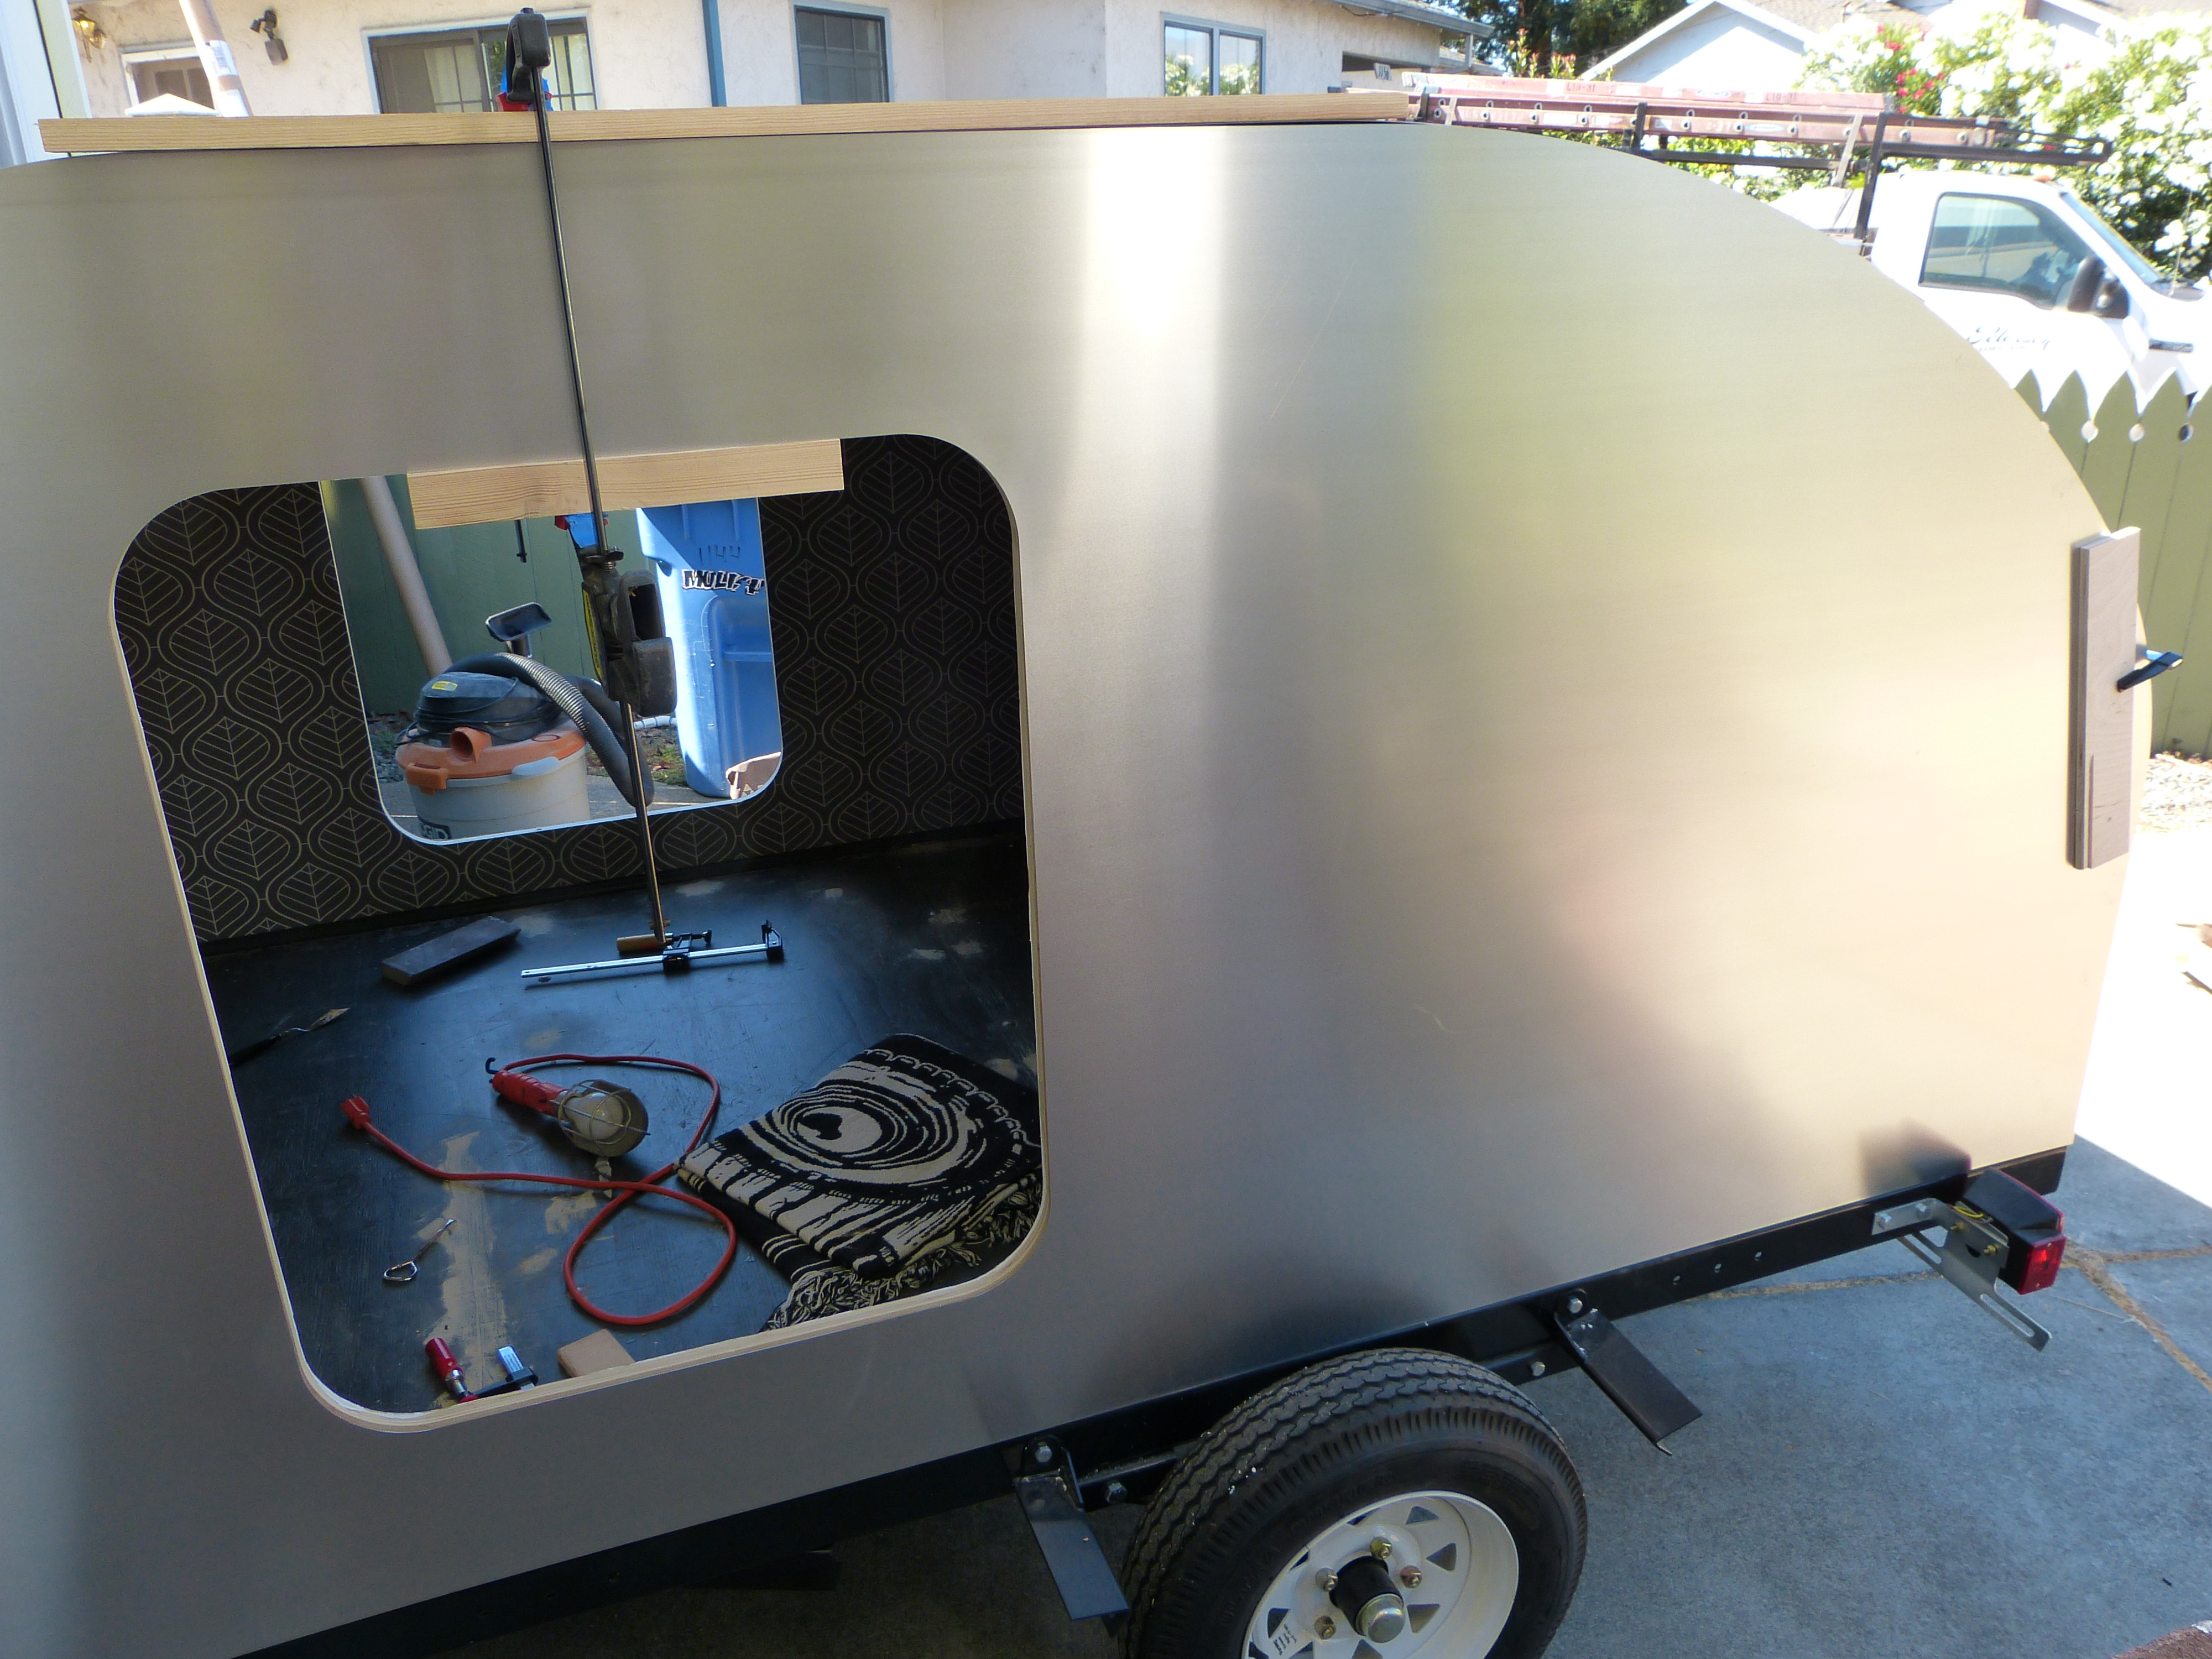
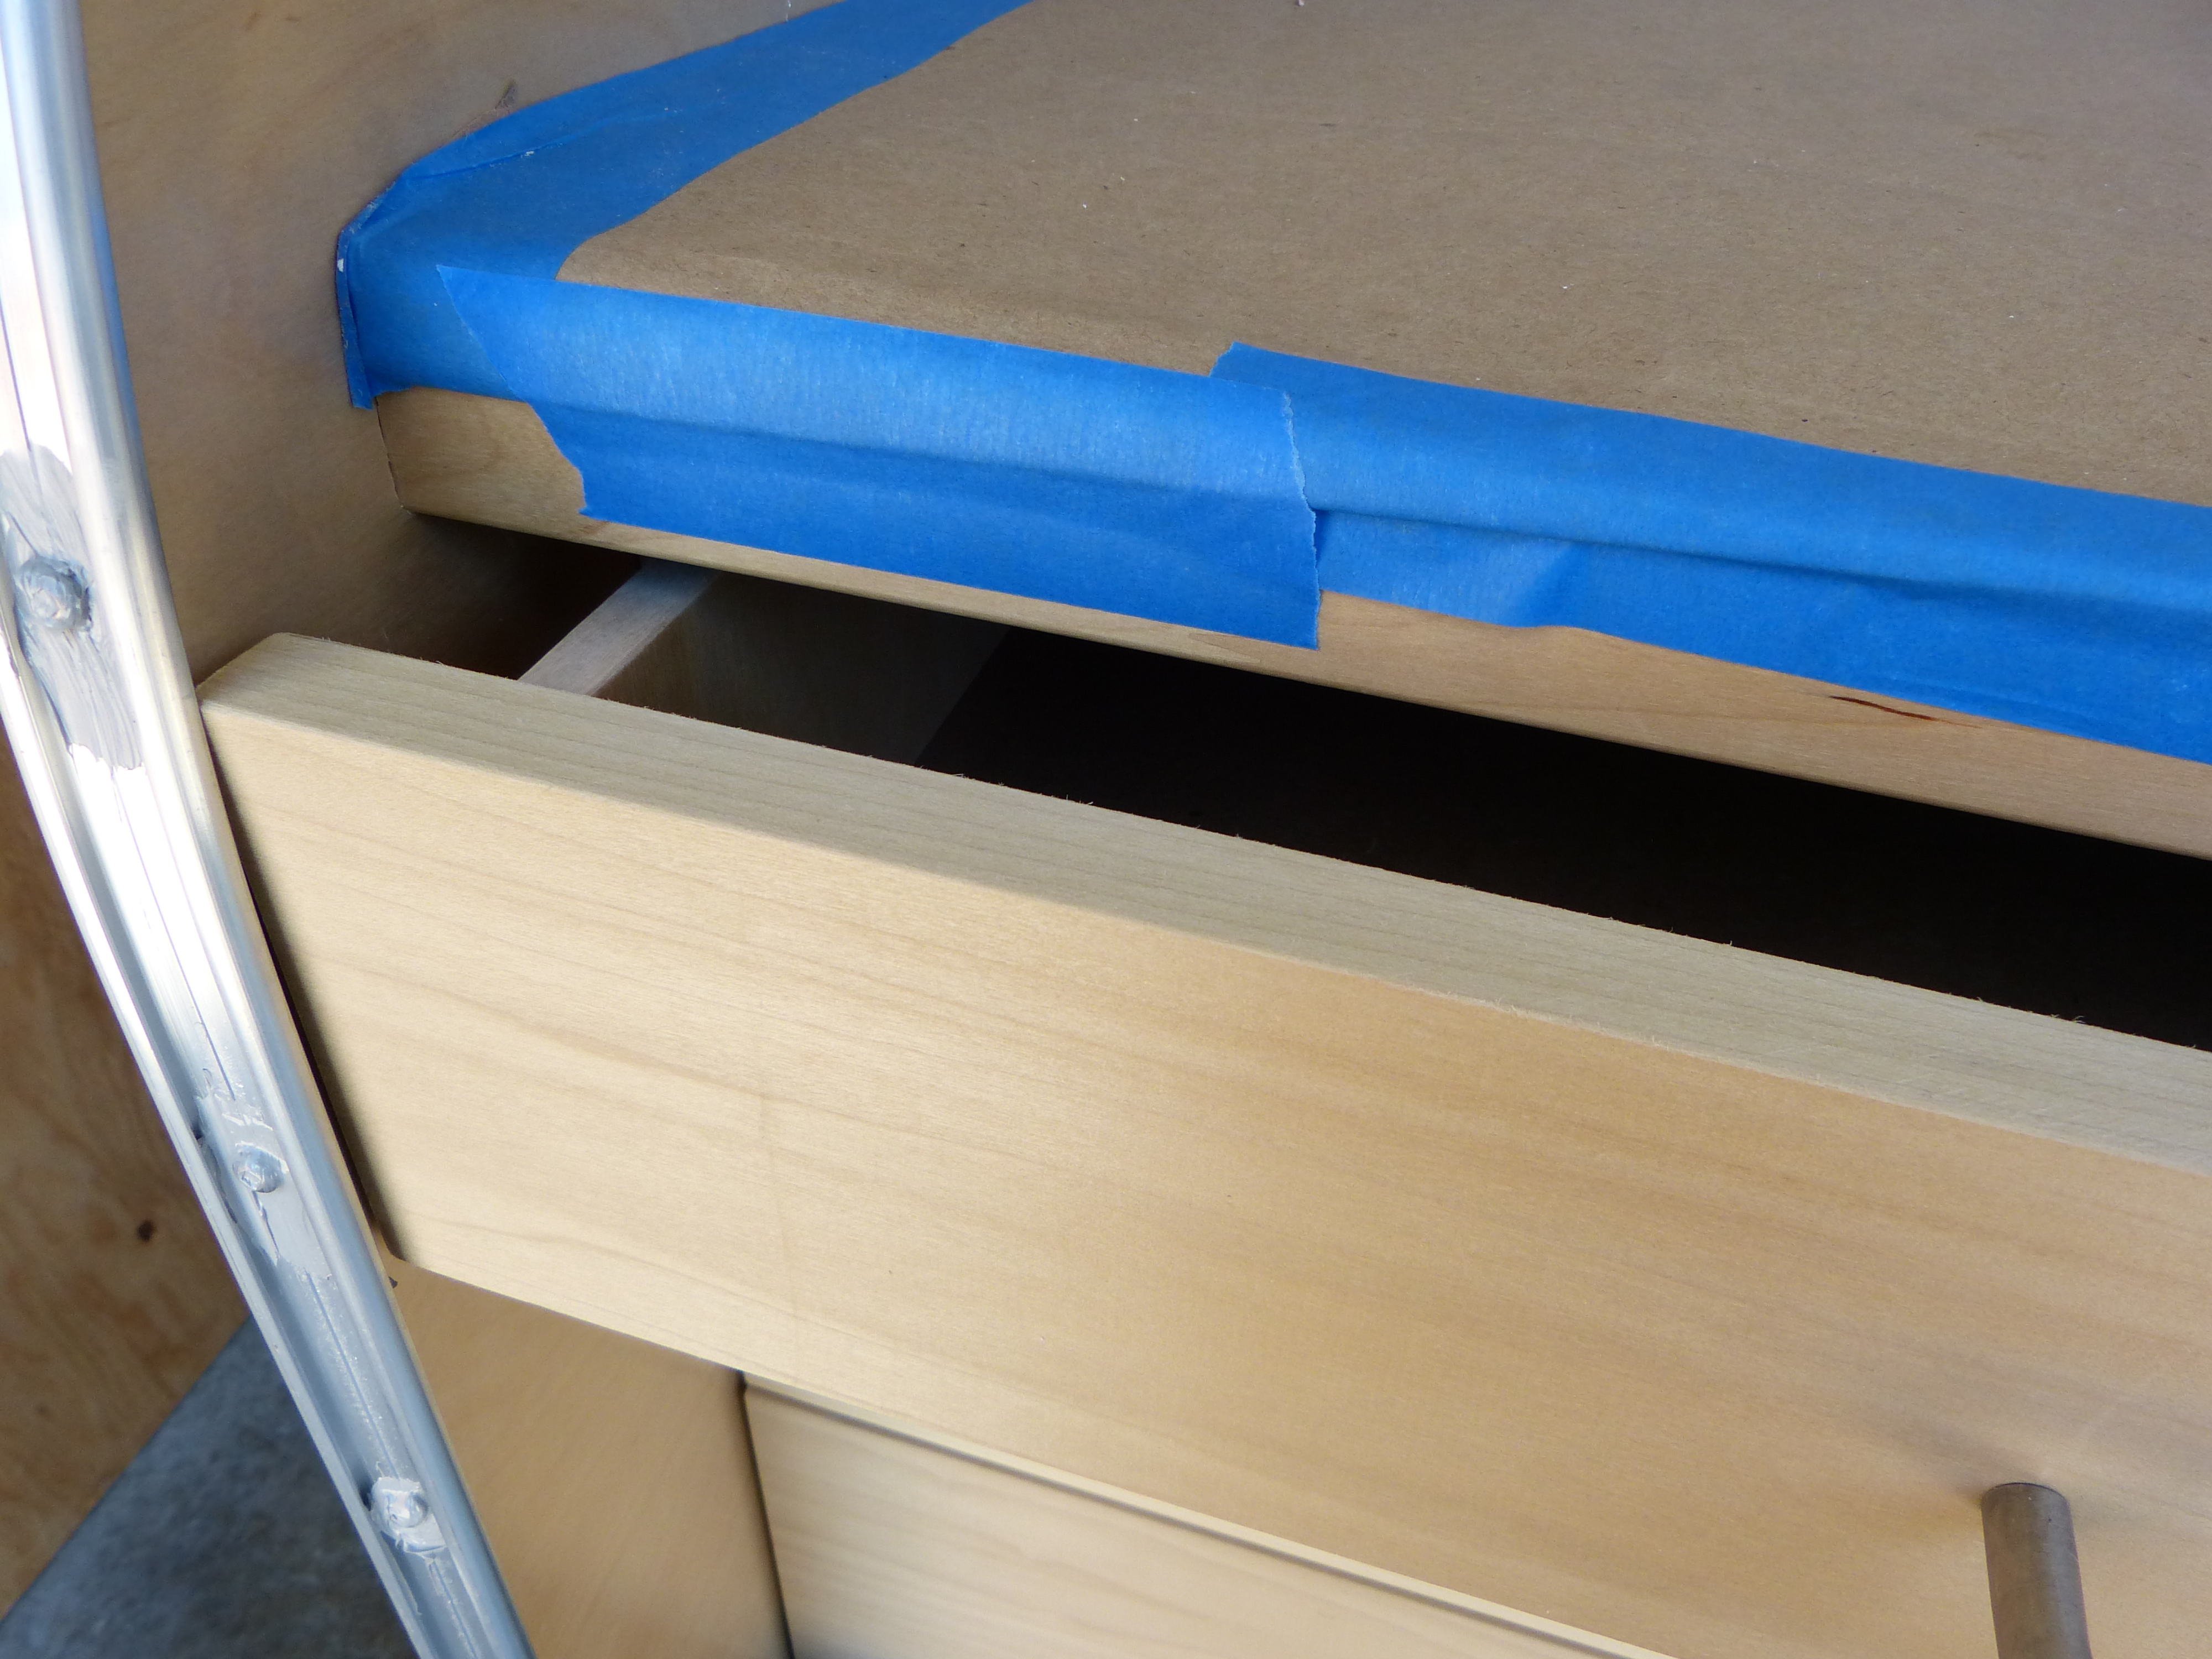
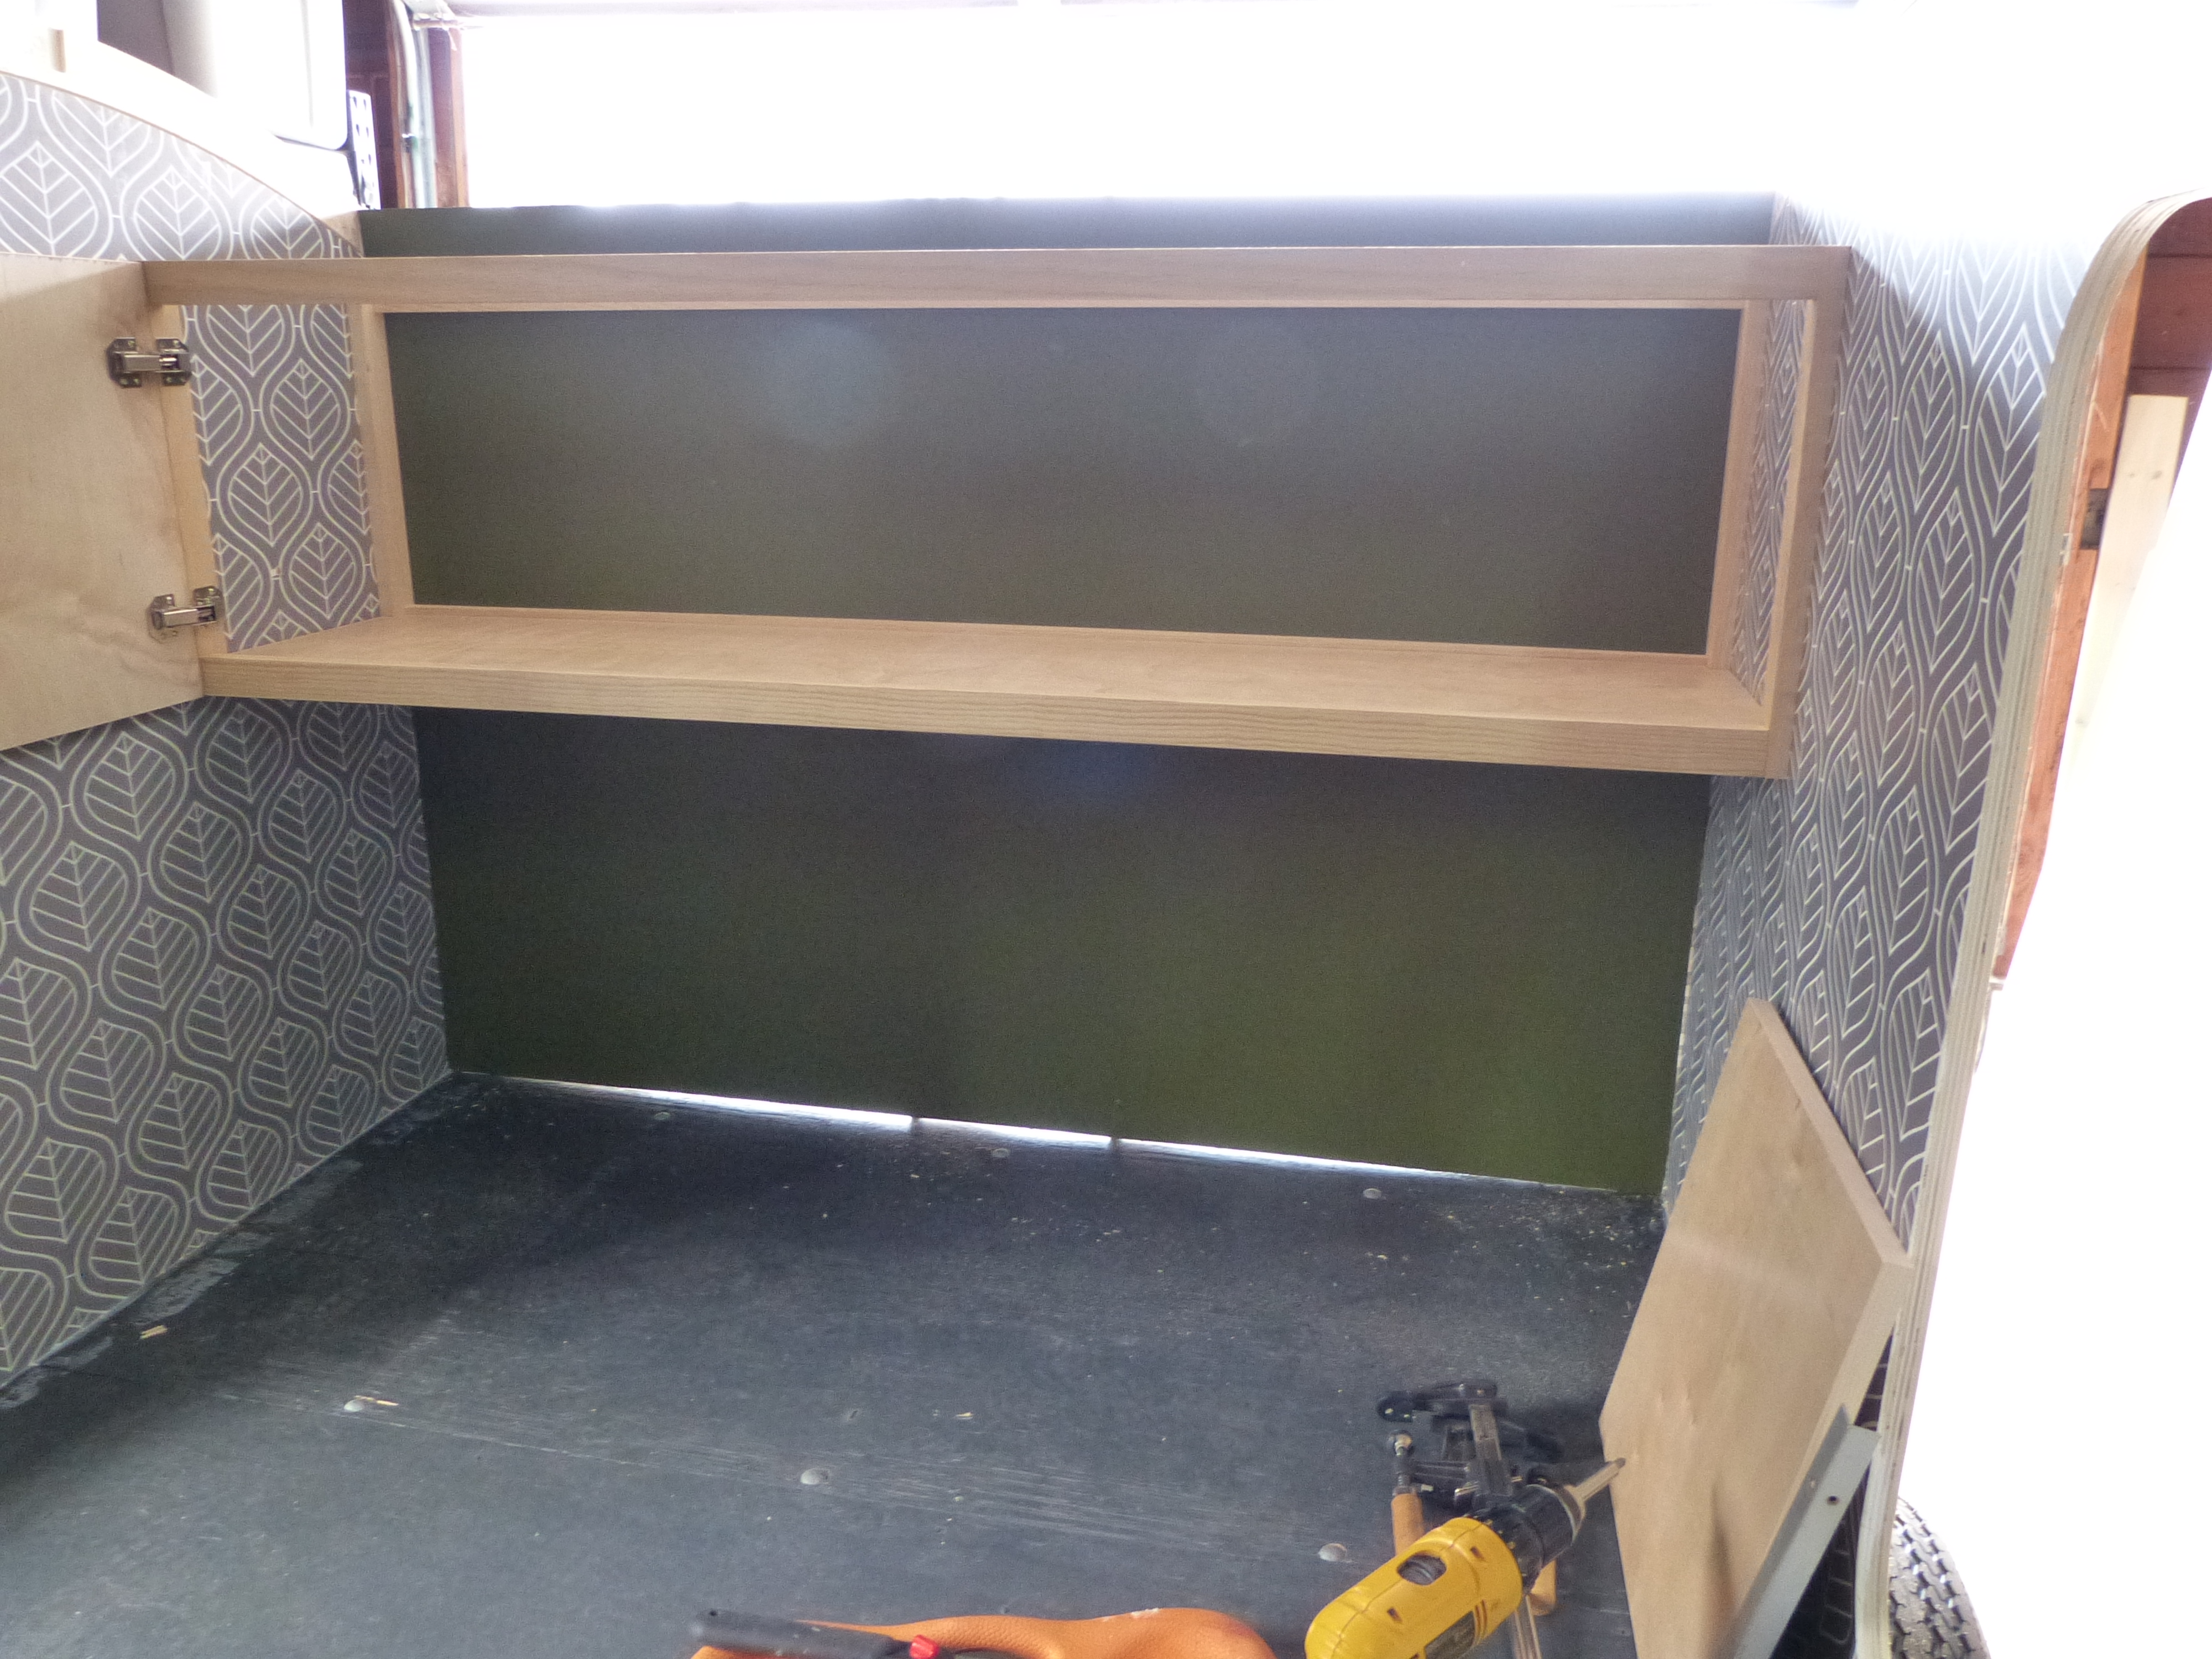
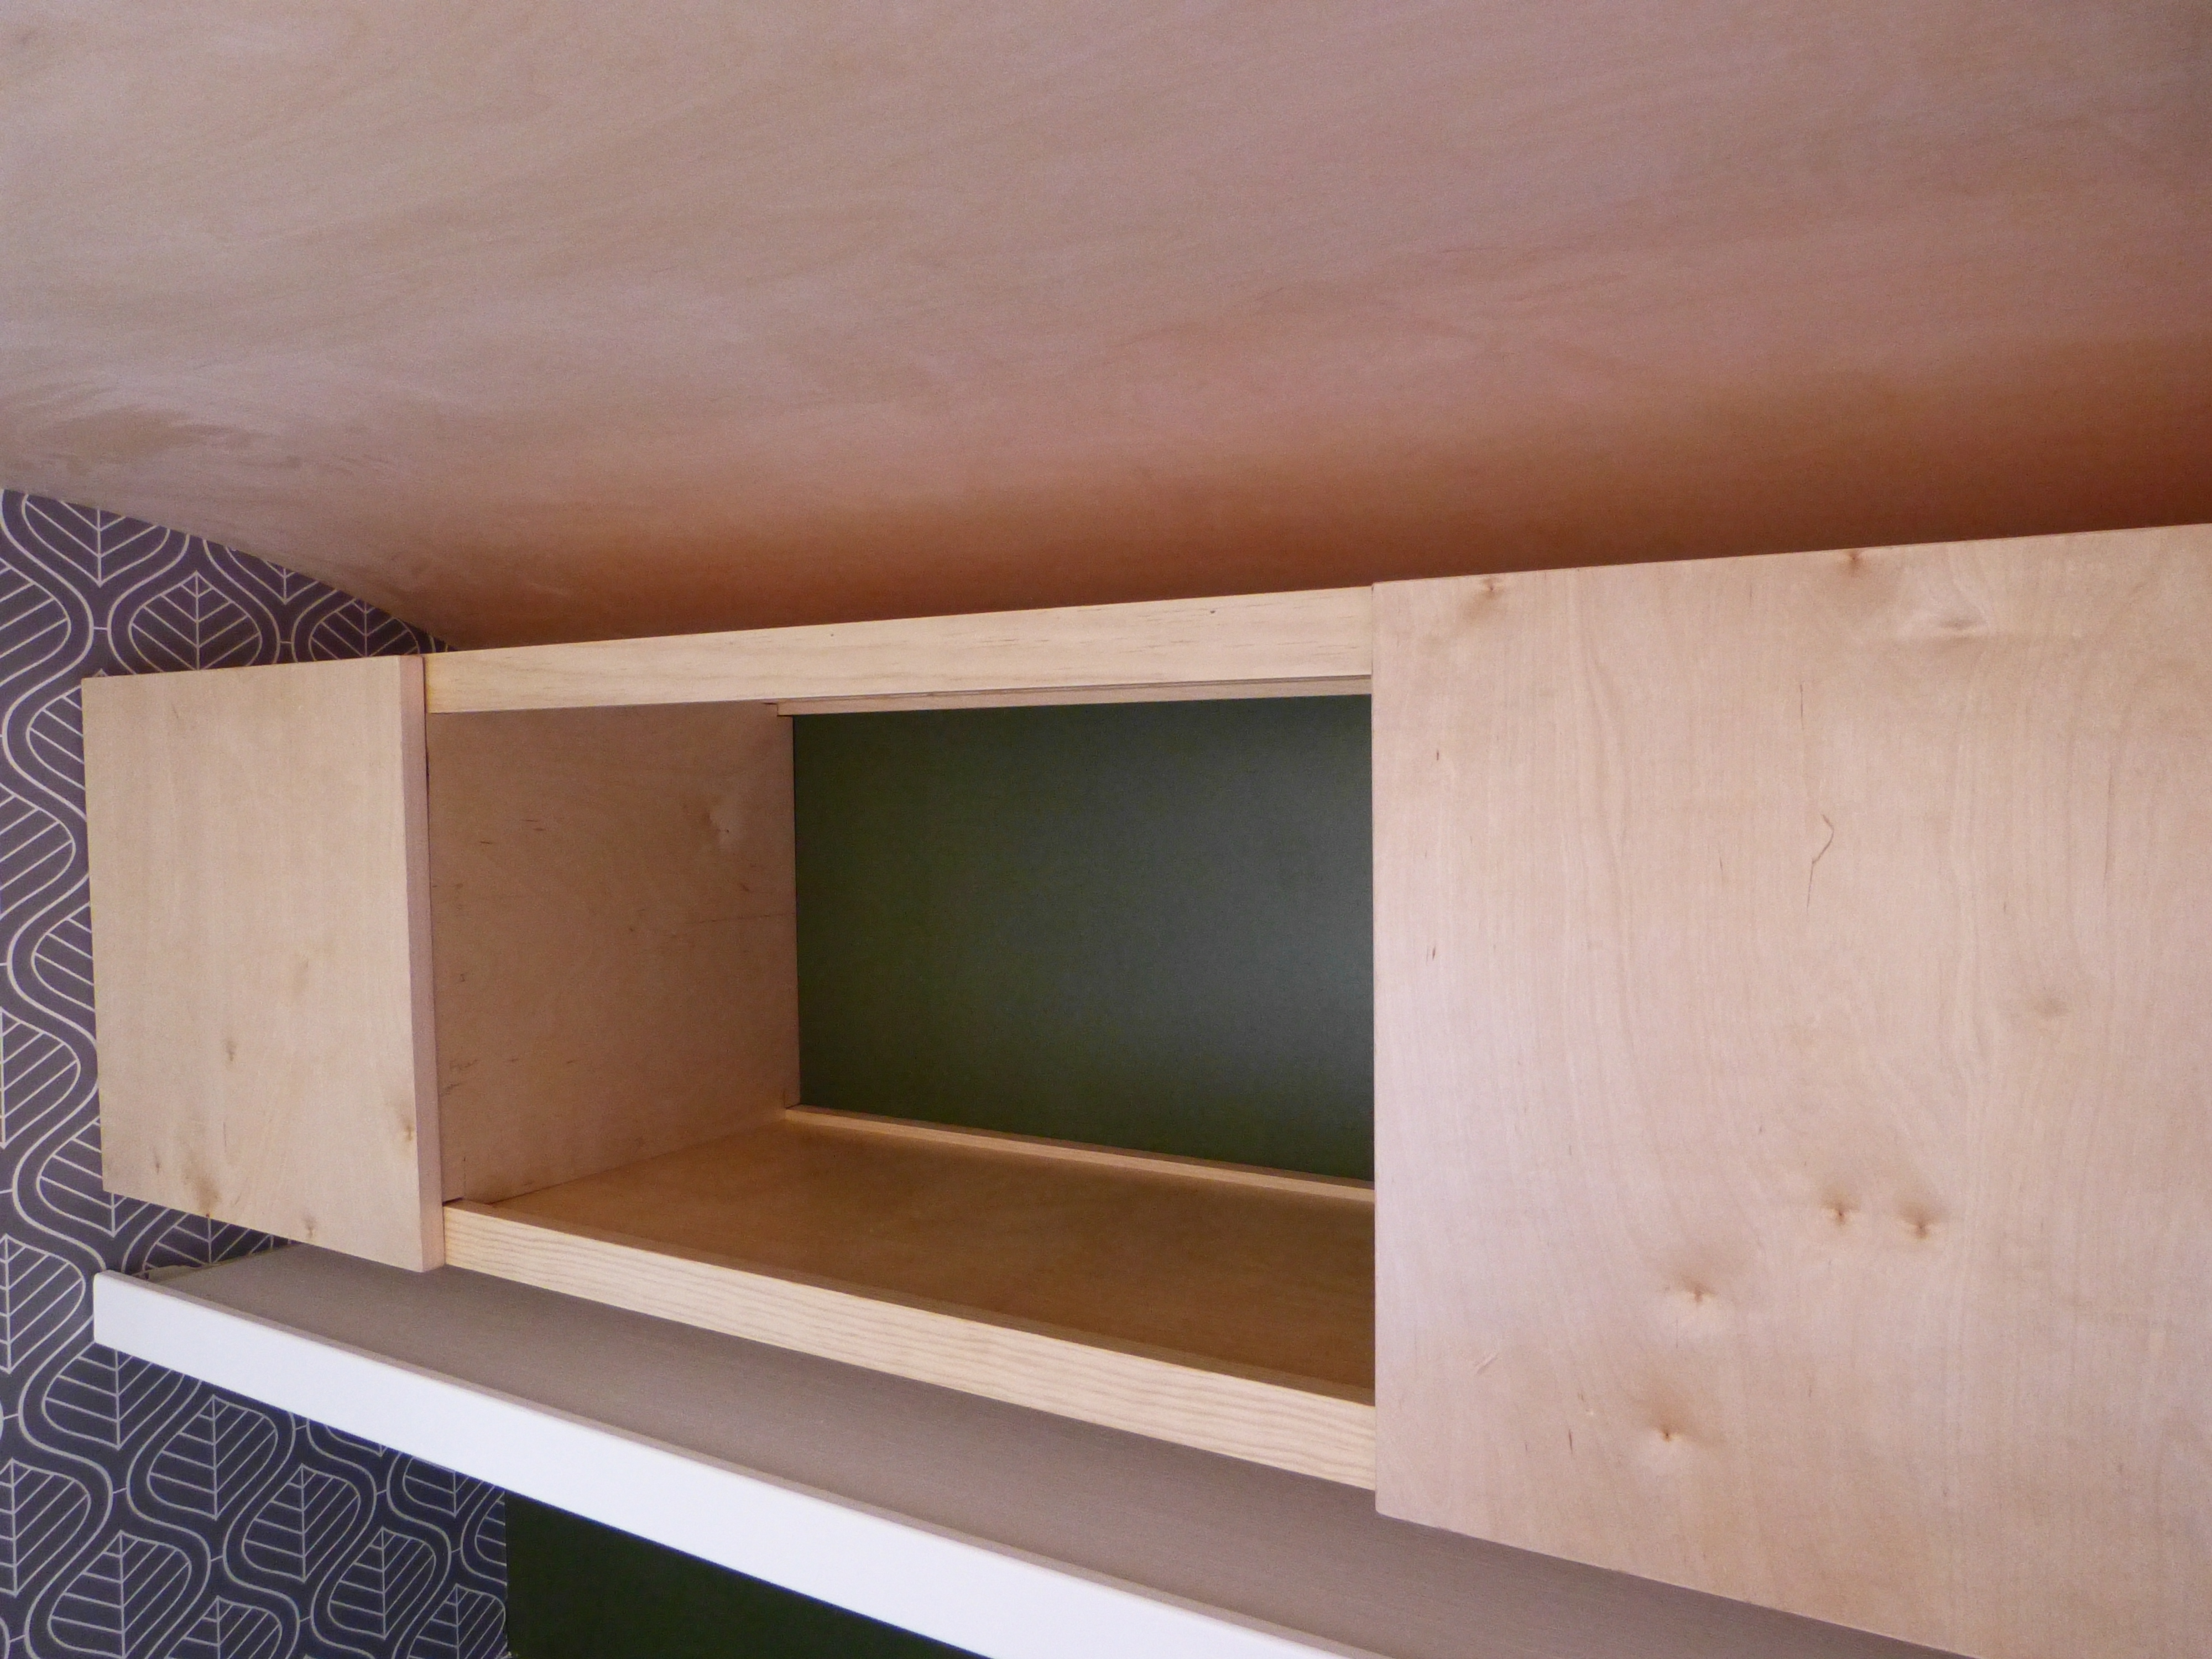
Then is was time for a nap. BIG TIME. We all napped in the shade. Well, mostly I kept watch for invaders, but either way it was grand. After dinner, as bedtime approached I started to get VERY excited. Soon it would be time to return to my giant bed. Which is why it was absolutely devastating when I was shoved into this tiny cupboard above MY bed. WHAT WAS THIS NONSENSE?????! I may have uttered a few choice phrases myself. HOW COULD BRYAN HEINZELMAN BETRAY ME THIS WAY????! I could tell he was ashamed- the man could not look me in the eye.
20150524_220829
The next morning it was go time. Camp was packed up under my watchful eye and we hit the road. So far this road trip has earned a B+, more time in my bed, less time in the cupboard could move it up to an A though. I hope you are reading this Bryan Heinzelman….

Teardrop Chronicle #5: Trim Installation and a Few Words of Wisdom

P1080133

Two weeks since my last post, largely because much of the past two weeks were spent waiting on the arrival of supplies. And I had to go to work. Work can really get in the way of progress.

While we were waiting though we did manage to finish trimming out the interior and the galley. My dad also made some great progress on the galley cabinetry.

P1080128

But first we cut and glued the insulation into place. For this we used 1 1/2″ R TEC for the trailer an 1″ for the hatch, and an adhesive safe for use with polystyrene. Other than covering every surface of the garage with a fine coating of this stuff this portion of the project was fairly hassle free.

P1080087

Then we used 1/2″ quarter round to trim the around the bottom of the interior walls, and this really tiny, bendy (and easily broken) quarter round at the top, as well as to frame out the galley corners and counter top. I think maybe we should have soaked it to make it more bendy as it snapped several times while we were installing it, eliciting some “colorful” language from Frank. Fortunately wood filler can hide just about anything. Just don’t look to close.

P1080097


P1080100

We added a piece of trim across the join where our plywood ceiling panels meet too.


P1080104

Kitchen counter trim.

Last interior project was installing our phone charger. Yes, that is correct, our phone charger! We are super high tech and modern over here. We used a hole saw to drill through a piece of wood that runs across the top of the interior cabinets, about 5 inches out from the back wall, this little hidden compartment hides the wires that we ran through the ceiling and the top of the cabinets to the fuse box inside the cabinet, as well as the back of the charger.

P1080094


P1080105

Then the weekend was over. While I went off to work on Monday and Tuesday, my dad finished the drawers for the galley and installed the rollers. On Wednesday night Bryan came home from Sacramento with two rolls of this:

P1080110

The next day I again went to work and the ever industrious Frank and Carol Aspinall came over and secured one sheet of the aluminum over the trailer. The directions that came with our kit state that you should secure it with straps on the trailer and leave it to set for at least 24 hours before securing it permanently. Ever the ones to follow directions (ha!) this is what we did.

P1080115

This left us ready to install the aluminium skins on Saturday. While researching methods for how to install the skin there are varying methods suggested. Some sites  recommend gluing the aluminum to the sides and some do not. The concern that the glue creates is as the trailer heats and cools it will contract and expand, causing the glue to pop off of the wood. After talking to Frank Bear (not to be confused with Frank Aspinall) at Vintage Technologies and also with Teardroppers, our kit manufacturer, the consensus was no glue. Instead, they recommended that you “float” the aluminum on the sides.

Before moving on to skin installation, we paused to drill through the skin so that our electrical that we ran through the ceiling can come through and eventually be attached to a battery.

P1080121

The tape on the drill bit was to ensure we didn’t drill through the interior Birch plywood.

As is the case when Frank and I start a new phase of the project, we spend a good deal of time discussing the game plan. On this particular day just figuring out which trim piece did what and how to affix each piece took a fair amount of time. It was practically coffee break when we really got going, causing us to stop for a LUNCH break even. This is highly irregular. Fortunately I had some quiche on hand.

P1080141

On the left is the trim for the corner, on the right is the trim that will go around the bottom of the trailer.

After much discussion and the application of a plethora of clamps, we began trim installation. You can see in the pictures that the roof is held in place by straps and the sides by clamps as we secured the trim that attaches the roof and aluminium (pronounced AL-OOOO-MIN-EEEE-UM if you are my father) sides to the wooden trailer structure. I know I mentioned in my last post that I ordered all of our trim from Vintage Technologies, but I just have to mention this again. Because Frank Bear was so helpful. I must have been on the phone for 30 minutes with him talking through our project. He made sure we had everything we needed down to fasteners and sealant. He’s based in Michigan and incredibly knowledge about Teardrop construction. Everything arrived quickly and in excellent condition.

P1080117

Aluminium side, still in the box.

P1080120


P1080119

Before Screwing the trim to the frame, we applied this rubbery sticky tape like gasket underneath to prevent water leaking through.

P1080122

For the trim installation we started on the straight portion of the trailer and pre-drilled only through the aluminium before securing it in place with screws. We then gently bent the trim to follow the contour of the trailer as we went.

P1080125

I was  dreading this part of the project. I felt certain it was going to be finicky and difficult to get everything lined up. I’m happy to say I was worried for nothing, it was very straight forward and went quite quickly. Things went so smoothly in fact, Frank found some time to share a little wisdom with me; I asked him to look at something so that he could understood what I meant, he replied, ” We’ll understand the meaning of everything in the end. Even the chaos of the universe”. Wow. I don’t even have to pay extra for these kinds of revelations.

P1080127

Around the bottom of the trailer we installed trim as well. The installation was very similar, except without the sticky gaskety thingy (don’t worry if you don’t know what this is- its a highly sophisticated and technical term). When all is said and done, there is a decorative piece that slides in the trim to hide the screws. I’m thinking we’ll wait to install this until we are a little further along.

P1080130

We did end up having to work on Sunday. Good thing when you’re not paying your foreman triple time isn’t such a big deal. There were pastries at coffee break though.

Such as it is often the case when one is feeling very pleased with oneself, at the end of Sunday’s work session we were dealt a teeny set back. Remember those pretty drawers from earlier? Well, after we installed the trim we realized this:

P1080129

Too bad you can’t even get your hand in there to unscrew the drawer fronts. Well, retired people need to keep their brains stimulated by problem solving right? So much better than a crossword puzzle or Sudoku! Good luck Dad! I’m sure you’ll figure it out by the time I’m done with the work week. If not, no pastries for you next weekend.

The Teardrop Chronicles #3: Poly, paw prints, paint and plywood

20140721_110613

Correction to the correction: Frank Aspinall constructed the trailer chassis (“Give credit where credit is due, Laura”). Concern was also expressed regarding the placement of the correction at the bottom of my last post. Thus, I am placing the correction to the correction at the top this week. More corrections to come, I feel certain.

Another exciting week of progress! Here’s my weekly report out:

Monday

Deviated slightly from the directions today and started work on the interior cabinetry. The kit directions suggest installing the spars that run across the ceiling next, but we decided it would be best to get the cabinets up first (less chance of head bonking- still managed a few though). A few wee measuring issues that were quickly rectified and we had the frame installed. Then measuring for the hinges, partitions and top and bottom of the cabinet.

P1070978

A visit to Mead Clark for materials for constructing the roll out shelf that will be under the cabinet and we called it quits. Until the sun went down and then I began my polyurethane marathon. That night was only the cabinet frame and top and bottom, but there would be plenty more as week continued.

Tuesday

Frank worked tirelessly on putting the finishing touches on the cabinetry at home in his workshop. I have no pictures to prove this assertion this, but he assures me this was the case…..I did pick up from his house later in the day the cabinet doors and top and bottom so  I could continue me poly-fest.

Wednesday

Frank installed the cabinet doors, finalizing the hinges. I trimmed down the veneer that my dad had ironed on to the edges of the cabinet doors and partitions. We then measured to cut notches in the corner of the partitions so they will fit in the cabinet frame- my dad took these home to cut.

And more  polyurethane. Additional coats on the cabinet doors, cabinet top and bottom, and then the birch ply for the ceiling. And  painting the roll out shelf. Poly as far as the eye could see- I truly ran out of floor space. And just as I thought I was done I watched a small brown and white dog casually stroll right across the middle of the freshly poly-ed plywood. Thank you kind sir.

P1070982

Thursday

Today we measured and cut the baltic birch plywood we picked up last week to fit the ceiling. This involved the use of many clamps, one of my dad’s faaaaaaavorite things.

P1070993

Next was probably the most annoying part of our project we have yet to encounter. The roll out shelf. Sounds like not a big deal. That’s what we thought; but getting that thing situated so that it was square to the interior walls turned out to be ridiculously finicky and frustrating. Swear words were uttered. Wall paper was dinged. Shims were employed. And after the fourth or fifth go round it was done.

The partitions for the cabinets, the doors, and the top and bottom were installed and finally the interior cabinetry was complete.

P1070984

Friday

Besides being stinking hot, Friday was a vast improvement on Thursday. We started by building the frame for the fan and then cutting all the spars to length.

P1080001

P1070999

Then it was time to install the ceiling, something I had much trepidation about. If you look back to Teardrop Chronicles #1 you can see in the pictures that the sidewalls each have a groove about two inches down from the edge. This is where the ceiling gets slotted in. Sounds a little easier than it actually is, particularly as one is wielding a 5′ x 5′ sheet of ply. We had partially installed the spars and tightened them down as we got the ceiling it, this turned out to be a good strategy. And apart from cutting the second piece about 5 inches too short, we did a pretty good job. Fortunately this can be fixed by adding another small piece and won’t be visible once the mattress is in place.

P1080004

Mind the gap…


P1080008

You’ll note the center opening is larger than the cupboards. This is intentional and will accommodate two chihuahuas and their dog bed.


Days of Summer # 11

P1070531

Bryan and I took a few days off to toodle around Sonoma County towing a wee, adorable Tear Drop trailer we rented from Vacations in a Can. It was lovely. We are seasoned tent campers, so this was quite luxurious. I’ve been haranguing Bryan (and my dad- he keeps telling me no, but it doesn’t really sound like a hard and fast no…come on Frank) for some time about building or rehab-ing an old Teardrop, and I think this trip might have sold him. Its light enough to be towed by a car or pull around a campsite by hand, camp set up takes only minutes, no tent or air mattress to deal with, and a sweet little outdoor galley kitchen. Oh, and everyone stops you to tell you how cool your camper is. My favorite comment was a little girl walking by with her dad who said, ‘Dad, why did they bring their washing machine with them?”

P1070534 P1070536


P1070480


And lots of foggy mornings…..

IMG_20130728_111339_727 IMG_20130729_091828_493


…And sunny afternoons.

P1070483 IMG_20130728_114516_053

The Storage Wars-Part 2

Welcome to the second installment of “The Storage Wars”. Today its on to the kitchen to look at a few more principles of home organization. Let us begin!

Okay, a recap from my last post, my house is small, I have a lot of stuff, I like things to look pretty.  So the kitchen is no exception. I cook a fair amount and like most of us I am plagued by where to keep things like the rice cooker, dog food,  waffle maker, pasta maker, tuperware… You get it, the unattractive, utilitarian stuff.  AND I having these fantastic LOOKING, but highly fixed and somewhat impractical 1949, original, beautiful, yellow, cabinets. Don’t get me wrong, I love them, adore them actually. But they are completely devoid of nifty shelves that effortlessly pull out, built in spice racks or lid holders, and most certainly no lazy susans. So yet again limited closed storage. All of this leads to principle number two:

Principle #2: Function and form are equally as important.

Translation: I try really hard to make my kitchen stuff both attractive and useable. This way if I need to leave it out on the counter, or on an exposed shelf, I don’t mind so much. And much like my bedroom, this frees up precious real estate for the rice cooker and other boring and ugly kitchen items. So next time you are in the market for a new kitchen appliance or gadget, take minute to look around. Maybe a large bamboo  spoon in the utensil holder would look nicer than a plastic one. Throw caution to the wind and buy the lime green dutch oven instead of the plain ol black one. And please keep in mind, one must not break the bank to be stylish. Some of my favorite items I’ve found at discount stores like Marshall’s, Tuesday Morning or TJ Maxx. The local thrift store is another treasure trove of cool kitchen-y, and often kitschy, things.

I found this great yellow colander that PERFECTLY matches my cabinets at Marshall’s. My Robin’s egg blue KitchenAid is an excellent example of a happy marriage of form and function-its incredibly durable and functional, and its just so so so dang puuuuuurty.

Principle #3: Put items you use everyday in easy to reach places.

If I find myself having to root around in dark and awkward cupboards for the same item more than twice in a week, I take it as a sign that the something needs a new home. And by the same token, if I keep shifting the same cake pan I use three times a year to get to the Cuisinart I use once a week, get that cake pan outta there! Move it to a less desirable location.  The green boxes on top of my kitchen cupboards is where I keep infrequently used kitchen stuff (said cake pan is in current residence). In contrast, I probably use a colander everyday so storing it on this shelf makes it easy to get to,and its not sucking up storage space in one of my itty bitty cabinets. Ditto for the dog treats and coffee filters stored in the retro green canisters. Added bonus, these canisters belonged to my parents and everyday I look them I am fondly reminded of my childhood.

Yellow canisters  hold tea, matches/birthday candles, sugar and doggie kibble. Simple white bowl from IKEA hold veggies  that don’t require refrigeration. And both make for attractive and accessible displays on my counter.

Principle #4: Glassware = jewelry.

And what do we do with jewelry???? DISPLAY. DISPLAY. DISPLAY. Please refer to “The Storage Wars-Part 1” for a refresher on this concept. I collect (mostly) vintage green glass. Its sparkly, its pretty, it deserves a place of honor. Besides looking lovely, having a theme for glassware makes it easier to mix and match. I have at least 6 different kinds of green wine glasses. Because my glassware already has an eclectic feel, its not such a big deal if one gets broken, one less really doesn’t get noticed. The fact that I also probably picked  up the whole set at the thrift store for under $5.00 also makes breakages a little less painful. And glassware is so, so, so plentiful at the thrift store! Honestly, it begs the question why anyone would every buy it new.

And finally, take no prisoners and embrace principle number five:

Principle #5: Use it or lose it, sister. (or brother, but that doesn’t quite have the same ring now does it…)

If you neeeever use that set of dishes Aunt Erlinda gave you, get rid of them. If you’ve got cookie sheets so burnt and warped you never use them, get rid of them (or at least move them to the garage to use for craft projects, but I digress…). The point is, the kitchen often is a place where there are literally cupboards of stuff we never, or very rarely, use. Take a moment, look around, evaluate your situation. Even for someone like me who has no qualms donating two grocery bags a week to the goodwill, I can usually find a few things lurking in there that I don’t really need.

Thanks again for coming by, I hope this inspires you to make a little room in your life!