26
Curtains for You- To Make!
Happy spring everyone! What better way to celebrate spring by outfitting your windows with new, fresh curtains. And it doesn’t need to be expensive or time consuming. So, today, read on for easy step by step directions for making your own fabulous window treatments, and follow along as I make curtains for my art studio.
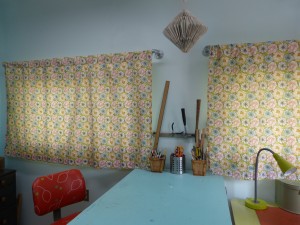
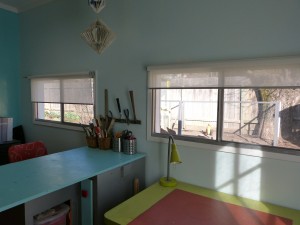 Here’s my studio, sad and devoid of curtains. Also, far cleaner than it ever is…
1. Step One-Obtain Your fabric
Do not limit yourself to the confines of the fabric store! Remember what we talked about last month, look for alternative fabric sources. Sheets, tablecloths, duvet covers, all are great for making curtains and are very affordable. I chose a floral print twin bed set for my curtains, and a chartreuse set for the liner. Each set of sheets was $12.99 and was enough for both curtains with some yardage and pillow cases left over.
2. Step Two- Hang your Curtain Rod
Now, you might say, shouldn’t we sew the curtains first? And I say, no we should not. Here’s why. Hemming curtains is like hemming pants. They look really lame and dorky when they are too short. The way to avoid this is to hem them in place. In order to do this, one must first install the curtain rod. The other nice thing about this is it minimizes the measuring one needs to do. And as I may have mentioned before, I hate measuring. For the unavoidable measuring involved in installing the curtain rods, I took the easy way out… I asked Bryan to do it. A man who was born to measure. It doesn’t hurt that he’s easy on the eyes too.
In keeping with the inexpensive, do yourself theme, I purchased galvanized plumbing fittings to assemble a rod and hangers from. All said and done, materials for both windows cost a whopping $11.00.
3. Measure and Cut Your Fabric
Curtains hang better when they are lined, they also let less light through. Cut two panels of fabric per curtain, one for the front, your decorative fabric, and one for the back (your liner) a plain fabric. My studio windows get very little direct sunlight, so I am not concerned about sun damage to the liner. If you are making curtains for a window that gets direct sunlight, spend a little extra and buy blackout fabric. They will last a lot longer.
A rule of thumb when making curtains is to cut the fabric twice the width of the window. This way when the curtains are closed they don’t hang flat across the front of the window, which tends to make one’s curtains look a little cheap and skimpy. For the length allow around 5 inches for the rod pocket and another five or so for the hem. As we’ll be hemming them in place there is no need to be exact. Isn’t that nice? The other thing that hemming in place allows for is walls and windows that are out of square. Which describes my entire 1949 house.
4. Pin and Sew
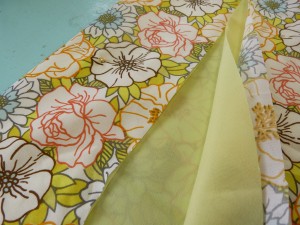
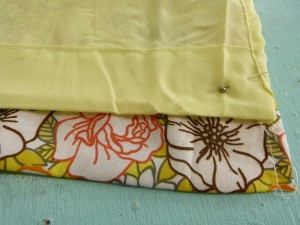
Position your fabrics (liner and front panel) right sides together. Capitalize on any finished edges, meaning use finished edges for your bottom hem. Also, don’t line up the bottom edges, instead position the bottom edge of the liner short, like in the photo below.This way you don’t risk your liner peaking out from under the finished curtain. Get it exactly how you want it, because guess what! This is last time your fingers will touch the bottom edge of your curtain. We ain’t gonna sew it, people! Crazy I know! Your curtains will hang way more better (how’s that for some grammar) with the curtain and liner left unsewn at the bottom. Maybe this isn’t news to you, and I say, well, good for you. I however was awestruck when I made this revelation a few years ago.
Now its time for pinning. I like to pin perpendicular to the fabric edge, this way I can sew over the pins instead of having to remove each one as I sew. Pin down each length of the curtain. Next sew two long seams, one down each length of the curtain. You will end up with a big tube of fabric.
5. Top Stitch
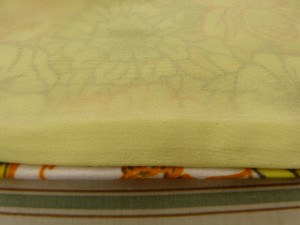
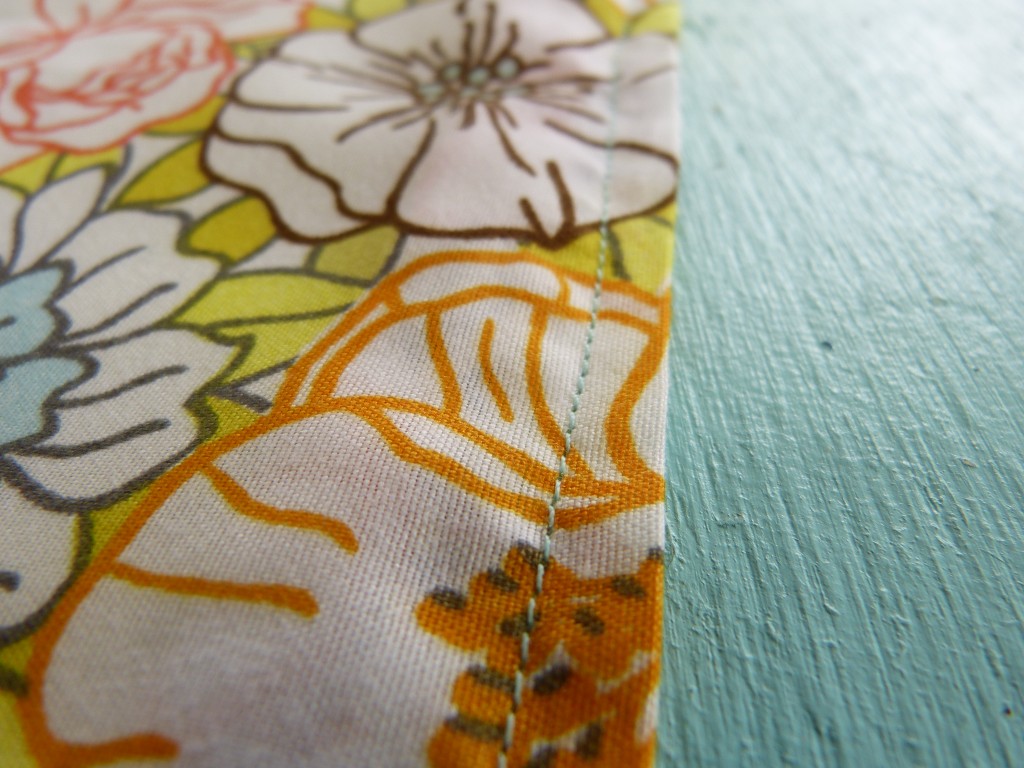
Top stitching turns your sewing project from looking okay and homemade, to fantastic and professional. I know its an extra step, but its totally worth it. Turn your tube right side out. Iron your finished seams until they lay flat. This makes sewing the topstitch waaaaaay easier. You can see in the pictures below before ironing , icky and bumpy, and after ironing , lovely and flat.
Then sew over the top of your newly ironed seam, about a 1/4 of an inch from the edge.
6. Its Time to Hem
Your curtain panel is so close to being done! Drape your curtain over the rod, liner facing the inside of the room, essentially backwards. Adjust to desired length, pinning the rod pocket as you go. Don’t forget to step back often to make sure everything is straight and the desired length. Once you are satisfied with the length, take down the rod and slip the curtain off the rod.
7. Sewing the Pocket for the Curtain Rod
As you can see I had a lot of extra fabric at the top by the time I was done pinning. No problem. I laid my curtain on a flat surface and one at a time moved my pins closer to the fold. I then cut off the extra material, leaving three inches (ish) for the rod pocket, and a half inch extra to fold under as not to leave a raw edge. Besides being unsightly, raw edges are problematic when it comes to washing as they fray and unravel.
 Next, I took my trusty iron and folded under the raw edge and ironed it under. Don’t worry about being terrible exact. Finally, last step, I sewed a seam roughly a quarter inch from the folded edge. Viola! Curtain 1 done! Now all you have to do is repeat the process for curtain 2 which will go much fast now that you know what you are doing.
That wasn’t “sew” (HA!) bad, now was it? Certainly not as bad as this pun…If this article inspires you and you take on a window treatment project of your own, send me a picture, I’d love to share it on Makeroom. See you next time, and until then, take a good look around and see what you can do to make a little room.






Recent Comments