Aug
30
So even if you’re not a gardener, chances are you can tell the difference between the taste of a tomato picked at the pinnacle of its ripeness, and and a store bought, out of season, sad little interpretation of a tomato. There really is no comparison. Pale, watery and mealy, the out of season tomato seems unrelated to its flavorful, juicy and deep, deep red counterpart. Maybe you’ve even tried your hand at growing a few of these lovelies. Maybe you’re like me and plant six tomato plants every year. Maybe you’re more like my sister in law and planted THIRTY TWO plants this year. Really, she did. The mere thought of the bounty that is about to happen in her garden makes me both pleased and terrified. So this one’s for you, Emily, and the tomato explosion that is about to be unleashed upon you.
 By the time August roles around I am chomping at the bit to harvest my tomatoes. Partially because I can’t wait to taste them, and partially because work is about to start up again I have canning to get to. Yep, canning. I said canning. Before you stop reading and roll your eyes in, “who does she think I am” disgust, hear me out. Canning is not just for pioneers stocking up to make it through winter without having to eat the horses, or overachieving home enthusiasts who worship the ground Martha Stewart walks on, NO! MakeRoom is here it encourage you to be a teensy bit brave, and reap the rewards of food preserving at home. And tomatoes are just the thing to start with. I cannot tell you how great it is in the dead of winter (if Northern California really has a dead of winter…) to pull out a jar of tomatoes from the cupboard and whip up a batch of tasty pasta sauce. I’ve been asked many times what’s in my sauce that makes it so flavorful. The answer is the tomatoes. All the other ingredients are the usual suspects. It really is the tomatoes. Tomatoes preserved at the height of their season.And you don’t have to grow your own to enjoy tomatoes at their best. This time of year they are everwhere. The supermarket, the Farmer’s market, next door at your neighbor’s house, you get the idea… So round up a flat, a bucket, a grocery bag, a whatever, of tomatoes and let’s get started!
Step One-Read all the directions.
And then read them again. Canning is not difficult, but it is multi-stepped and you want to be prepared.
Step Two-Round up your supplies.
You may consider asking around and seeing if you can borrow some supplies. There aren’t a lot of things you need, but the average kitchen isn’t usually stocked with a jar lifter or canning funnel. Now a days you can find canning kits at many grocery and hardware stores. Just last weekend I saw a complete set of canning tools (including the pot) at our local hardware store for a very reasonable $19.99.
Things you will need:
- Canning pot (large wide pot with lid)
- Another large pot
- Canning rack that goes inside the pot so the jars aren’t sitting on the bottom of the pot. In a pinch you can line the bottom of the pot with canning rings, but they rust and this isn’t a good long term solution.
- Jar lifter
- Magnetic lid lifter (not essential but cheap and keeps one from burning their fingers)
- Canning funnel
- Jars. I like pint sized jars for tomatoes as this is what you need for many recipes. Don’t make the mistake of using all quart sized jars, this can lead to waste as many times you don’t need the whole jar and now you’ve opened it.
- Lids and rings. These come with new jars and you can buy replacements if you are using old jars
- Lemon juice
- Salt
- Paring knife
- Cutting board
- Ice
- A few large bowls
- Ladle
- Candy thermometer
- dishtowels
- music
- cocktail
Step Three-Just like painting, its all in the prep.
Turn on the music(I prefer a mix that is far from domesticity as is possible. It provides a nice contrast). Mix up your favorite cocktail. Its time to get started. On the stove get a large pot of water boiling. You will use this water to slip your tomatoes out of their skins. While the water is heating, cut an “x” in the bottom of each of your tomatoes. This helps the skins come off MUCH faster. I only learned this a few years ago, it was life changing. Fill up your sink with cold water and ice cubes. This is where you will remove the skins from your tomatoes. And you don’t even have to buy them dinner first. HA! Okay, that was a bad joke. Back to business. You will need to work in batches as not all of the tomatoes will fit in the pot at one time. Once the water is boiling use your ladle to put your tomatoes in the pot. In a minute or so you will start to see the skins peeling away around the “x”. Using your ladle again, move them to the cold water bath in the sink. Repeat until all tomatoes are in the sink.
Another revelation. Peel the tomatoes in the sink. Let the peels fall to the bottom of the sink. Put naked tomatoes in a large bowl. Again, nobody told me this til I was many years in and had been fussing around with bowls of ice water. Peels were everywhere, stuck to me, the cabinets, the floor, everywhere. This is a waaaaay better method. When all tomatoes have been peeled, drain the water and discard the skins, compost them, feed them to the chickens, you get the idea.
Depending on the tomatoes you are using you may want to do one or both of the following:
1. For large, juicy tomatoes, squeeze out extra liquid over the sink before placing tomatoes in the bowl. Like you were squeezing out a sponge.
2. For really large tomatoes, ones too big to fit through the mouth of the jar, cut them in half or quarters
Tomatoes are now prepped and ready for canning! Easy so far, right? And yes, that is a bottle of gin in the background. I wasn’t kidding about the cocktail.
Step Four-Sterilization
There are a number of ways to go about this. And much depends on the volume of tomatoes you are canning. If you are Emily and you are elbow deep in tomatoes I say opt for the dishwasher option. If you are new to to tomato preservation and only have a produce bag or two, stove top sterilization is fine.
Dishwasher Sterilization
So clearly you have to have dishwasher for this option. Wash you jars on the hottest cylce you’ve got with nothing else in the dishwasher. Leave them in there until you are ready to use them. Thas it.
Stove Top Sterilization
Put your canning rack in your canning pot. Put as many jars as will comfortable fit in the pot. Fill it with water. Bring the water to at least 180 degrees. Maintain this for 10 or so minutes. Your jars are now officially sterile.
Sterilizing lids
I put the lids (not to be confused with the rings) in a separate, small sauce pan. I used to throw them in with the jars, but its really hard to get them out later. Again, 180 degrees for ten minutes (ish). Important note: DO NOT REUSE LIDS. They are a one time only deal. Recycle them after use. Rings and jars are fine to reuse as long as they are free of rust and cracks.
Step Five- IT IS TIME TO CAN!!!!!!!!!!!!
Put out a nice clean dishtowel. Using your jar lifter, remove jars from dishwasher/canner, empty them of water and place on the dishtowel. For pint jars put a teaspoon of lemon juice and and a teaspoon of salt in each. Why? Because acid is important when canning. Acid is what keeps food from doing weird and terrible things once preserved. Tomatoes are already acidic, so it doesn’t take more than a teaspoon of lemon juice to set things right.
Now its time to pack, and I mean pack, your jars with tomatoes. Cram them in there.The first time I canned tomatoes I was waaaay to gentle, giving the tomatoes “their space” (remember, I live in Northern California). It was very disappointing when after processing them I had a good two inches of liquid at the bottom of each jar. The heat from processing is going to shrink the tomatoes, so be sure to really wedge them in good.Fill any extra space with the juice that has collected in the bottom of your bowl. Use your canning funnel to fill the jars, its far less messy then just putting the tomatoes in each jar.
Use a scraper/spatula/butter knife to push the tomatoes down and release any air bubbles. Leave a half inch of “head space” a the top of each jar.
Its important that the tops of your jars, where the lid and ring will make contact, are clean. I dip a paper towel in hot water and clean the rim of each jar.
Now remove the lids, one by one, from their water bath with your magnetic lid lifter. Place lids on jars. Screw bands on jars to what is called, “finger tight”, meaning tight enough so it stops moving but not so tight that you’d need pliers to get it off.
Step six- Processing
So your jars are filled. Air bubble have been eliminated, lids and rings are on. Now its time for the magic. Using your jar lifter place each jar back in the canning pot. Once water has reached at least 180 degrees start the timer. 15 minutes for pints, 20 minutes for quarts.
Turn off the stove. Let your jars sit in the water for awhile. Maybe 30 minutes. Then lift each jar out and place it on a dishtowel to cool. In a few minutes you will hear the sound that all canners listen for, the sound of lids being suctioned down to the jar, or, “POP!” This is how you know that mission canning was successful; by the time your jars are cool all of the lids should be concave. Jars that have lids that you can press down and they pop back up should be discarded (I’ve never had this happen).
Now put your jars of tomatoes on your cupboard shelf and fee pleased with yourself. You did it!
I will warn you. Canning is addictive, the sight of sweet little jars lined up on your shelves, just waiting for winter, may cause you to feel the desire to can things other than tomatoes. Don’t worry. I have just the site for you. Check out www.mypantryshelf.com to discover fabulous recipes for food preserving, and much, much more.
Parting thoughts: Make a little room for something new. Maybe canning is your something new, maybe its not. Either way, think about it. What new thing are you itching to try? Do it! And tell me all about it.
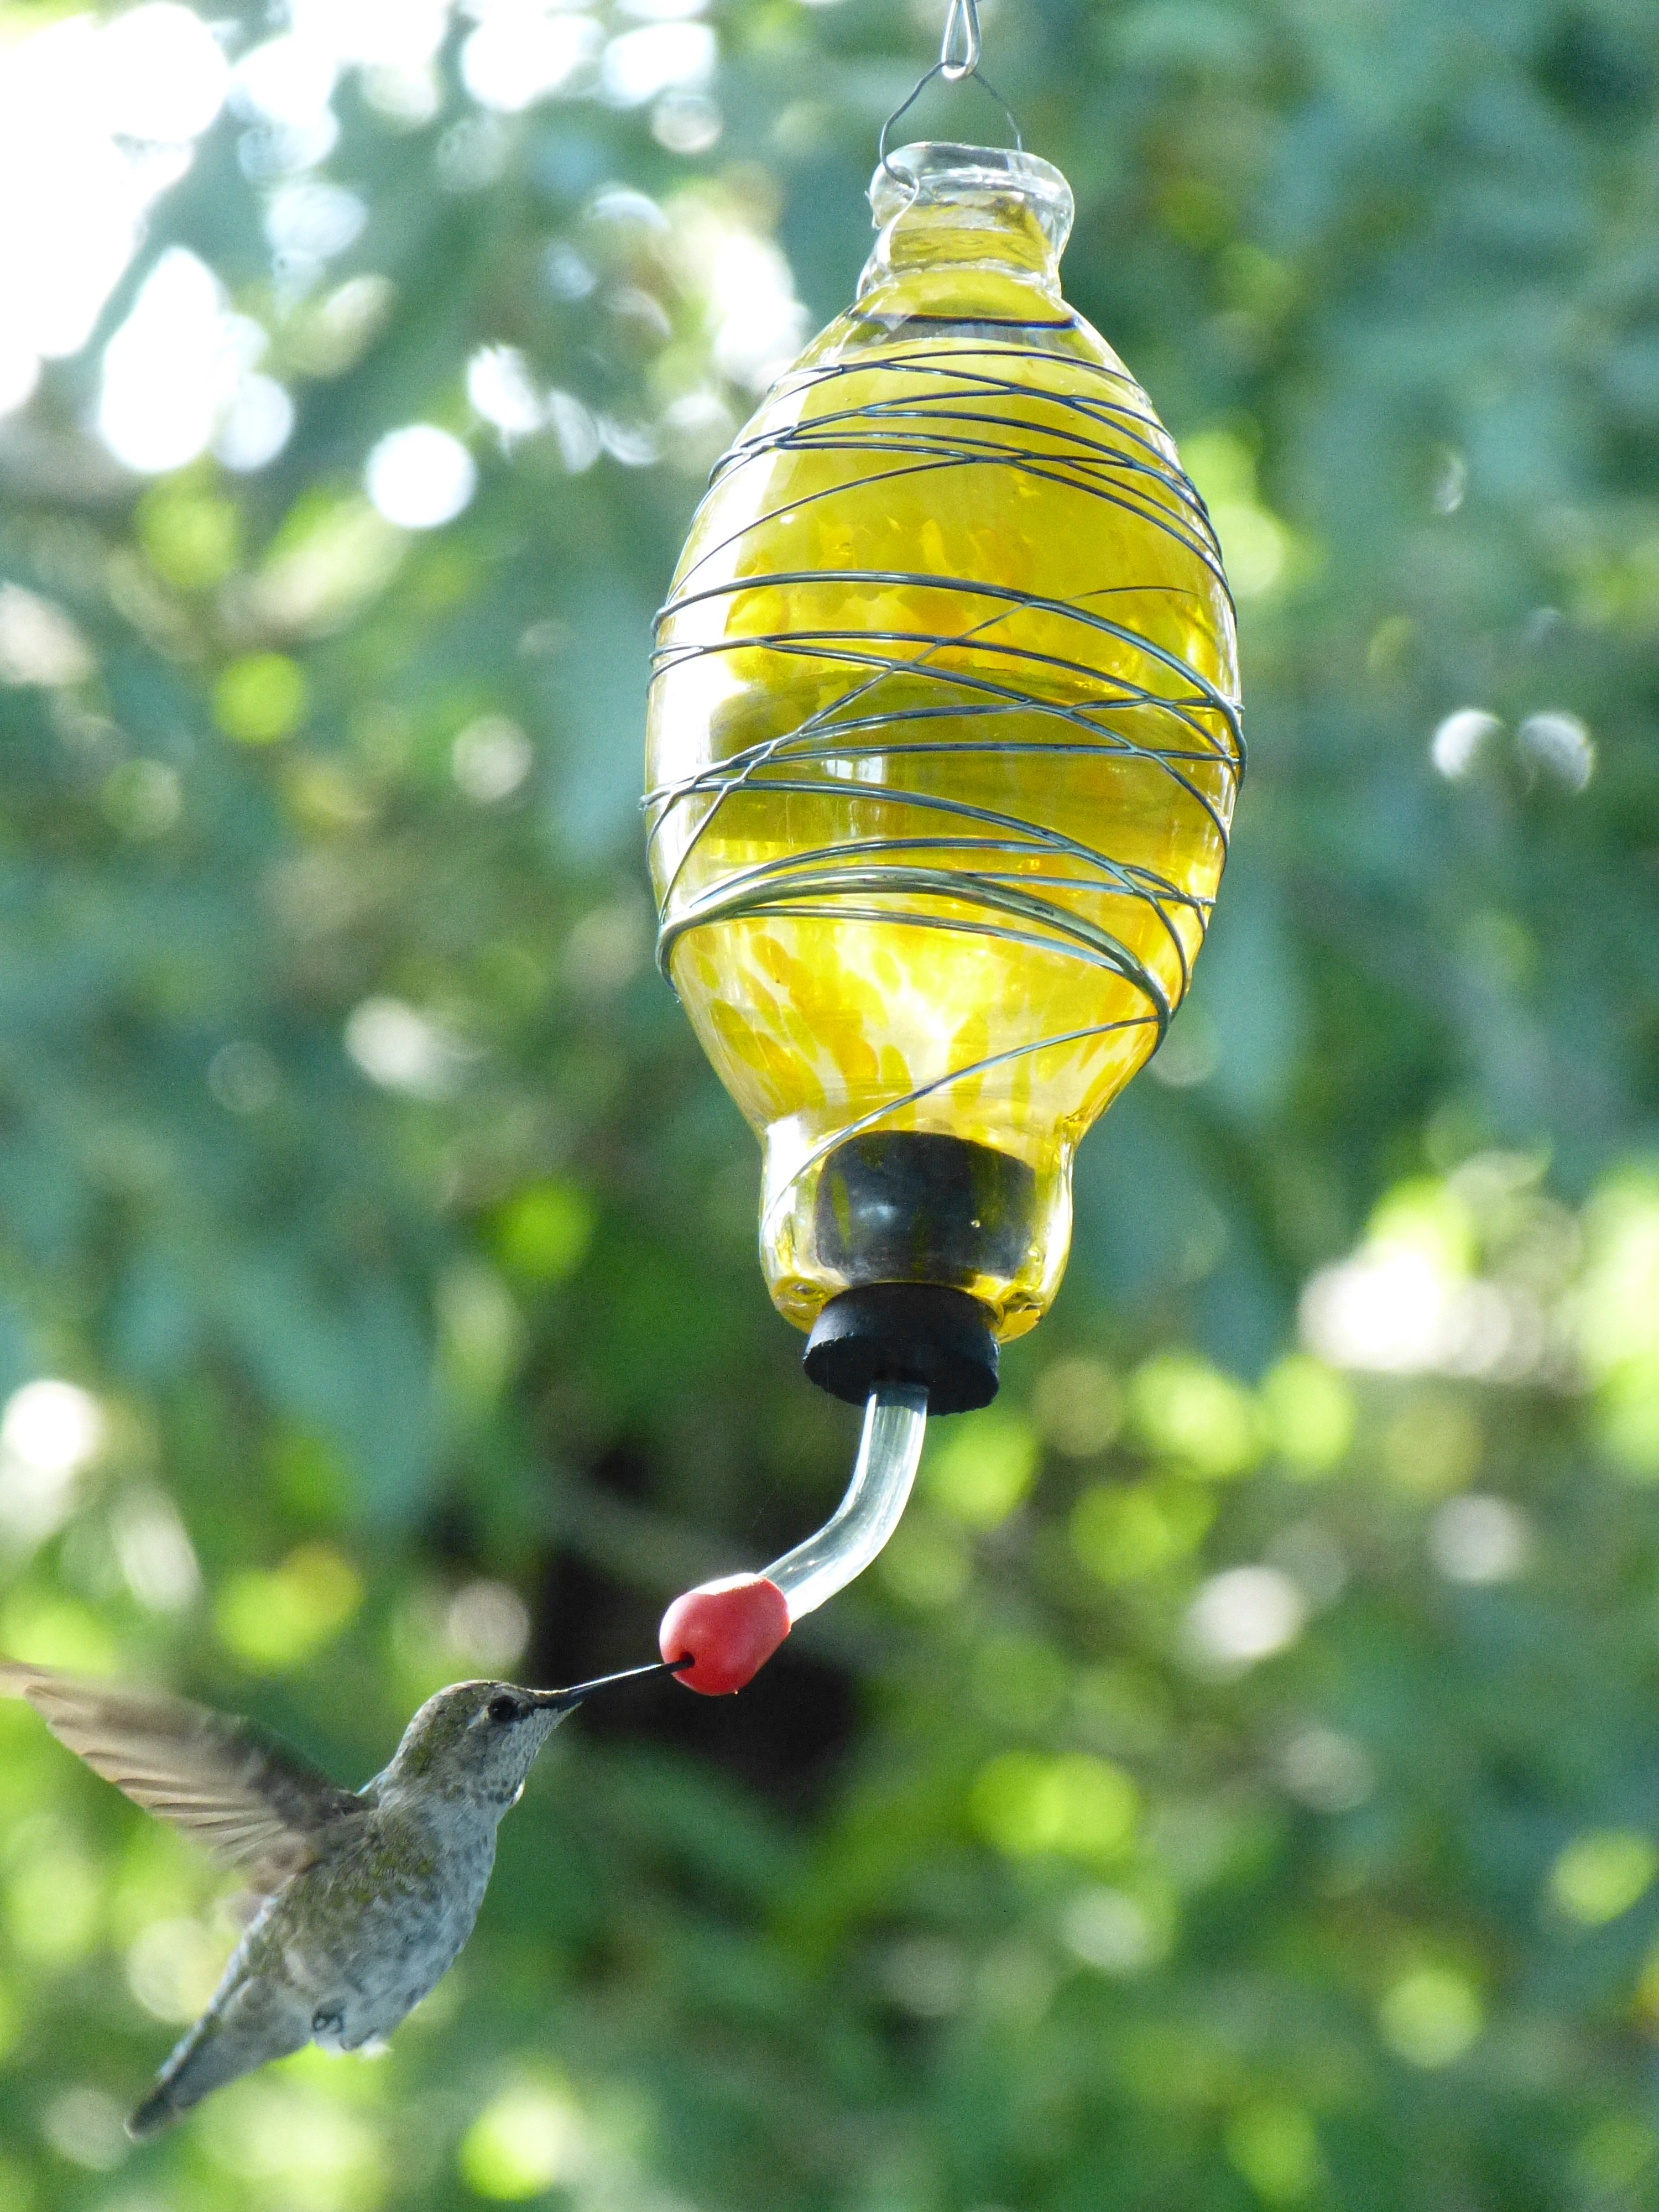 I spent a healthy amount of time yesterday and today trying to take a photo of the hummingbird that has been draining our feeder literally dry every other day. And this morning, at approximately 10:15 a.m. I accomplished my mission. Done and done. This feeder sat untouched for a month. I was starting to panic a little- the feeder was a gift and there was a lot of asking if I’d had any action . I kept having to say no, and I felt very responsible for my alleged hummingbirds’ lackadaisical attitude (it didn’t help that my sad confession was met with shaking of the head and eyebrow raising…). I moved that thing around, downloaded a bird call app, and scoured the yard in search of a hummingbird. Nary a feather. Nothing. And then, one day, they found it. Now this little dude and buddies have figured it out, its game on, And man, I just can’t keep that thing full. More stress. I picture them tip-tapping on the window impatiently with their long pointy beaks demanding sugary water.


Recent Comments