21
Teardrop Chronicles #2: Shopping, a planning commission meeting, and a great deal of math
It was a big week here in Teardrop land. Its probably best if I break it down for you day by day. You are going to be so impressed. Unless you’ve met an Aspinall before and then you’ll think, “sounds about right”:
Monday
After last week’s measuring/direction reading debacle, Frank and I regrouped and corrected our error. The width of the floor is now officially a lovely 58 1/2″. Exactly what the directions call for. I got a lesson in how to properly use a socket wrench and we moved on to bolting the floor to the trailer chassis, we broke for coffee (with milk this time), and tackled attaching the sidewalls. Discussions began regarding the galley kitchen, and we each left the day with our homework assignments to source various materials.
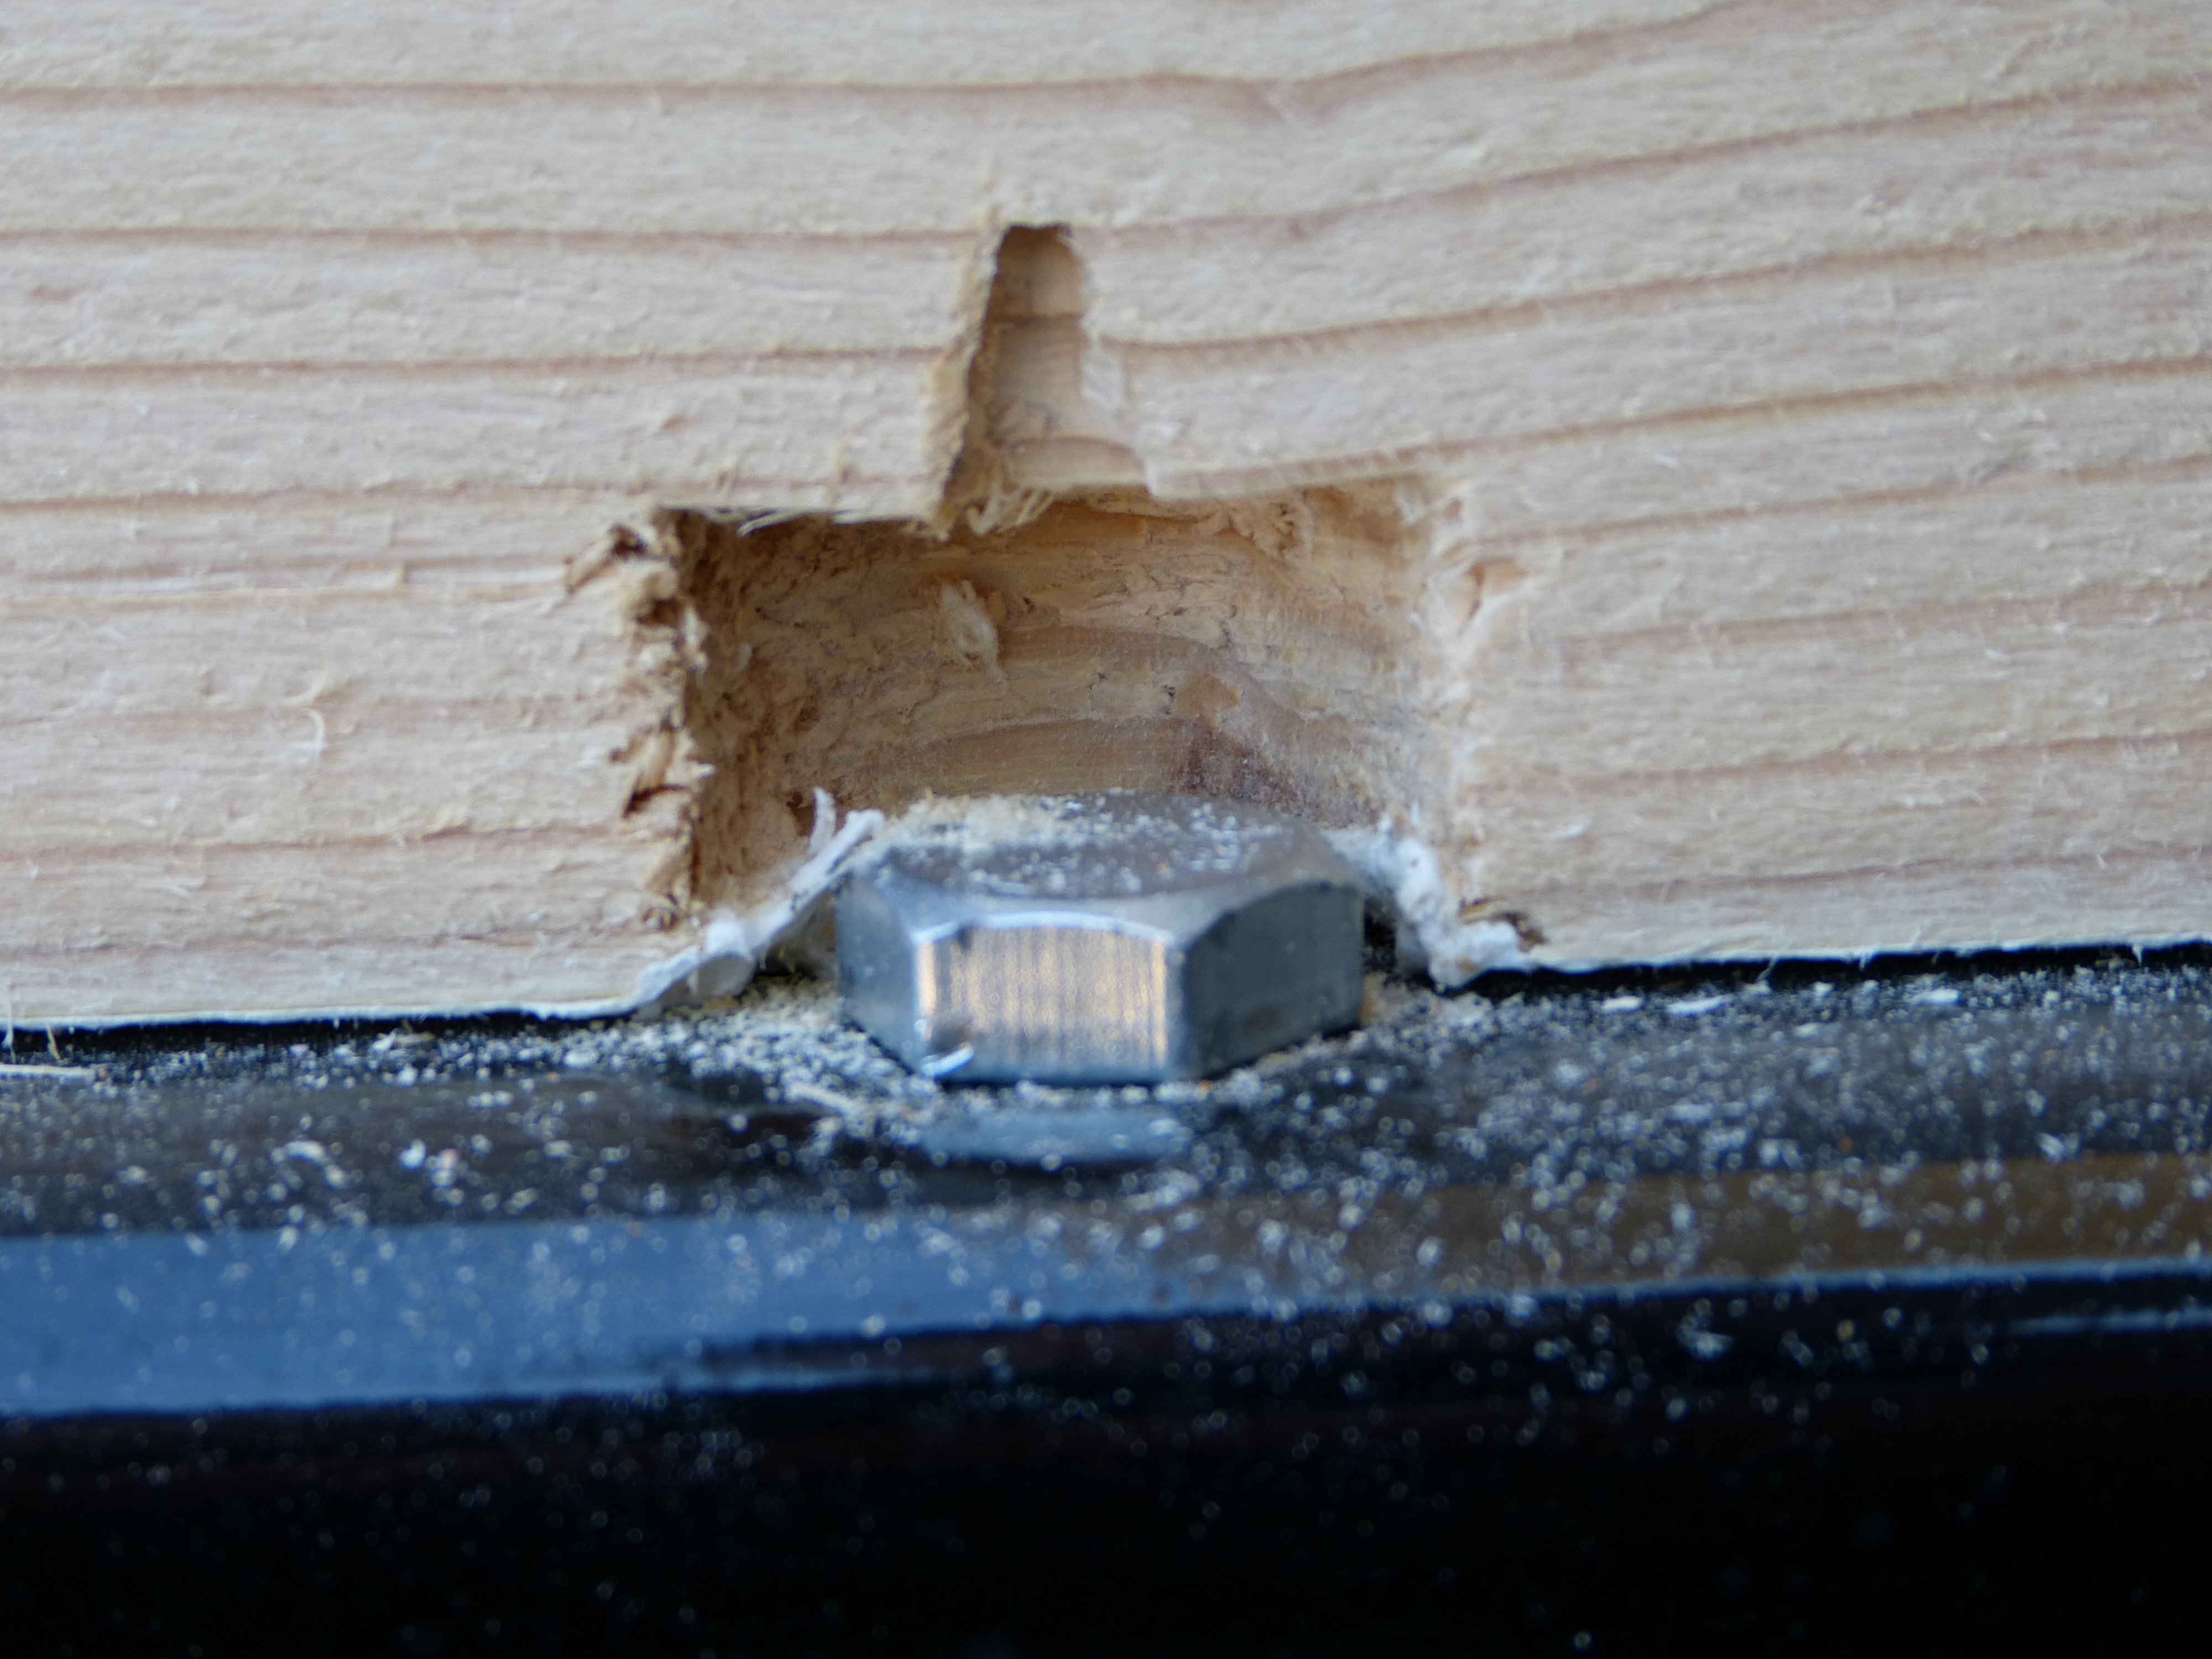
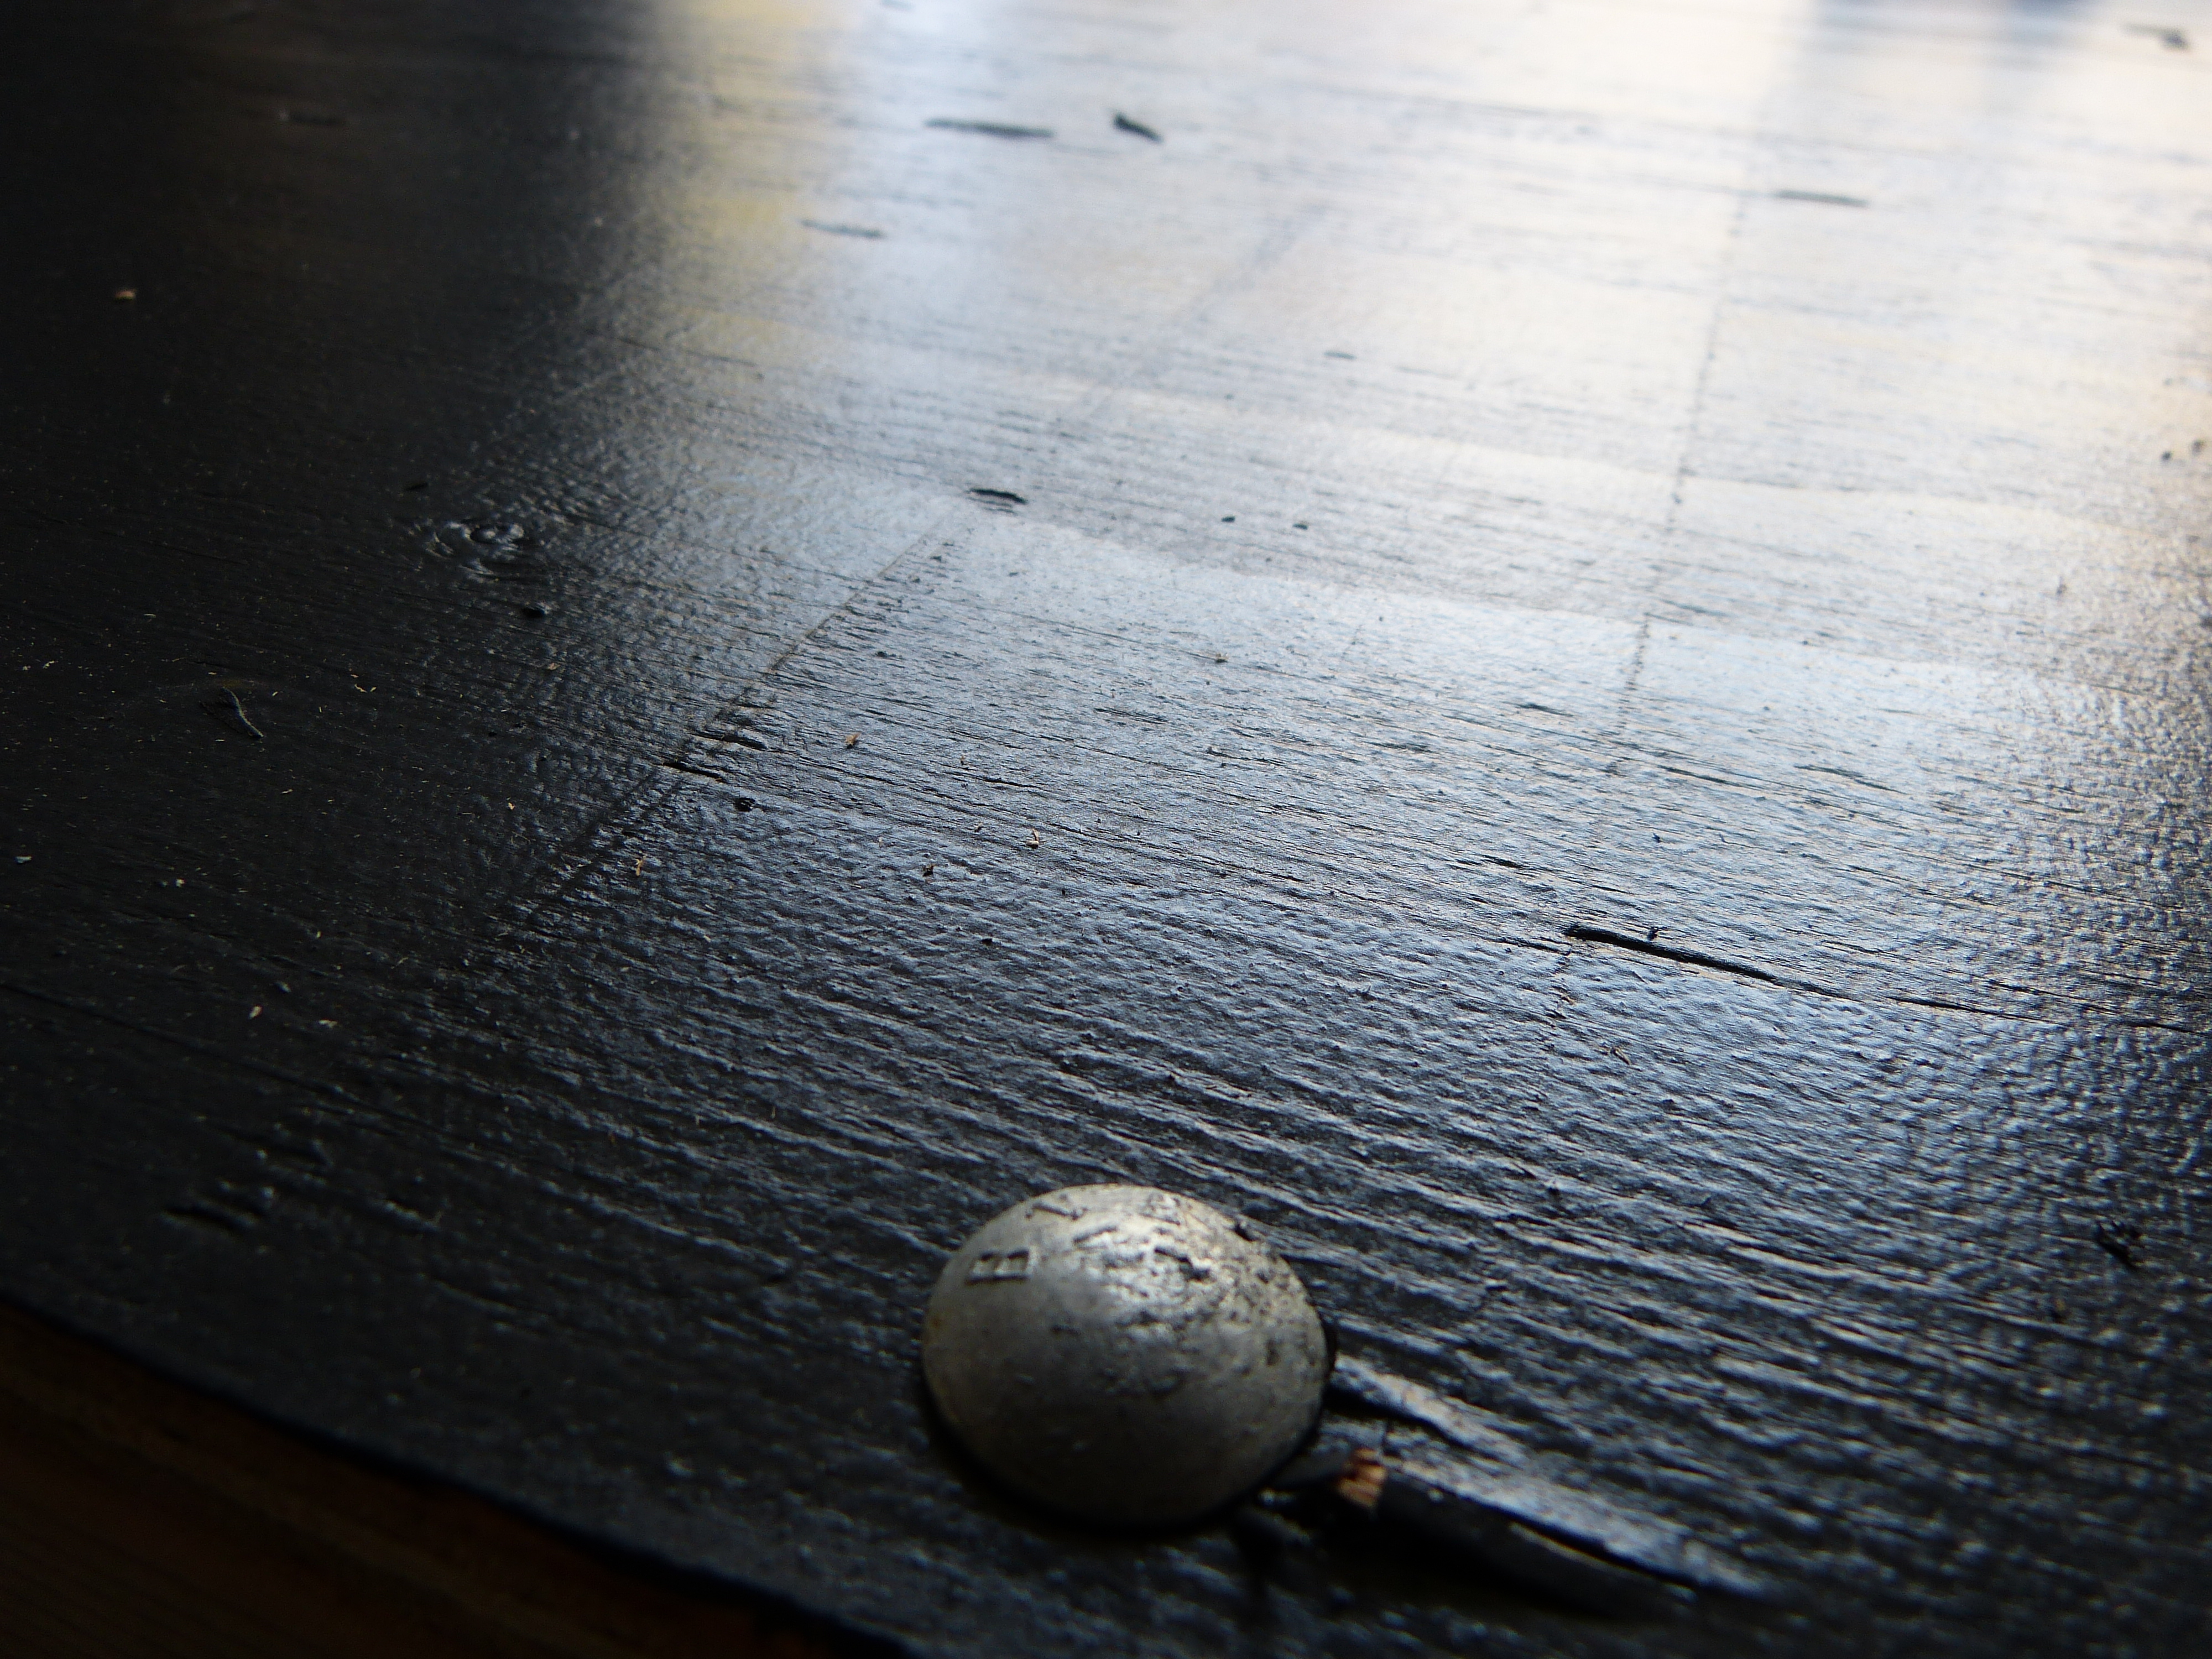
We countersunk the trailer bolts so the floor would sit flush on the trailer.
Showing off my new socket wrench skills.
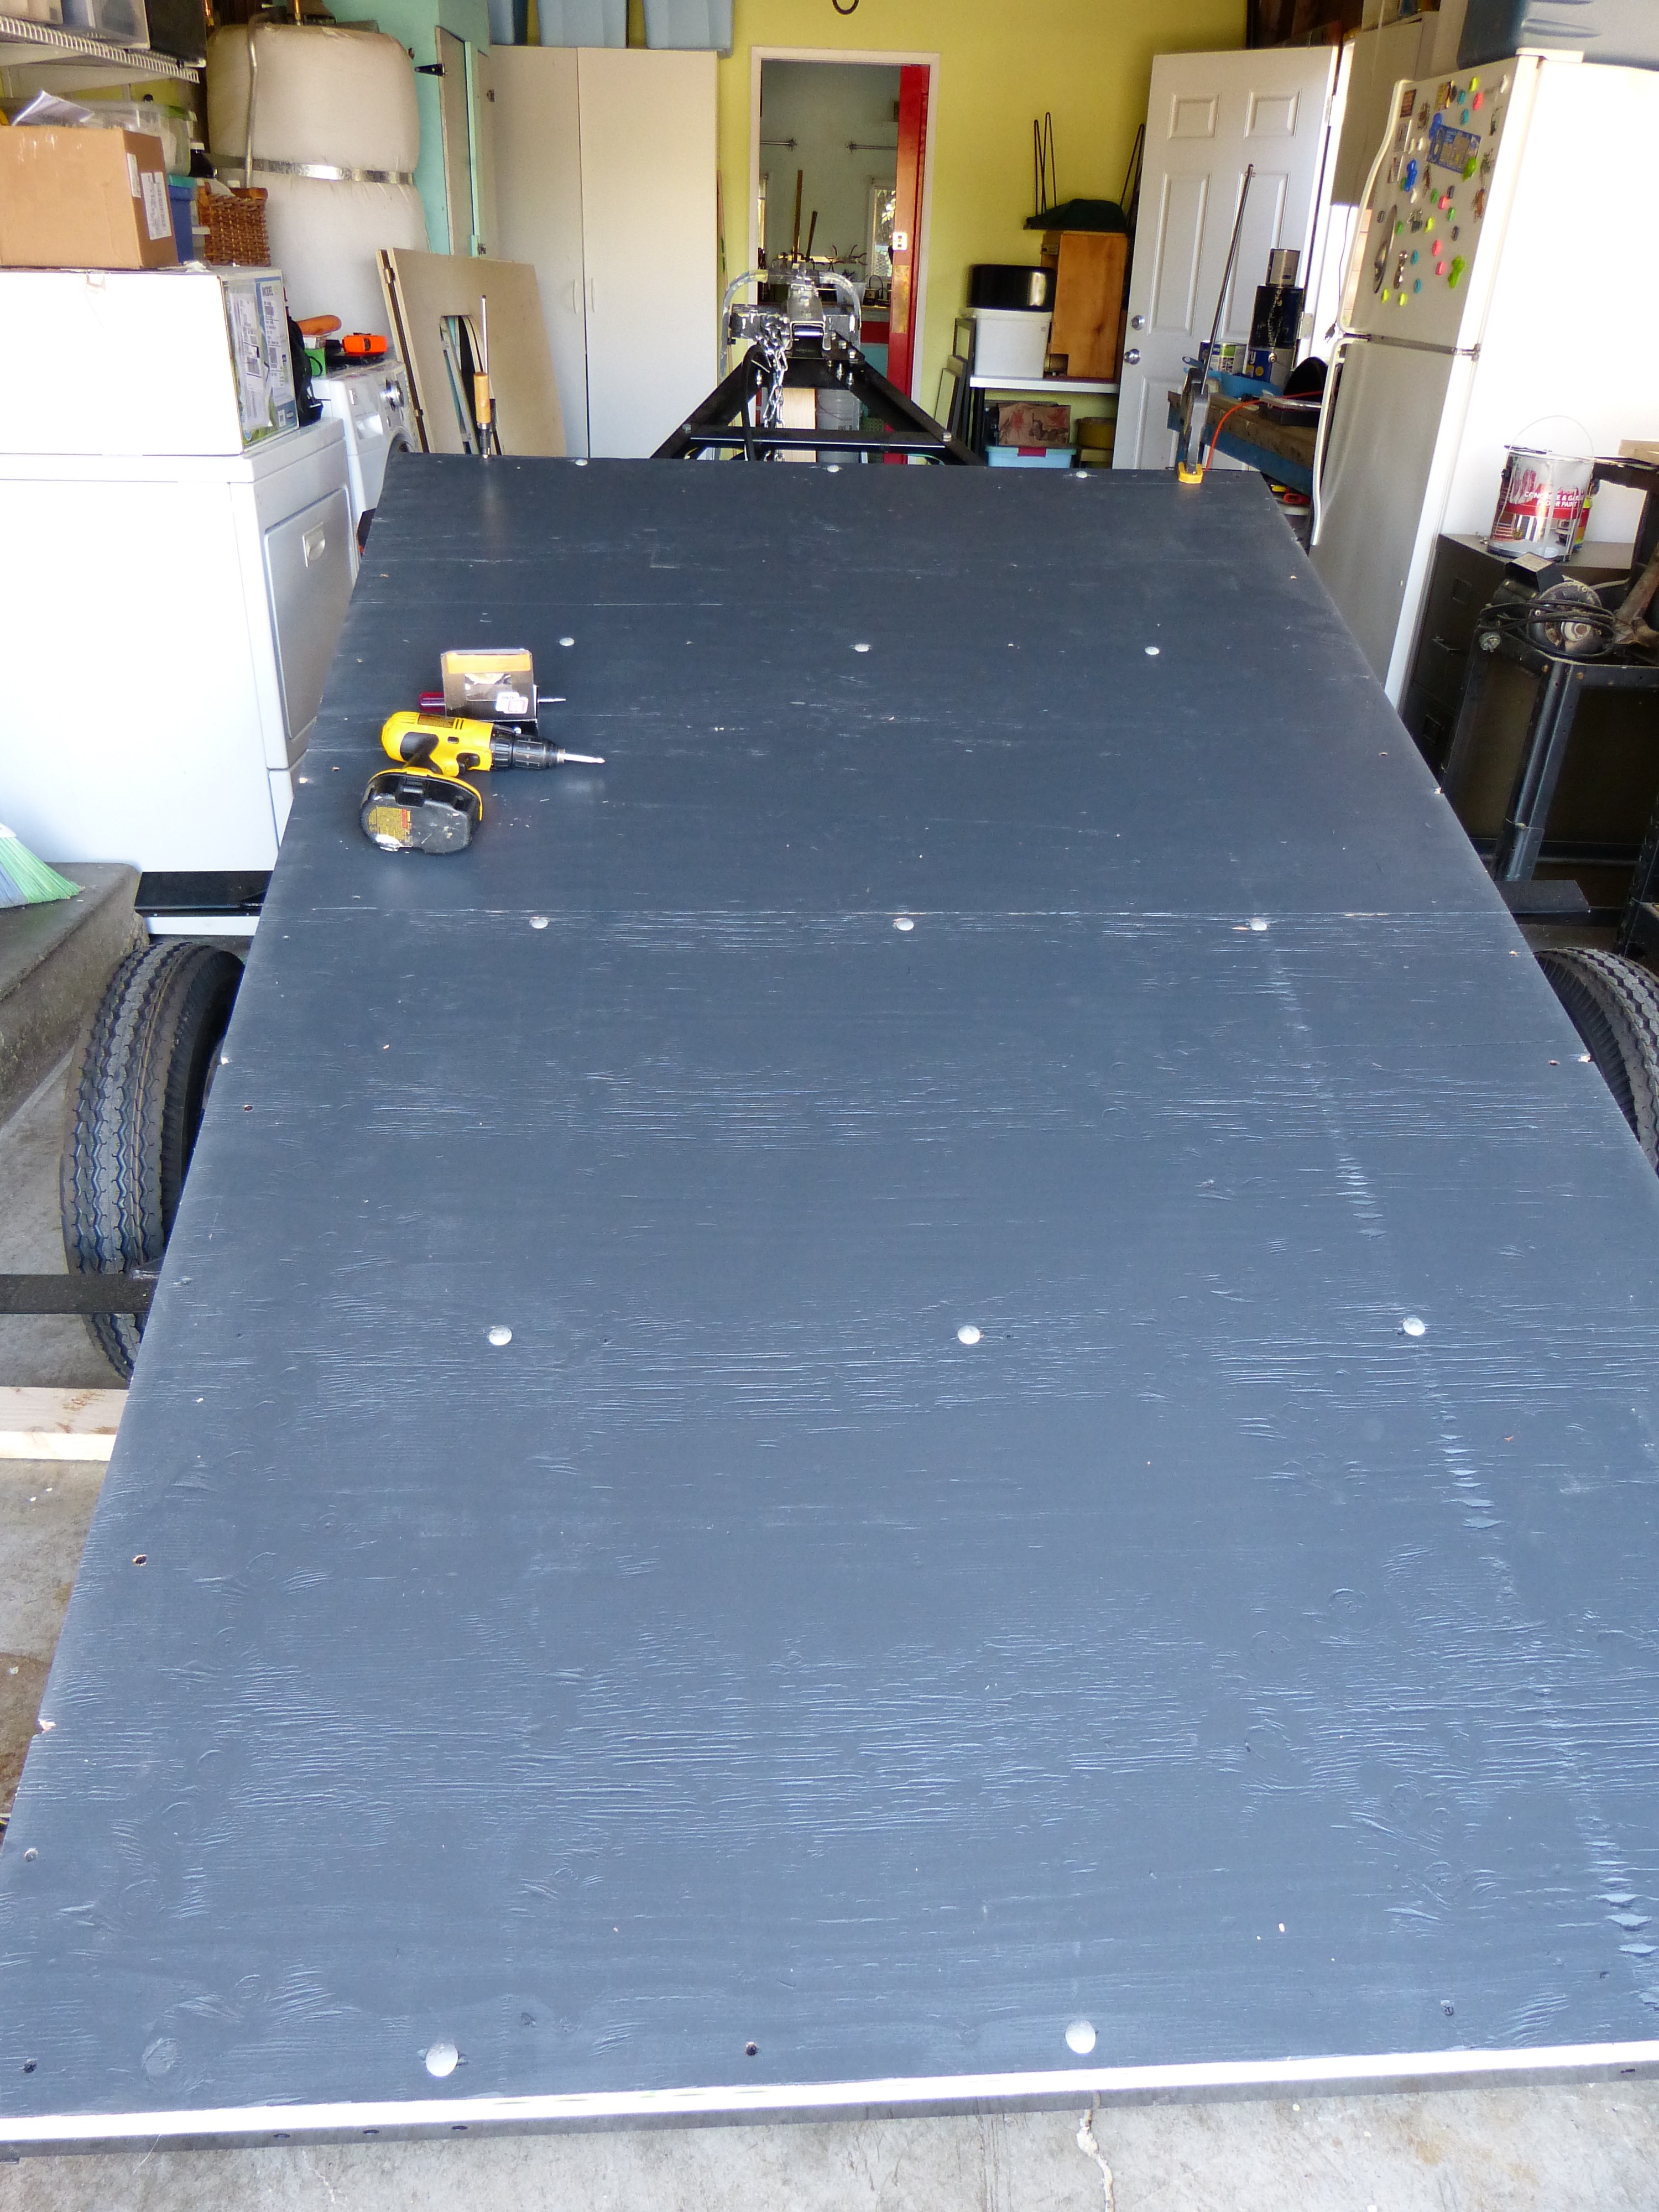
Floor secured to the trailer.
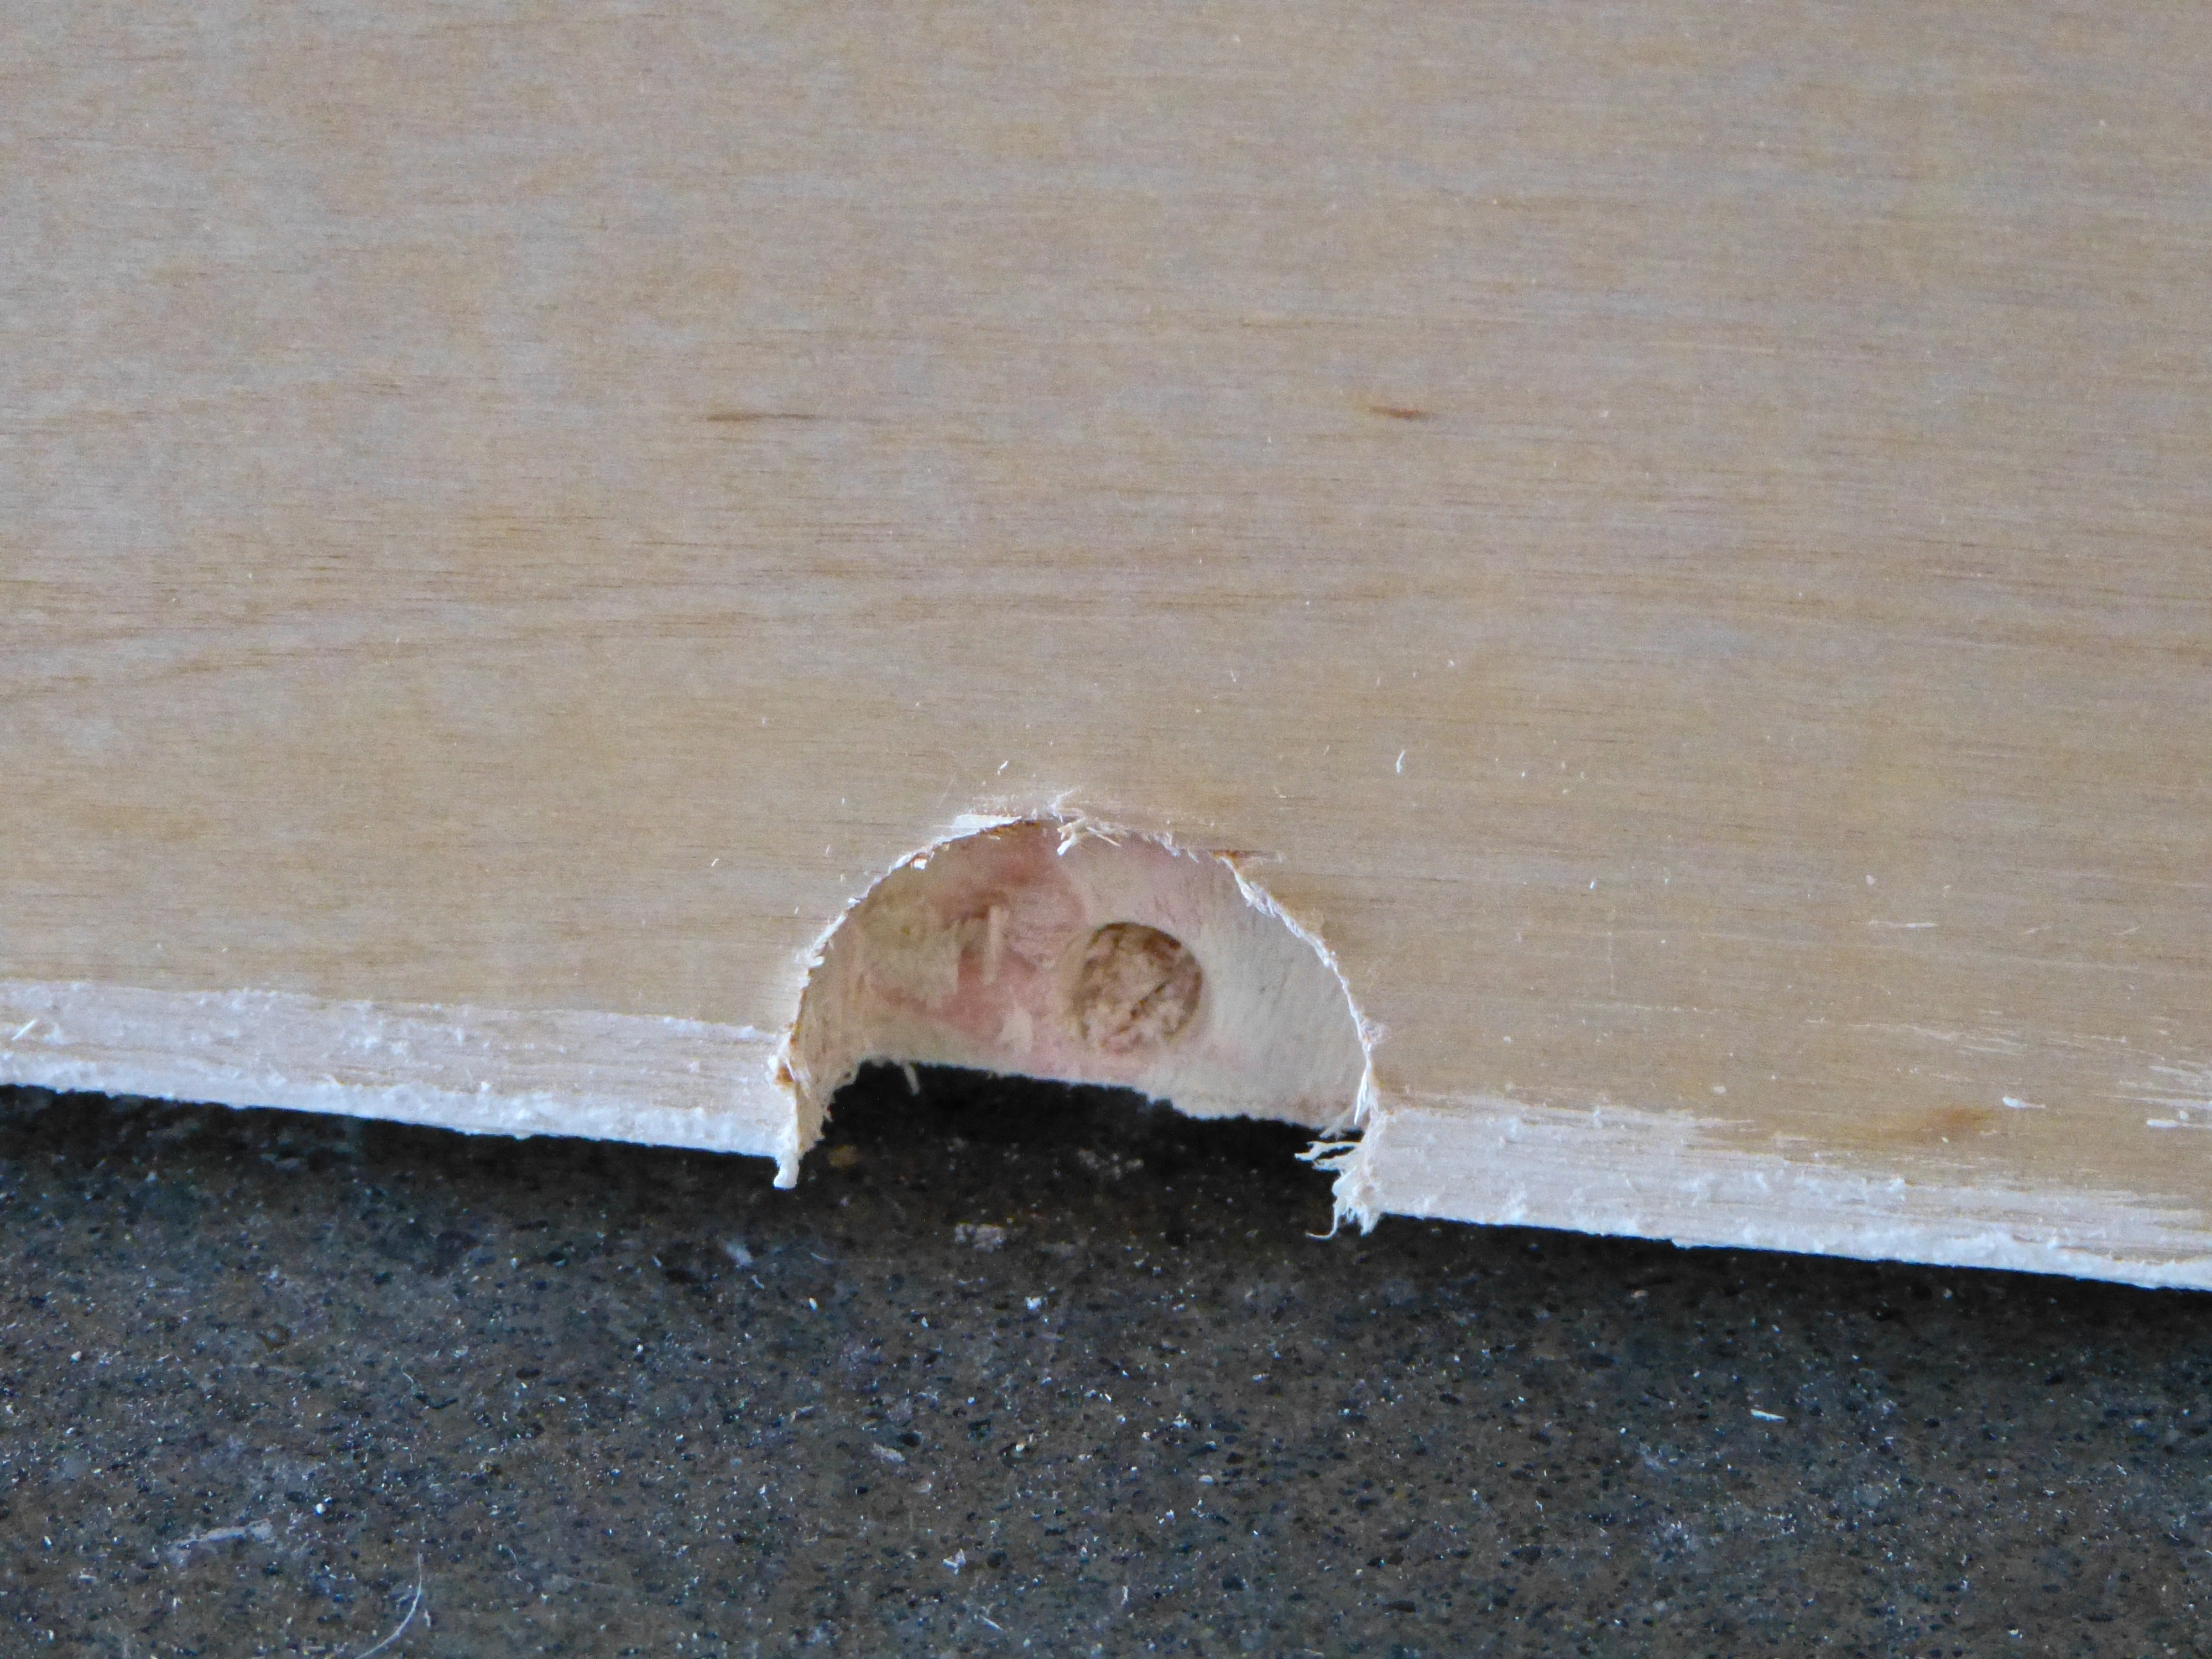
More countersinking for the trailer bolts, this time on the sidewalls.
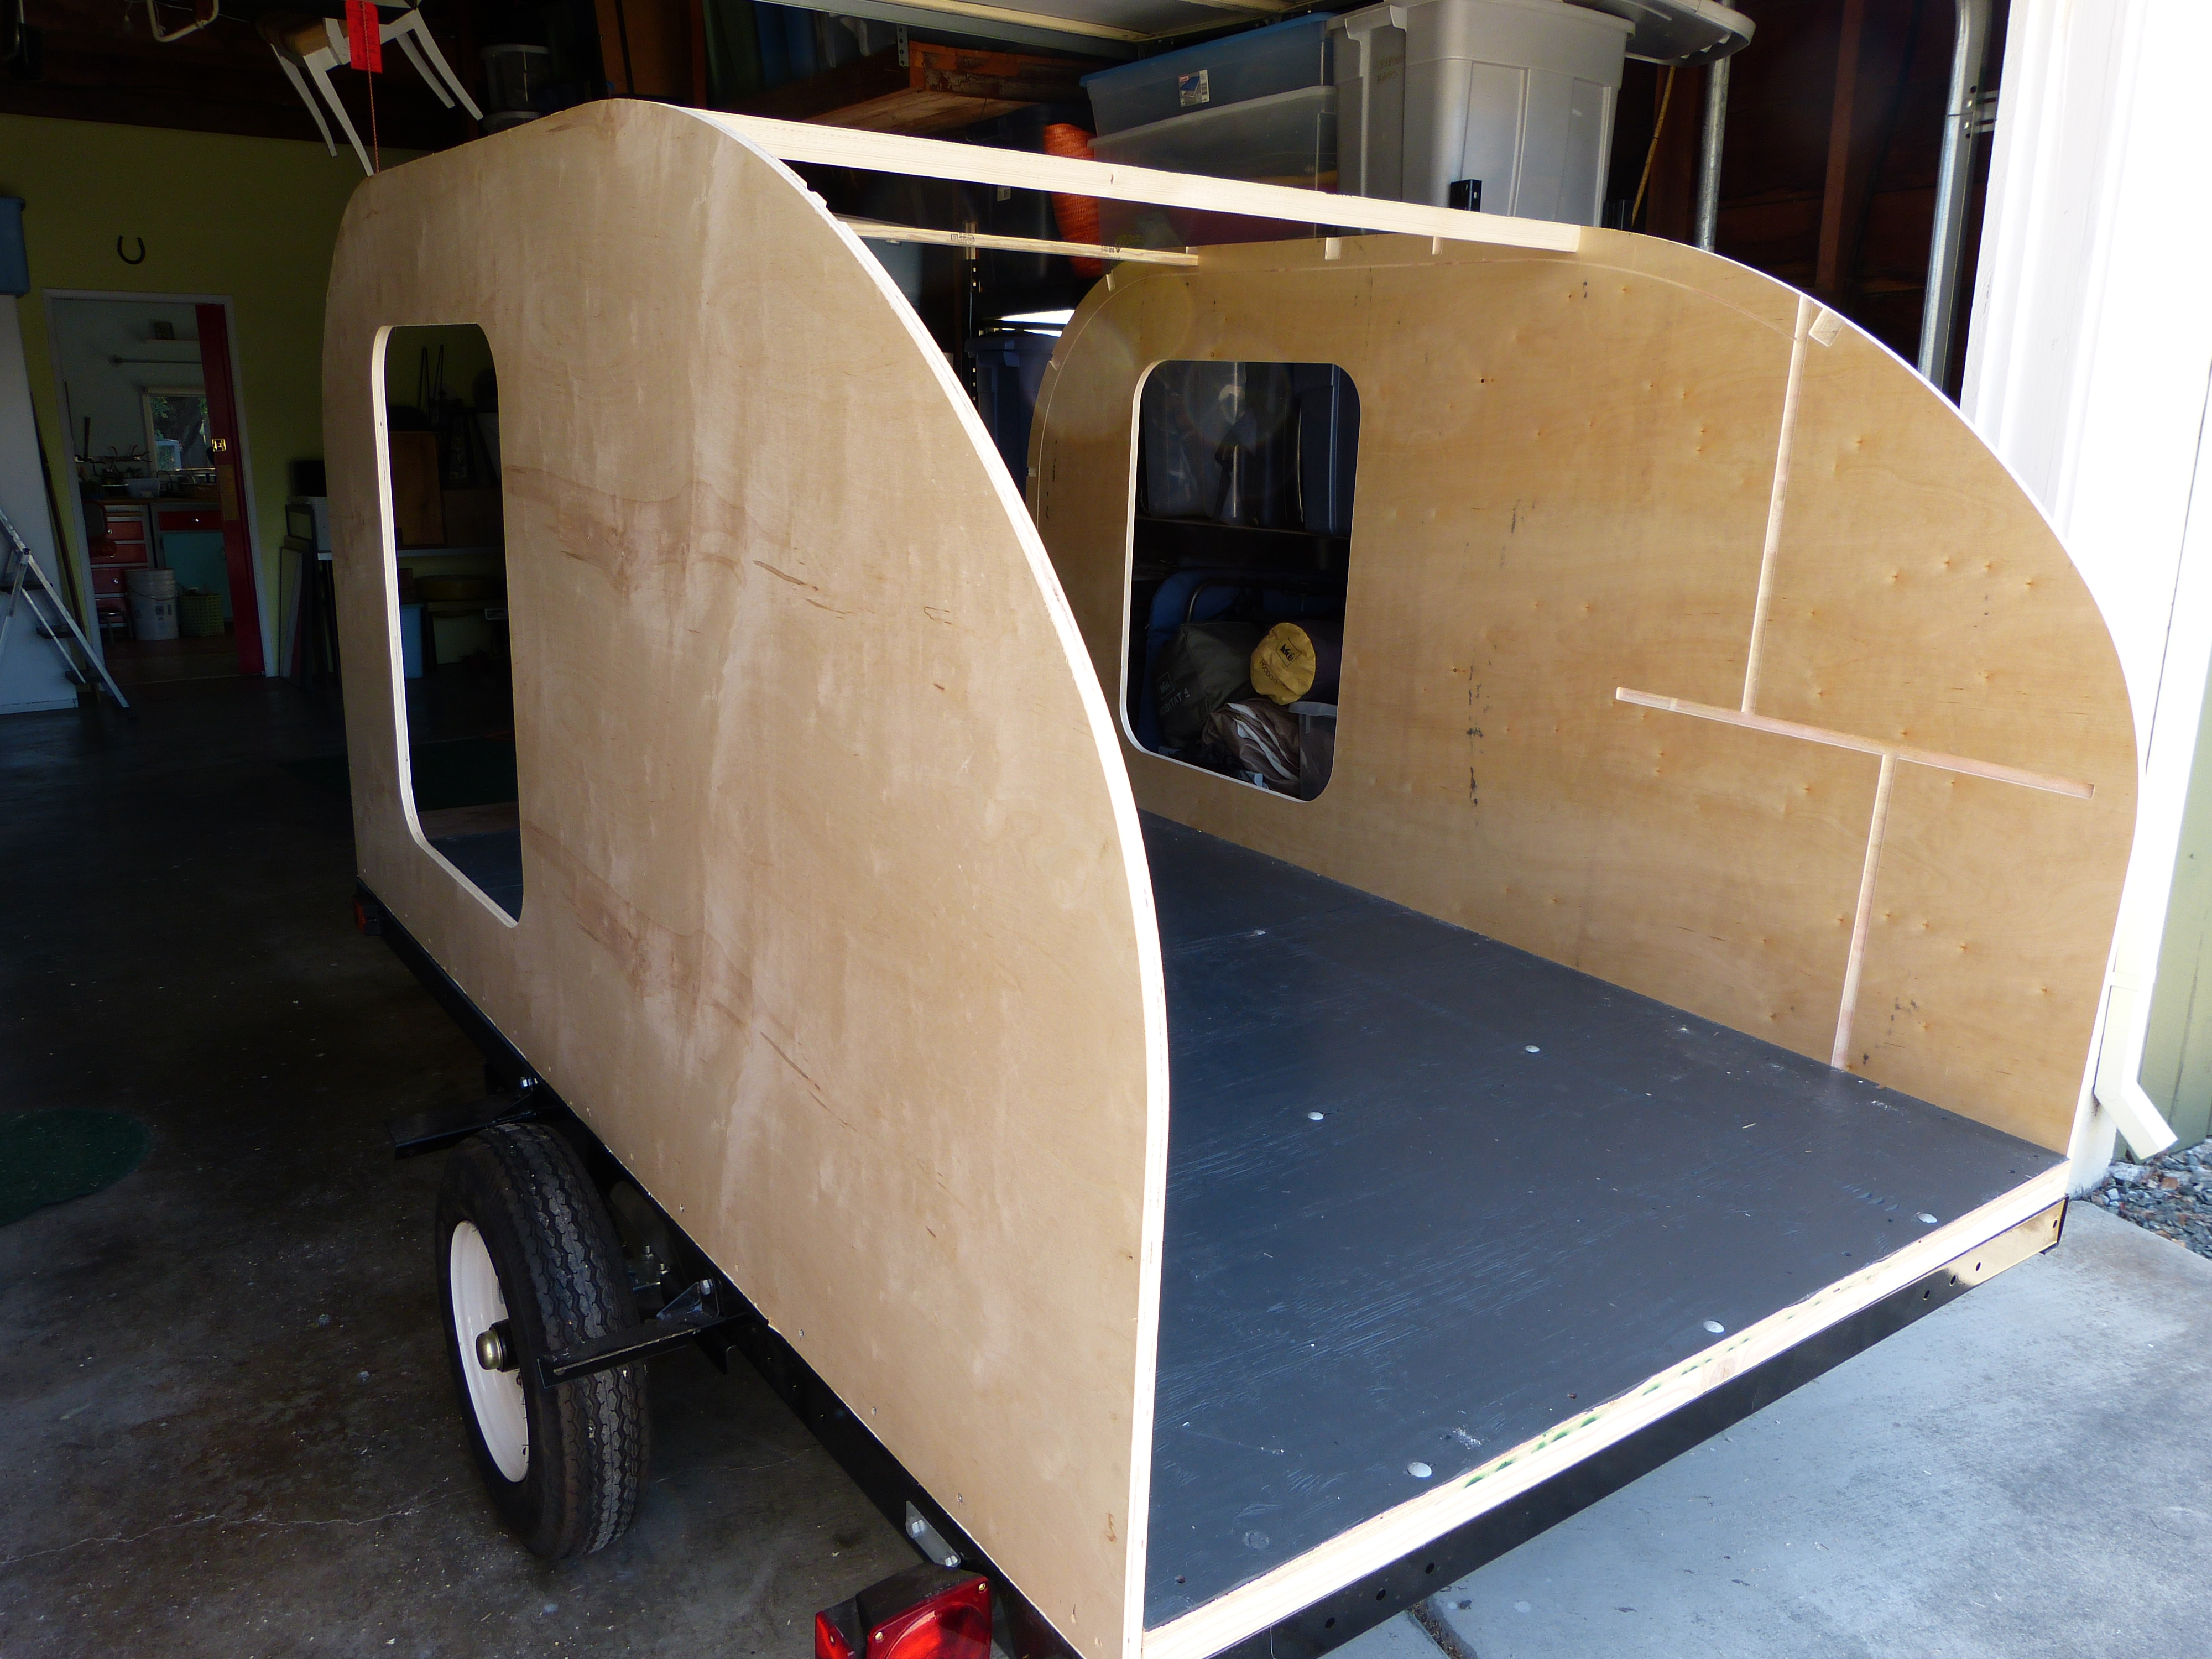
Sidewalls secured to the trailer and floor. You can see the grooves the kit comes with for the galley kitchen.
Tuesday
To Ikea! I handled that place like the pro I am- in and out in 45 minutes with a 72″ long piece of butcher block counter top for the trailer’s galley kitchen, and a variety of wall hanging kitchen storage items. Oh, and a bathroom break. Not too shabby. I even squeezed in a CB2 driveby. Shopping with me is not for the faint of heart.
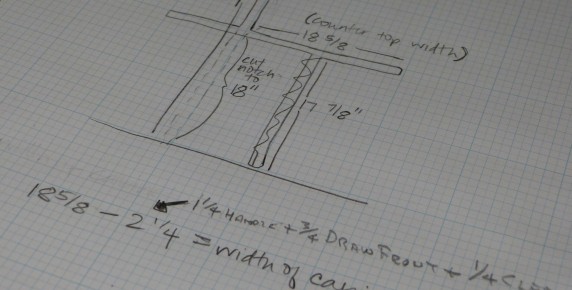
That evening I labored over drawings for the kitchen galley design. Much measuring and using of a ruler and a fancy mechanical pencil ensued. I was working on a deadline, as the next day I’d be going before the planning commission.
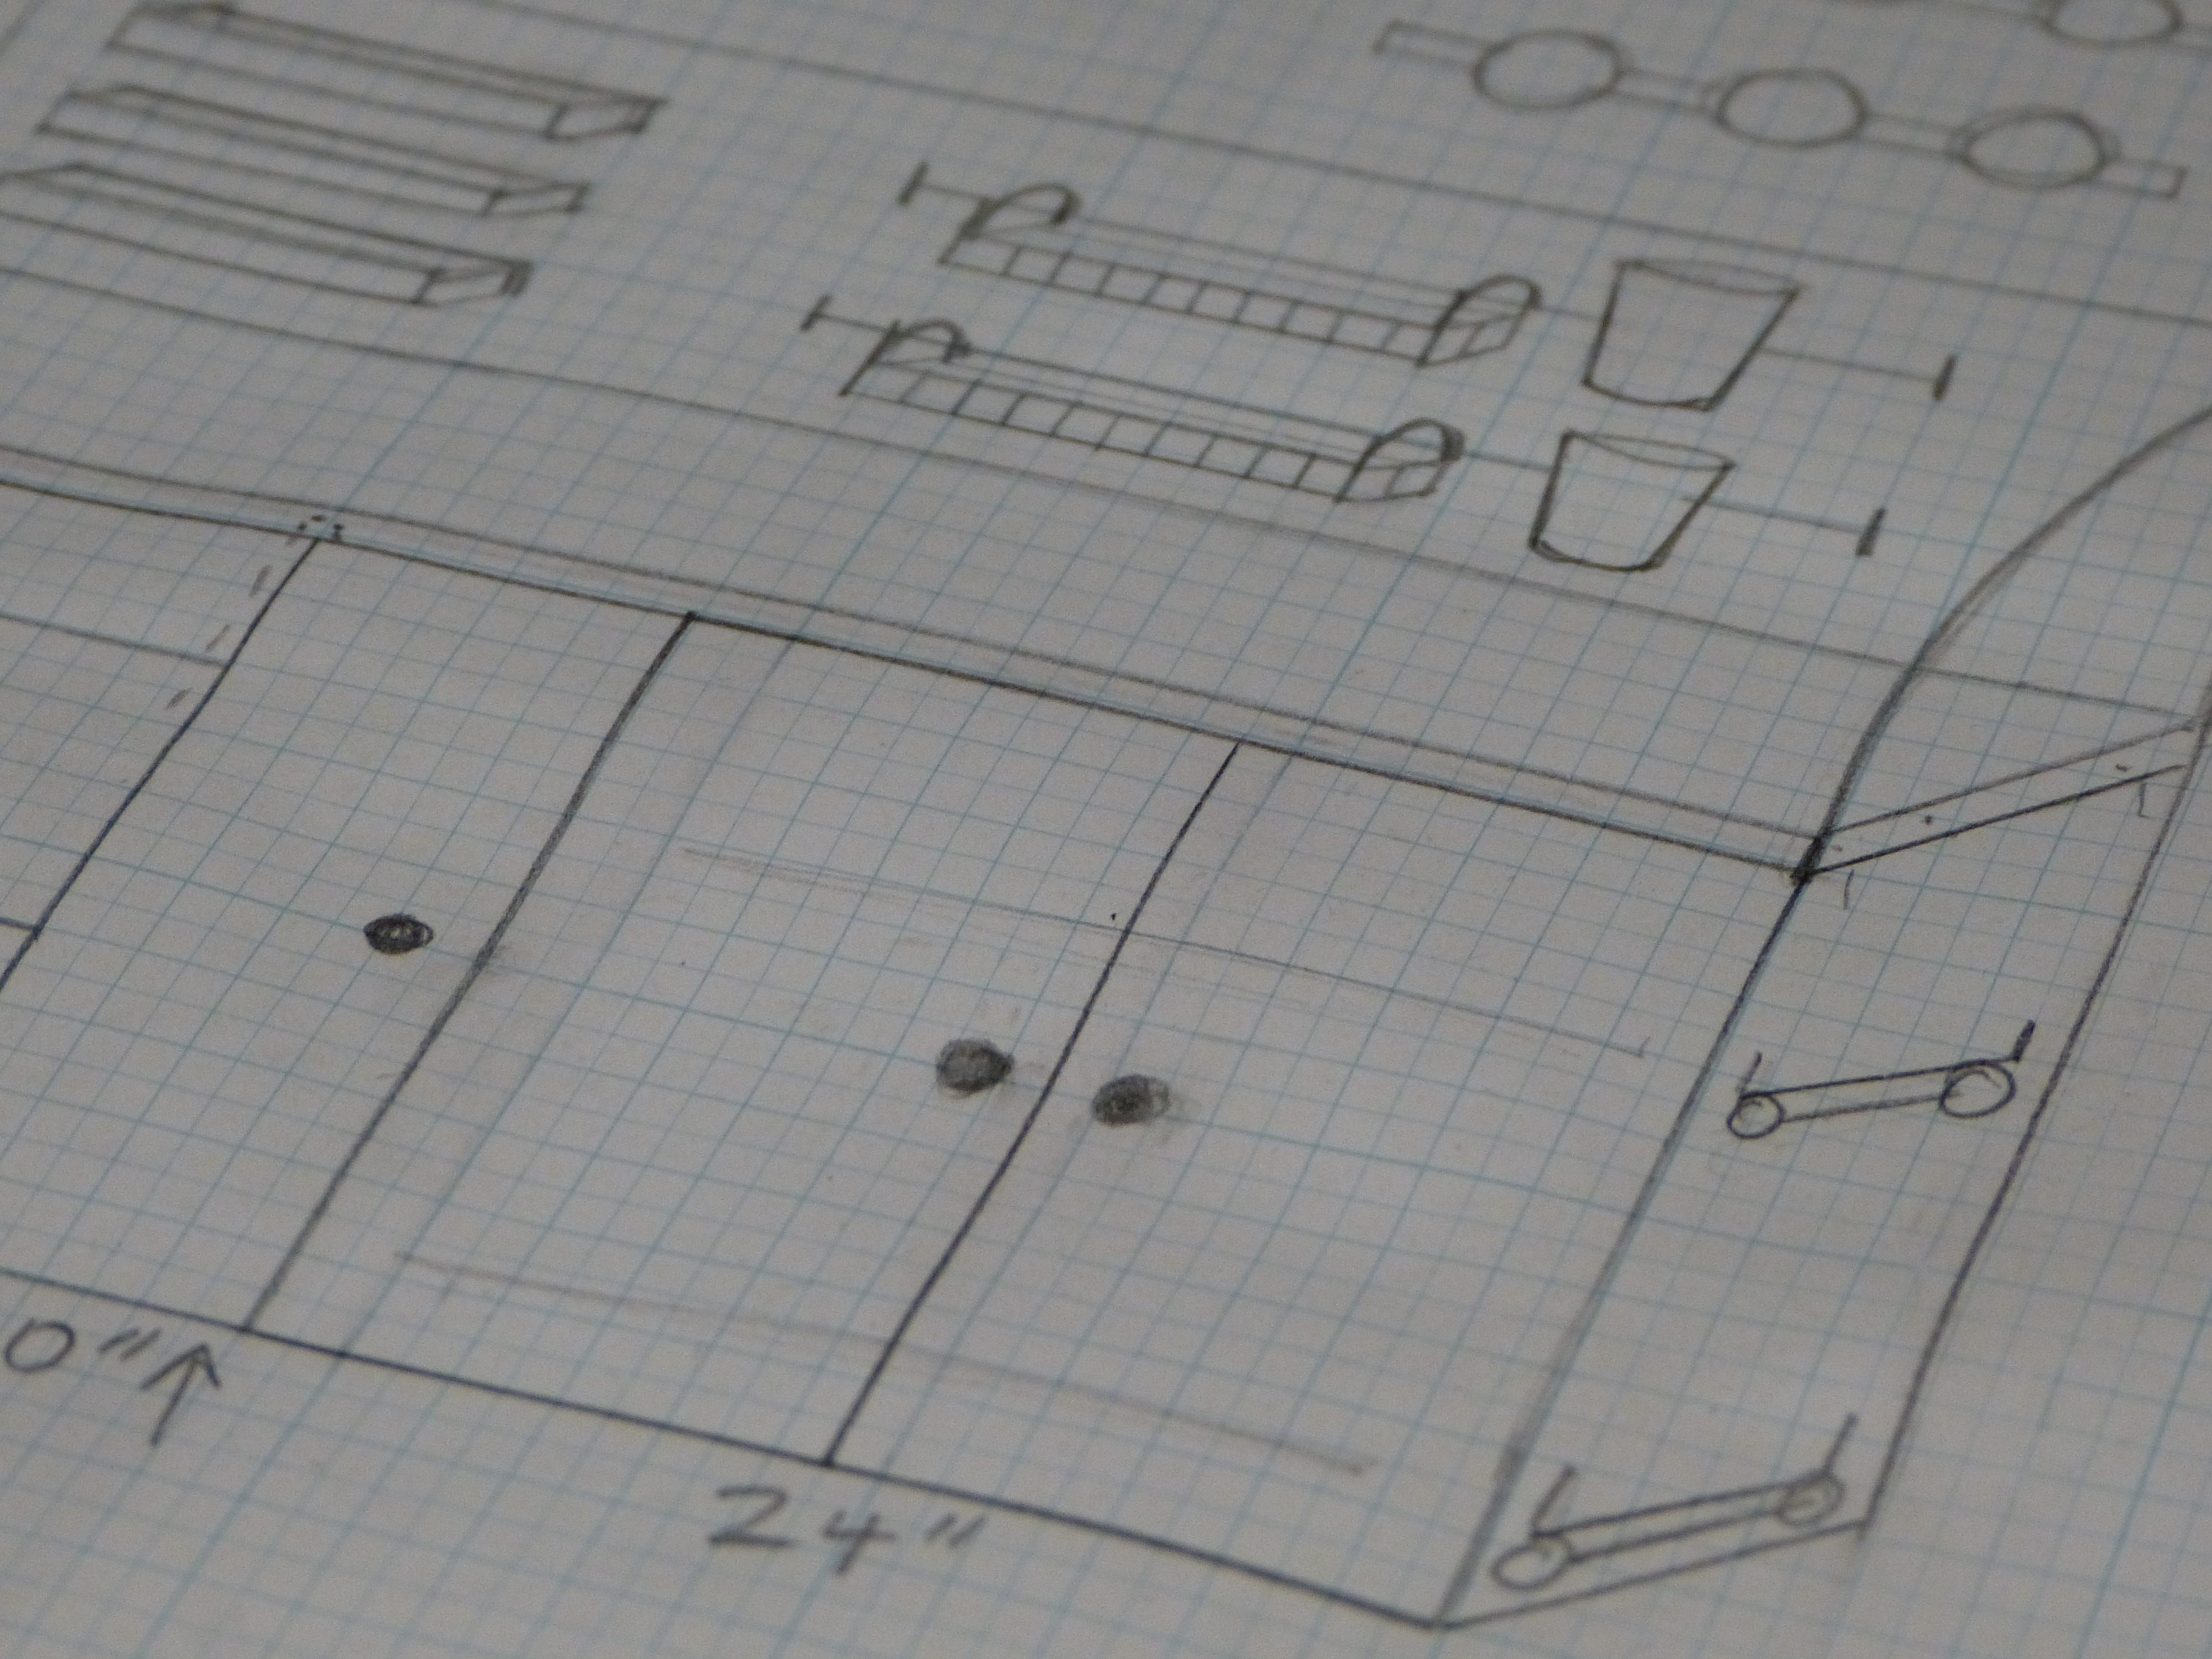
My very professional kitchen drawings
Wednesday
Frank and I took a field trip over to Mountain Storm Forest Products in Windsor, purveyor of all things speciality lumber. My dad closely resembled a kid on Christmas morning. VERY excited. There was some hopping around and talk of elicit self guided touring of the wherehouse. But I could see why, these guys really do have everything. On this particular day we were picking up Baltic Birch veneer 1/8 inch plywood which will serve as the interior ceiling of the trailer.
Broke for coffee early as the planning commission convened promptly at 9:45. My drawings were carefully reviewed by Frank and Carol Aspinall, more measurements were taken, drawings were revised, another round of measurements, a fair amount of math, and two hours later the plans were approved. Such a relief. Frank left with his cut list and we agreed to meet again on Friday to resume construction.
Friday
My dad arrived with the lumber cut to its specified measurements and we began installation. First was the counter top, followed by the divider between the kitchen and then on to the cupboard partitions. Apparently since last week we had learned a thing or two about measuring as they all fit nicely. Frank went home for lunch (and probably a nap) and I soldiered with sanding and priming of the walls in preparation for wallpapering.
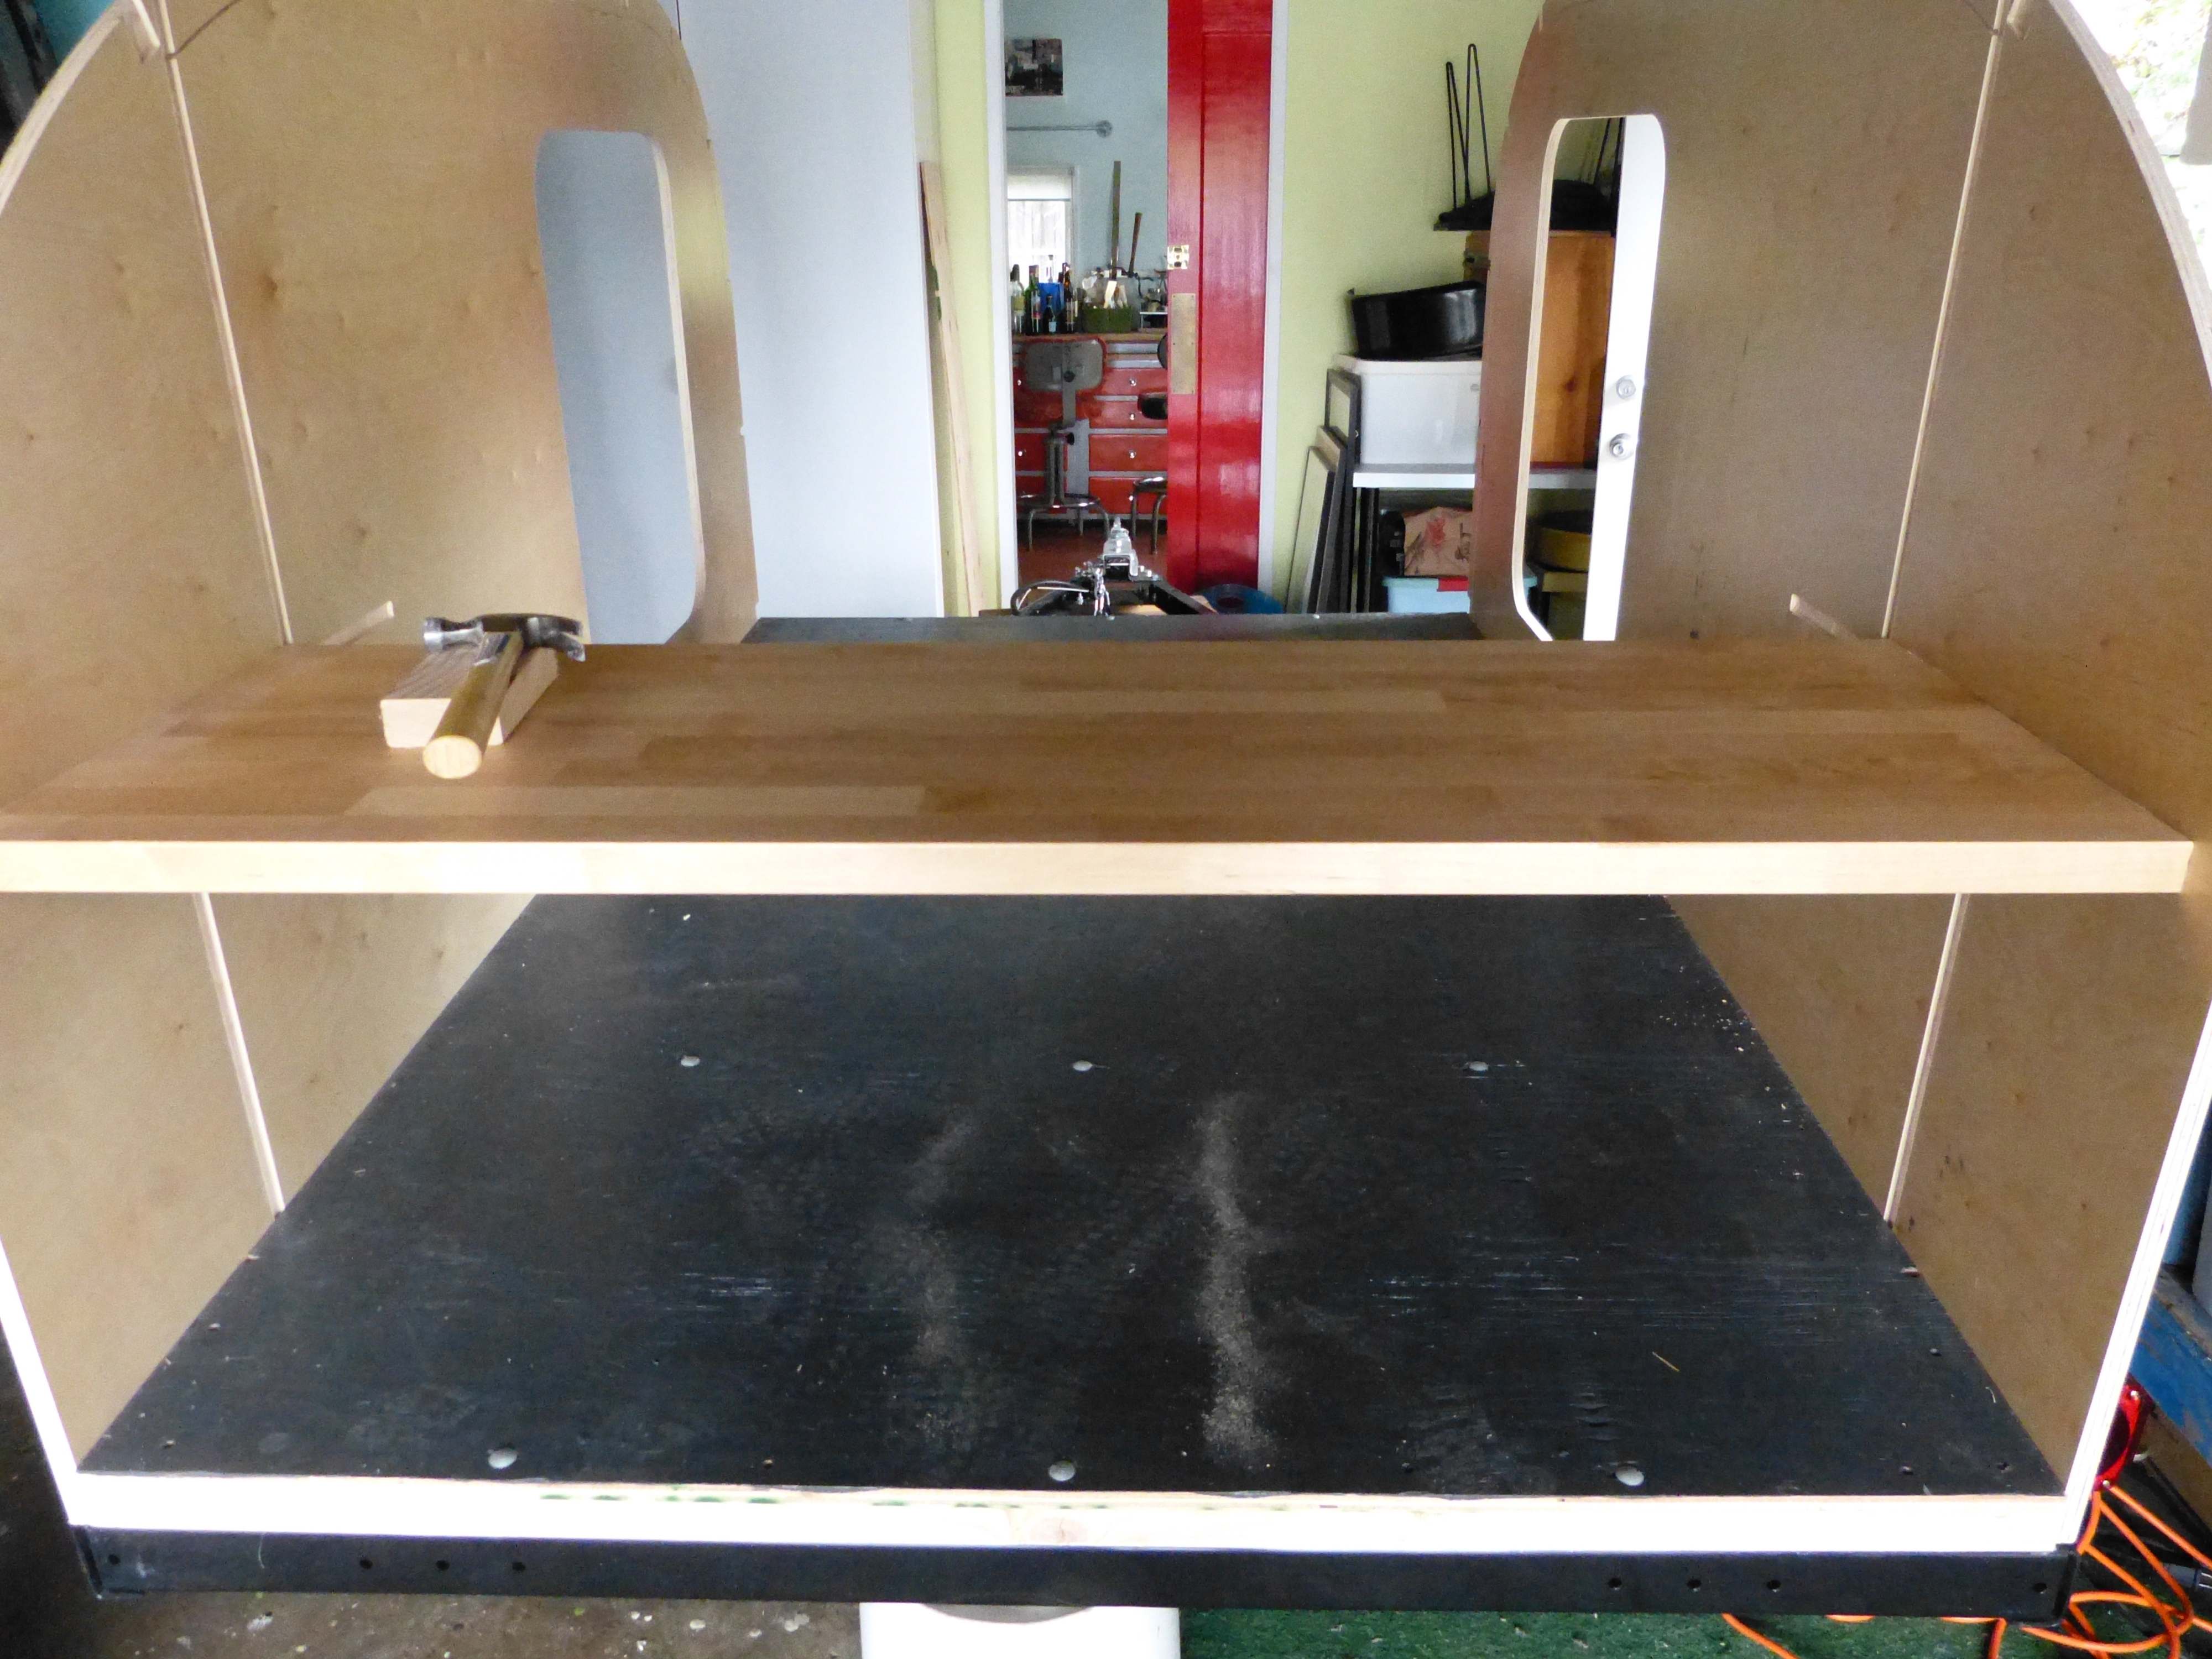
Counter top, in! We used the existing grooves to fit the countertop.
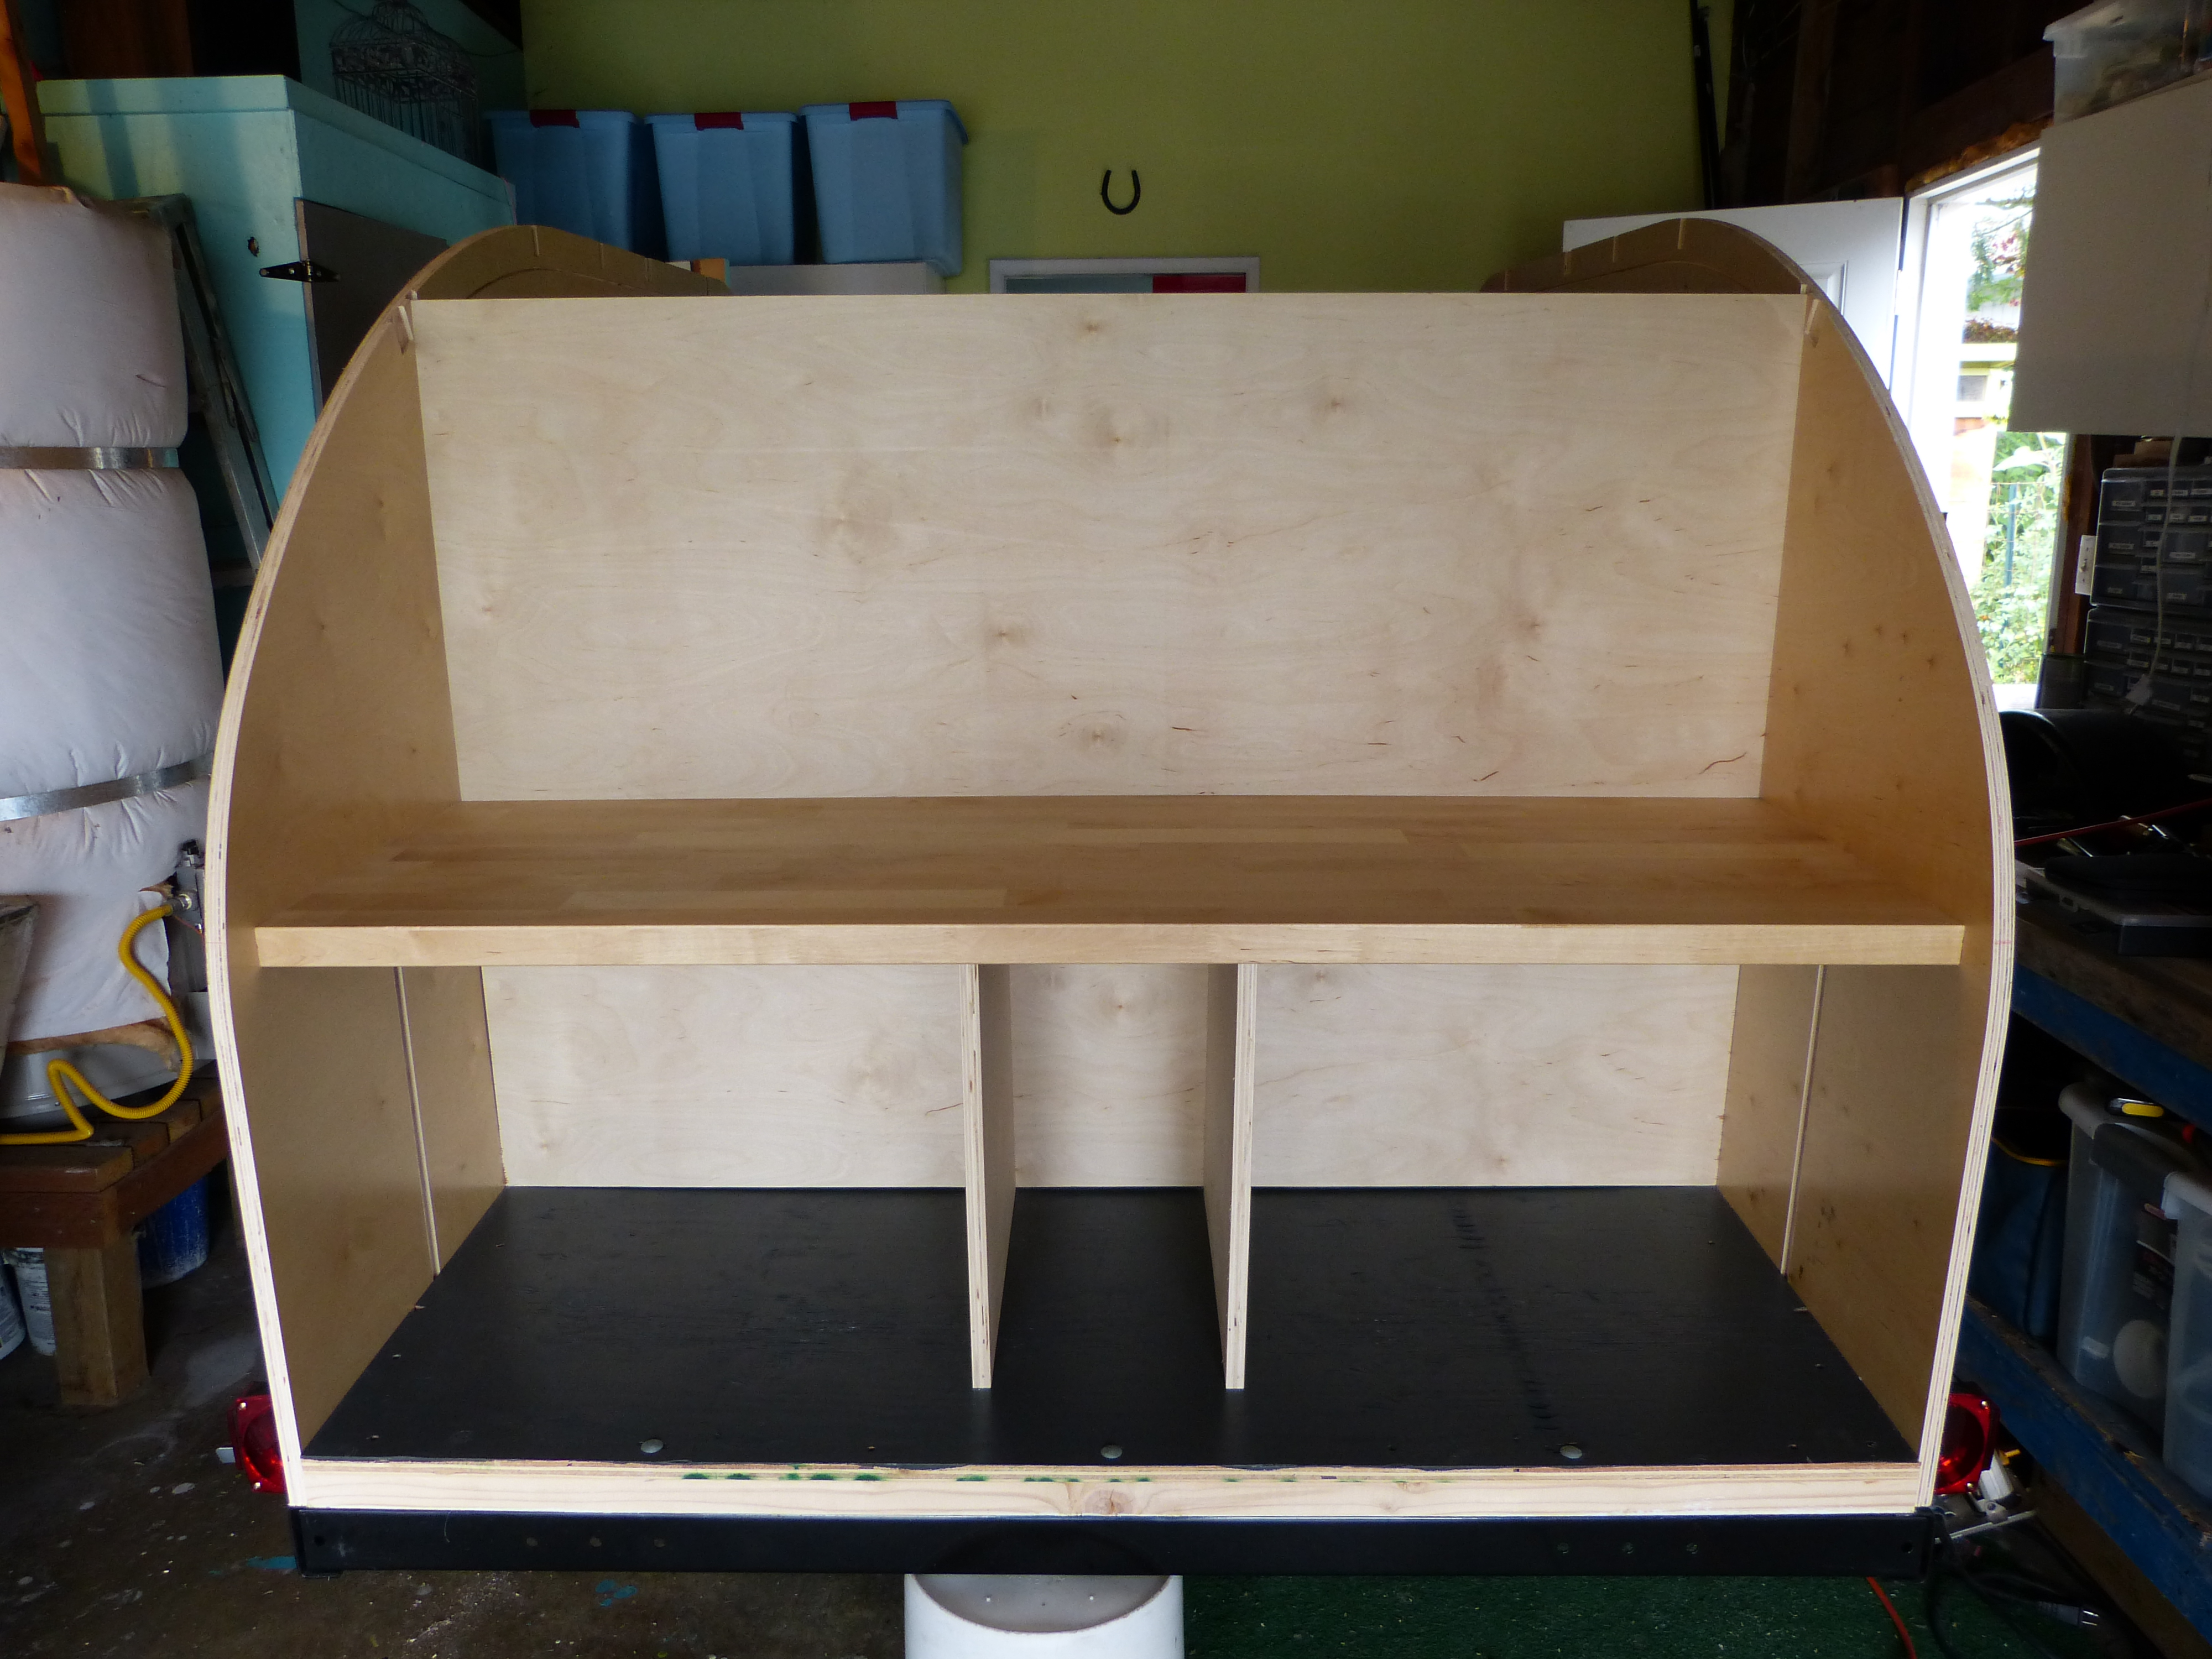
We made a few adjustments to make the kitchen bigger than the kit called for.
Saturday
Carol left Frank at home in his shed cogitating hinges and drawer construction while she and I wallpapered the interior walls of the trailer. Again with the math and measuring. It was a slow start but in the end it paid off as we finished the project relatively pain free. And it looks great! So great in fact, it left me thinking about what else I could wallpaper…That, however is a blog for another day.
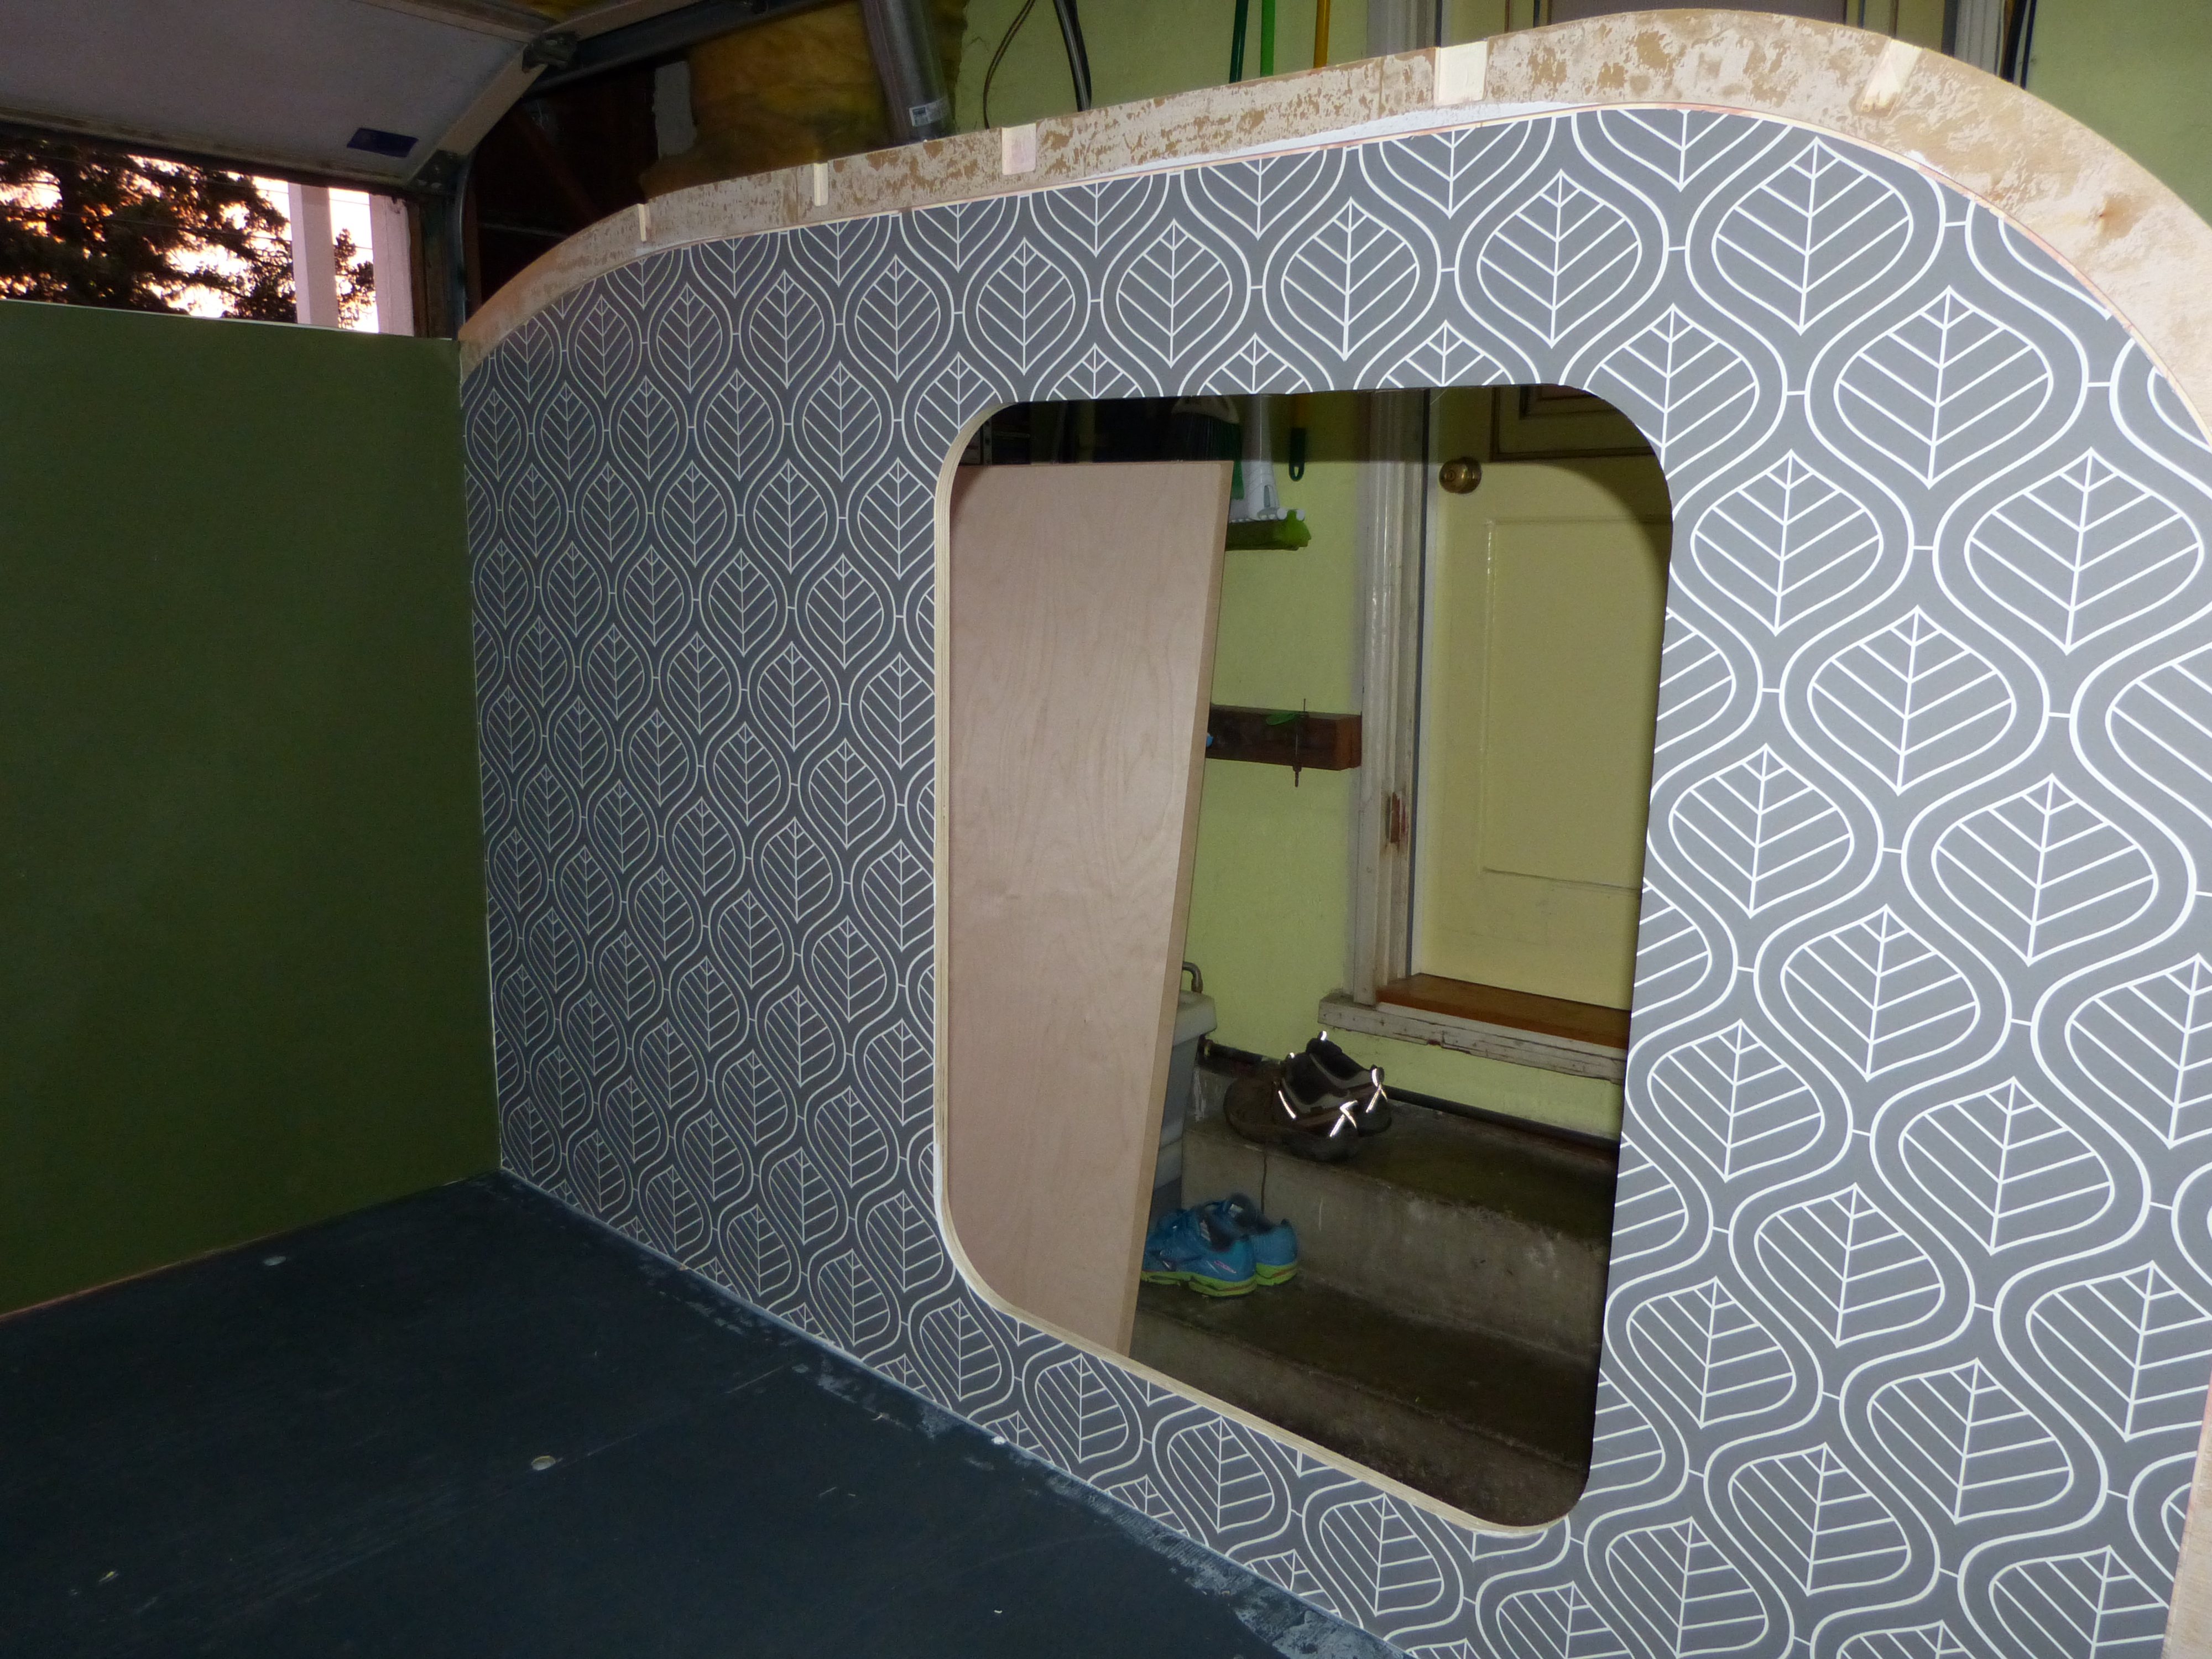
Interior wallpaper- we cut out the door openings, trimmed the top and bottom after it had dried. Also, any bubbles that were present while it was wet disappeared as the paper dried.
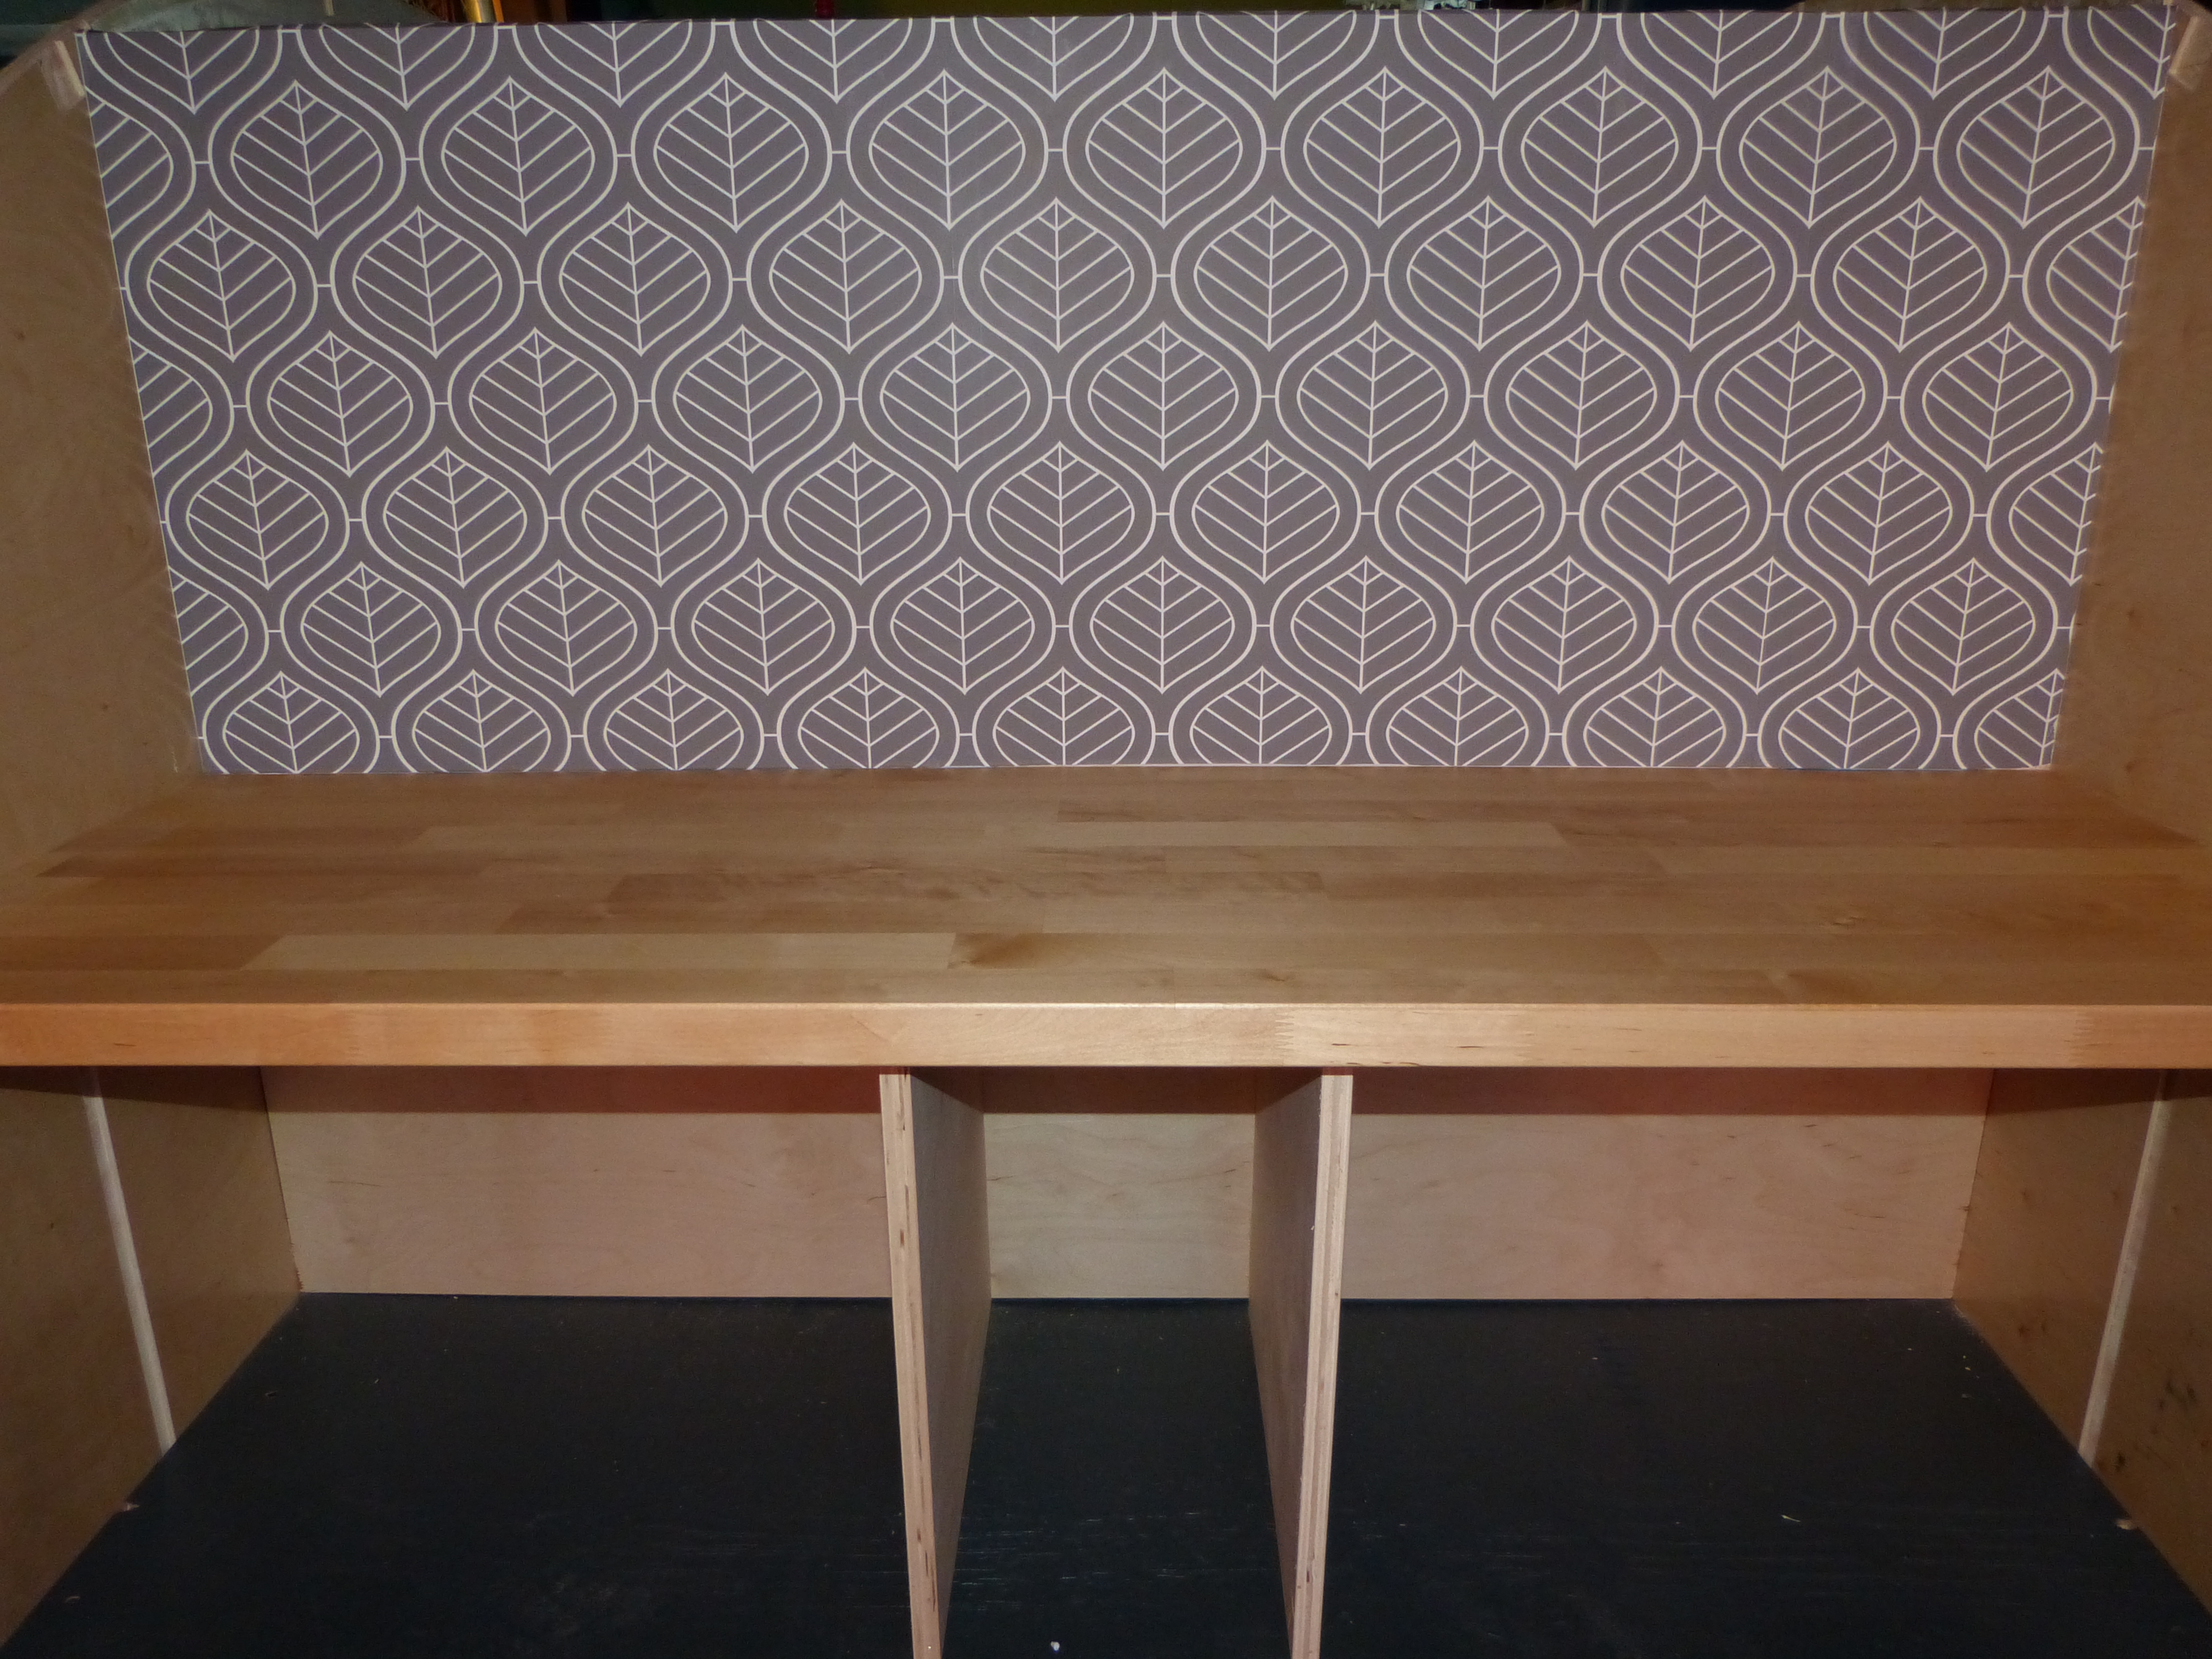
Kitchen all papered up and waiting for cabinetry.
Correction for last week’s post:
A certain person pointed out that the trailer chassis “didn’t just show up assembled”. This person thought my readers should know that the trailer chassis purchased from Northern Tool requires assembly. Now you know.


Recent Comments