do it yourself

Teardrop Chronicle #5: Trim Installation and a Few Words of Wisdom

P1080133

Two weeks since my last post, largely because much of the past two weeks were spent waiting on the arrival of supplies. And I had to go to work. Work can really get in the way of progress.

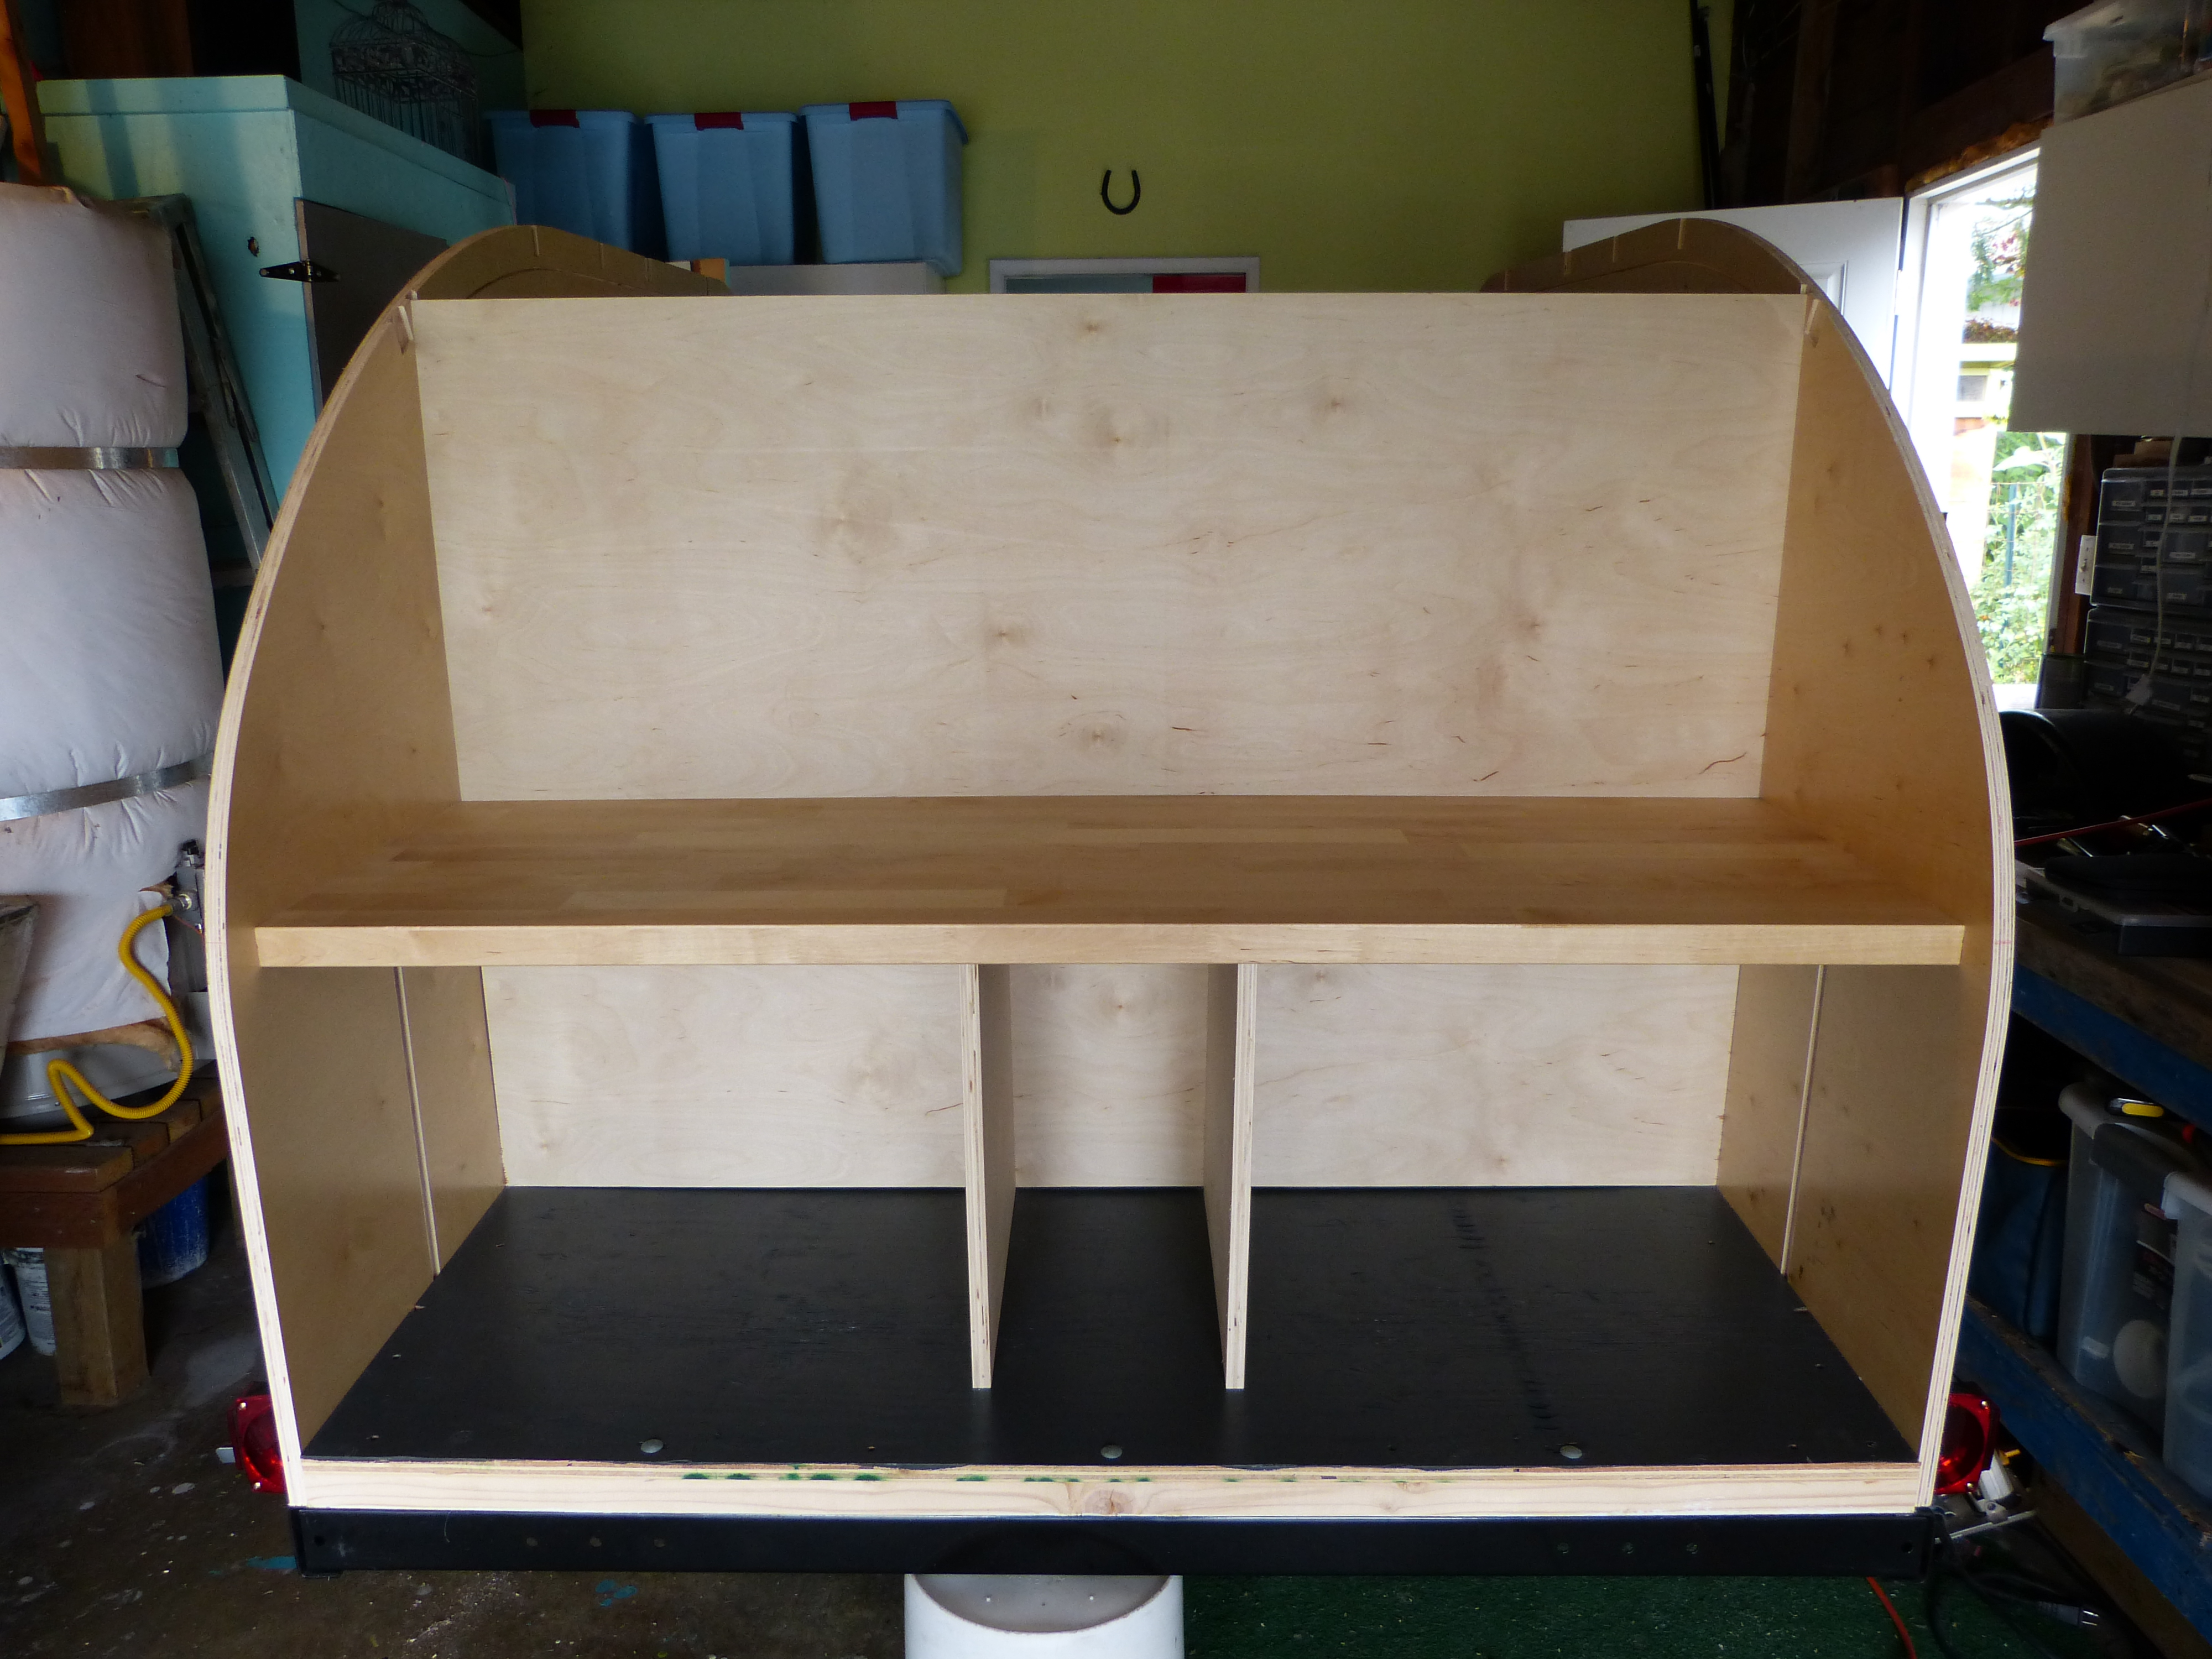
While we were waiting though we did manage to finish trimming out the interior and the galley. My dad also made some great progress on the galley cabinetry.

P1080128

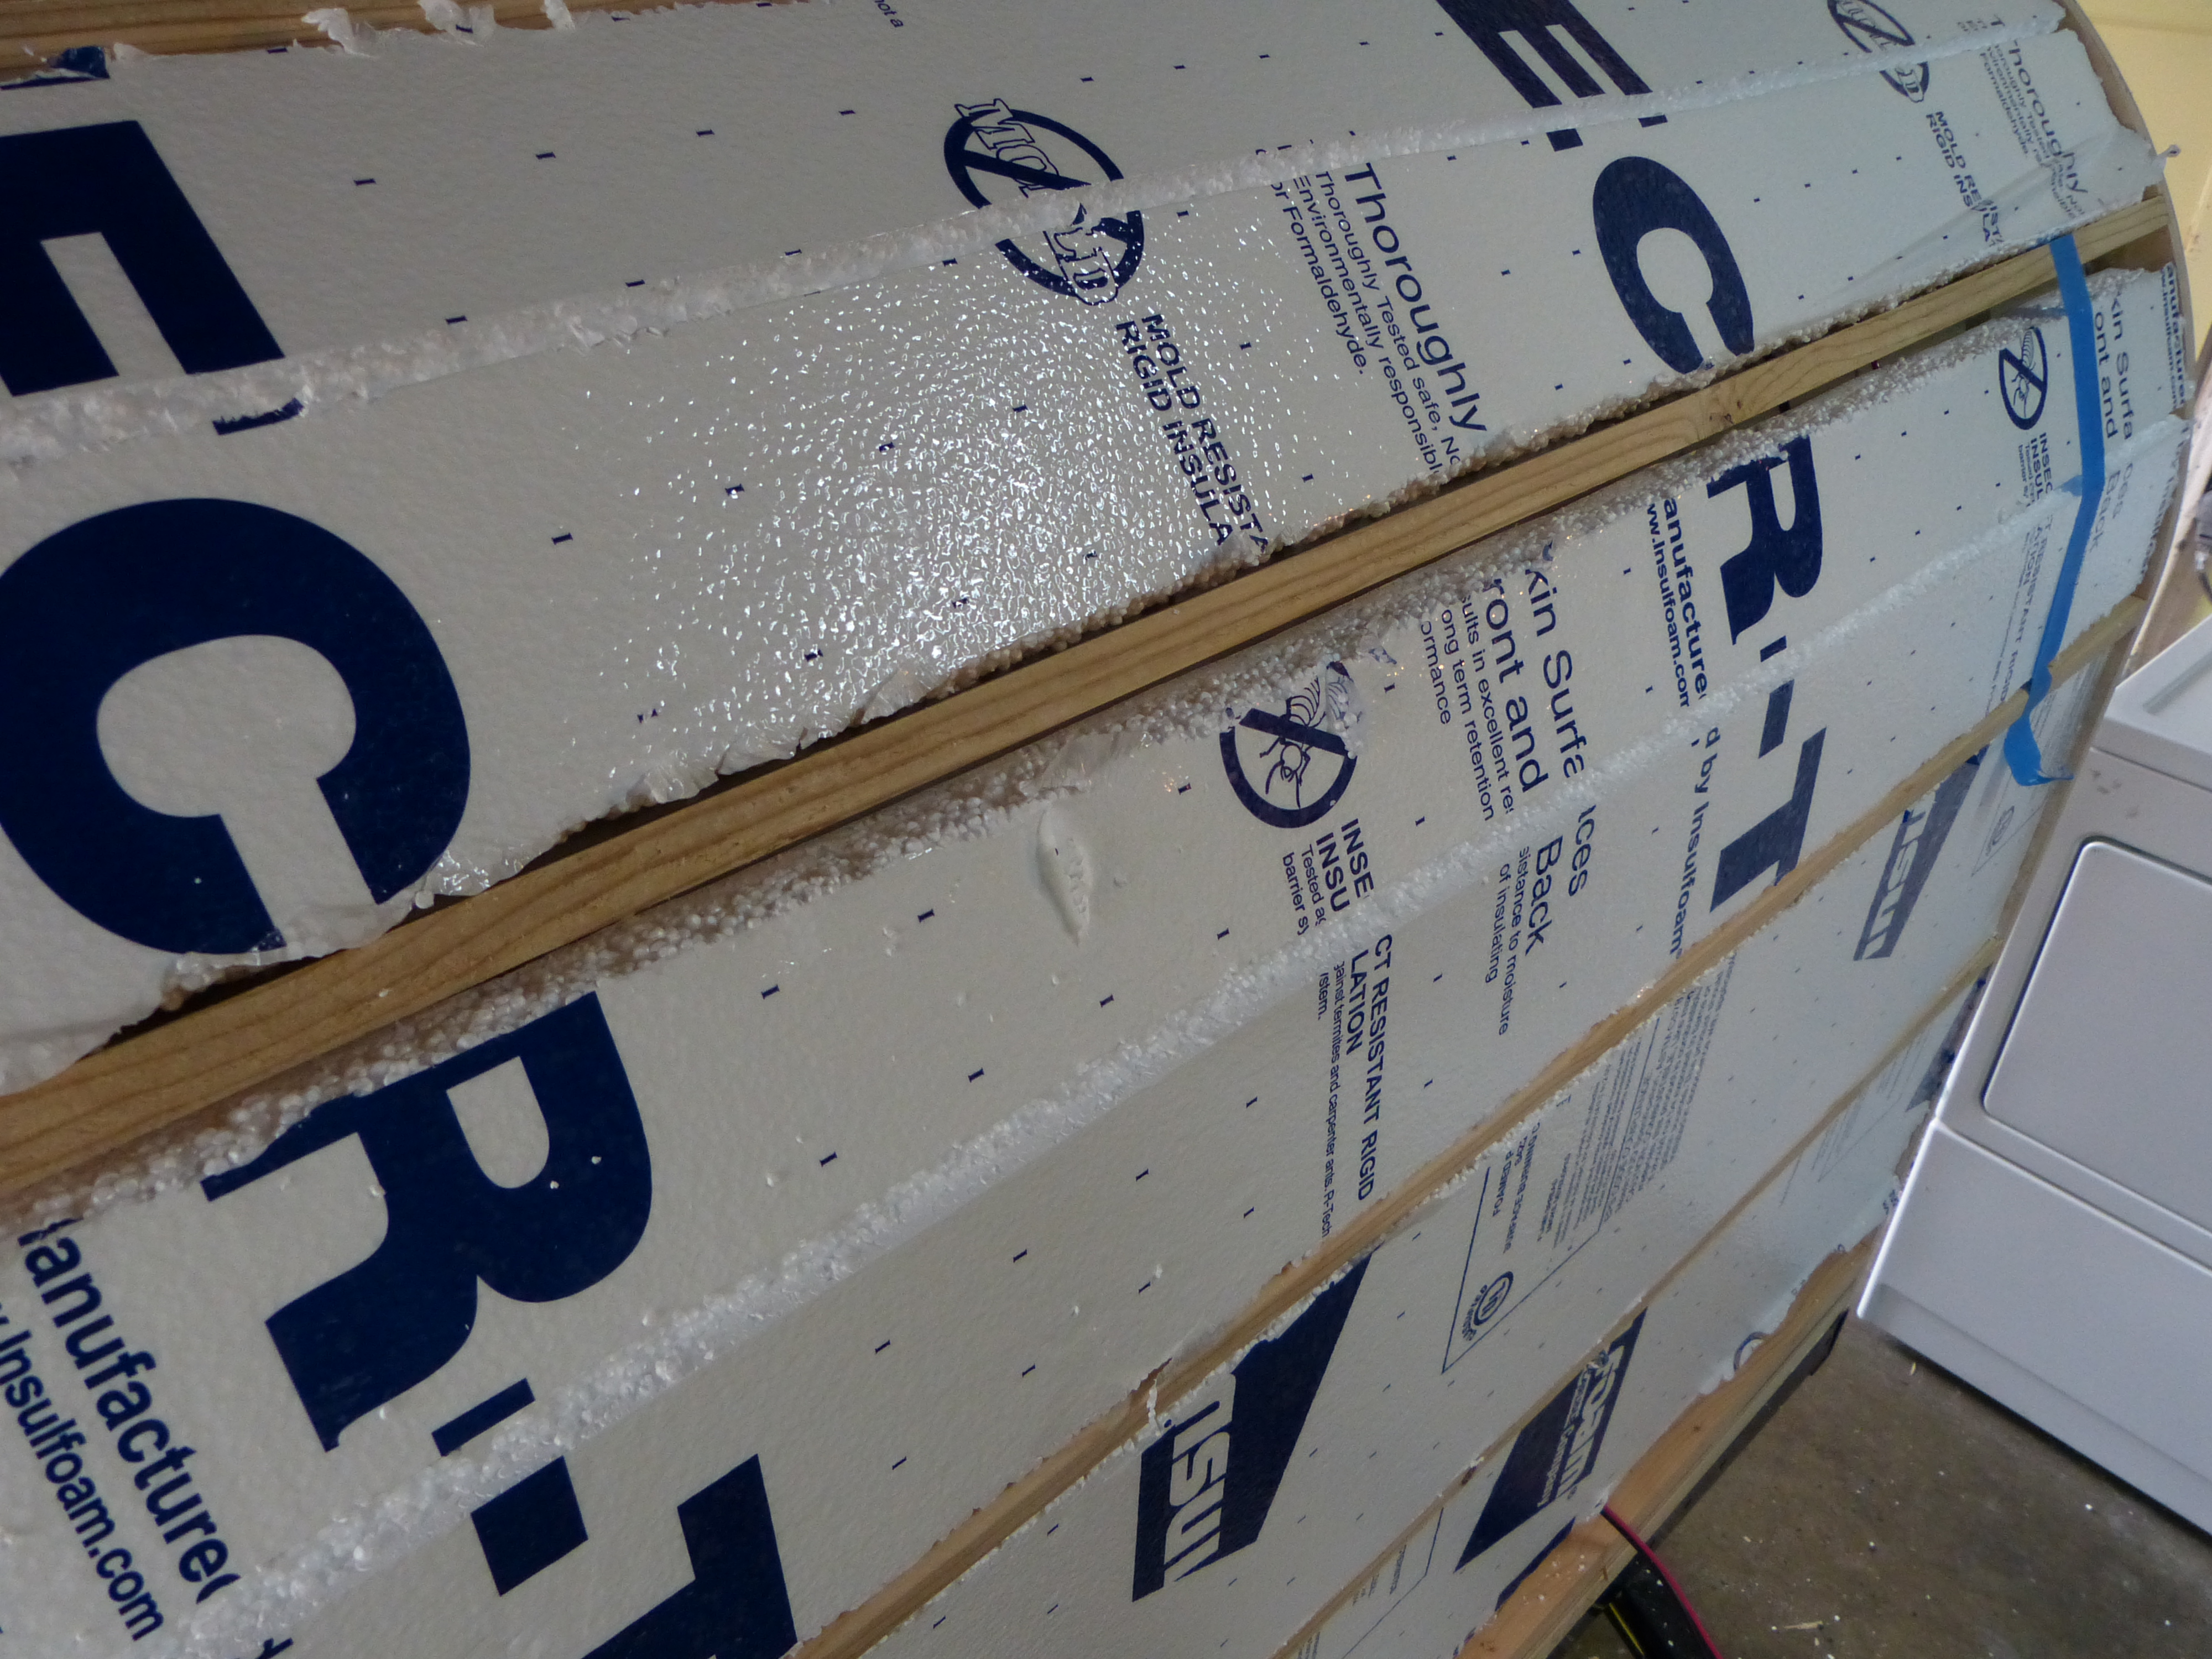
But first we cut and glued the insulation into place. For this we used 1 1/2″ R TEC for the trailer an 1″ for the hatch, and an adhesive safe for use with polystyrene. Other than covering every surface of the garage with a fine coating of this stuff this portion of the project was fairly hassle free.

P1080087

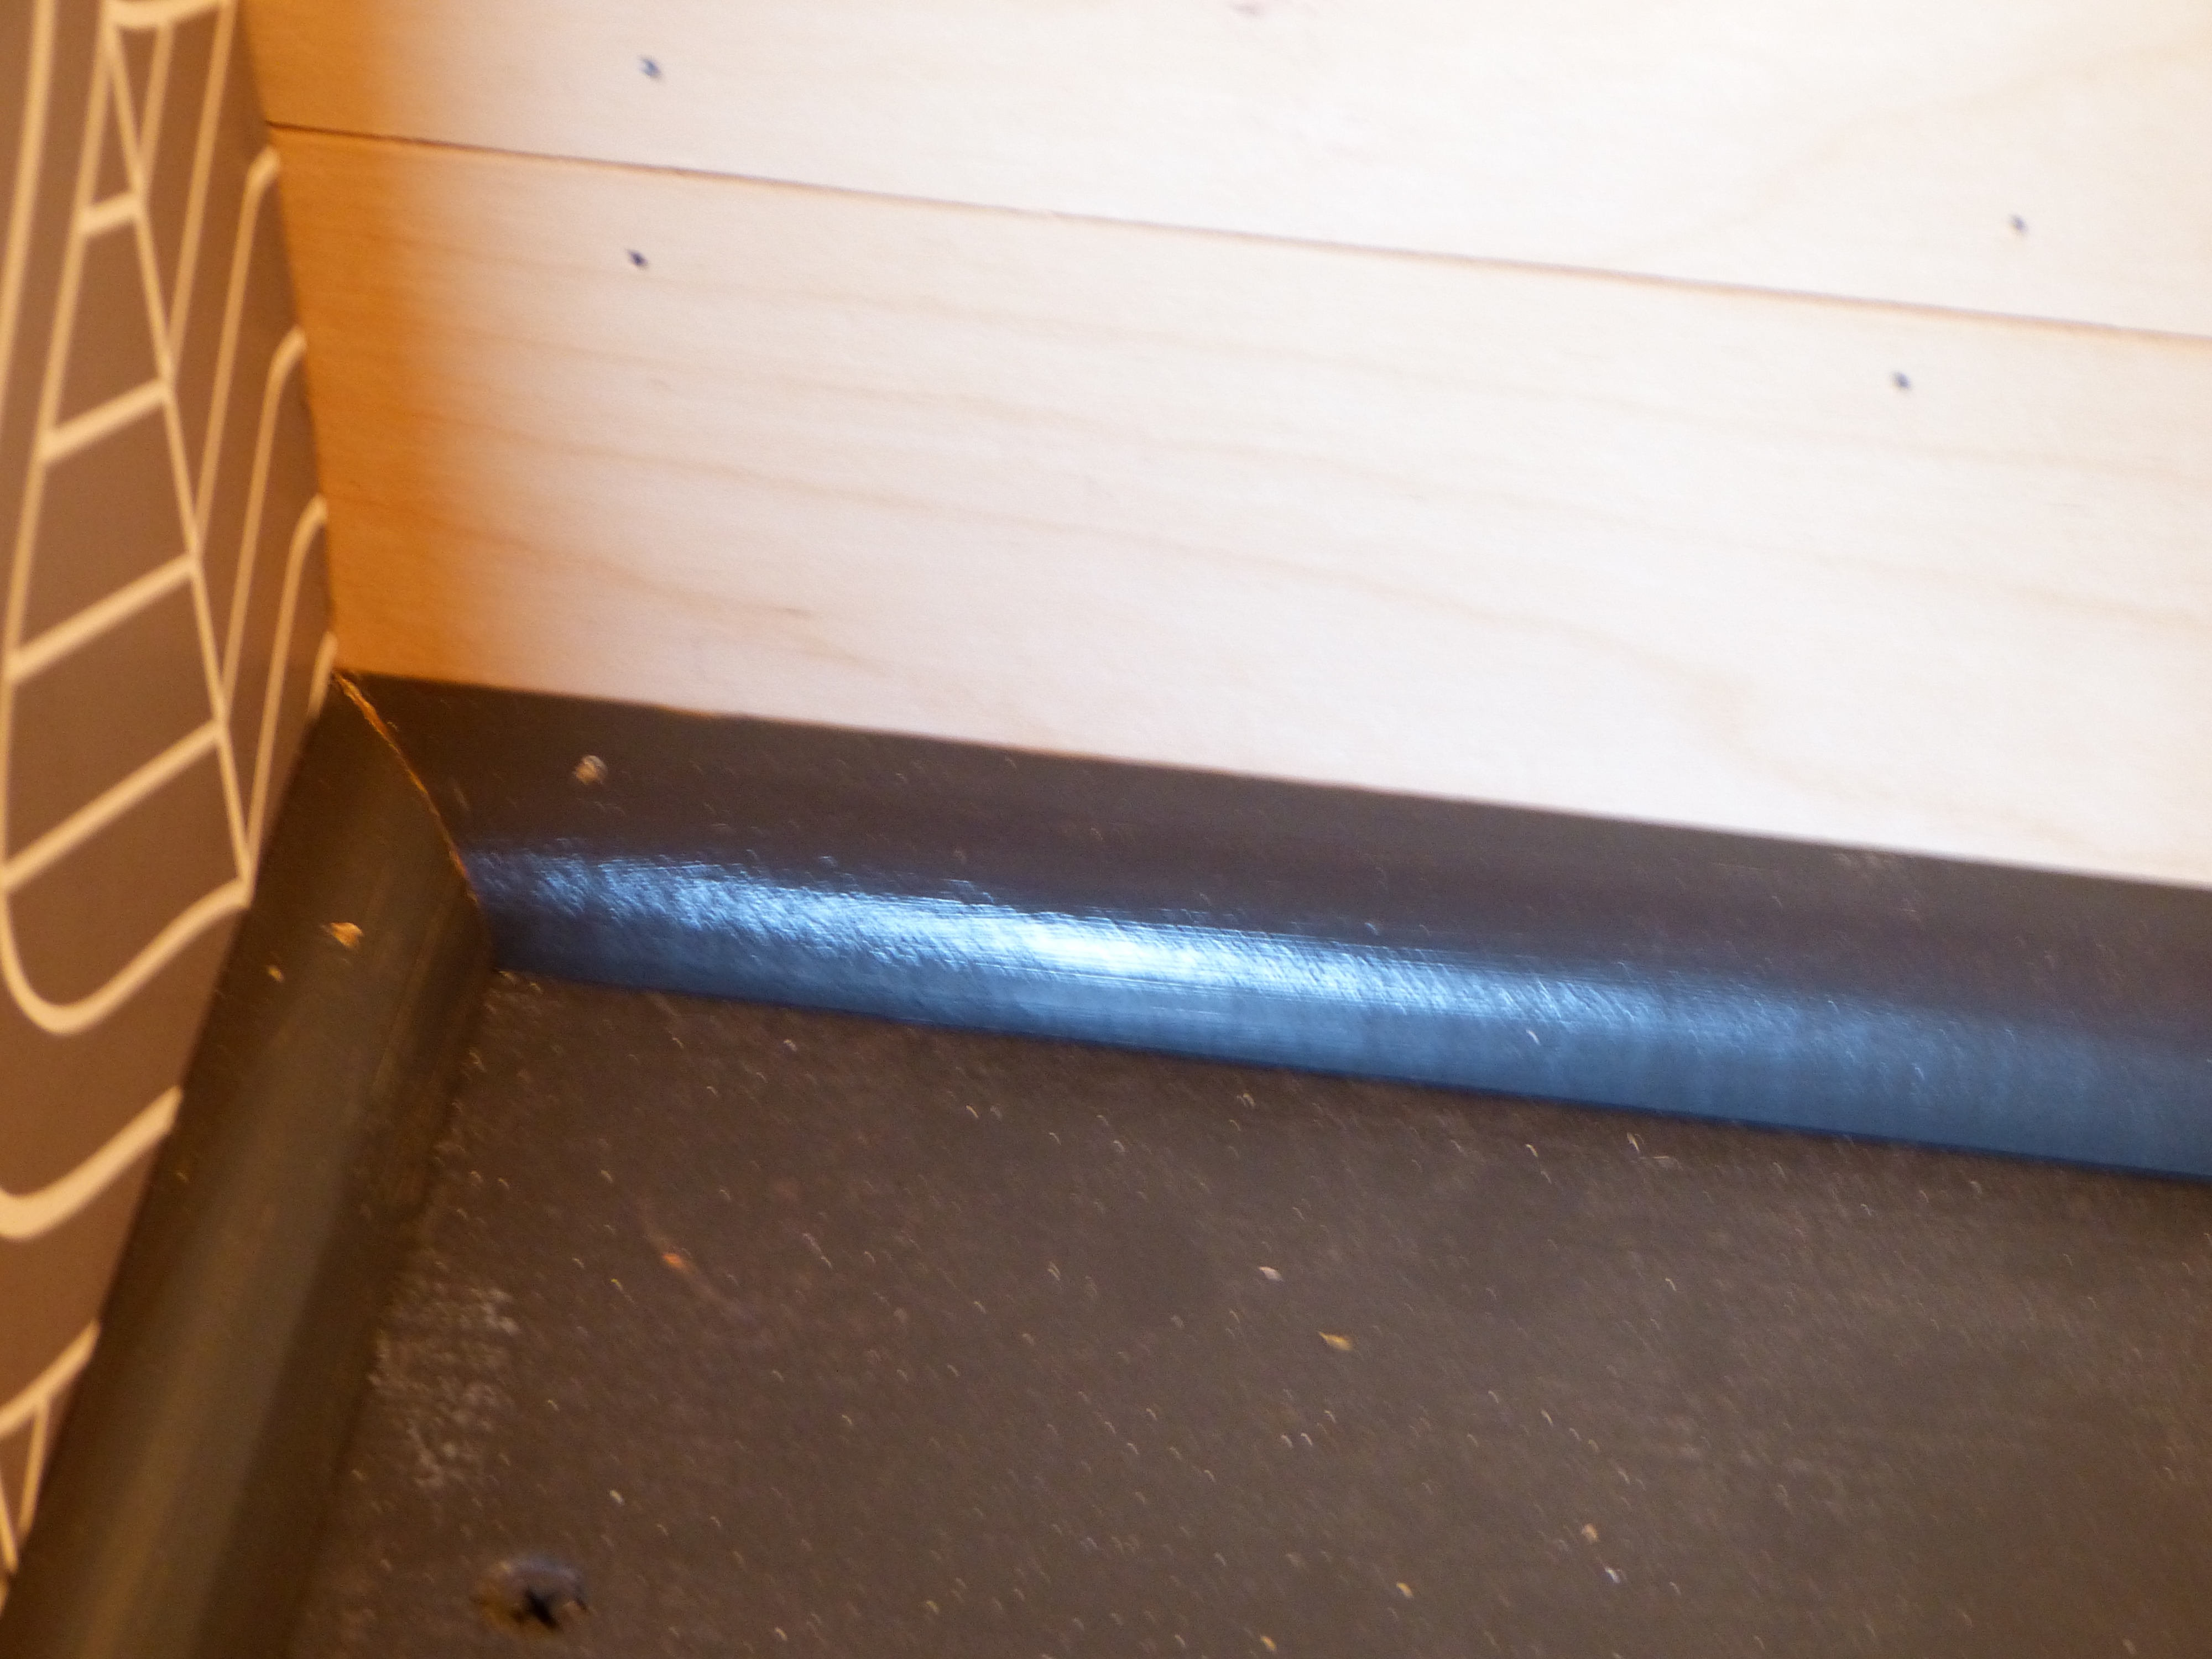
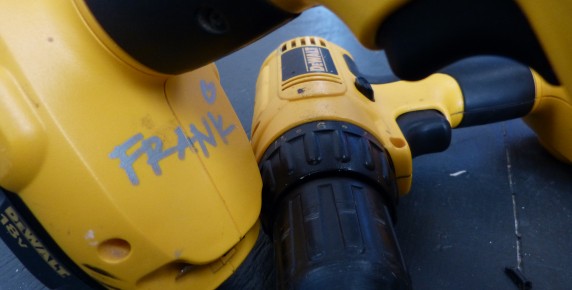
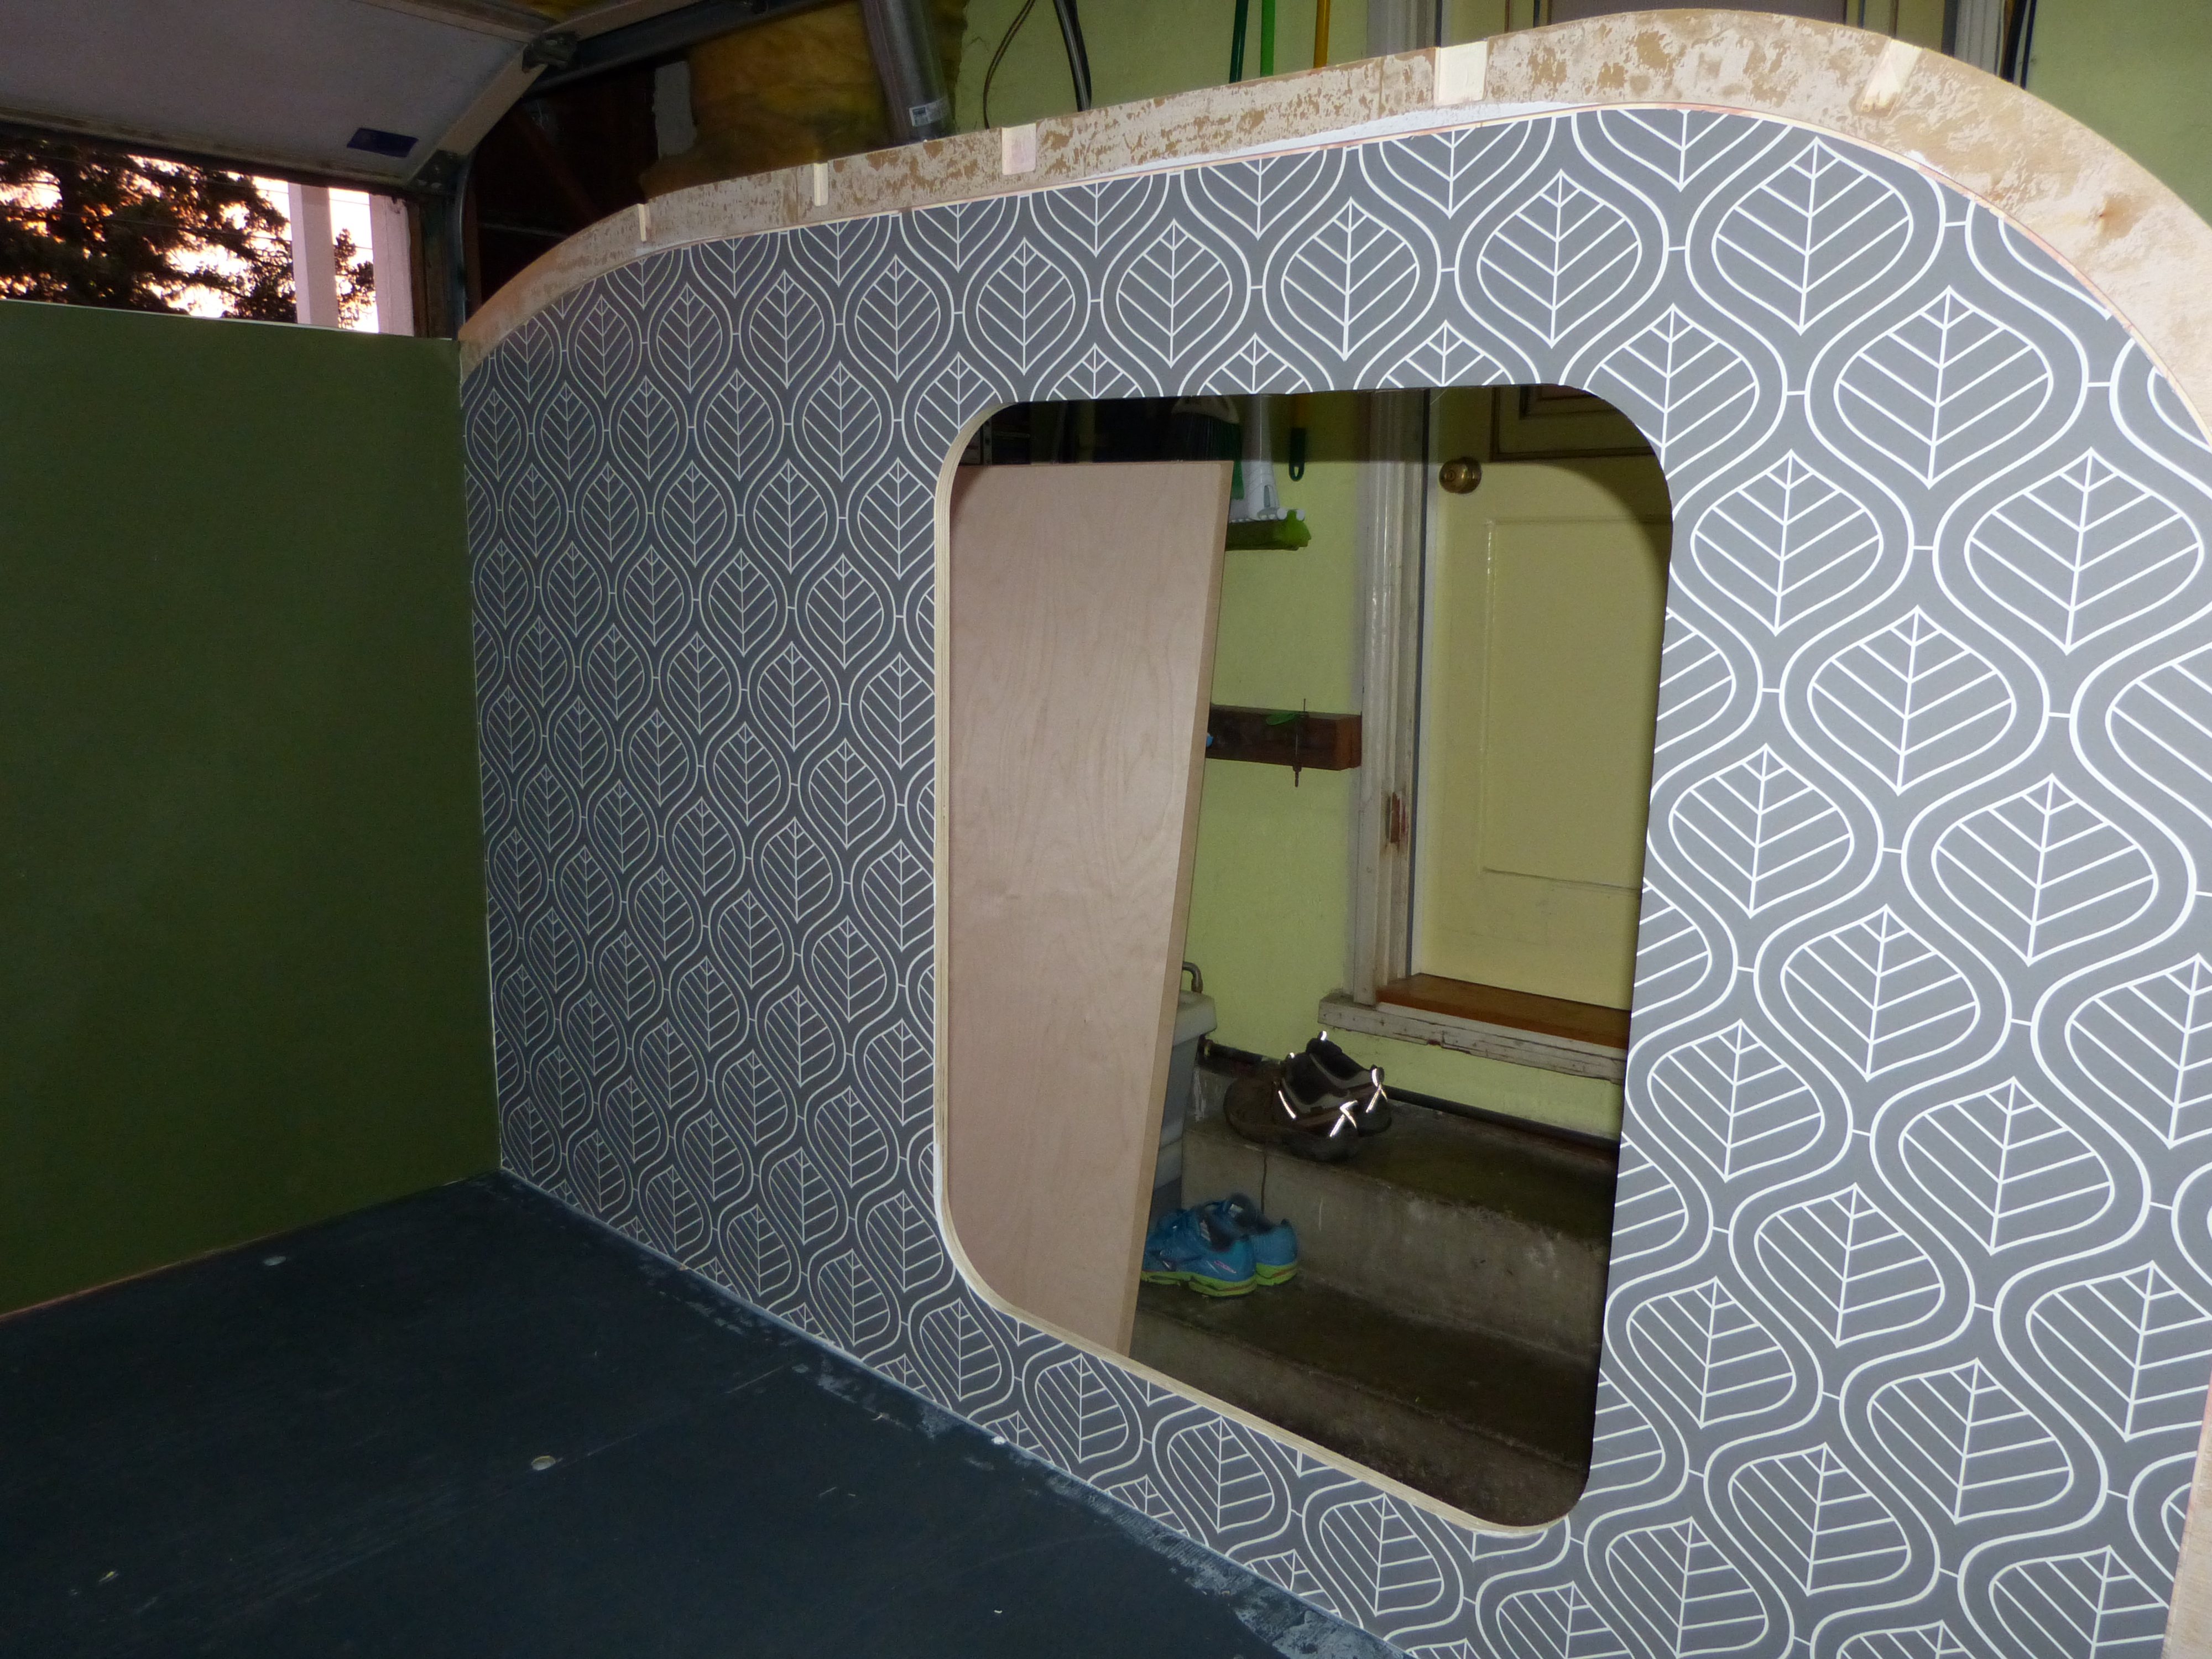
Then we used 1/2″ quarter round to trim the around the bottom of the interior walls, and this really tiny, bendy (and easily broken) quarter round at the top, as well as to frame out the galley corners and counter top. I think maybe we should have soaked it to make it more bendy as it snapped several times while we were installing it, eliciting some “colorful” language from Frank. Fortunately wood filler can hide just about anything. Just don’t look to close.

P1080097


P1080100

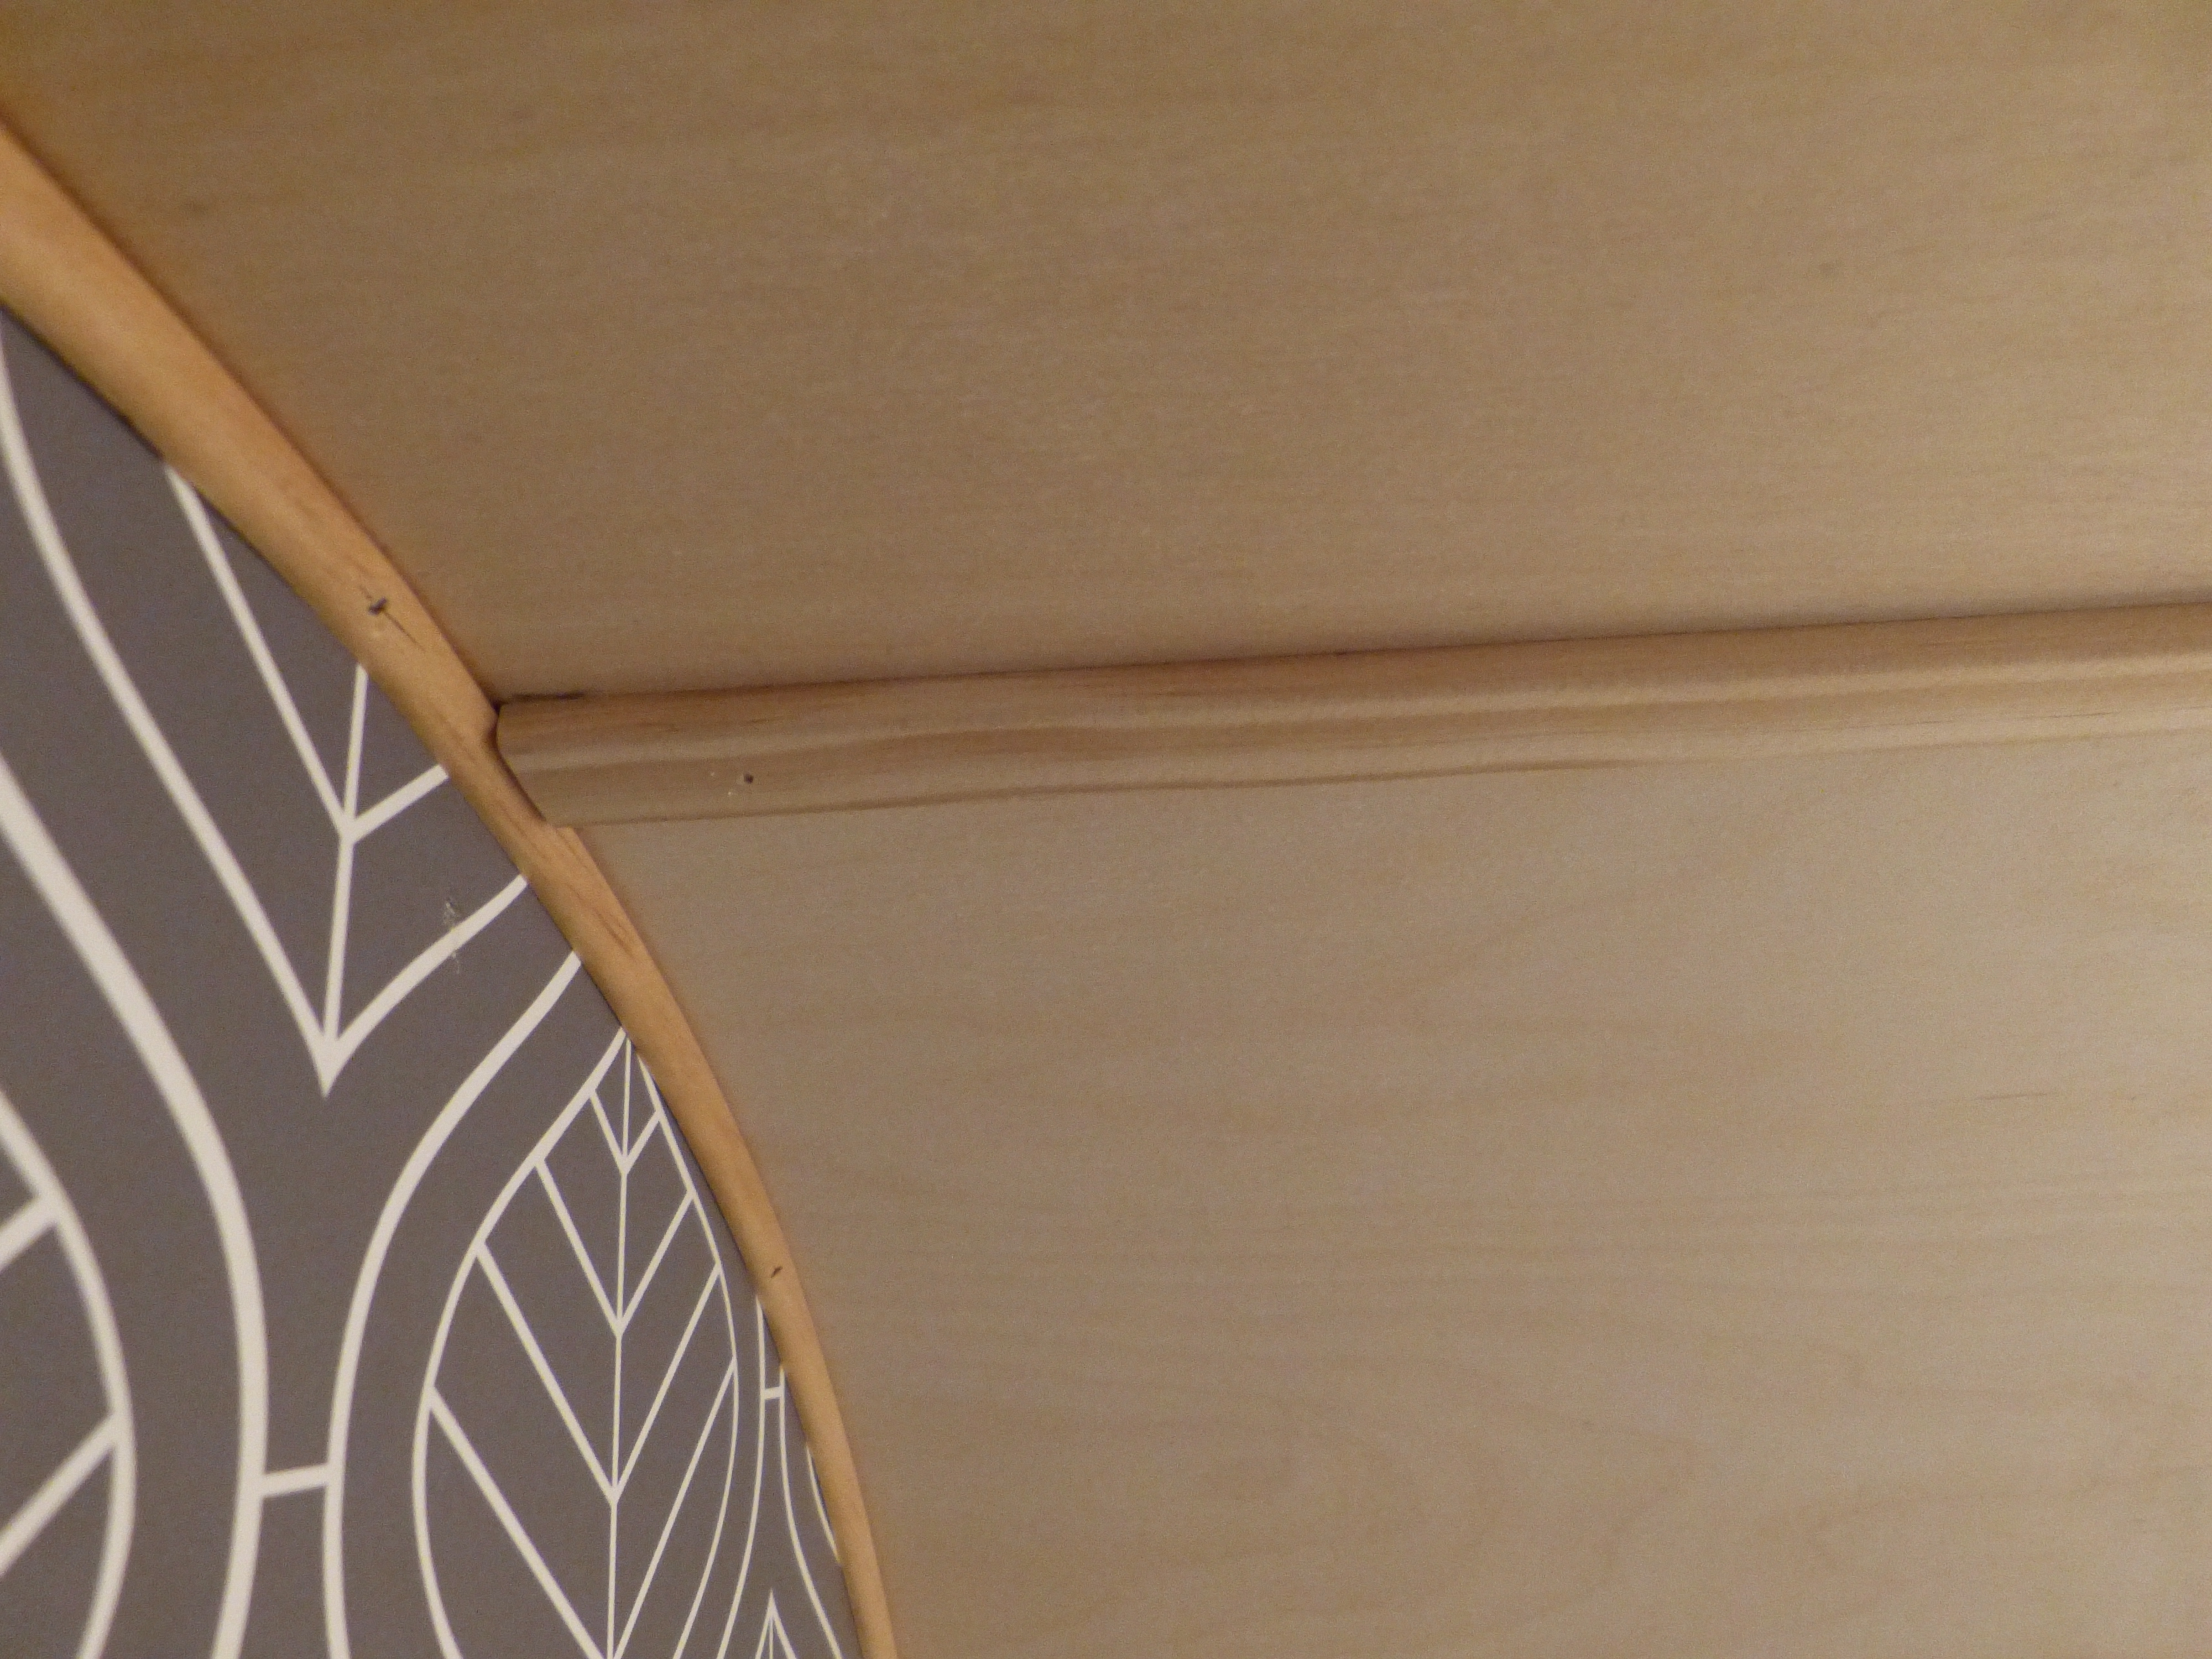
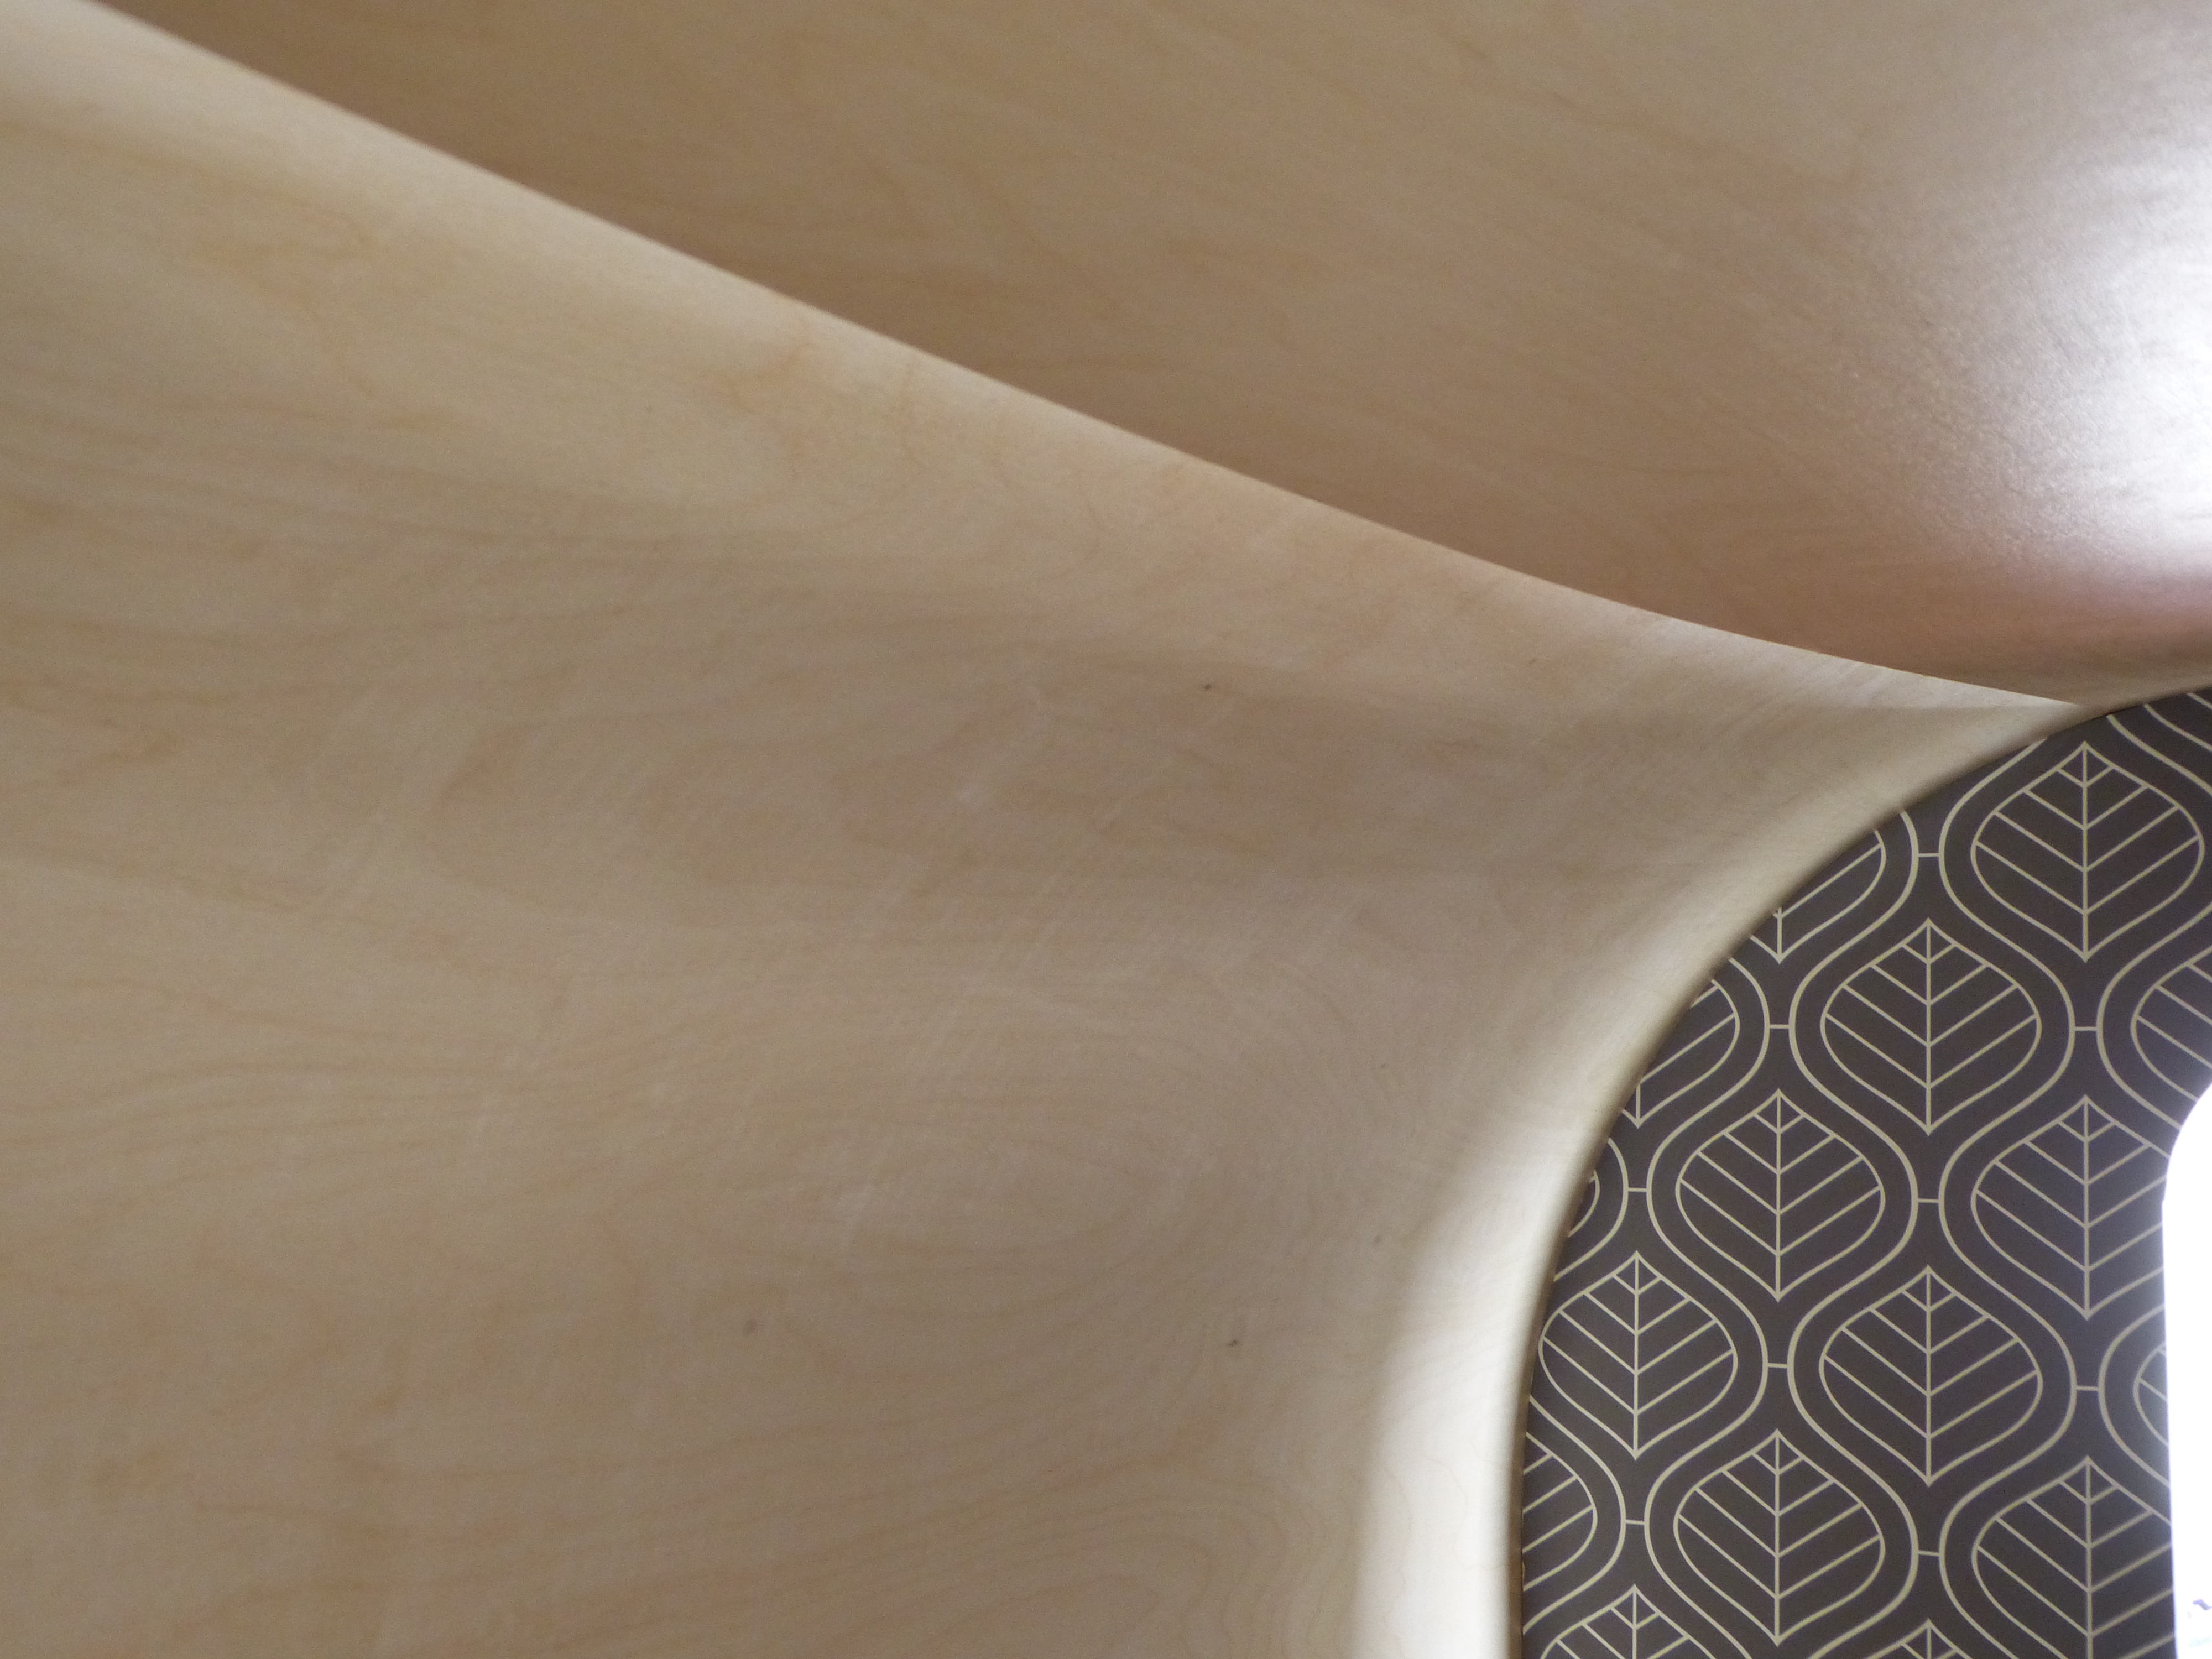
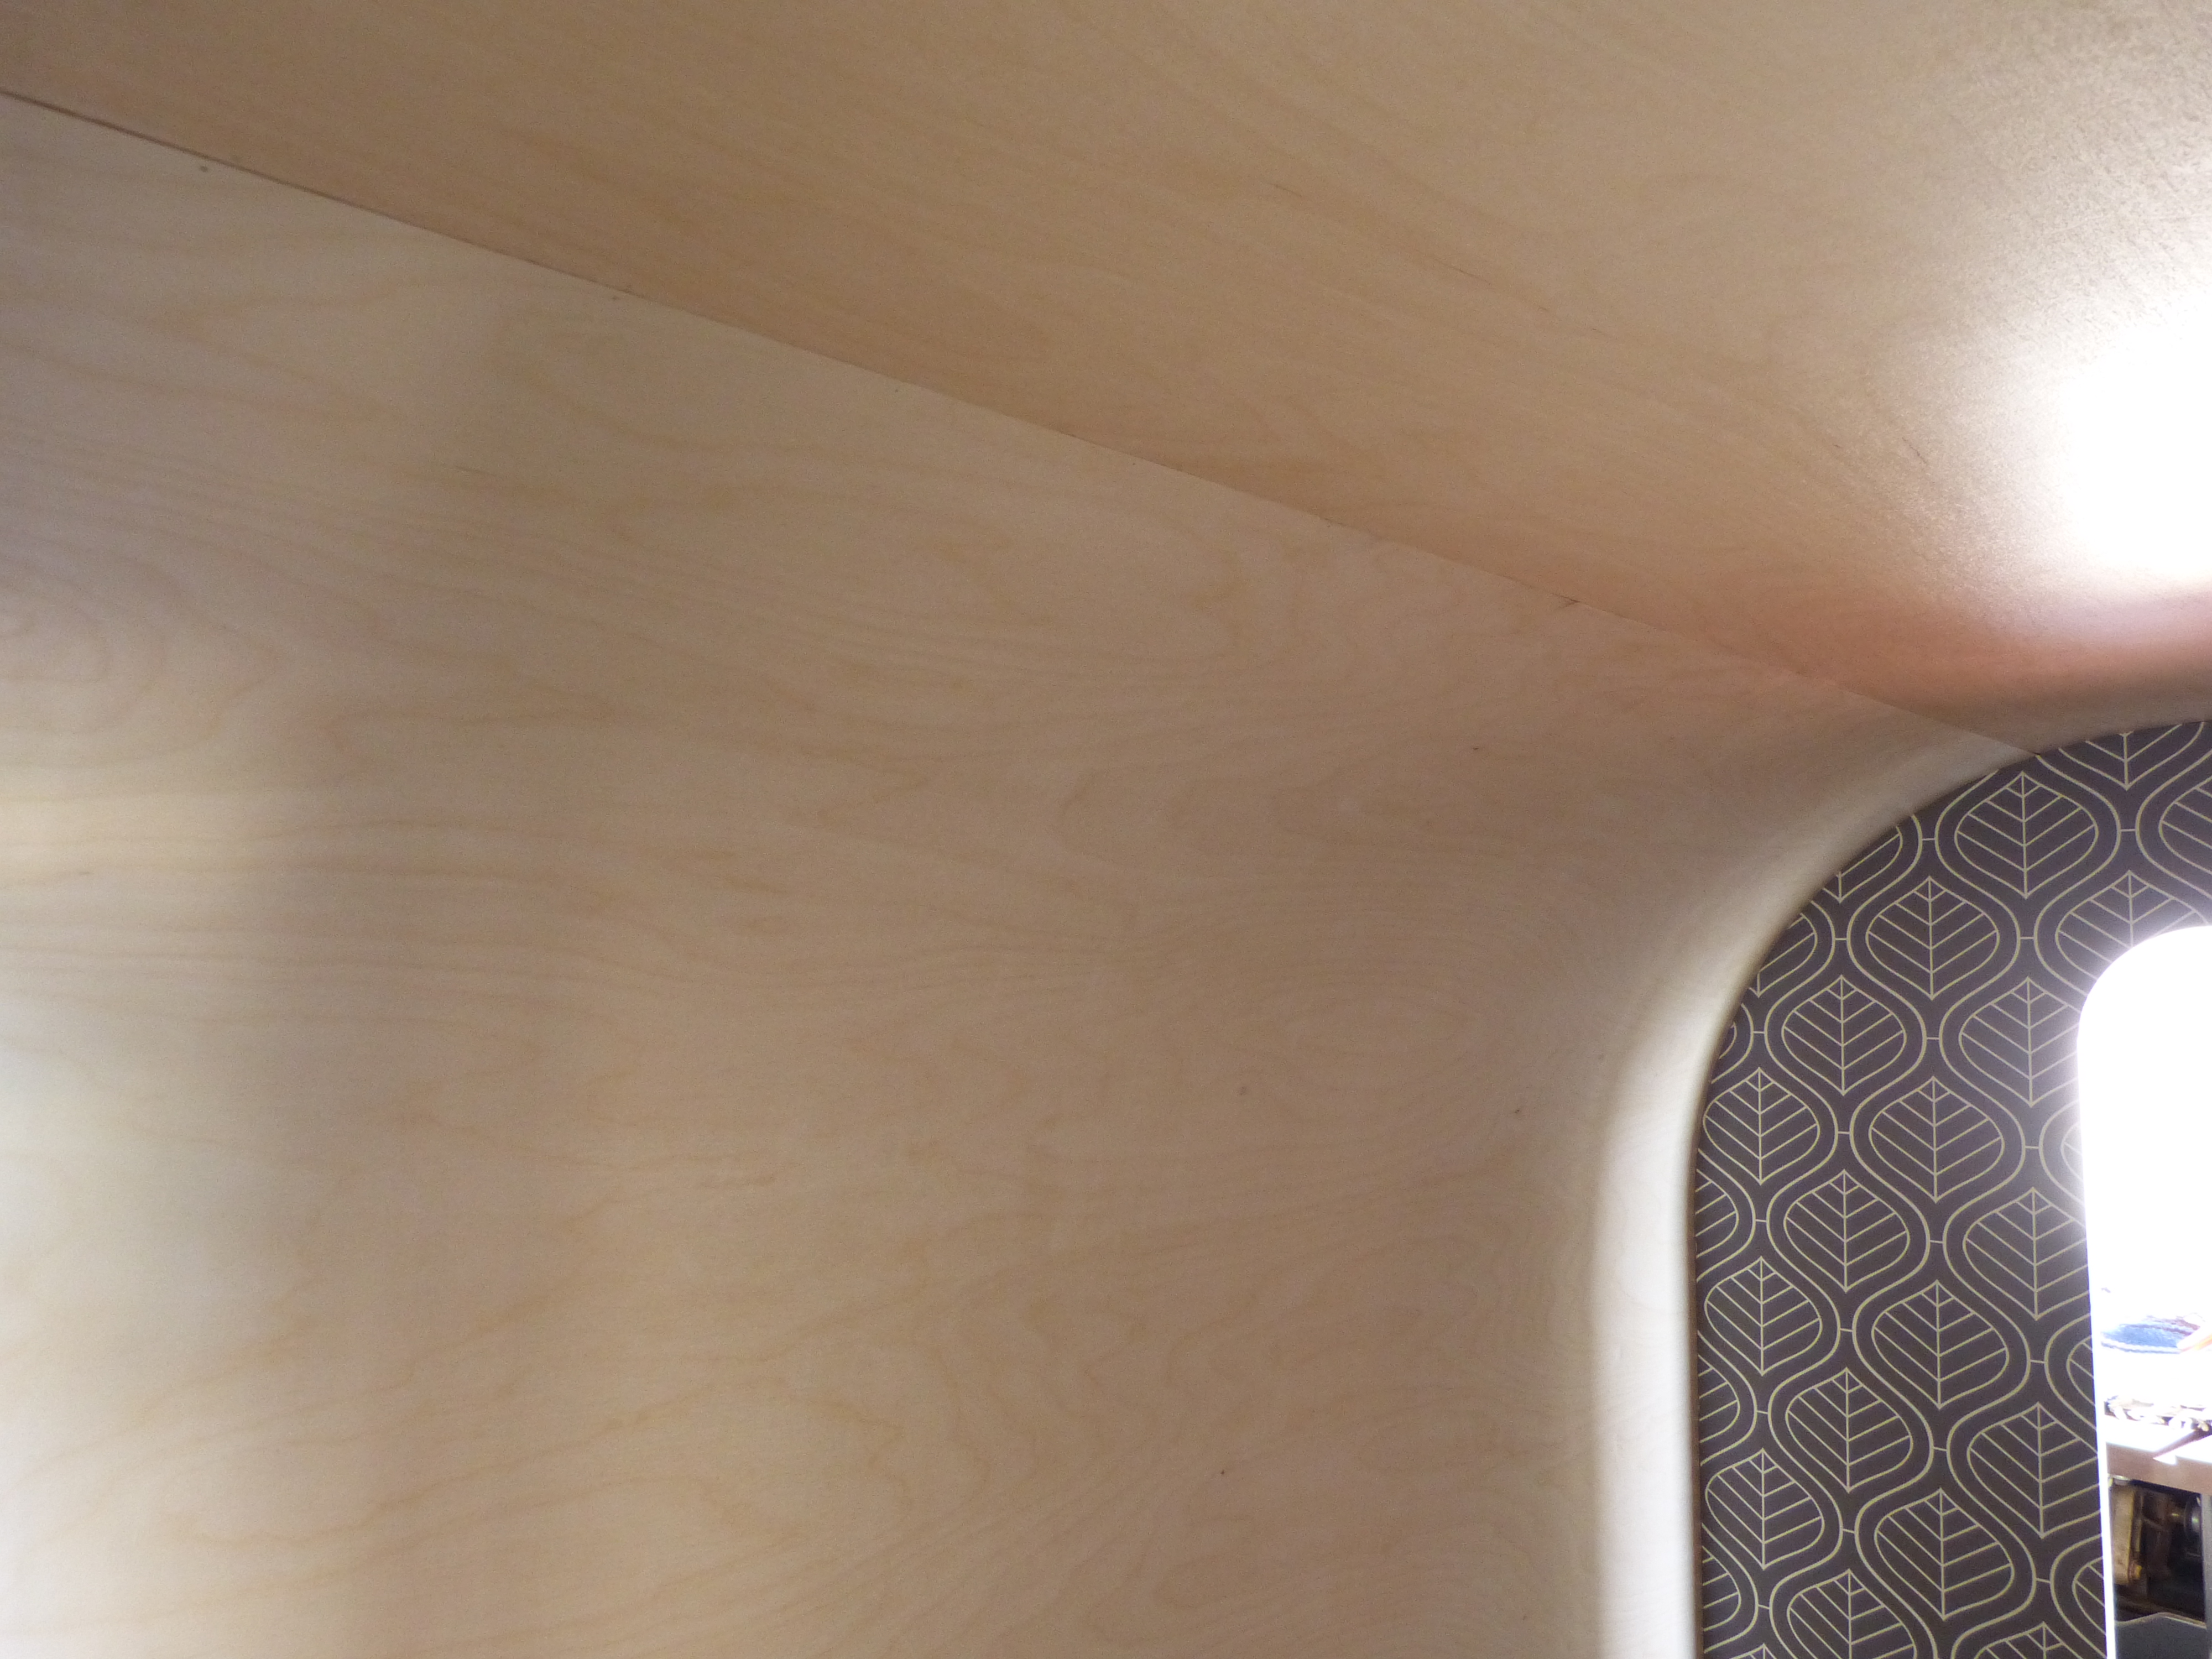
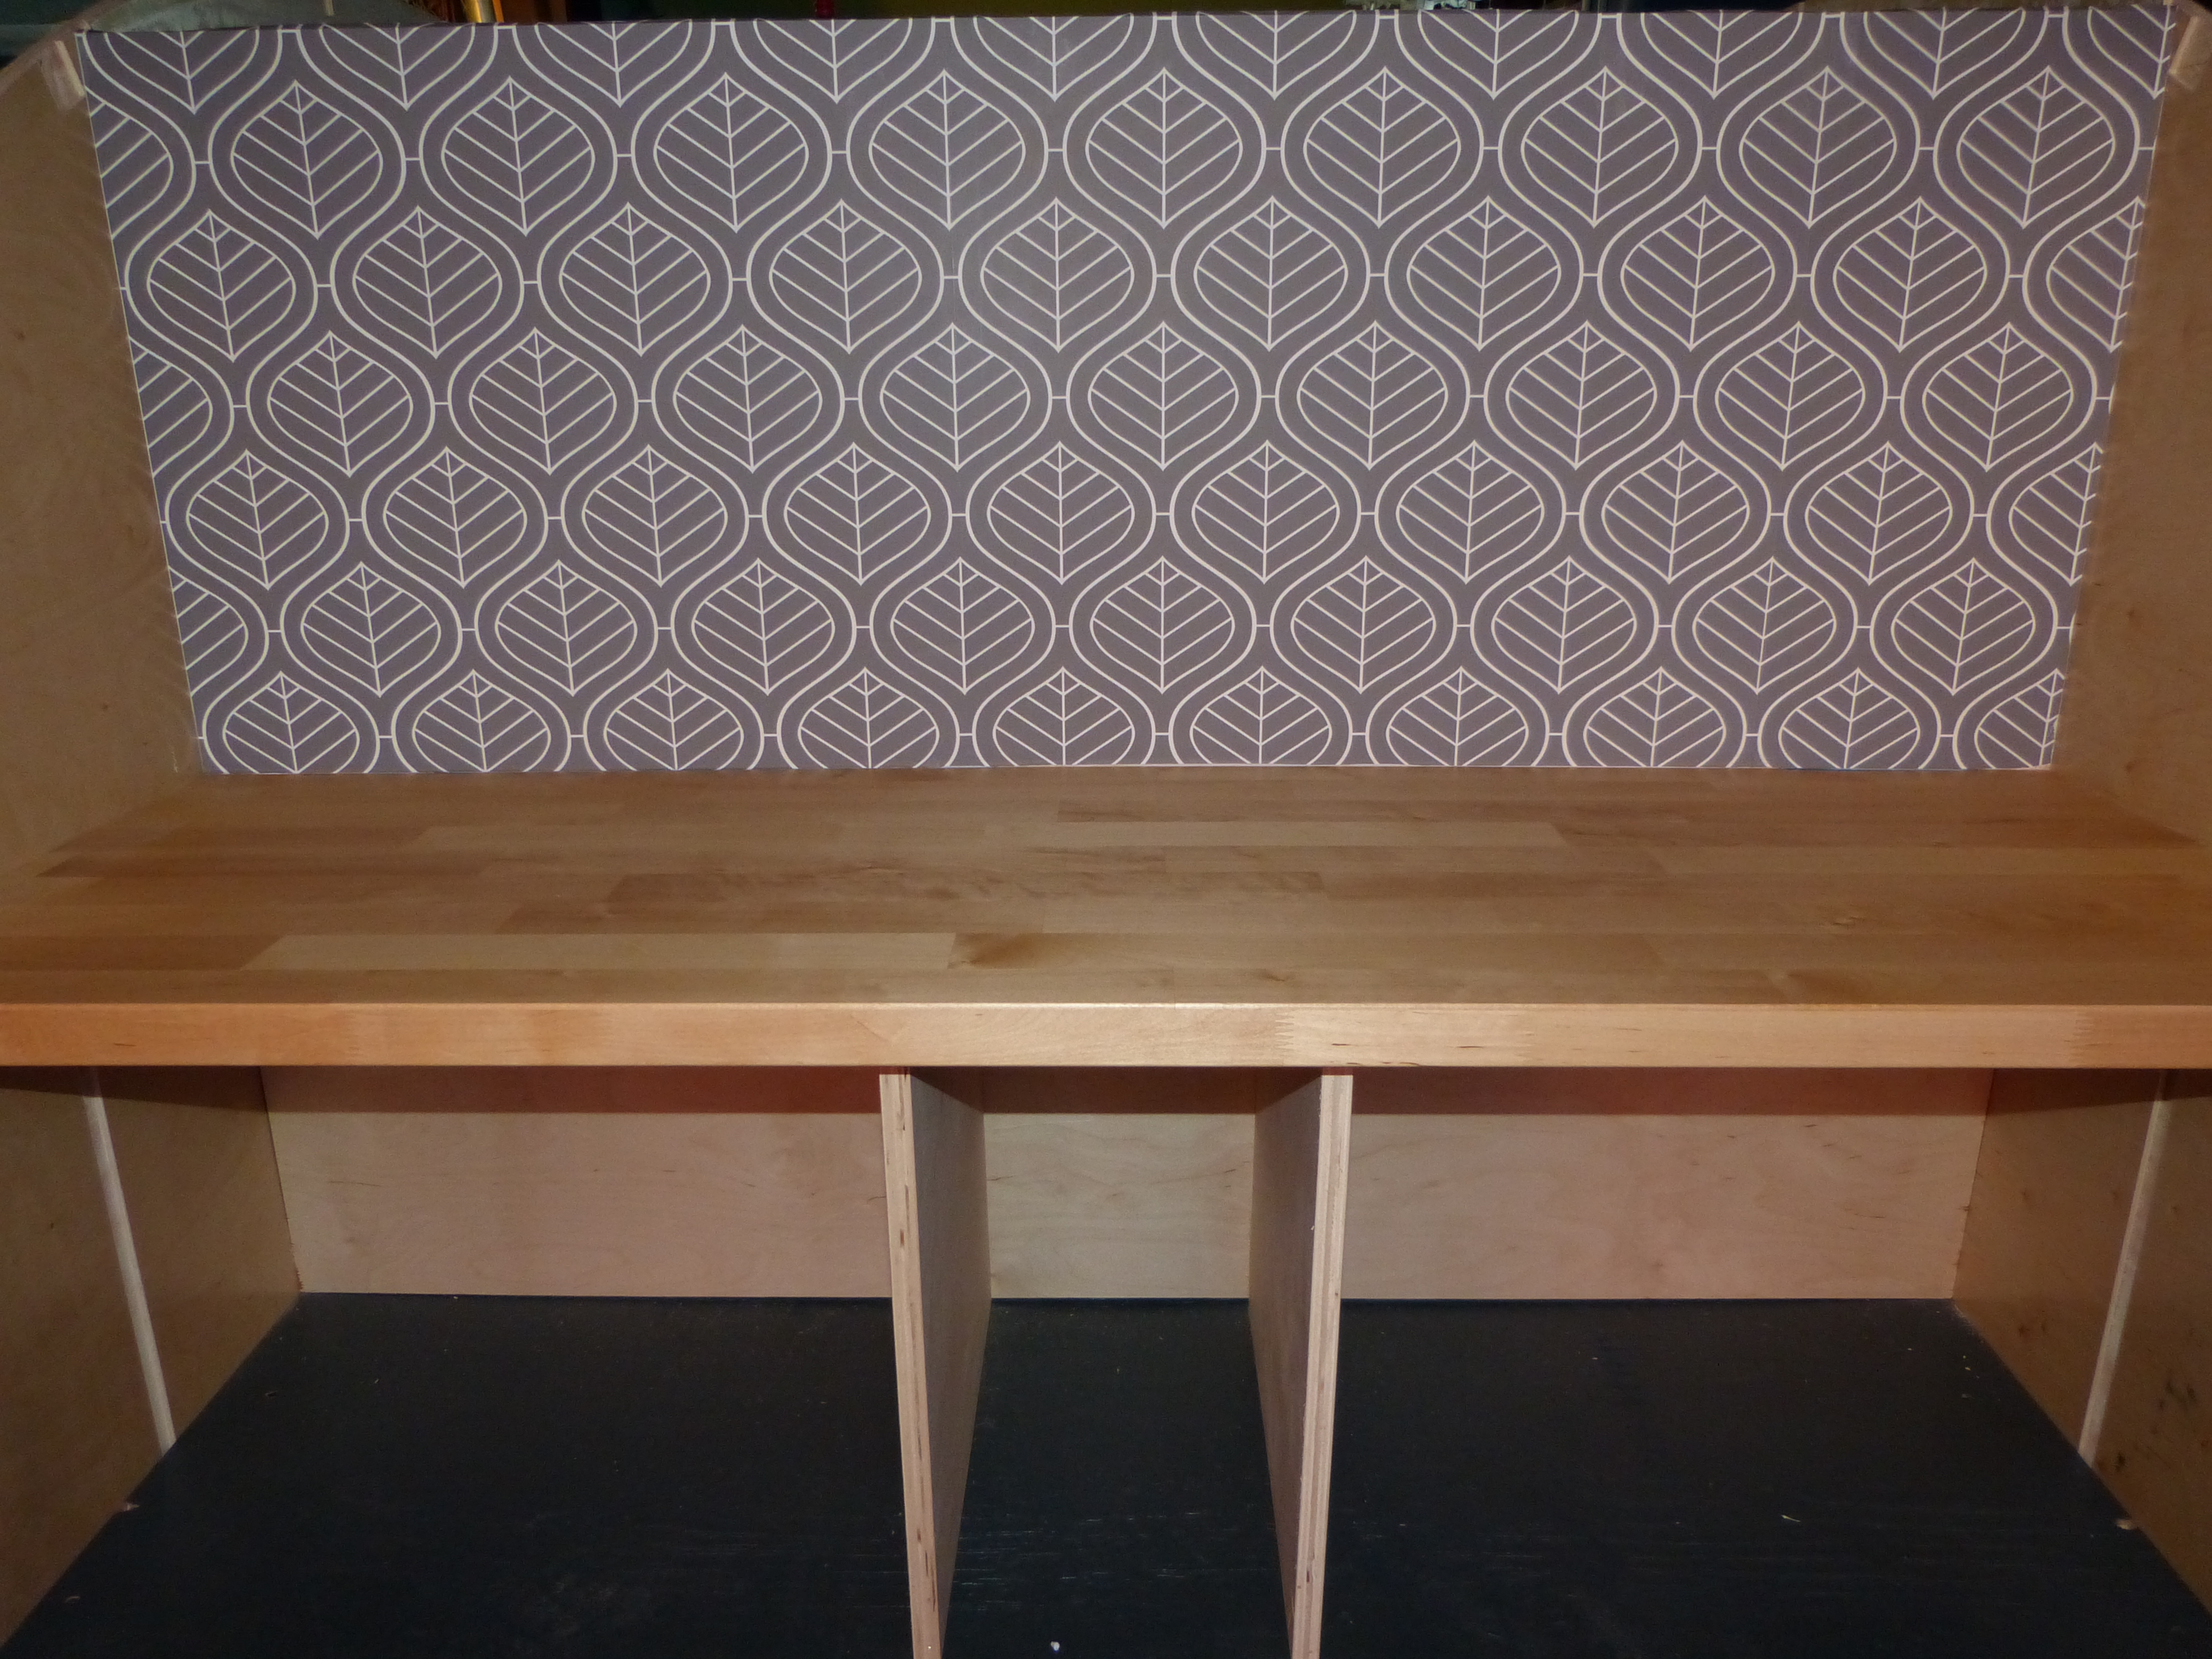
We added a piece of trim across the join where our plywood ceiling panels meet too.


P1080104

Kitchen counter trim.

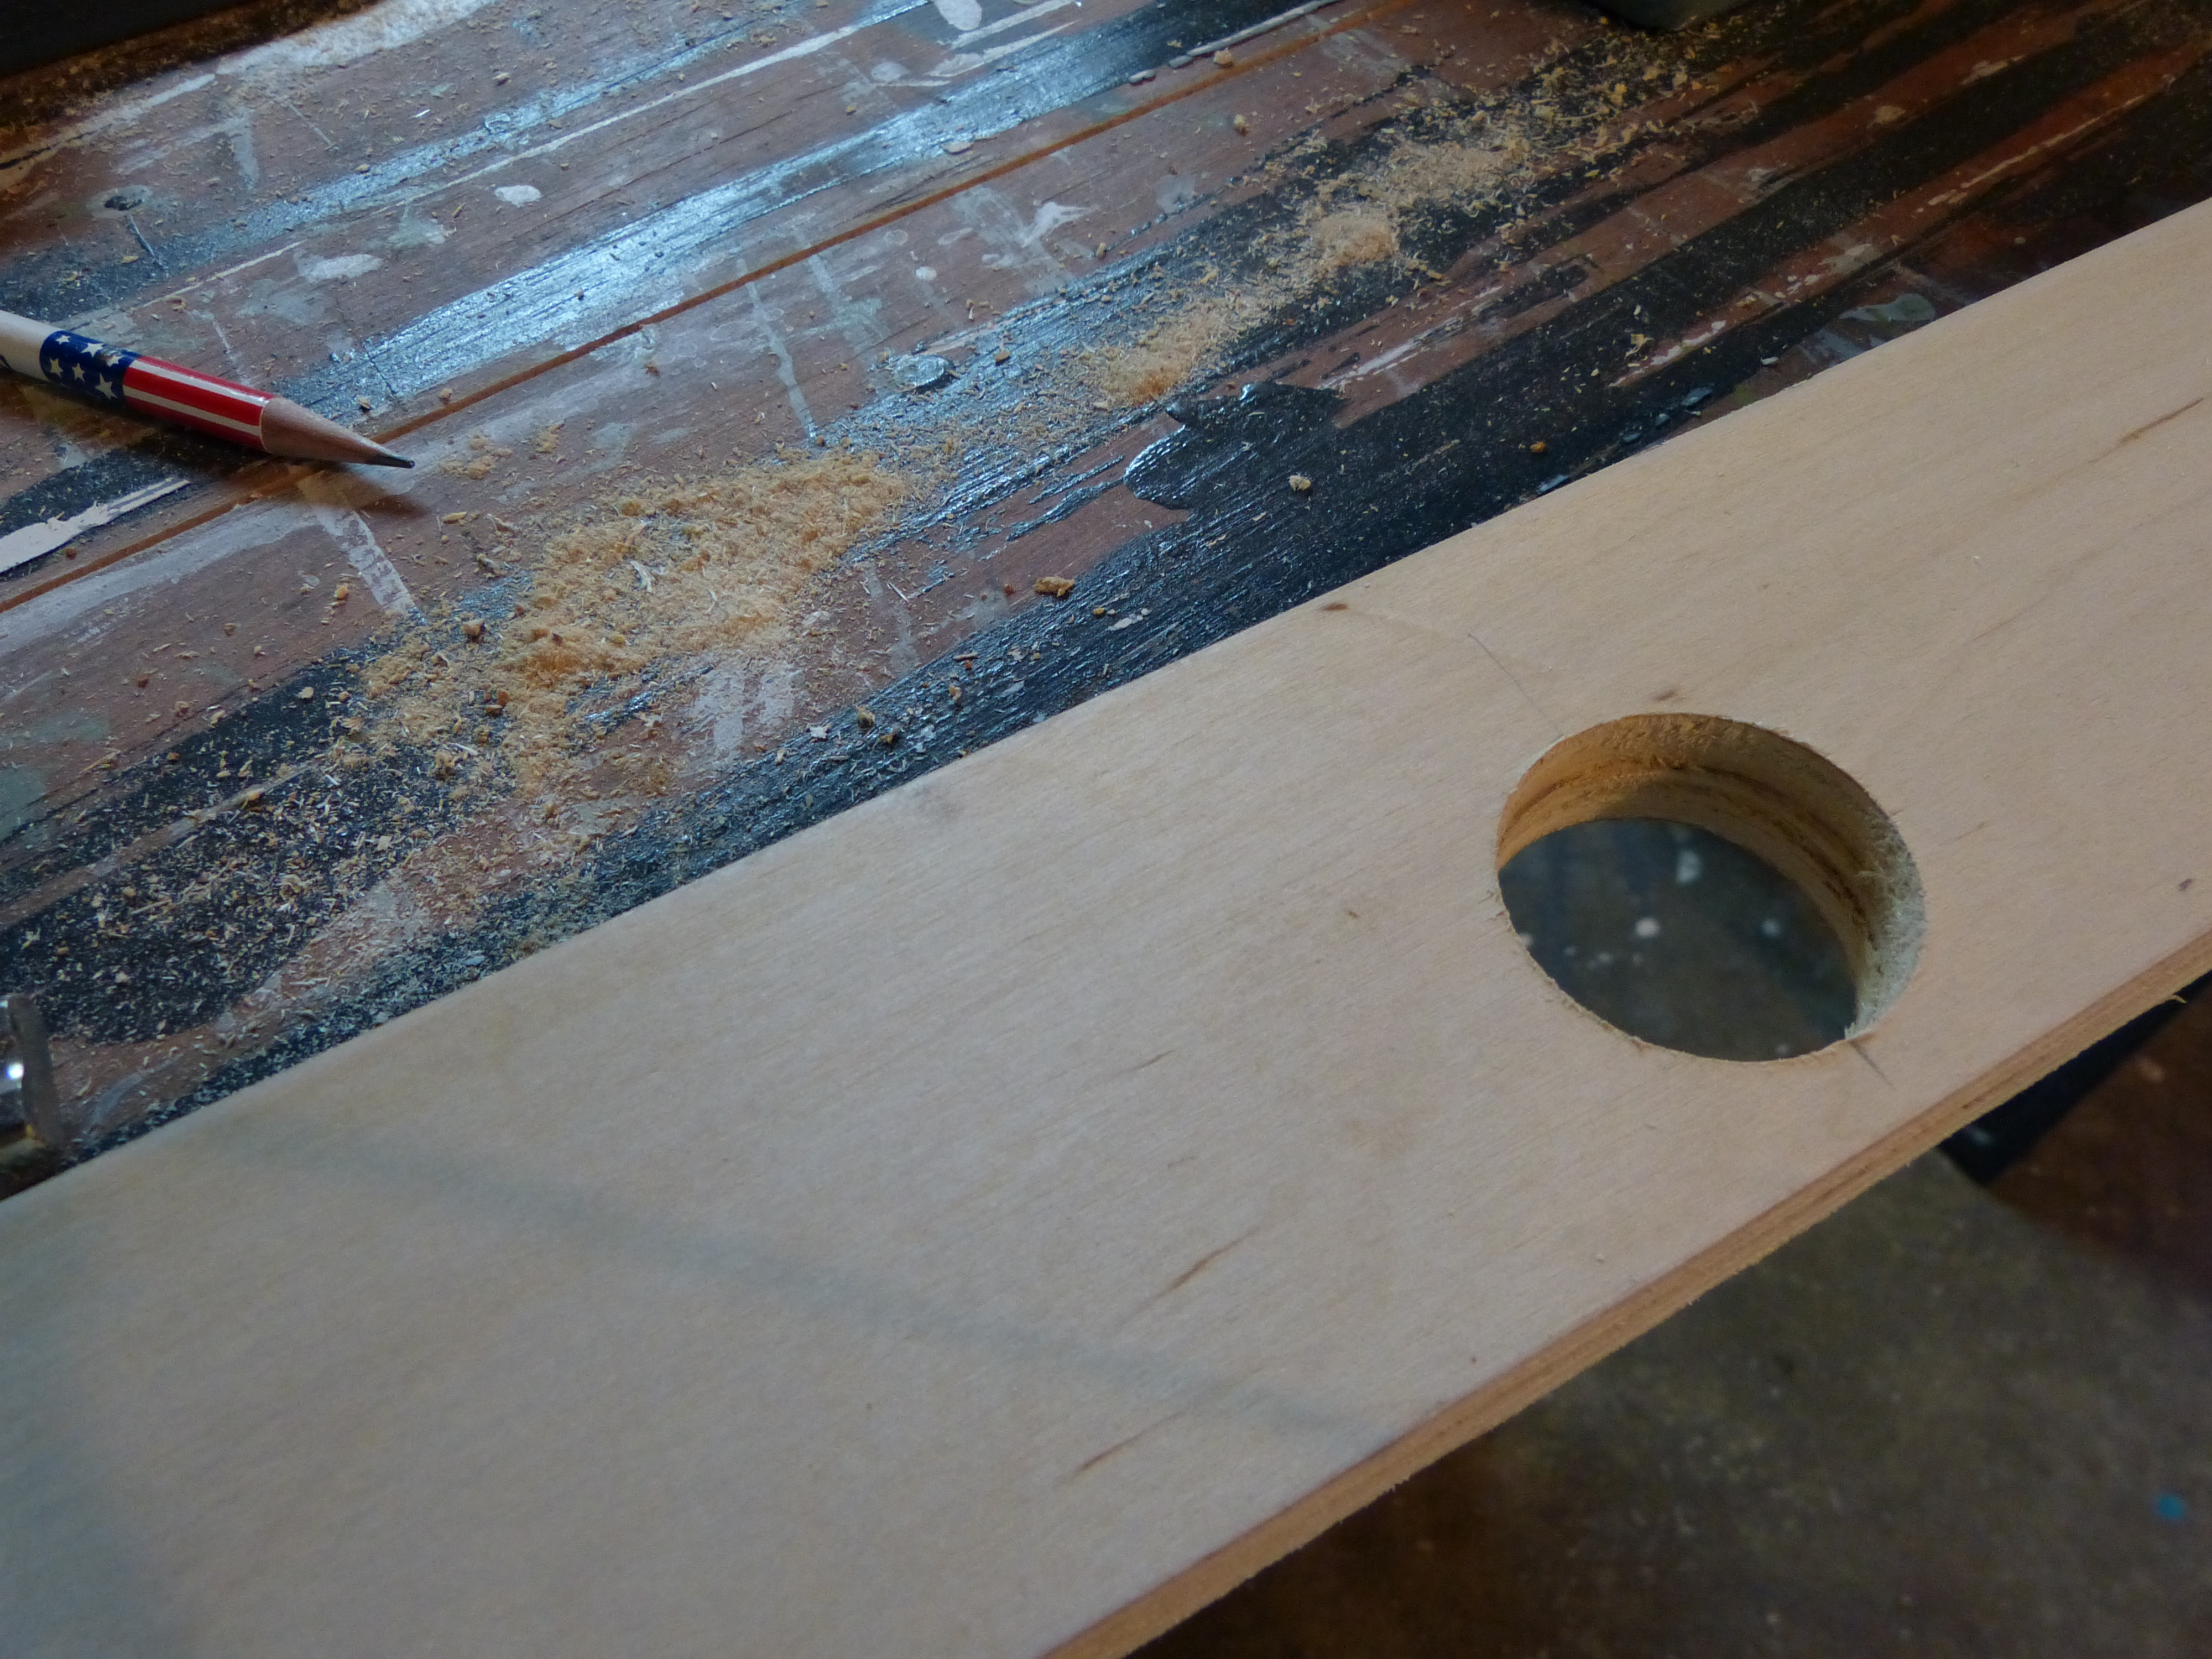
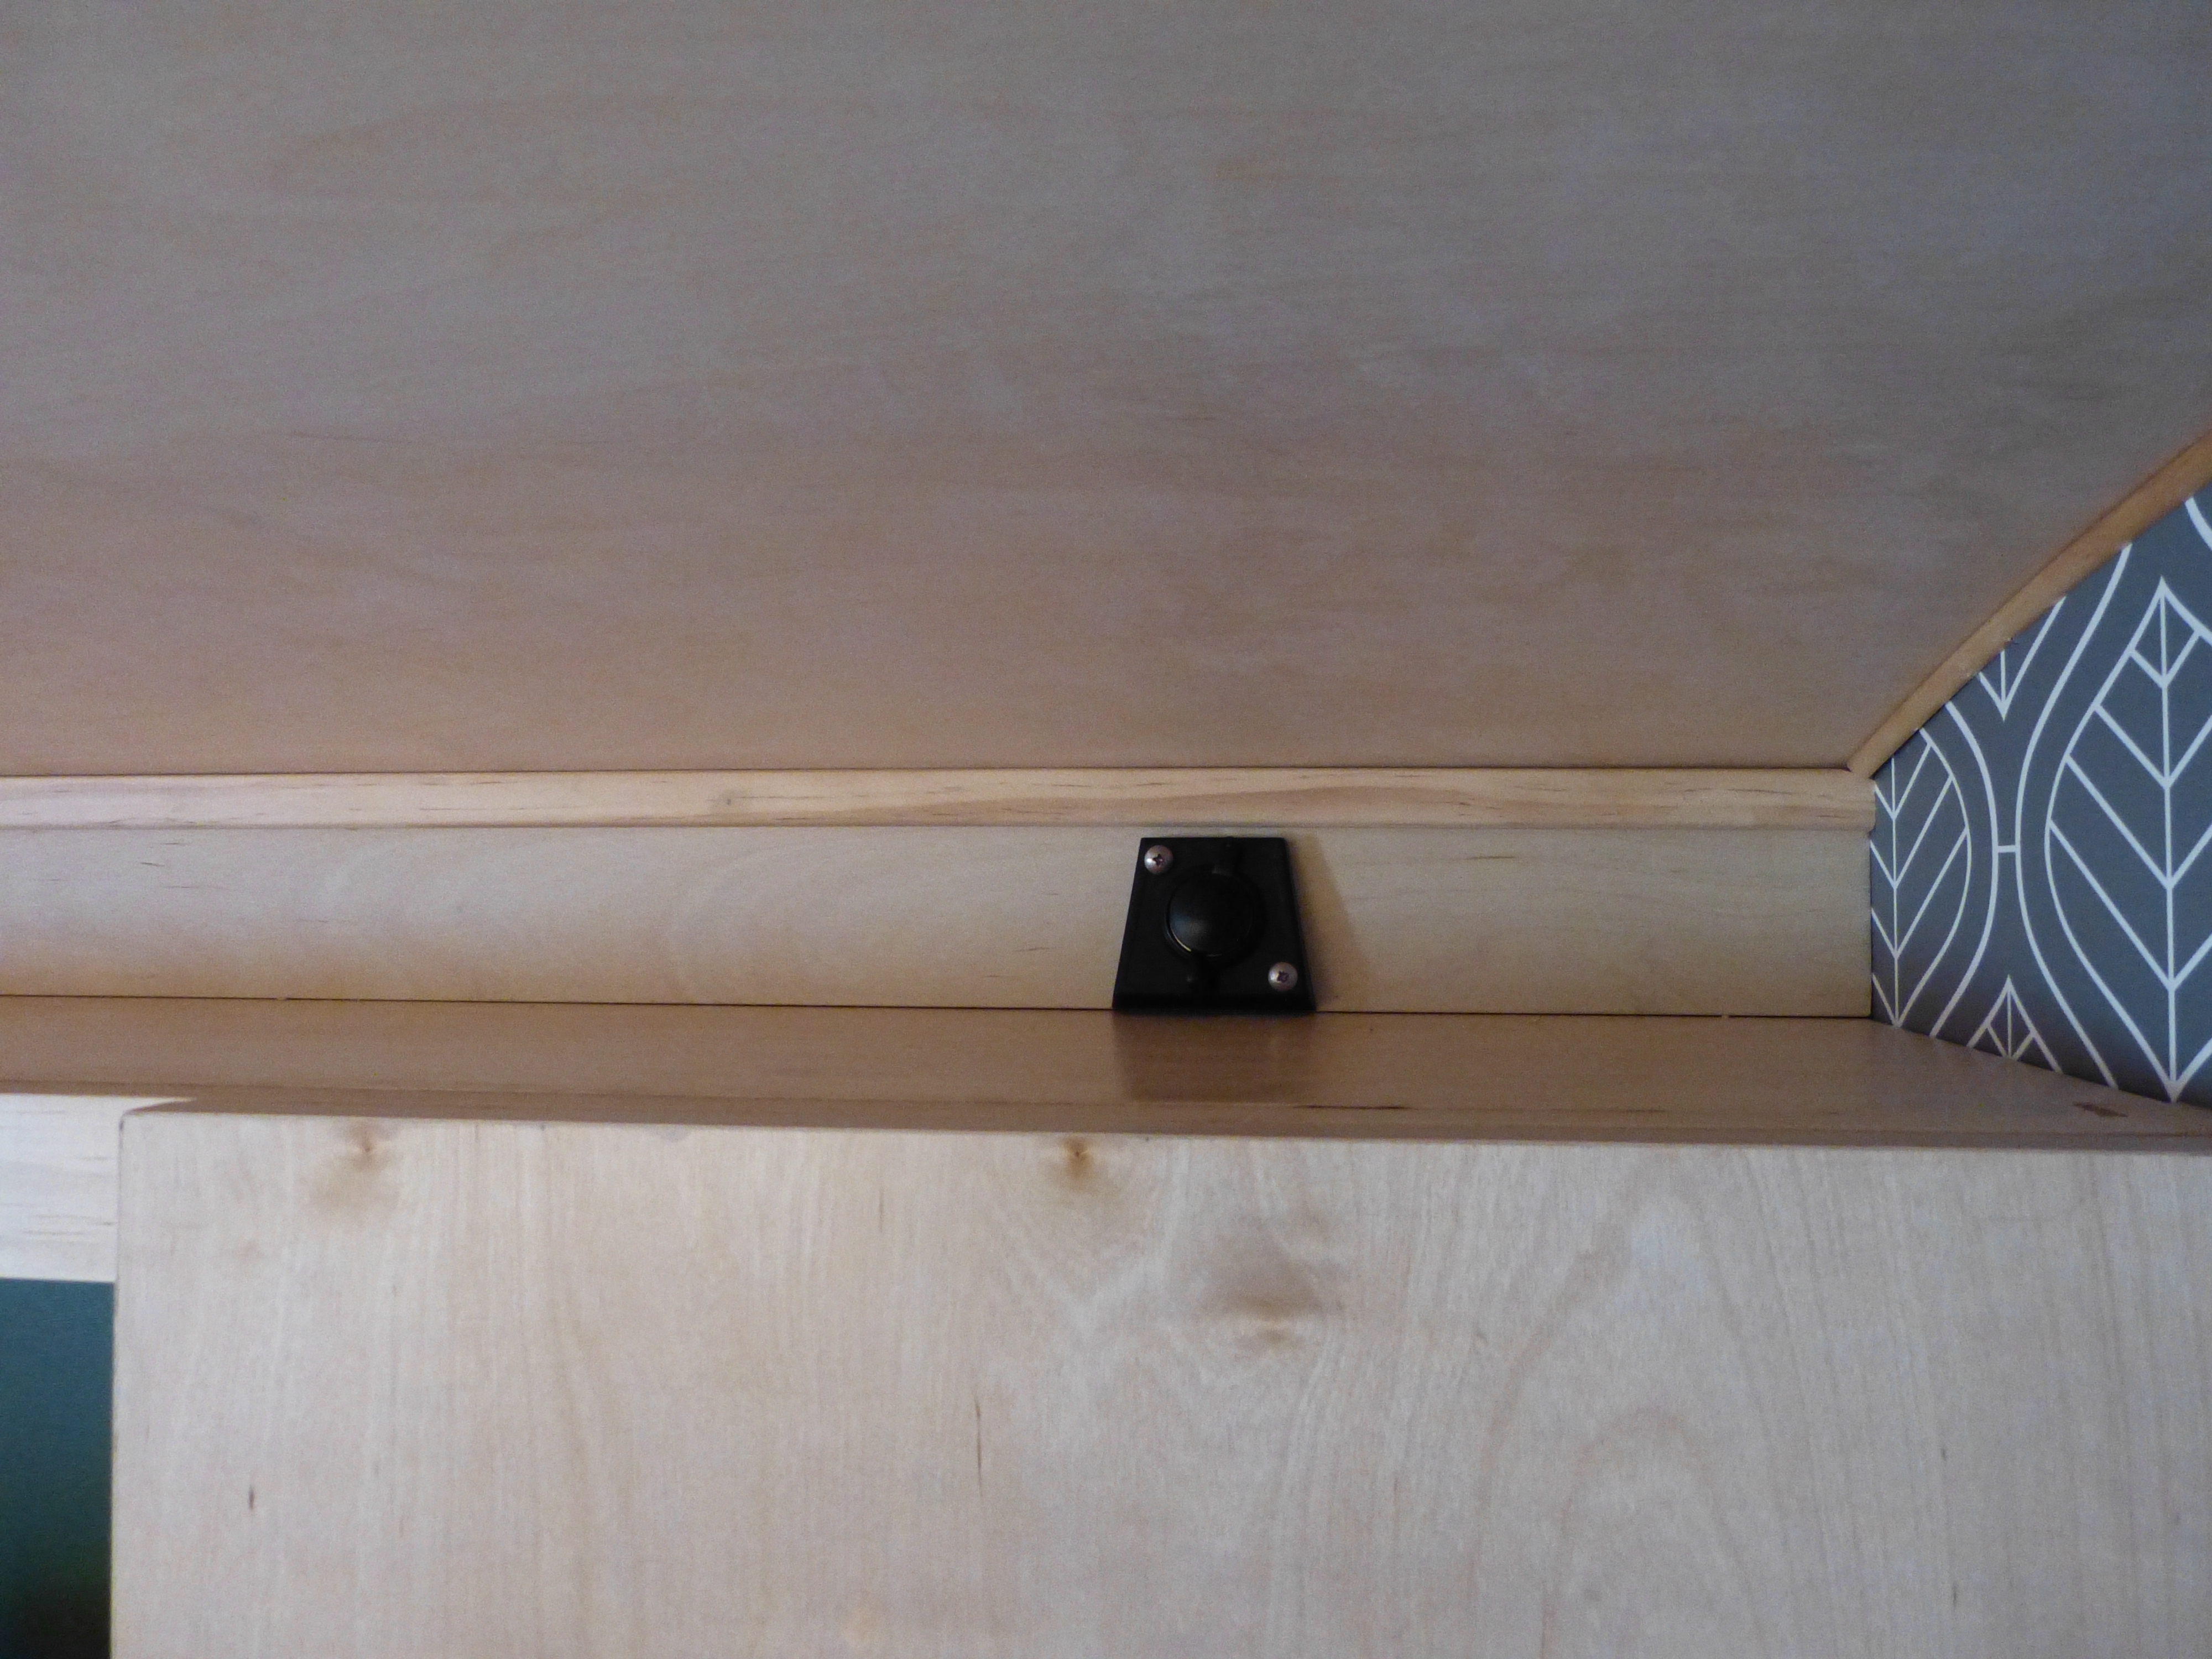
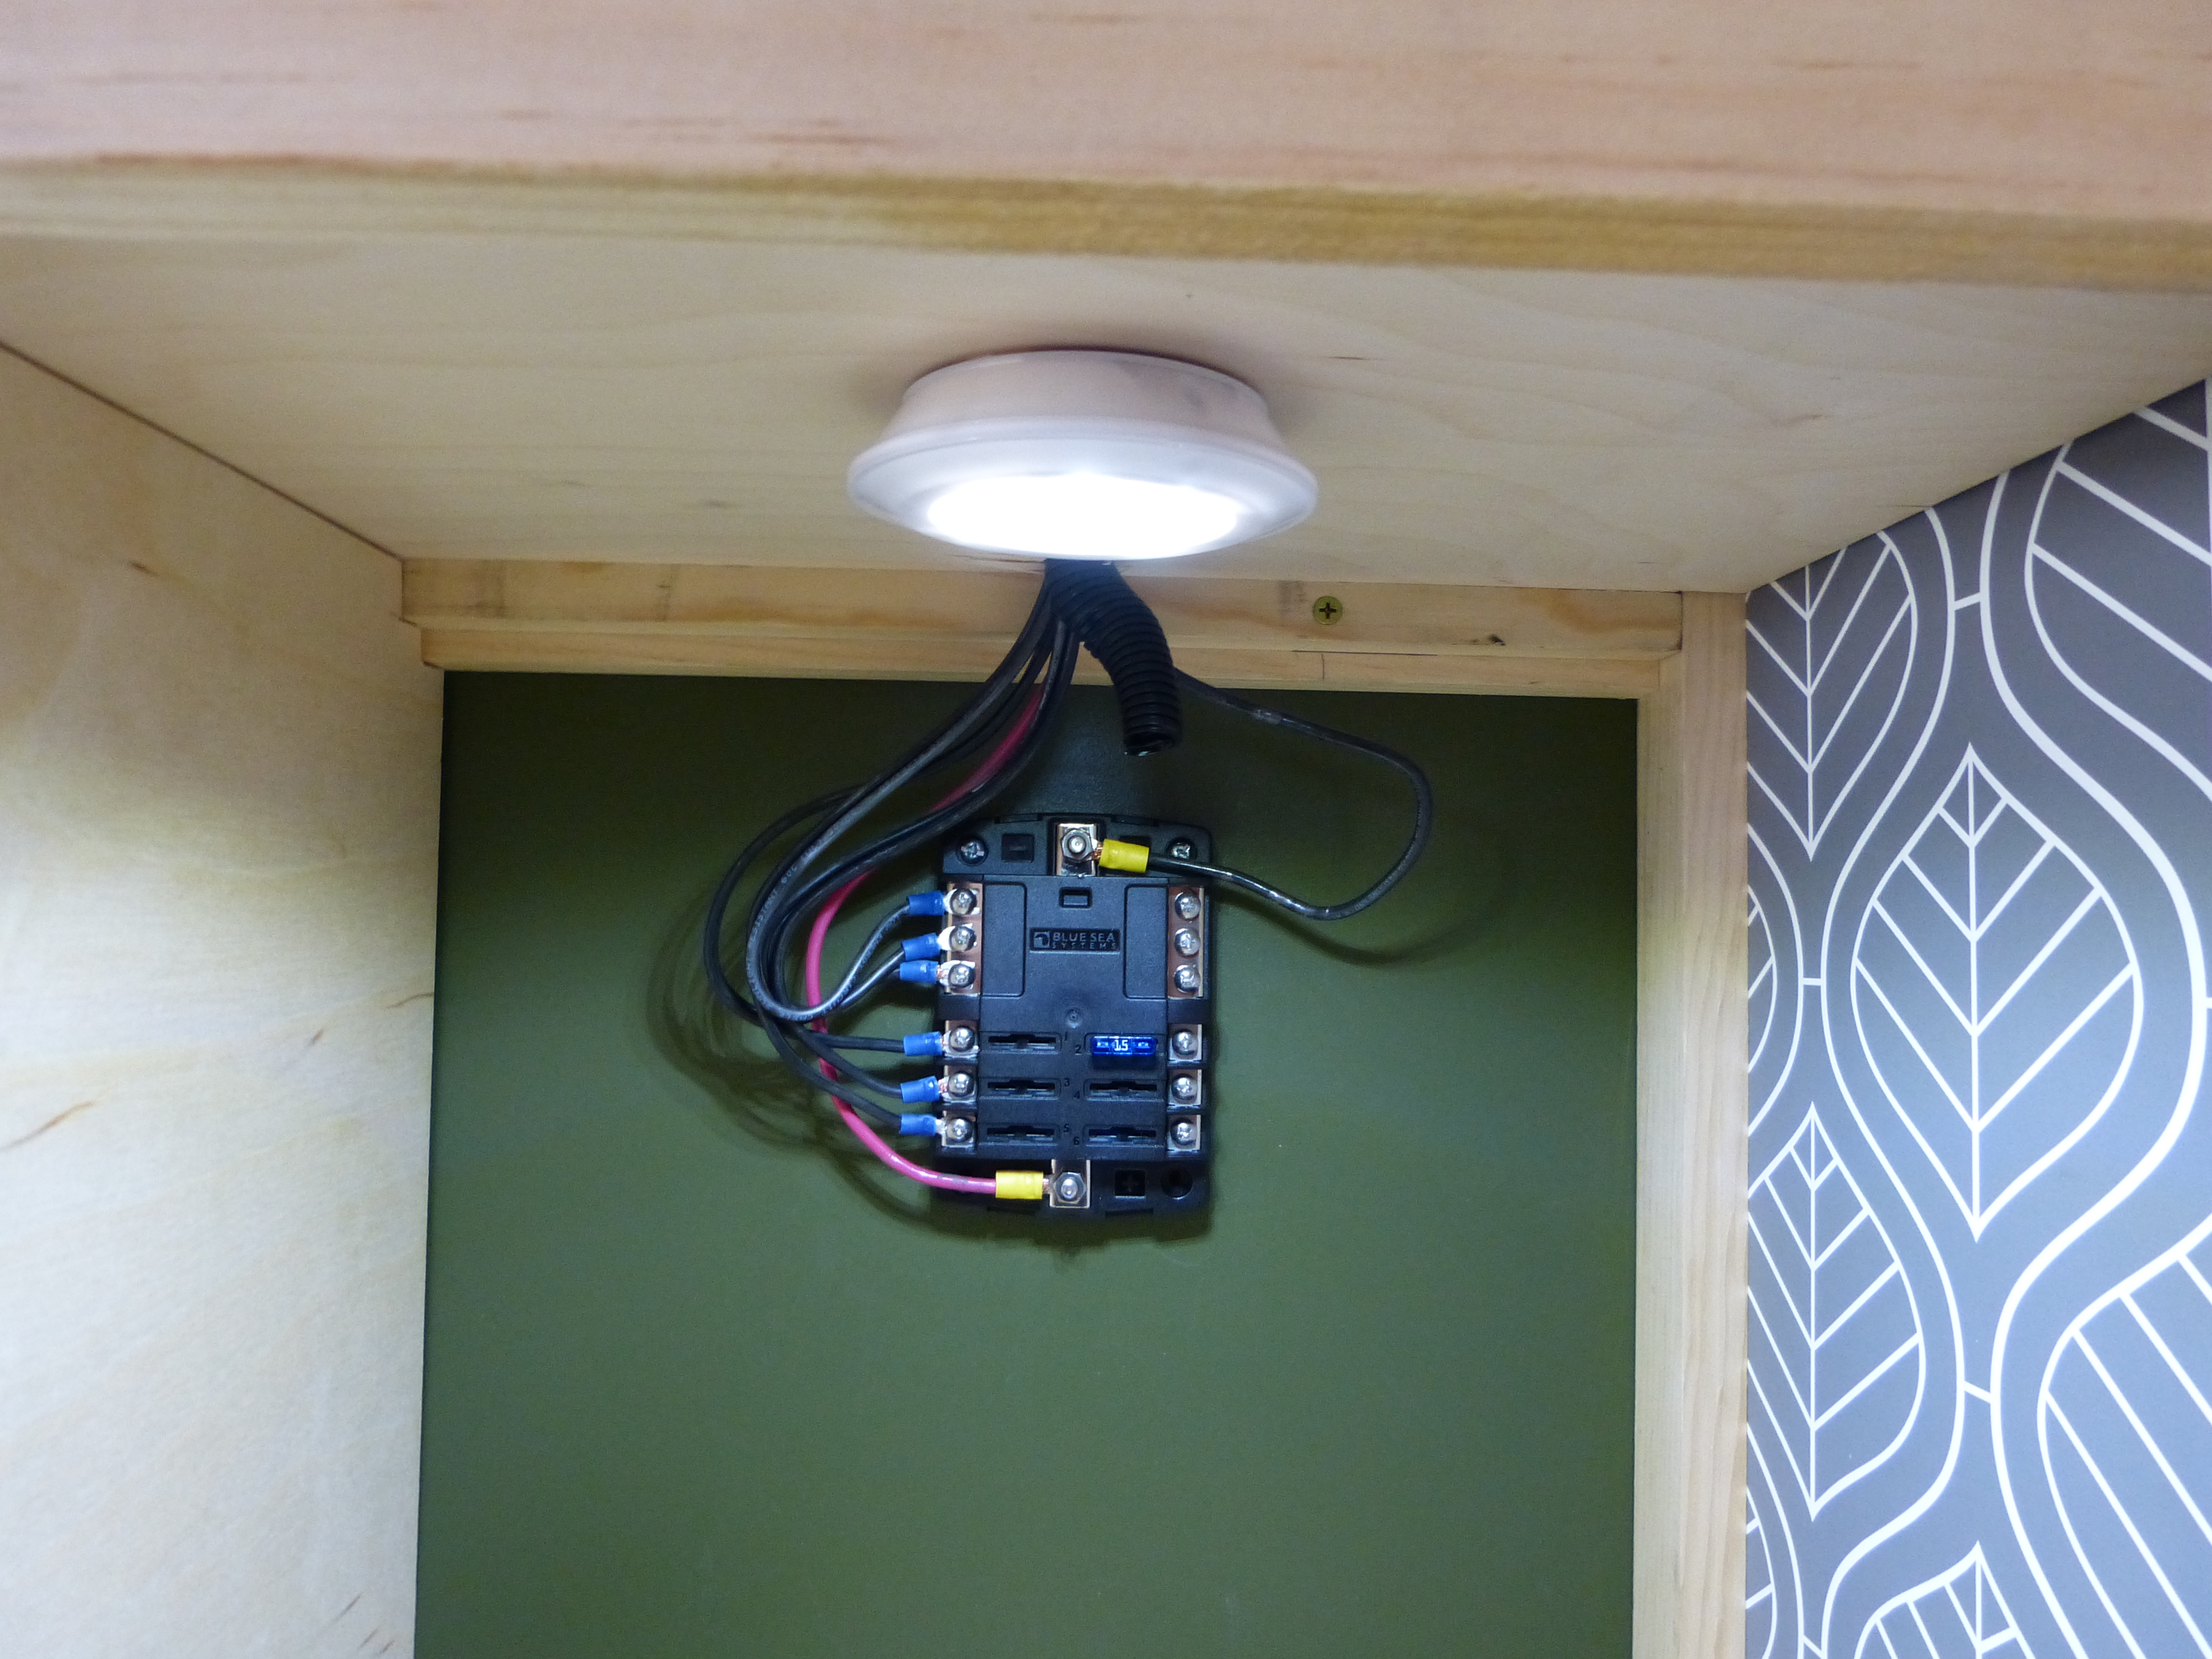
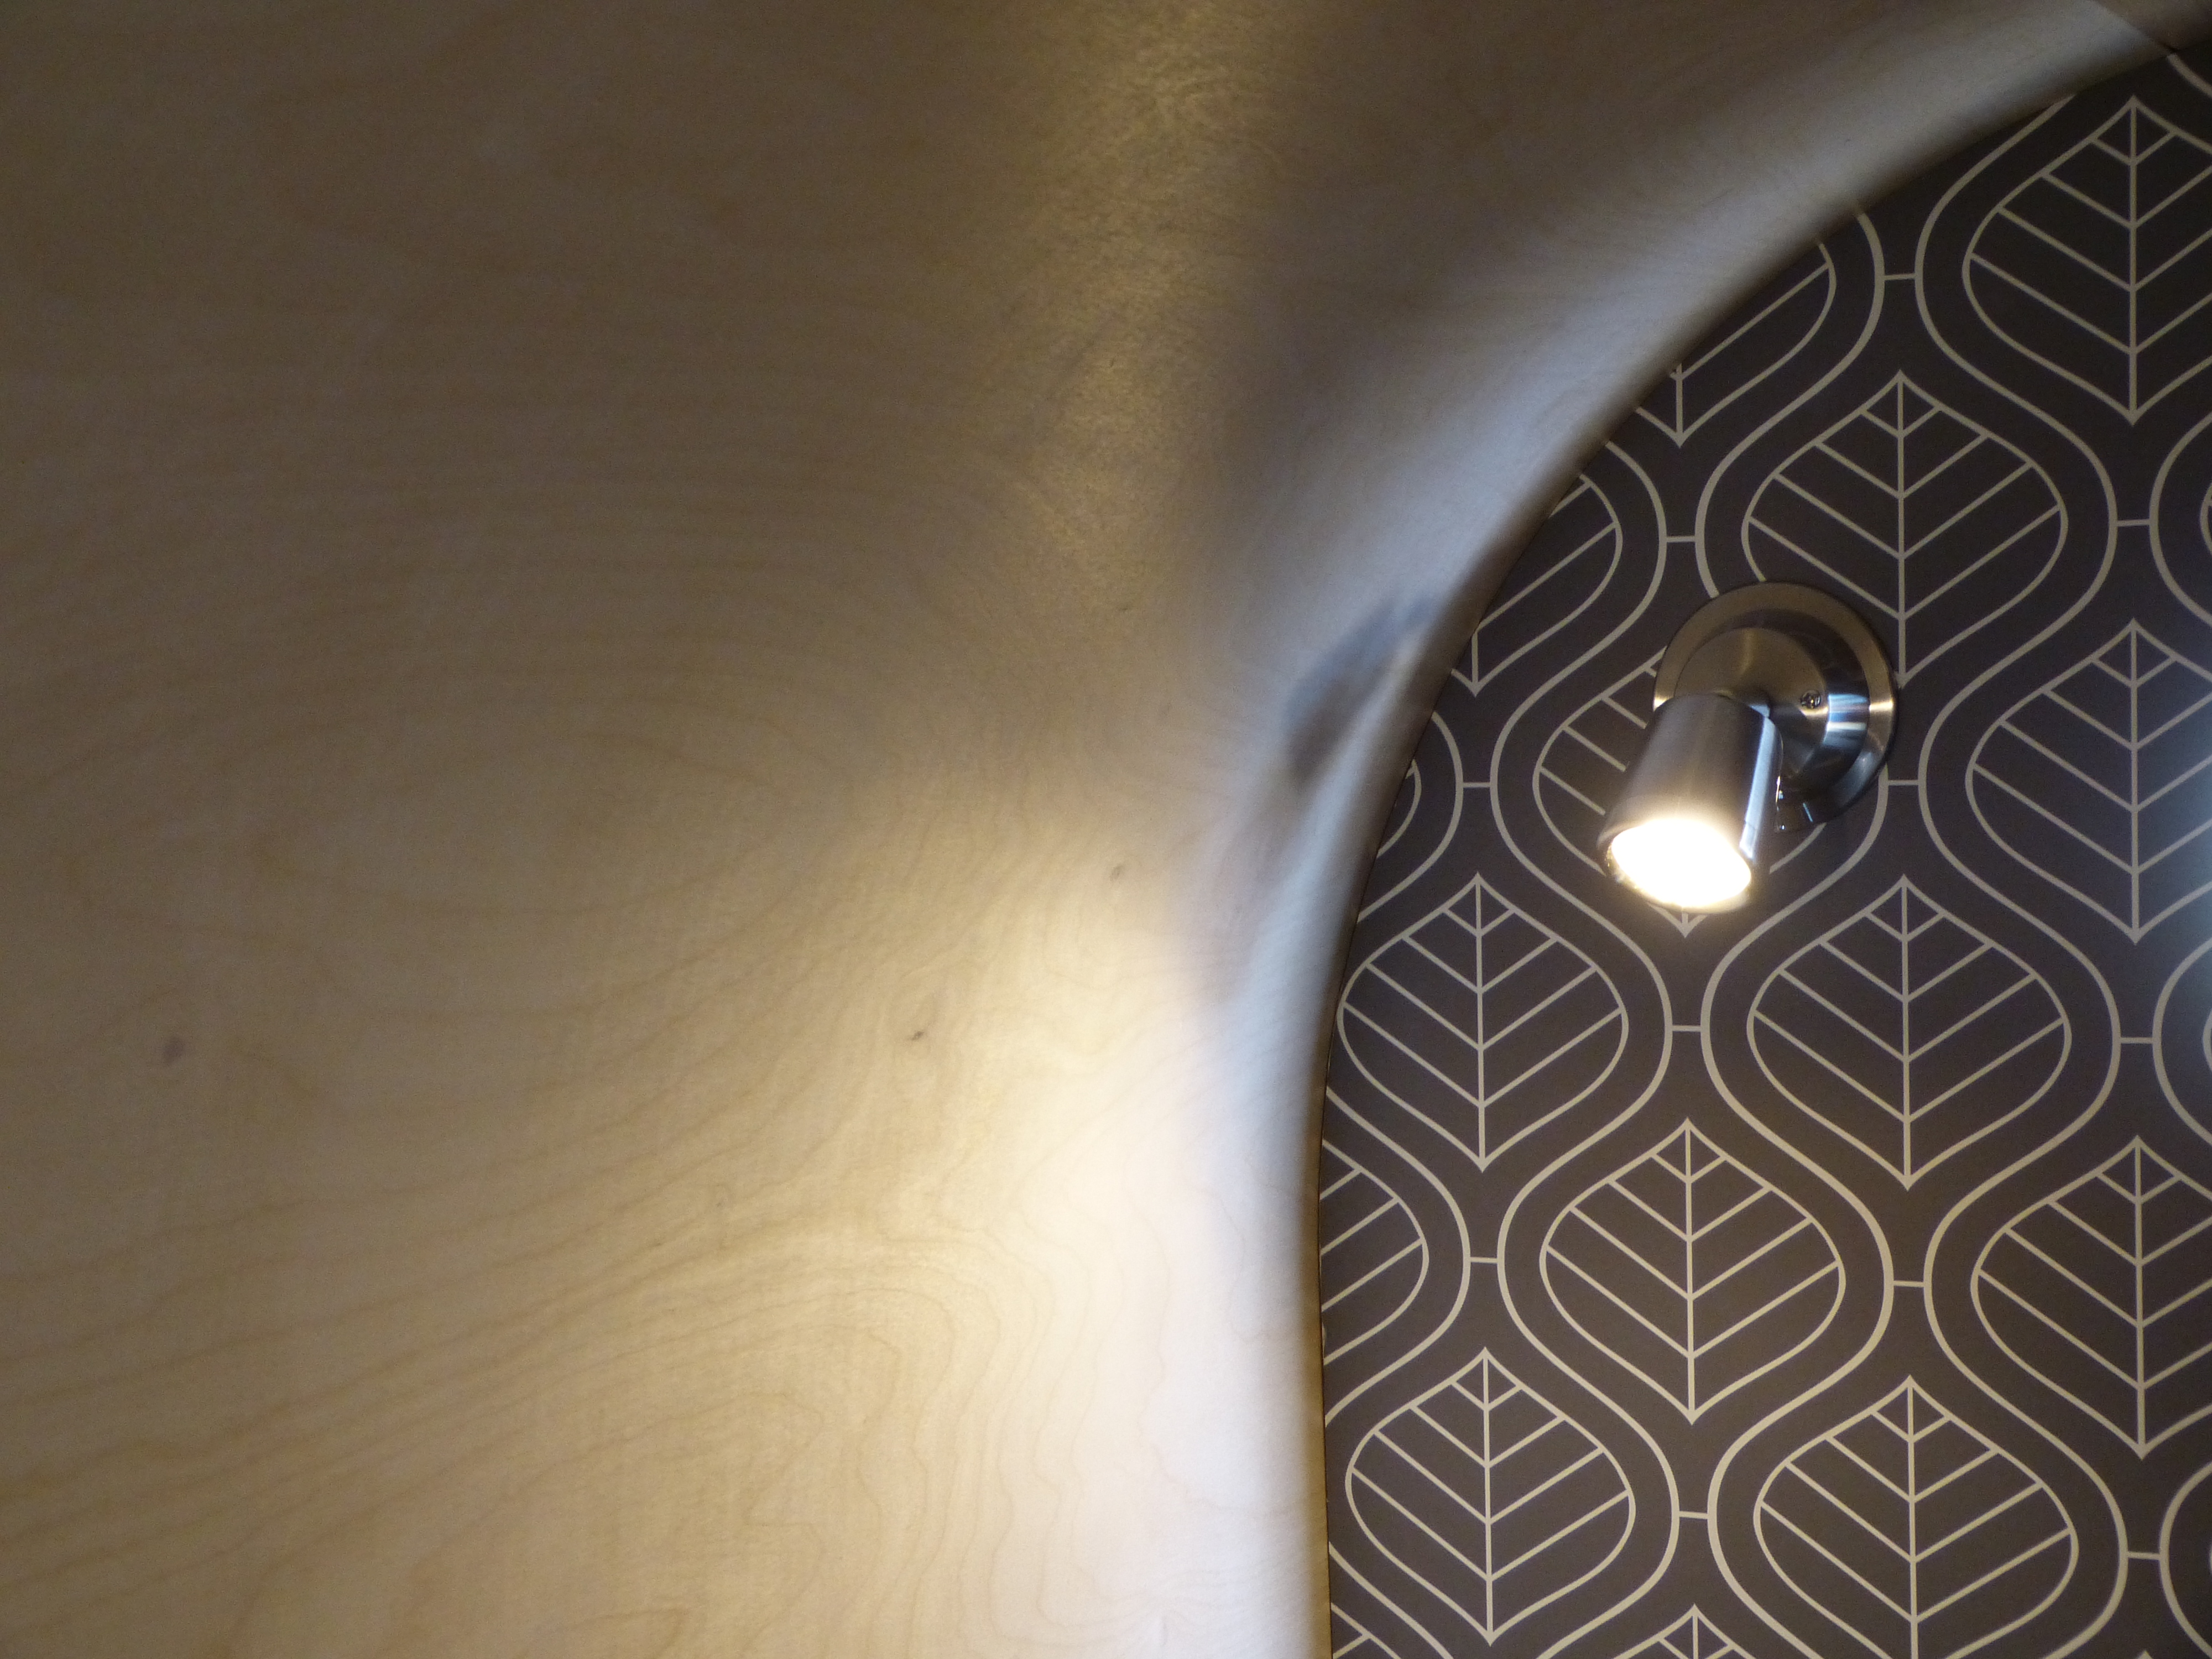
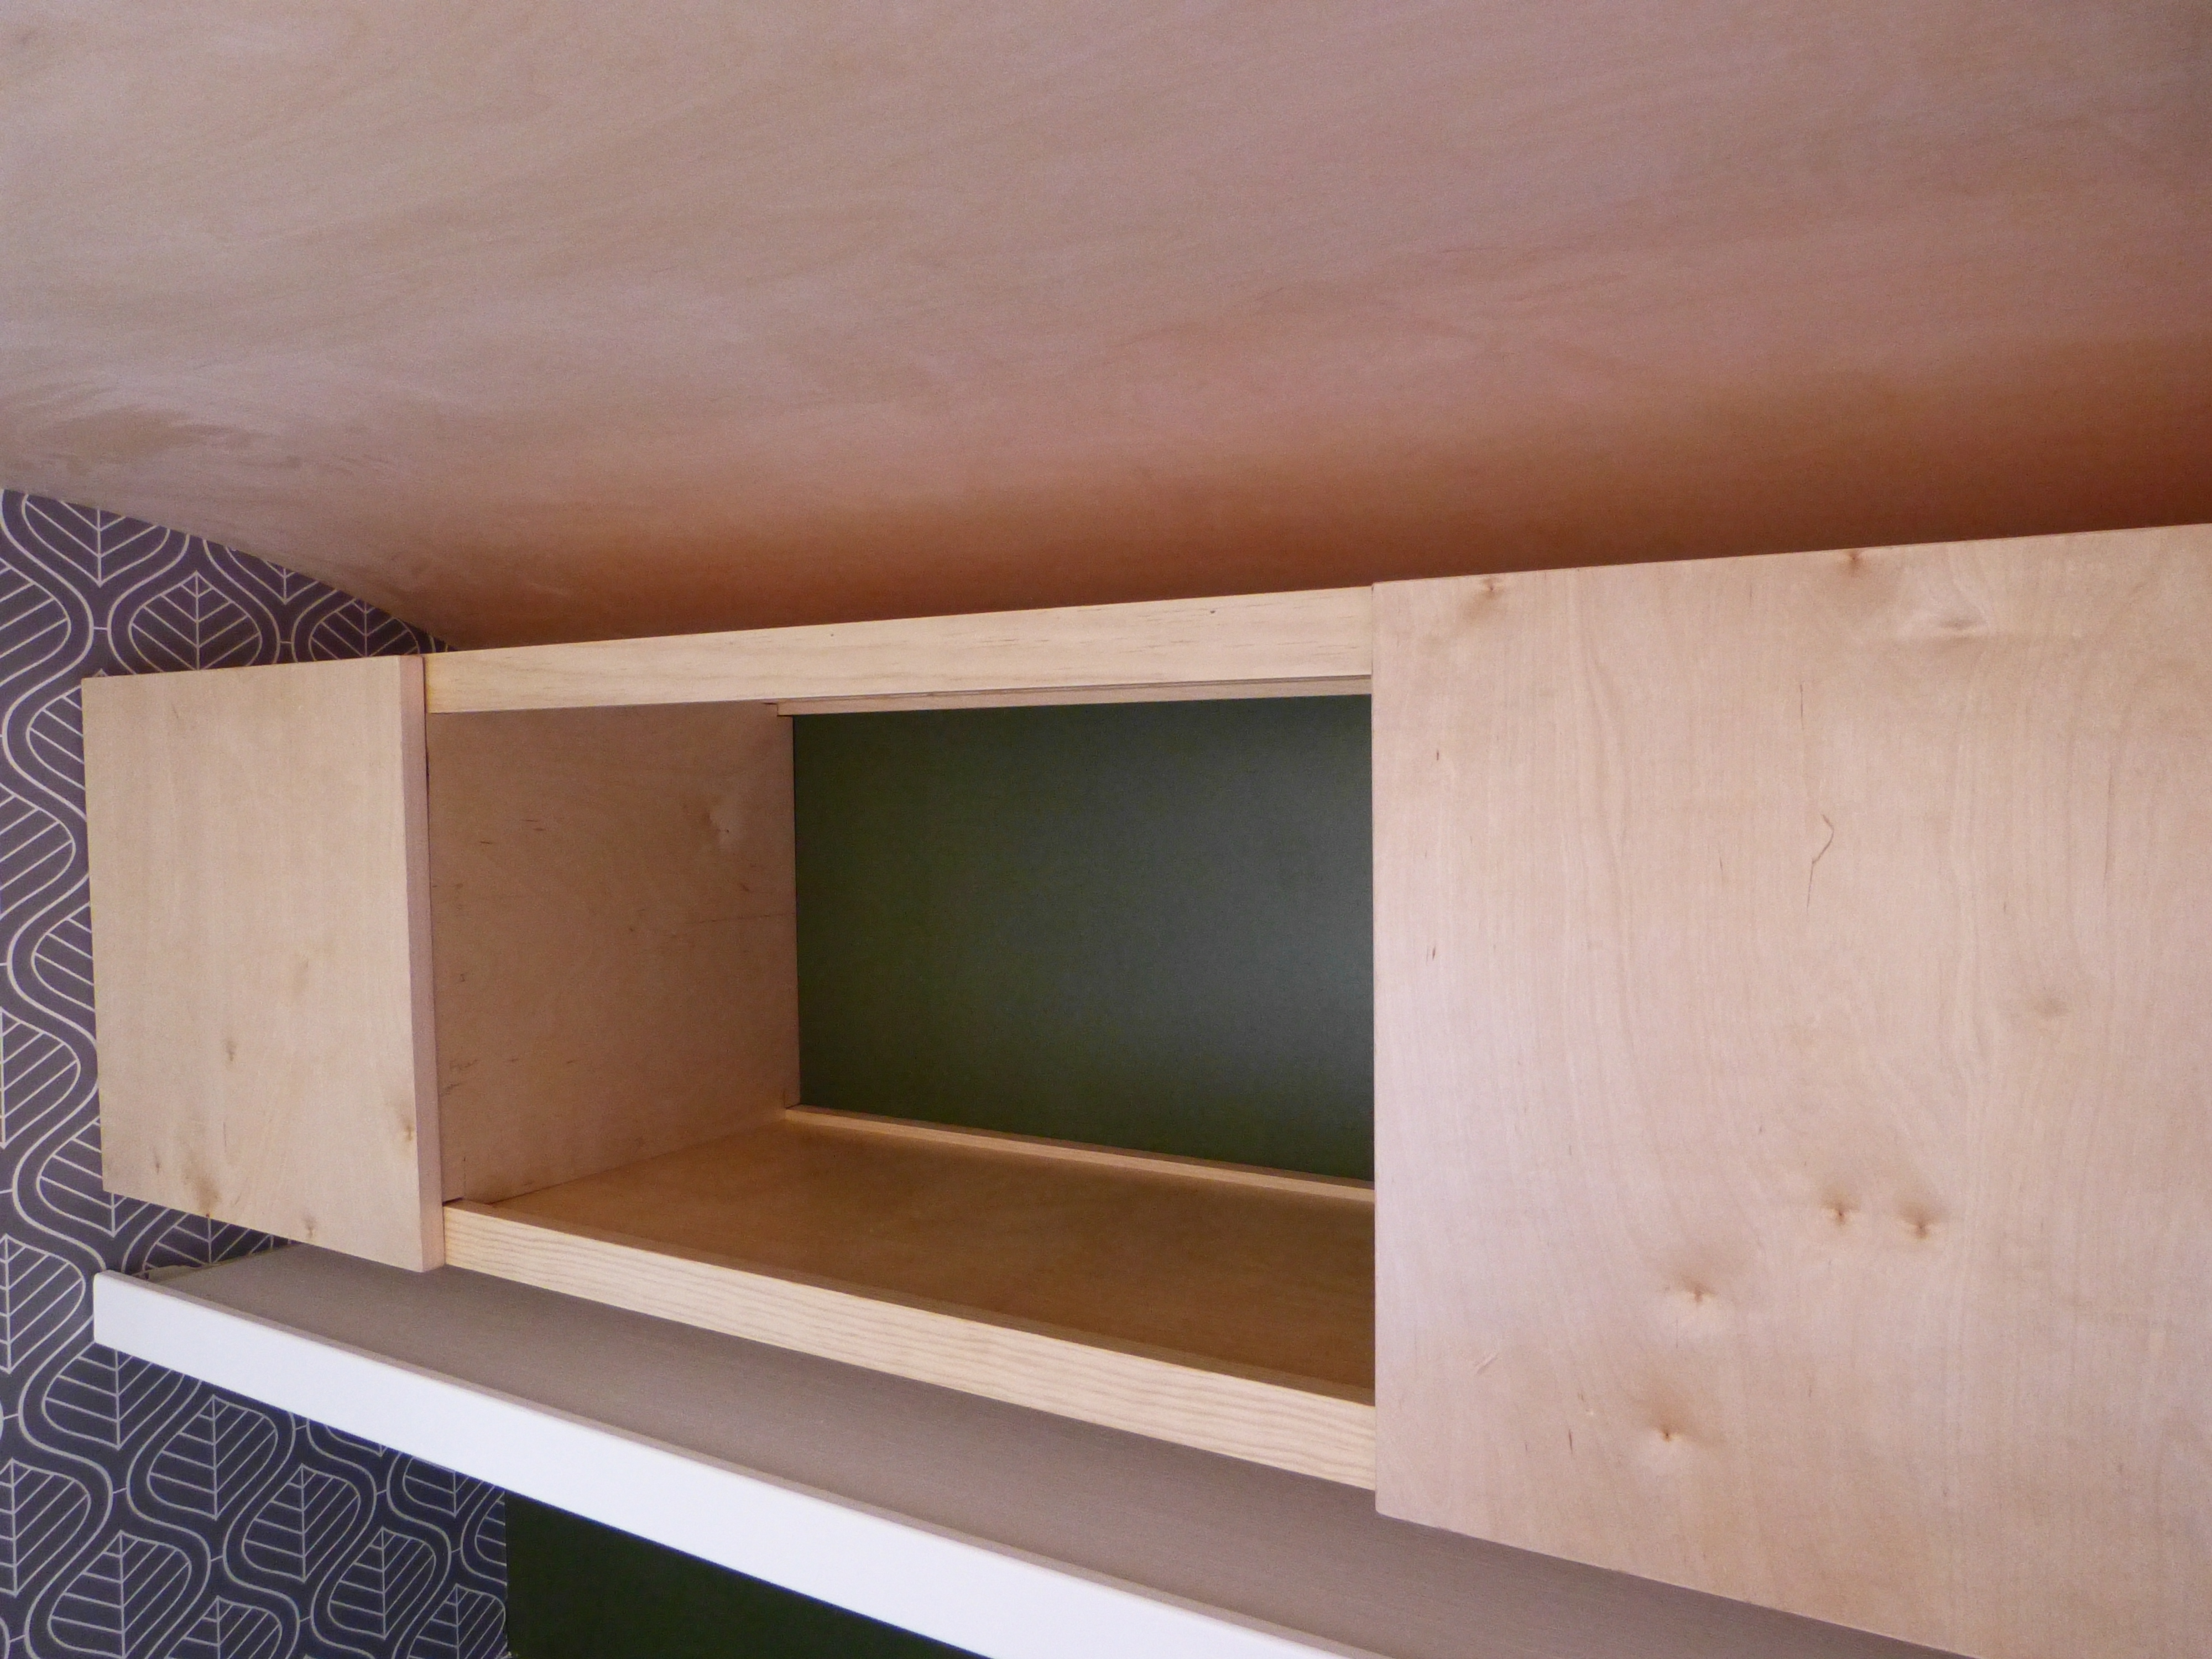
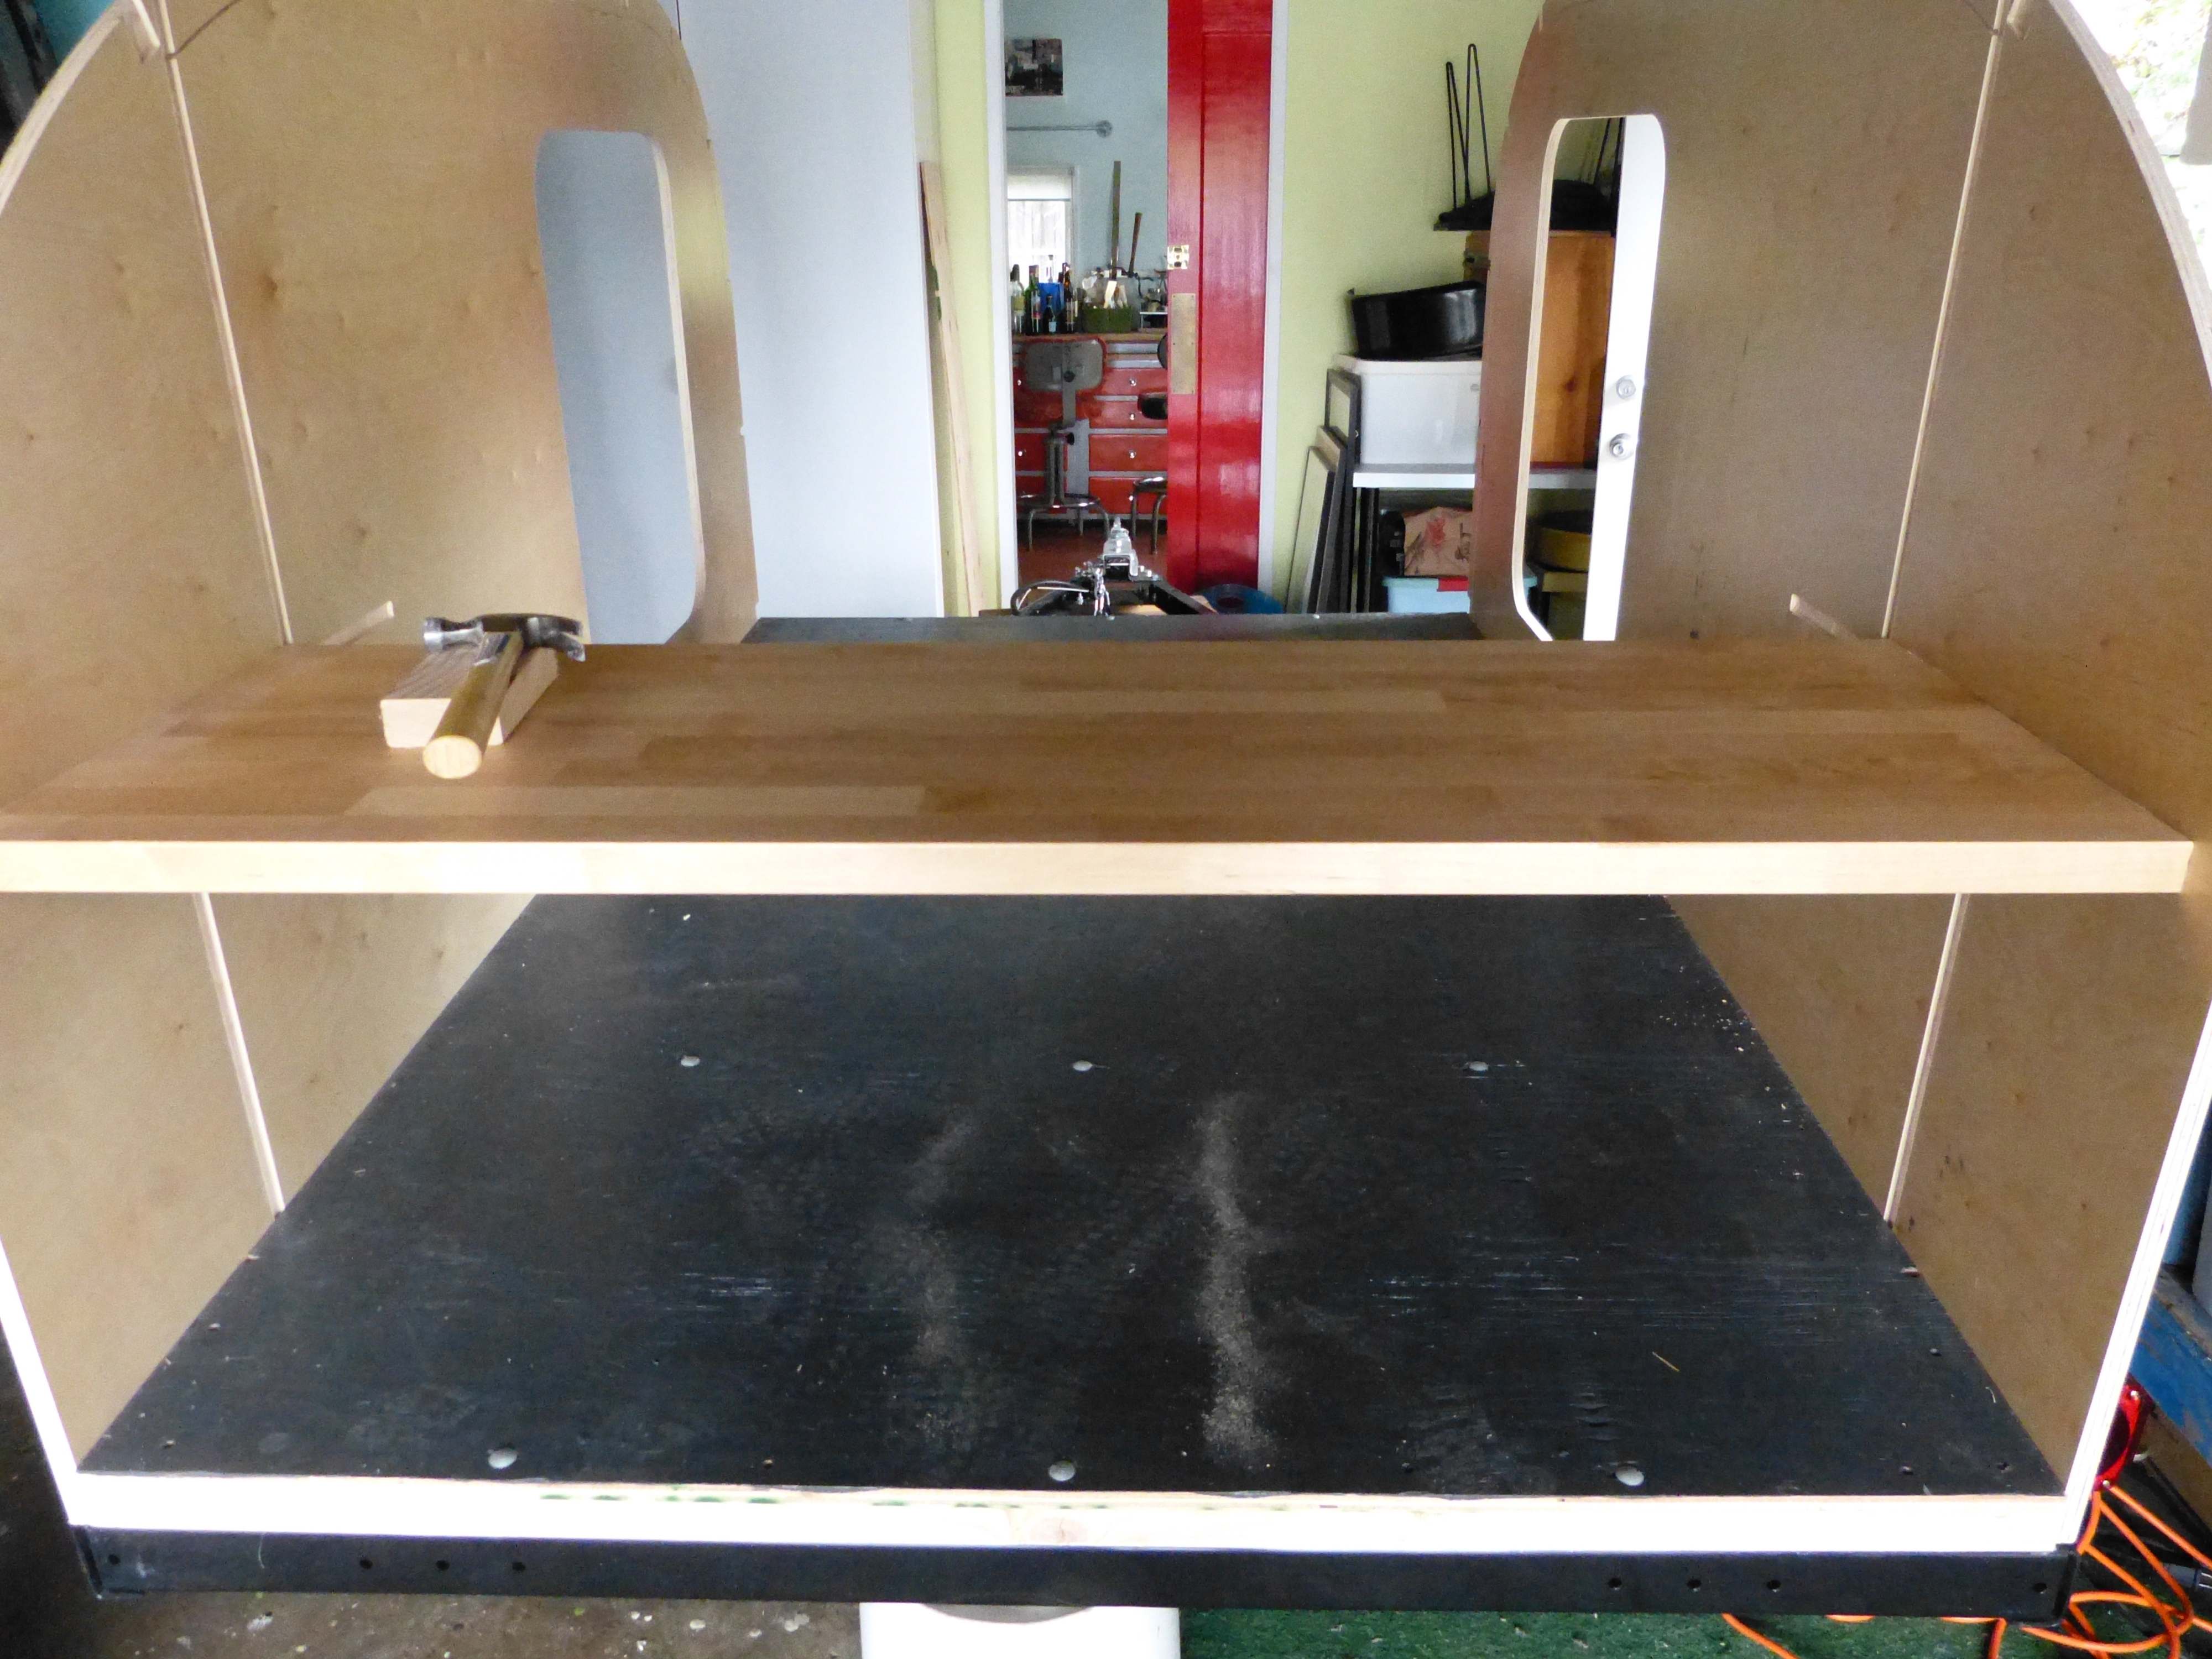
Last interior project was installing our phone charger. Yes, that is correct, our phone charger! We are super high tech and modern over here. We used a hole saw to drill through a piece of wood that runs across the top of the interior cabinets, about 5 inches out from the back wall, this little hidden compartment hides the wires that we ran through the ceiling and the top of the cabinets to the fuse box inside the cabinet, as well as the back of the charger.

P1080094


P1080105

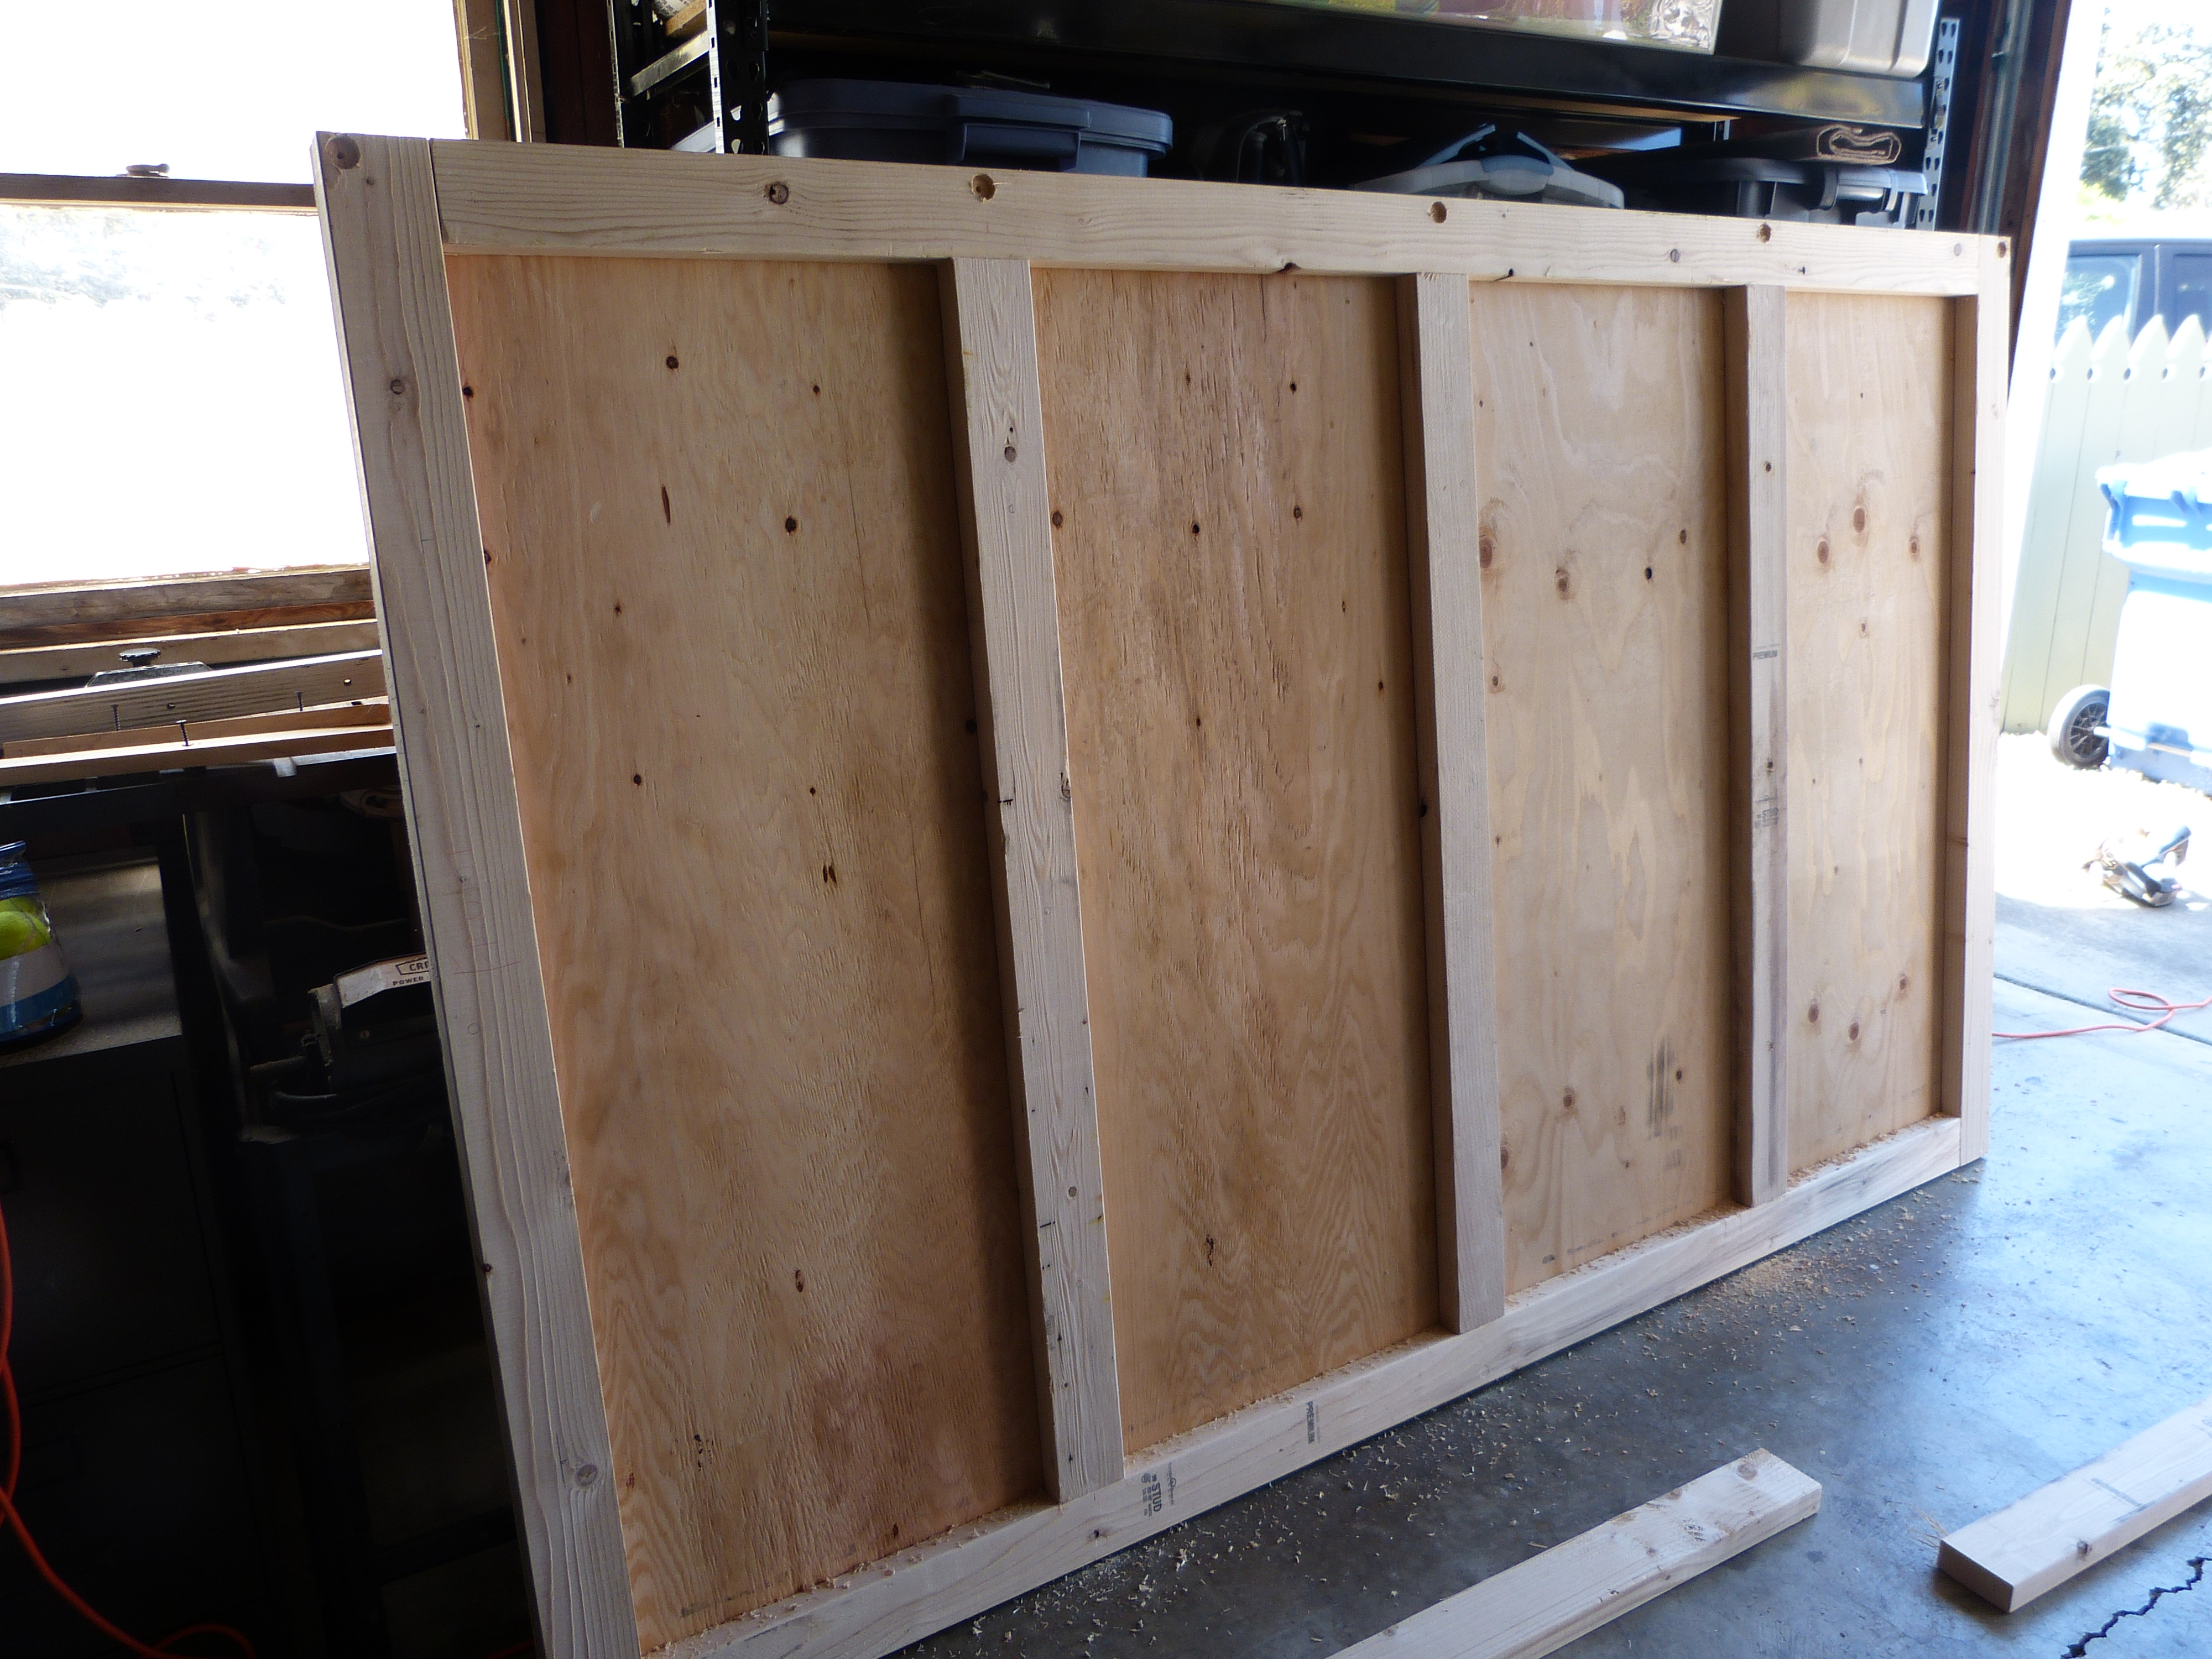
Then the weekend was over. While I went off to work on Monday and Tuesday, my dad finished the drawers for the galley and installed the rollers. On Wednesday night Bryan came home from Sacramento with two rolls of this:

P1080110

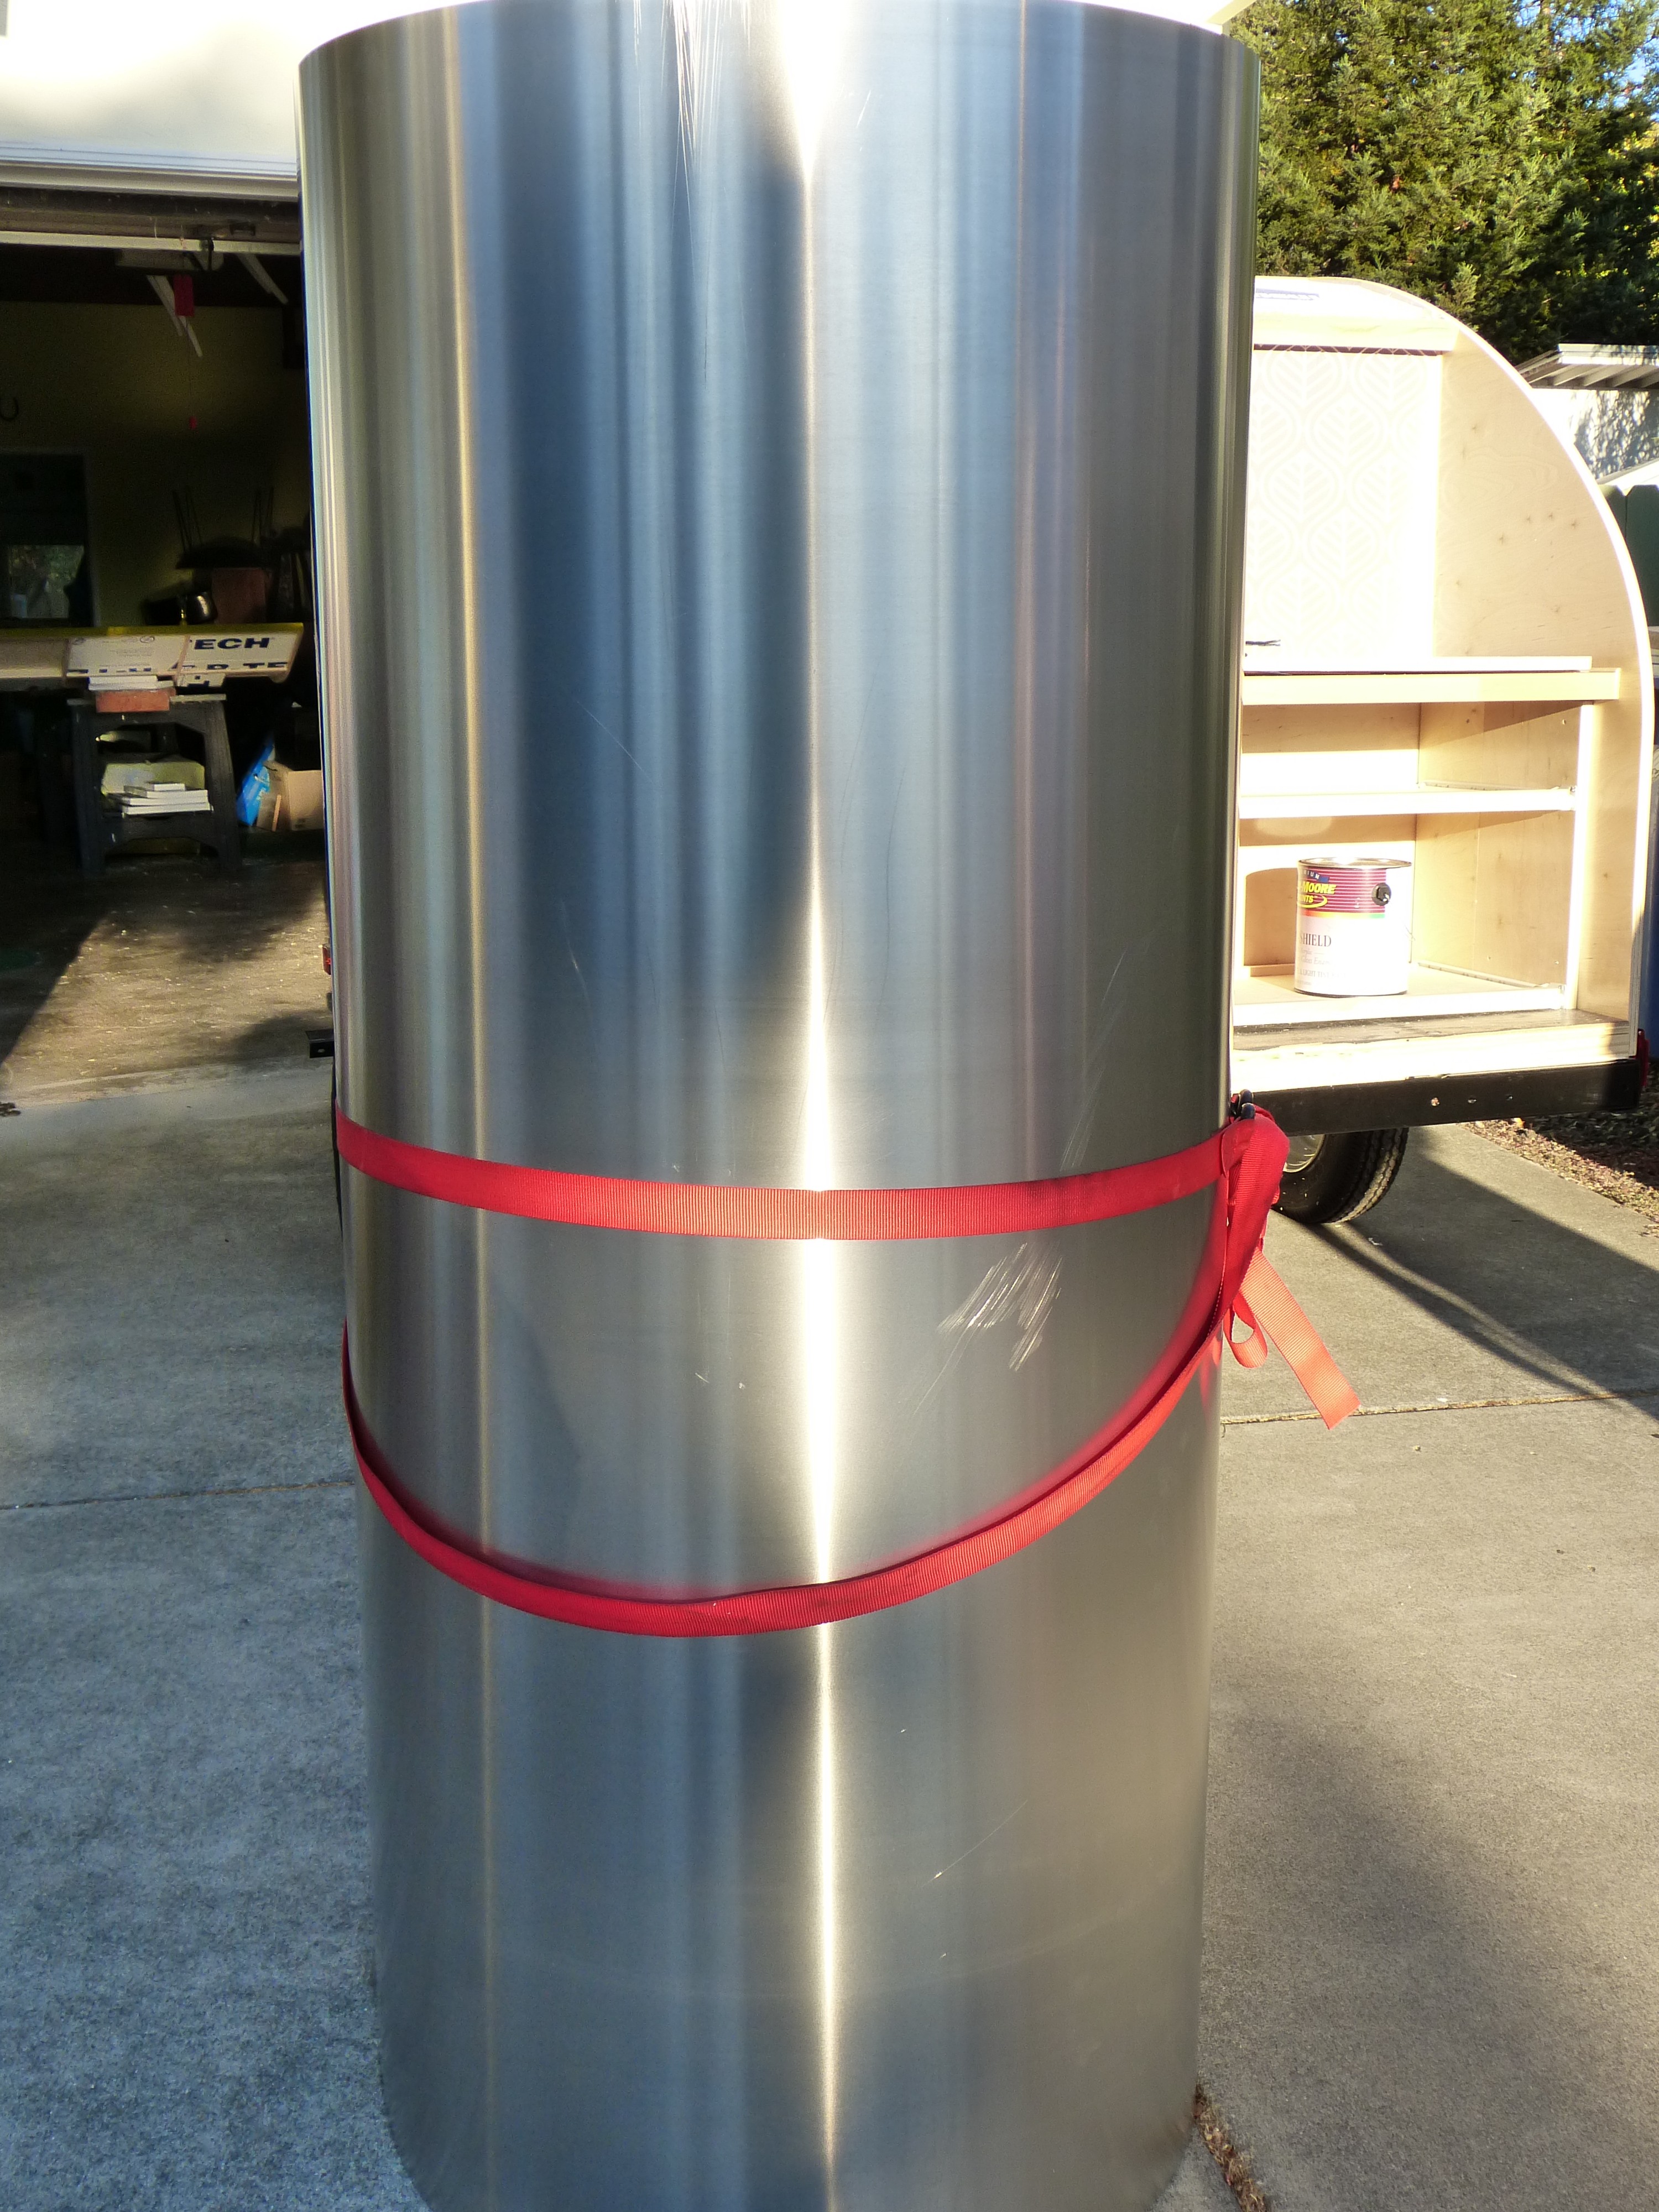
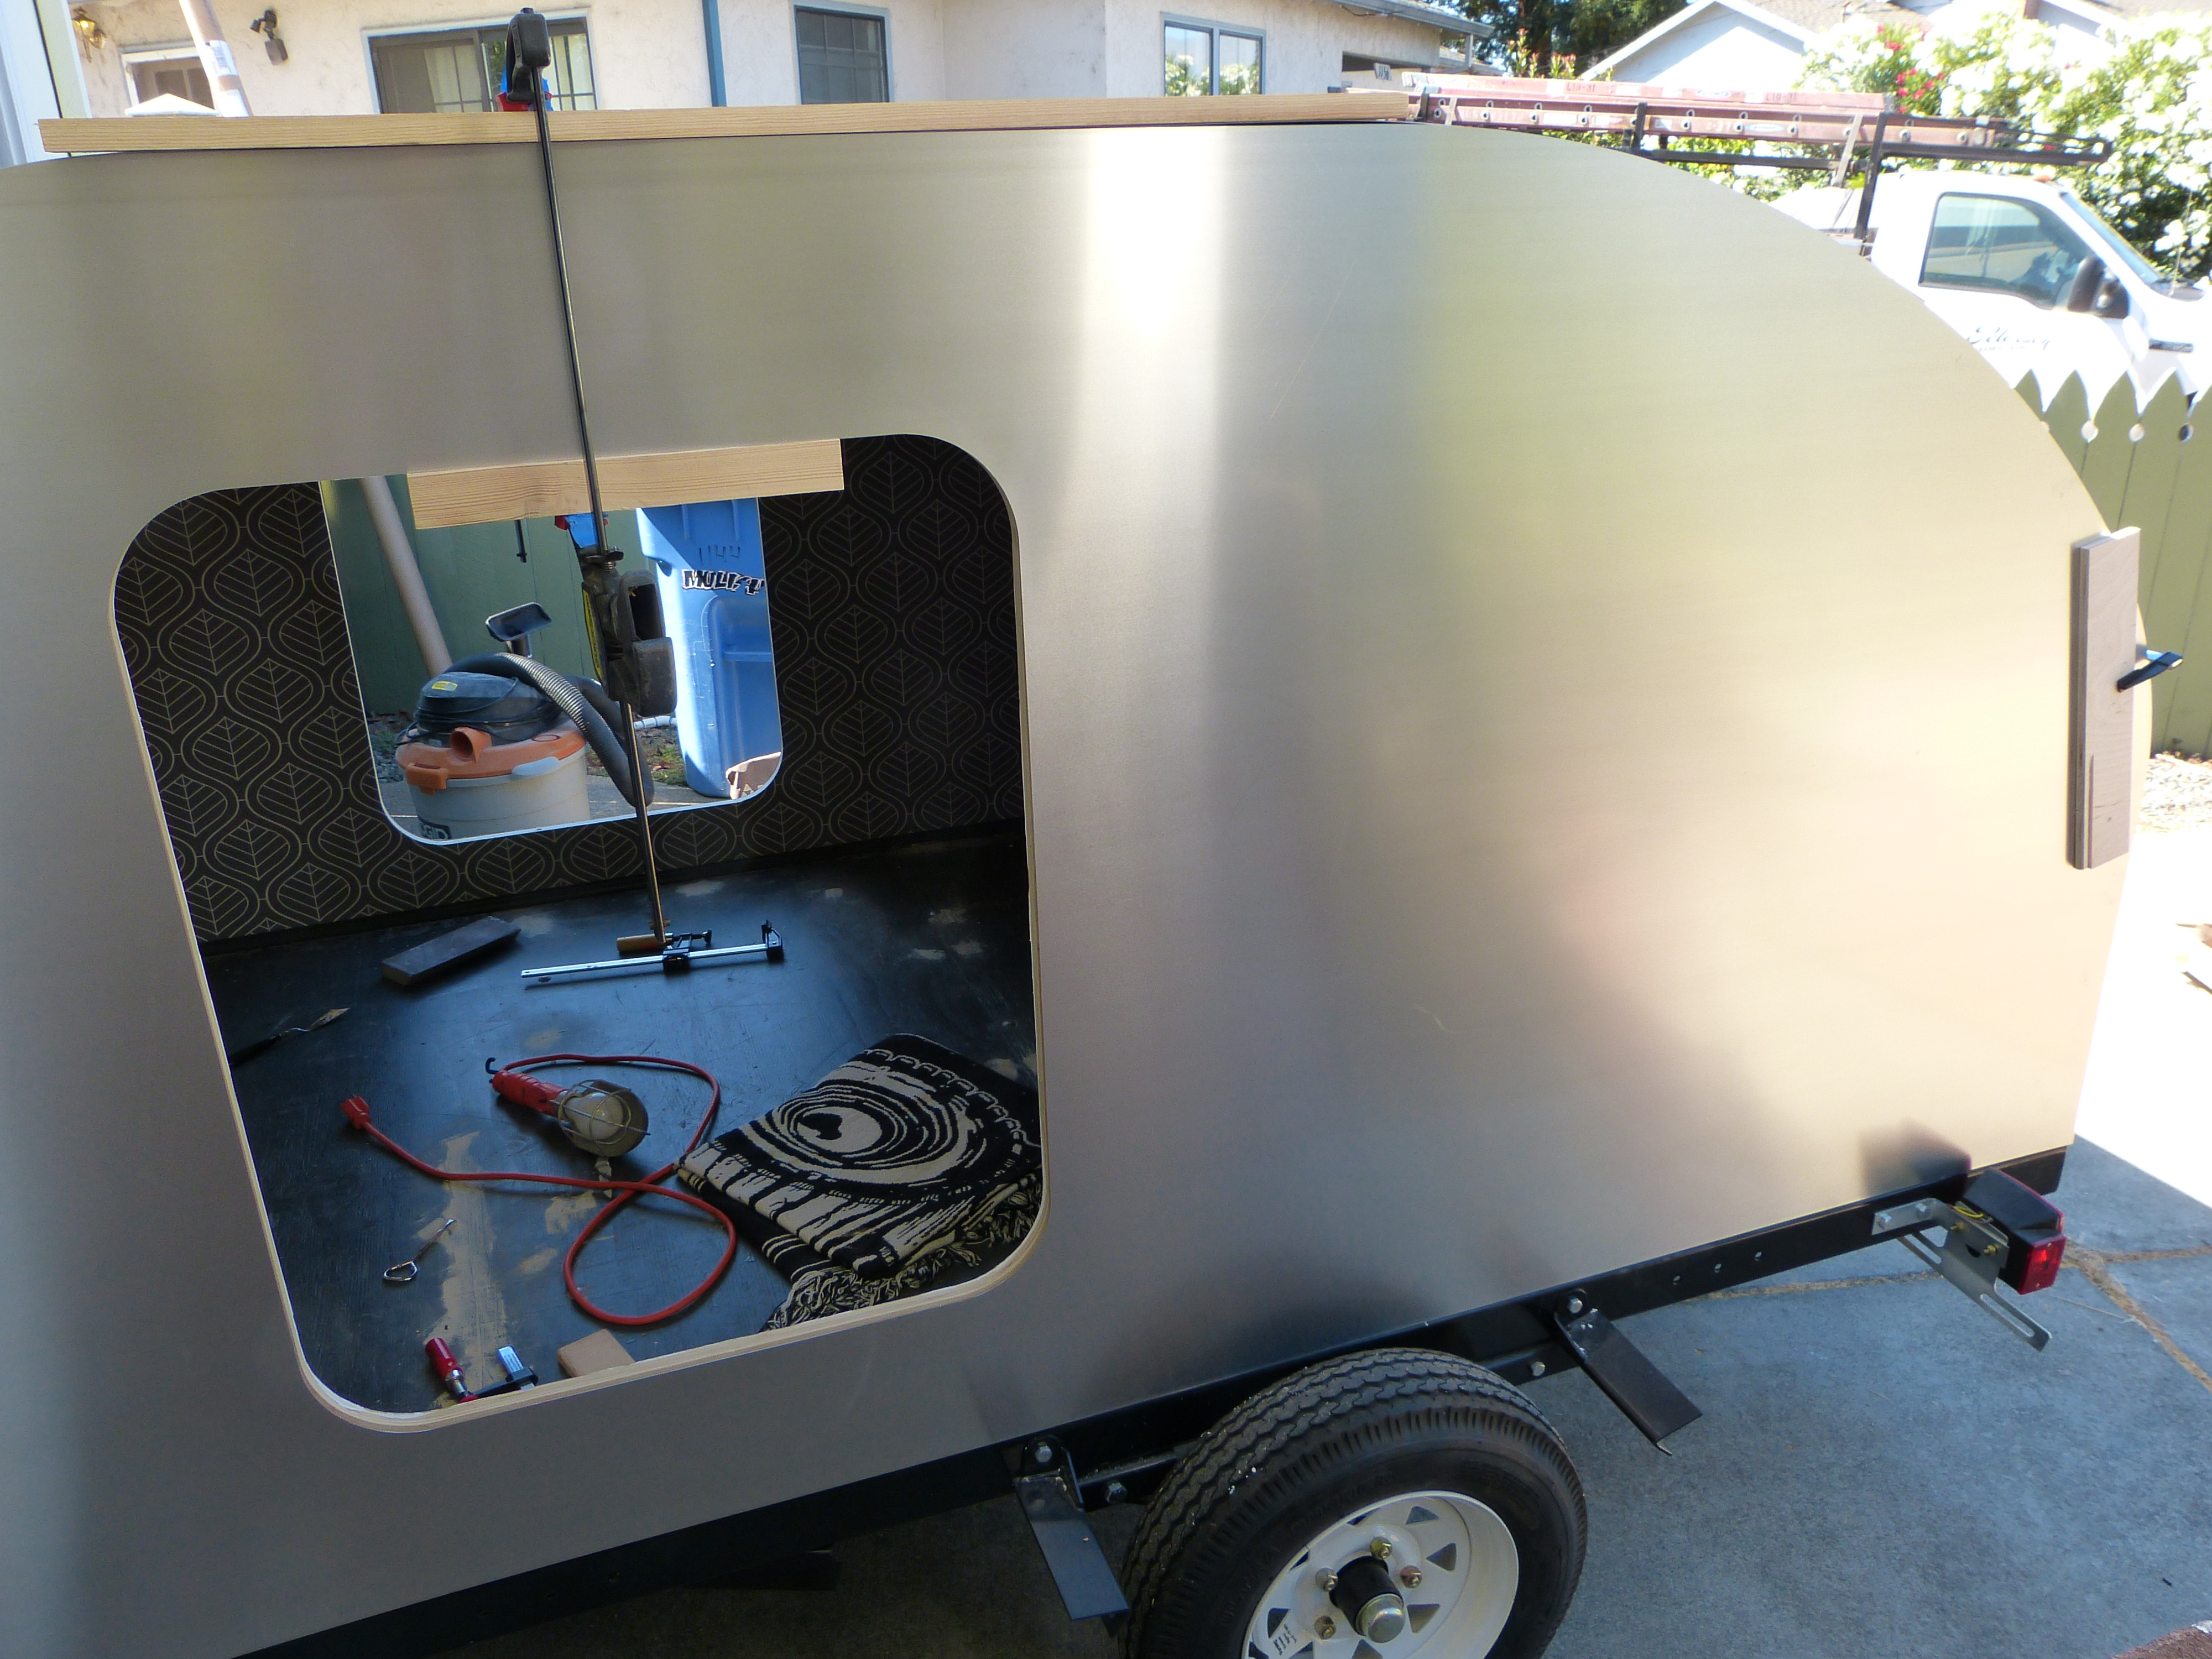
The next day I again went to work and the ever industrious Frank and Carol Aspinall came over and secured one sheet of the aluminum over the trailer. The directions that came with our kit state that you should secure it with straps on the trailer and leave it to set for at least 24 hours before securing it permanently. Ever the ones to follow directions (ha!) this is what we did.

P1080115

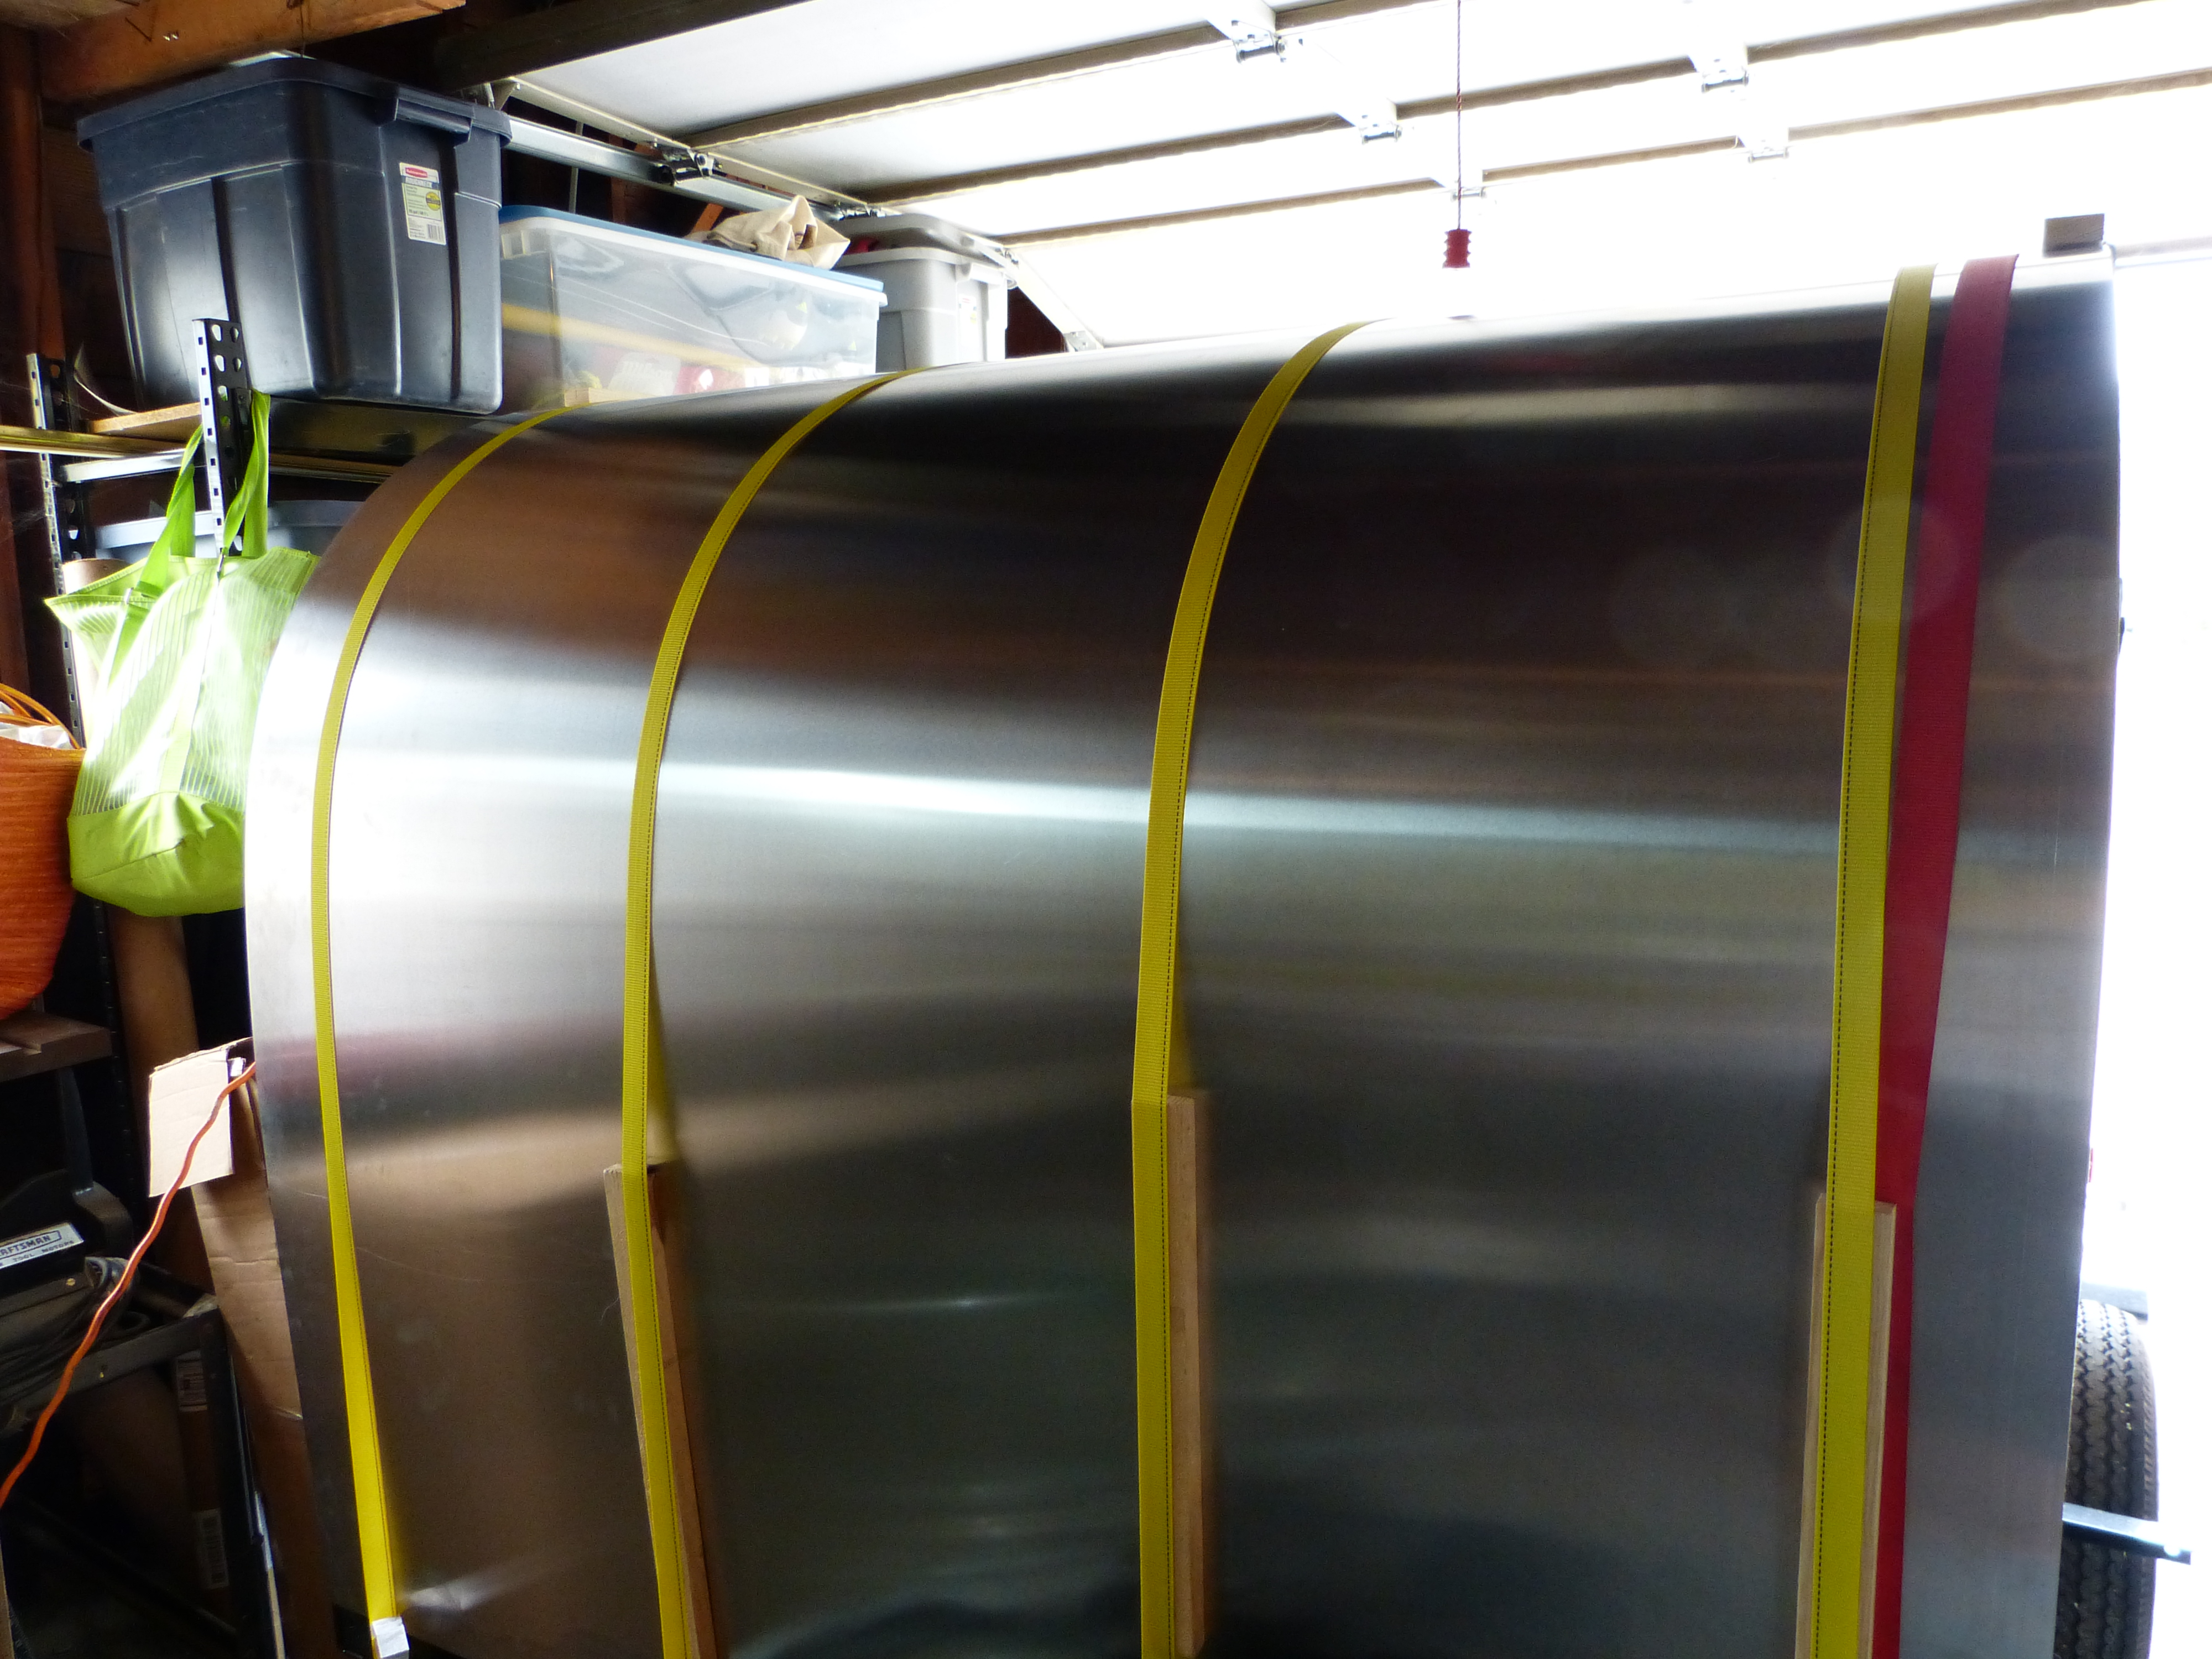
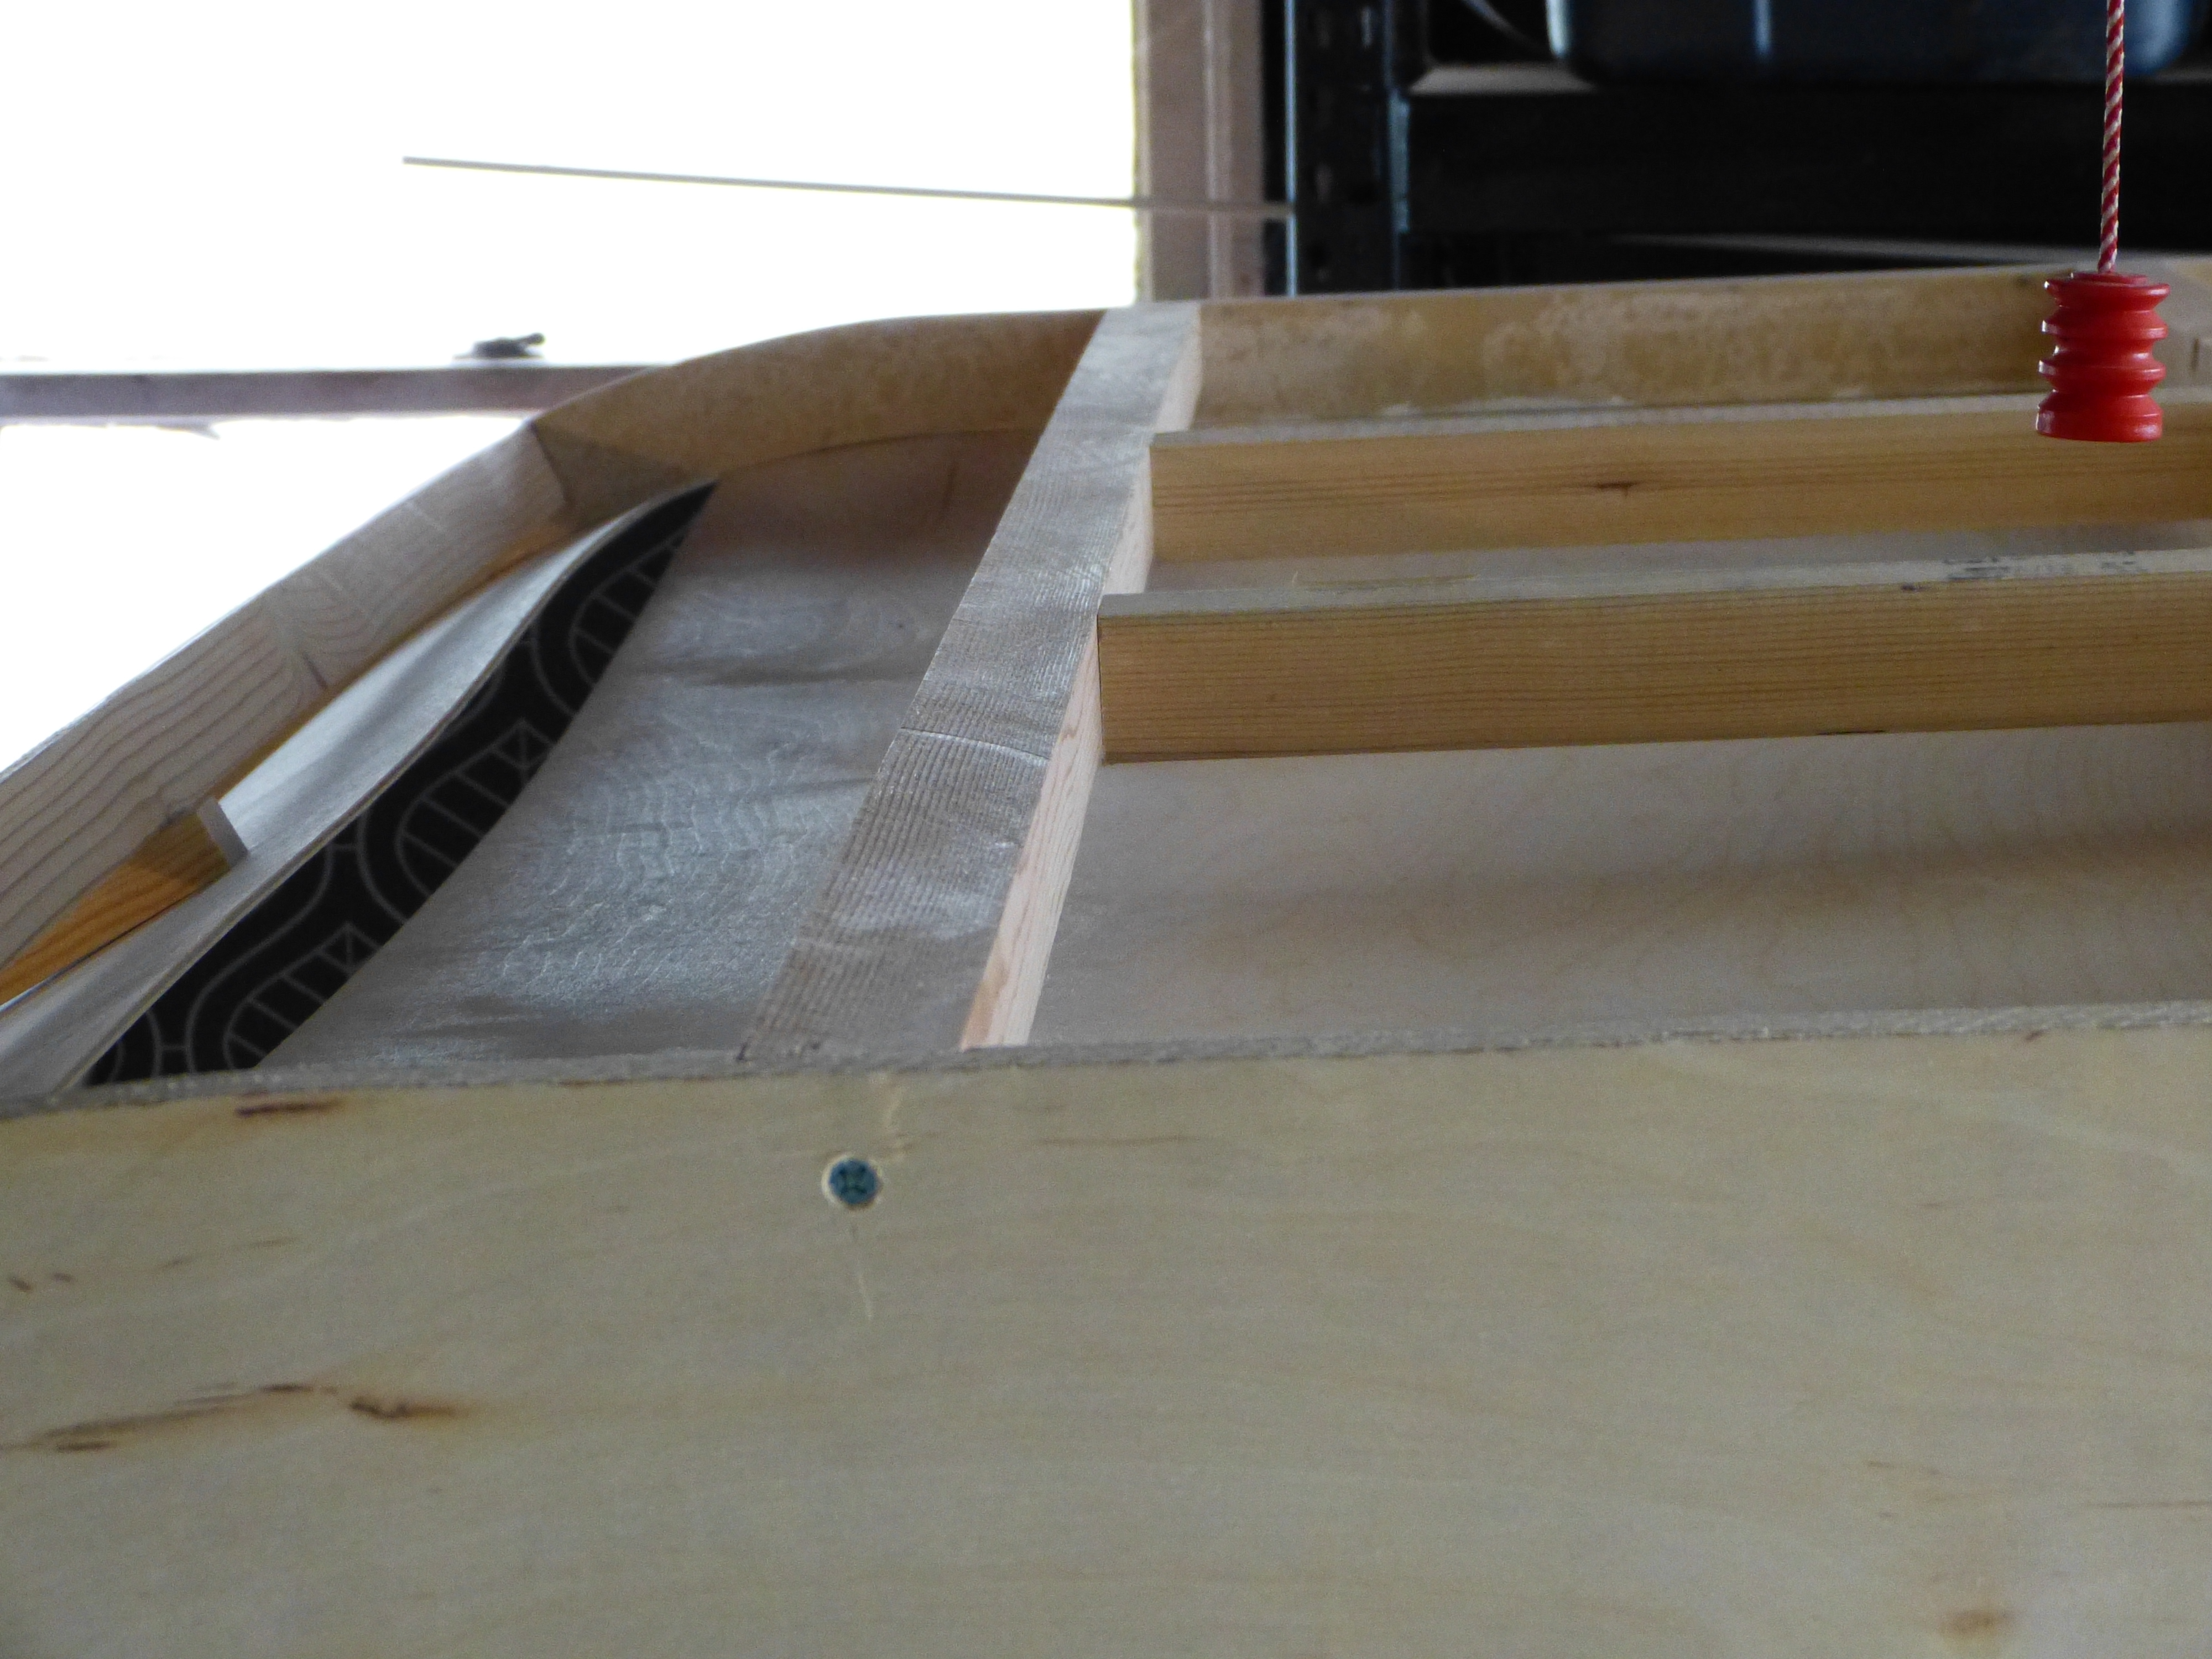
This left us ready to install the aluminium skins on Saturday. While researching methods for how to install the skin there are varying methods suggested. Some sites  recommend gluing the aluminum to the sides and some do not. The concern that the glue creates is as the trailer heats and cools it will contract and expand, causing the glue to pop off of the wood. After talking to Frank Bear (not to be confused with Frank Aspinall) at Vintage Technologies and also with Teardroppers, our kit manufacturer, the consensus was no glue. Instead, they recommended that you “float” the aluminum on the sides.

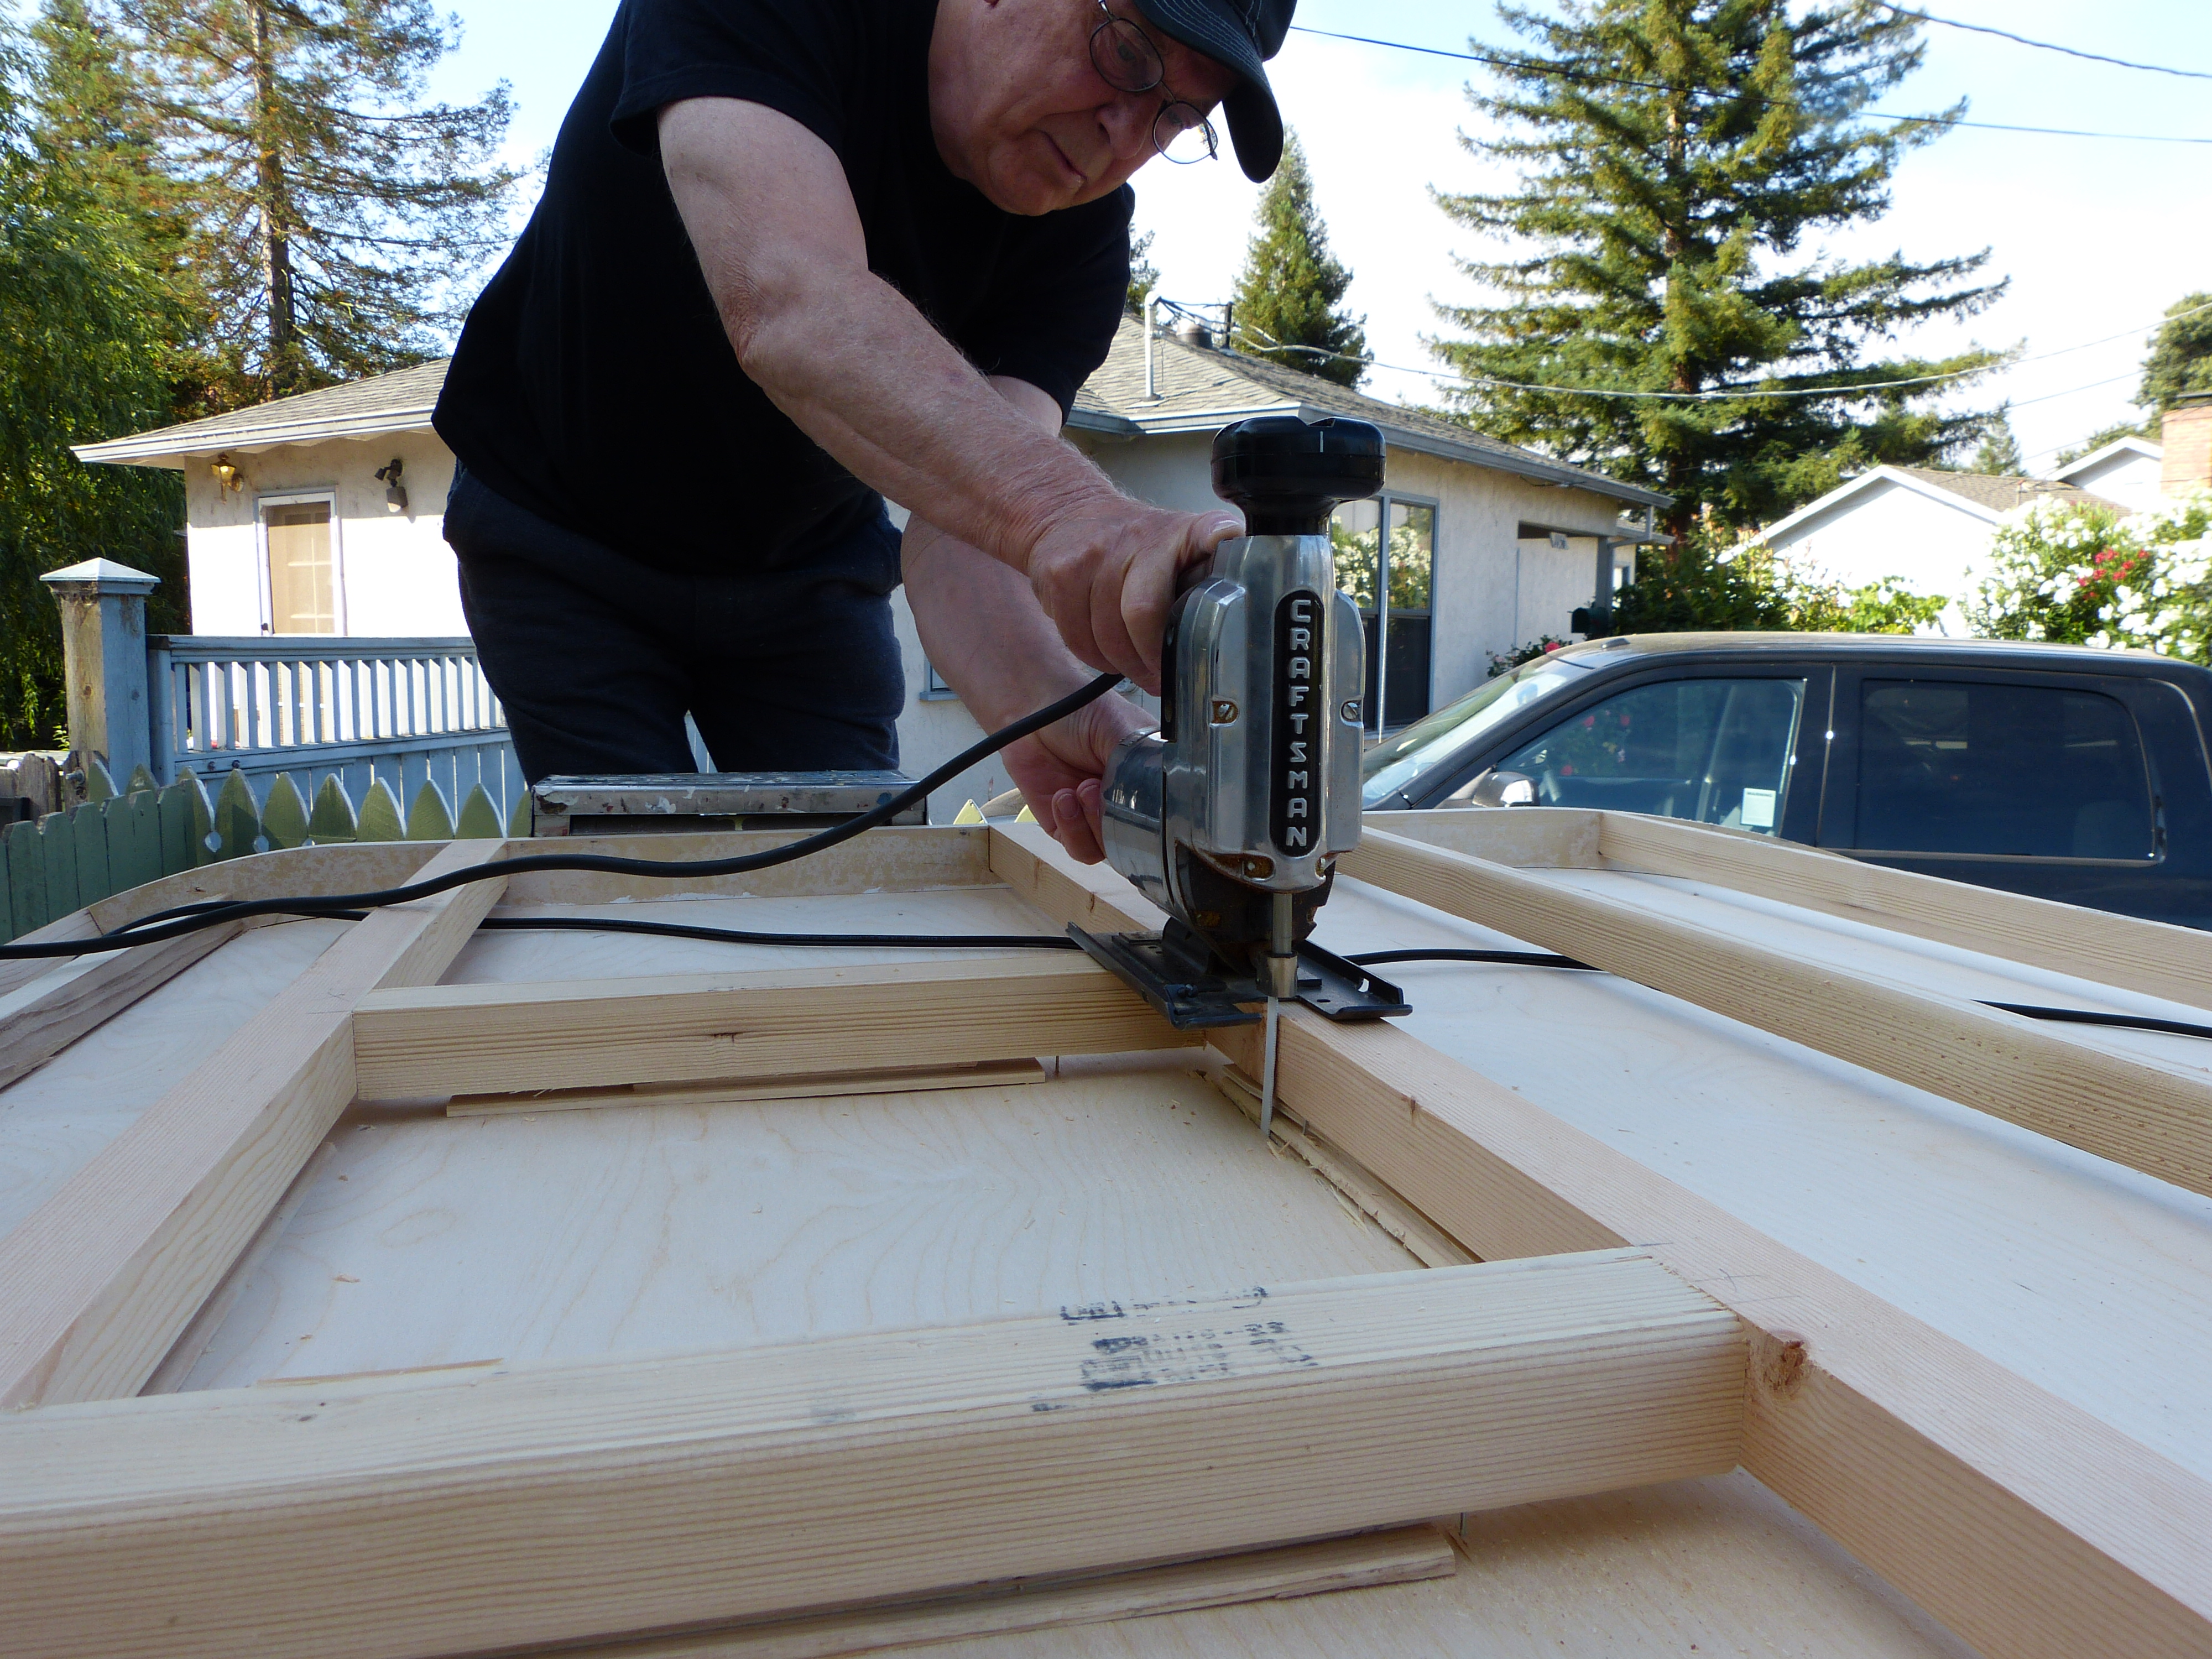
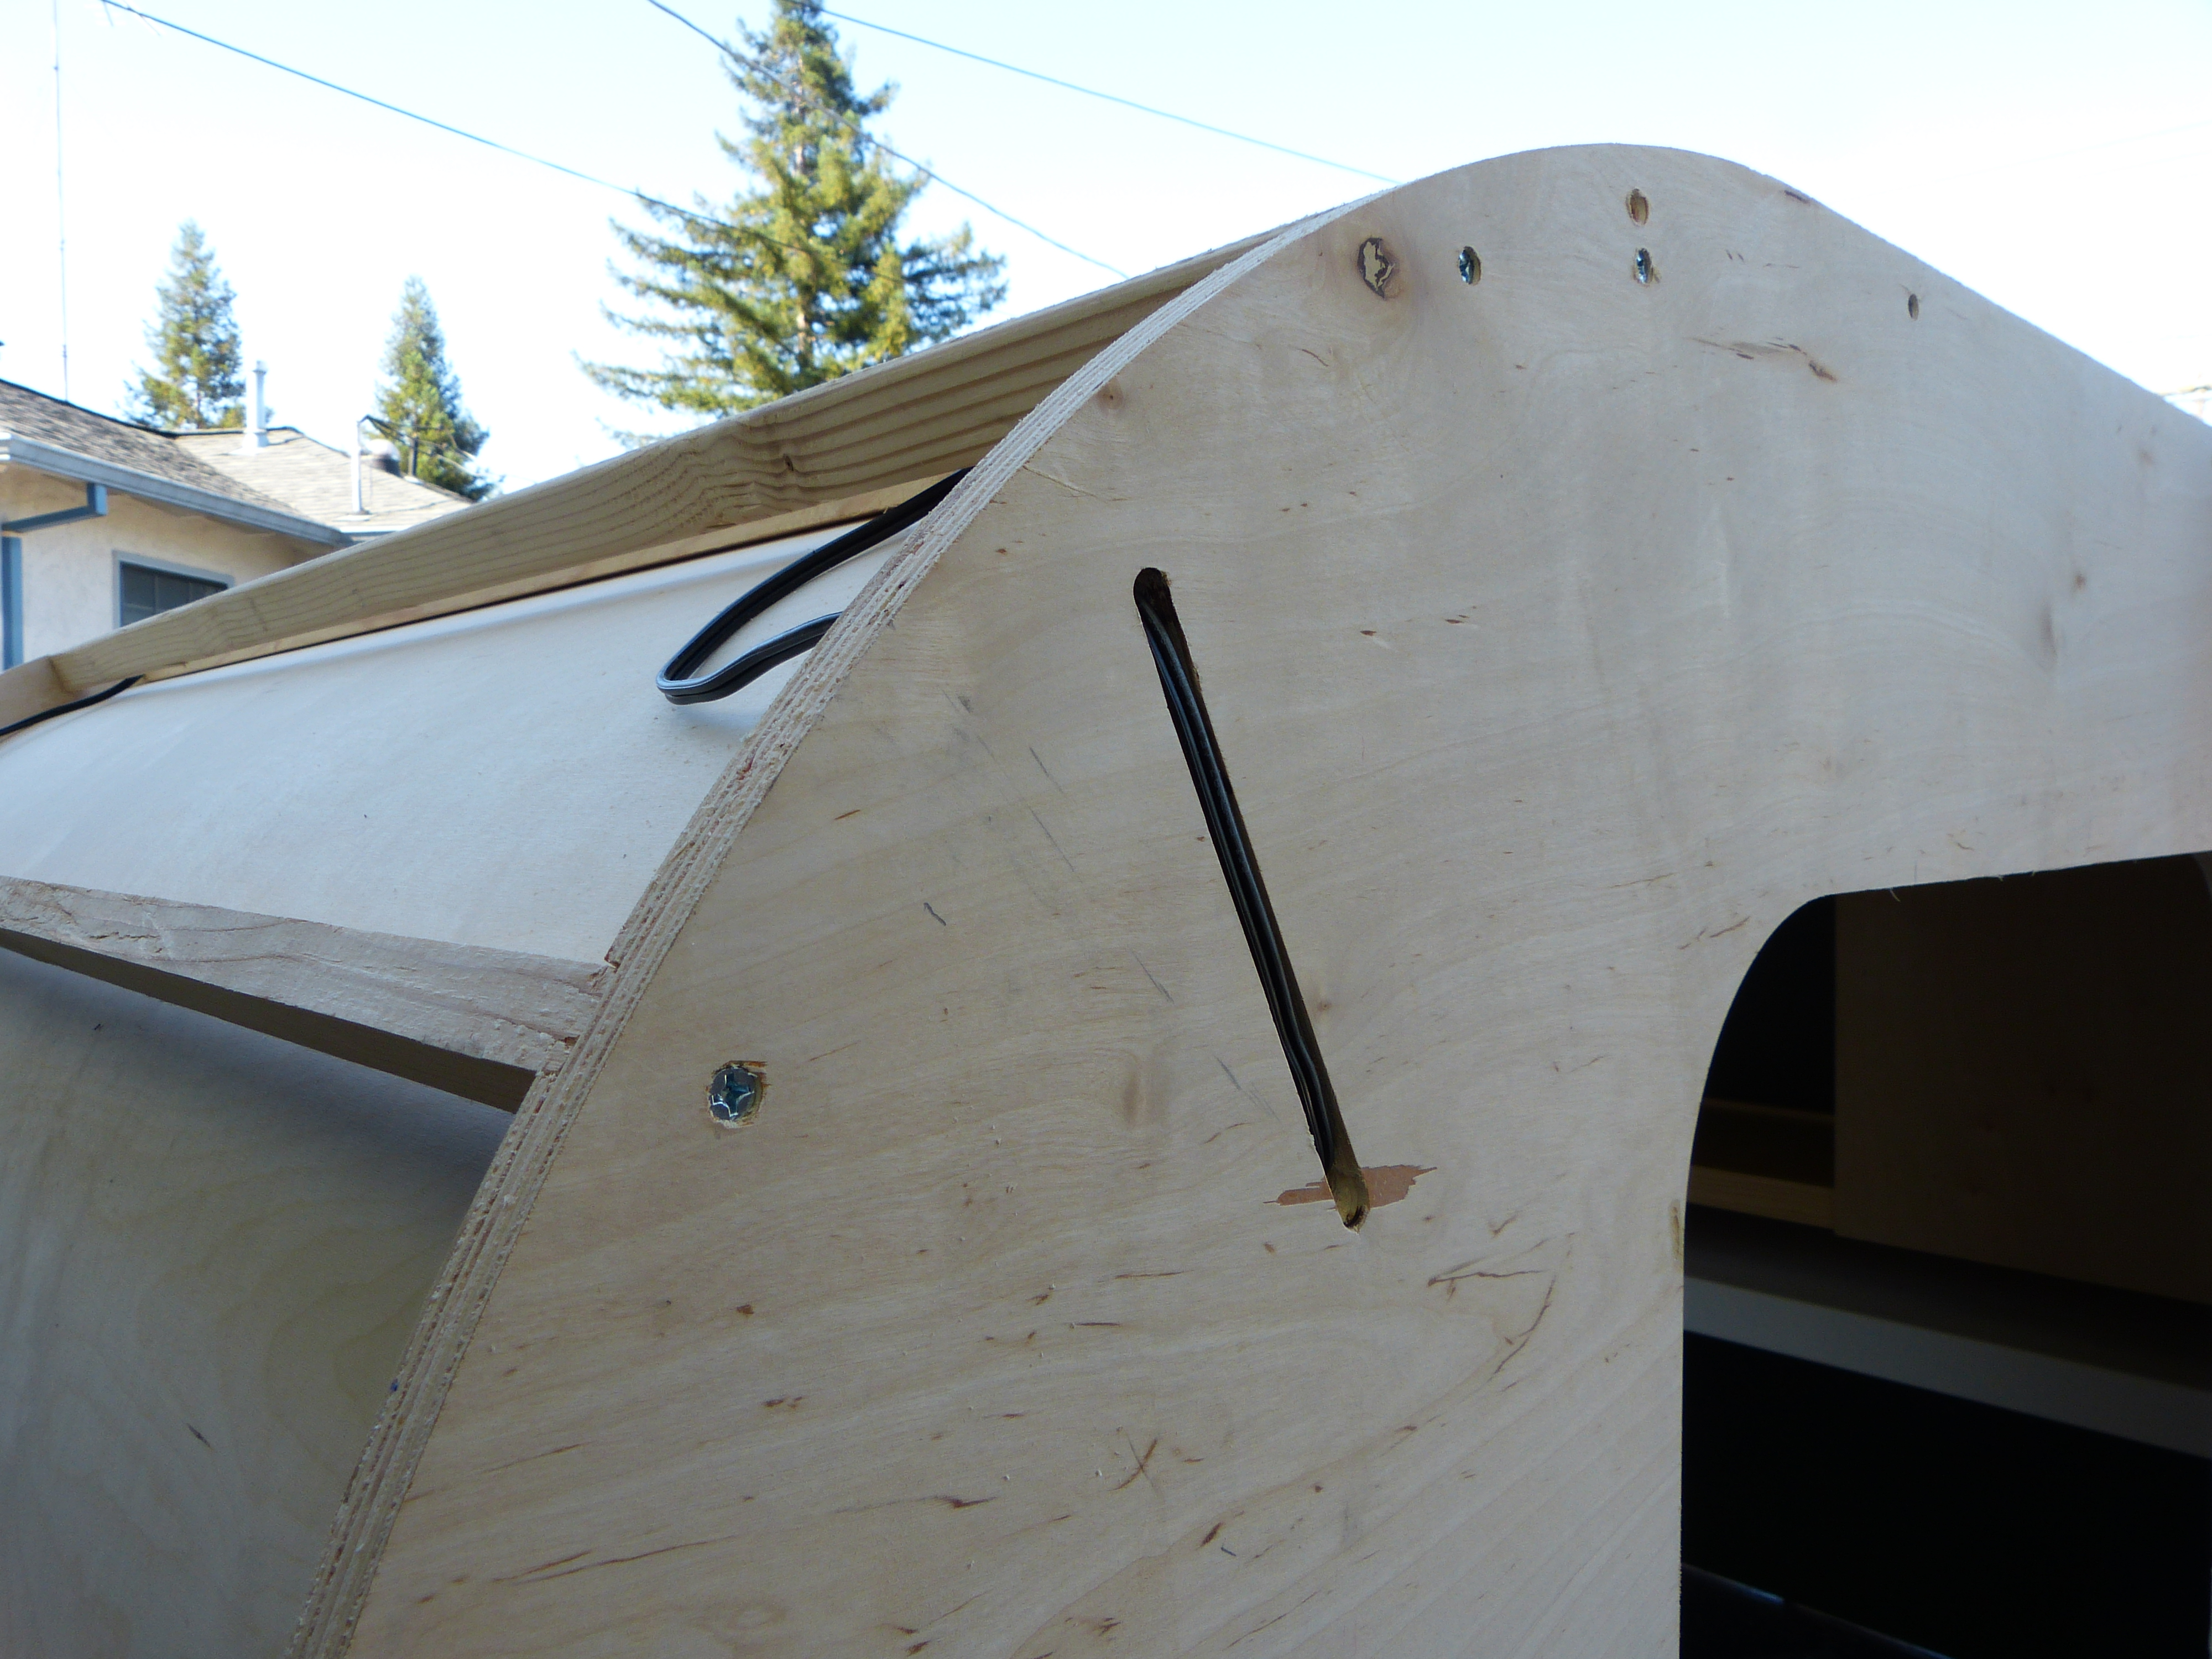
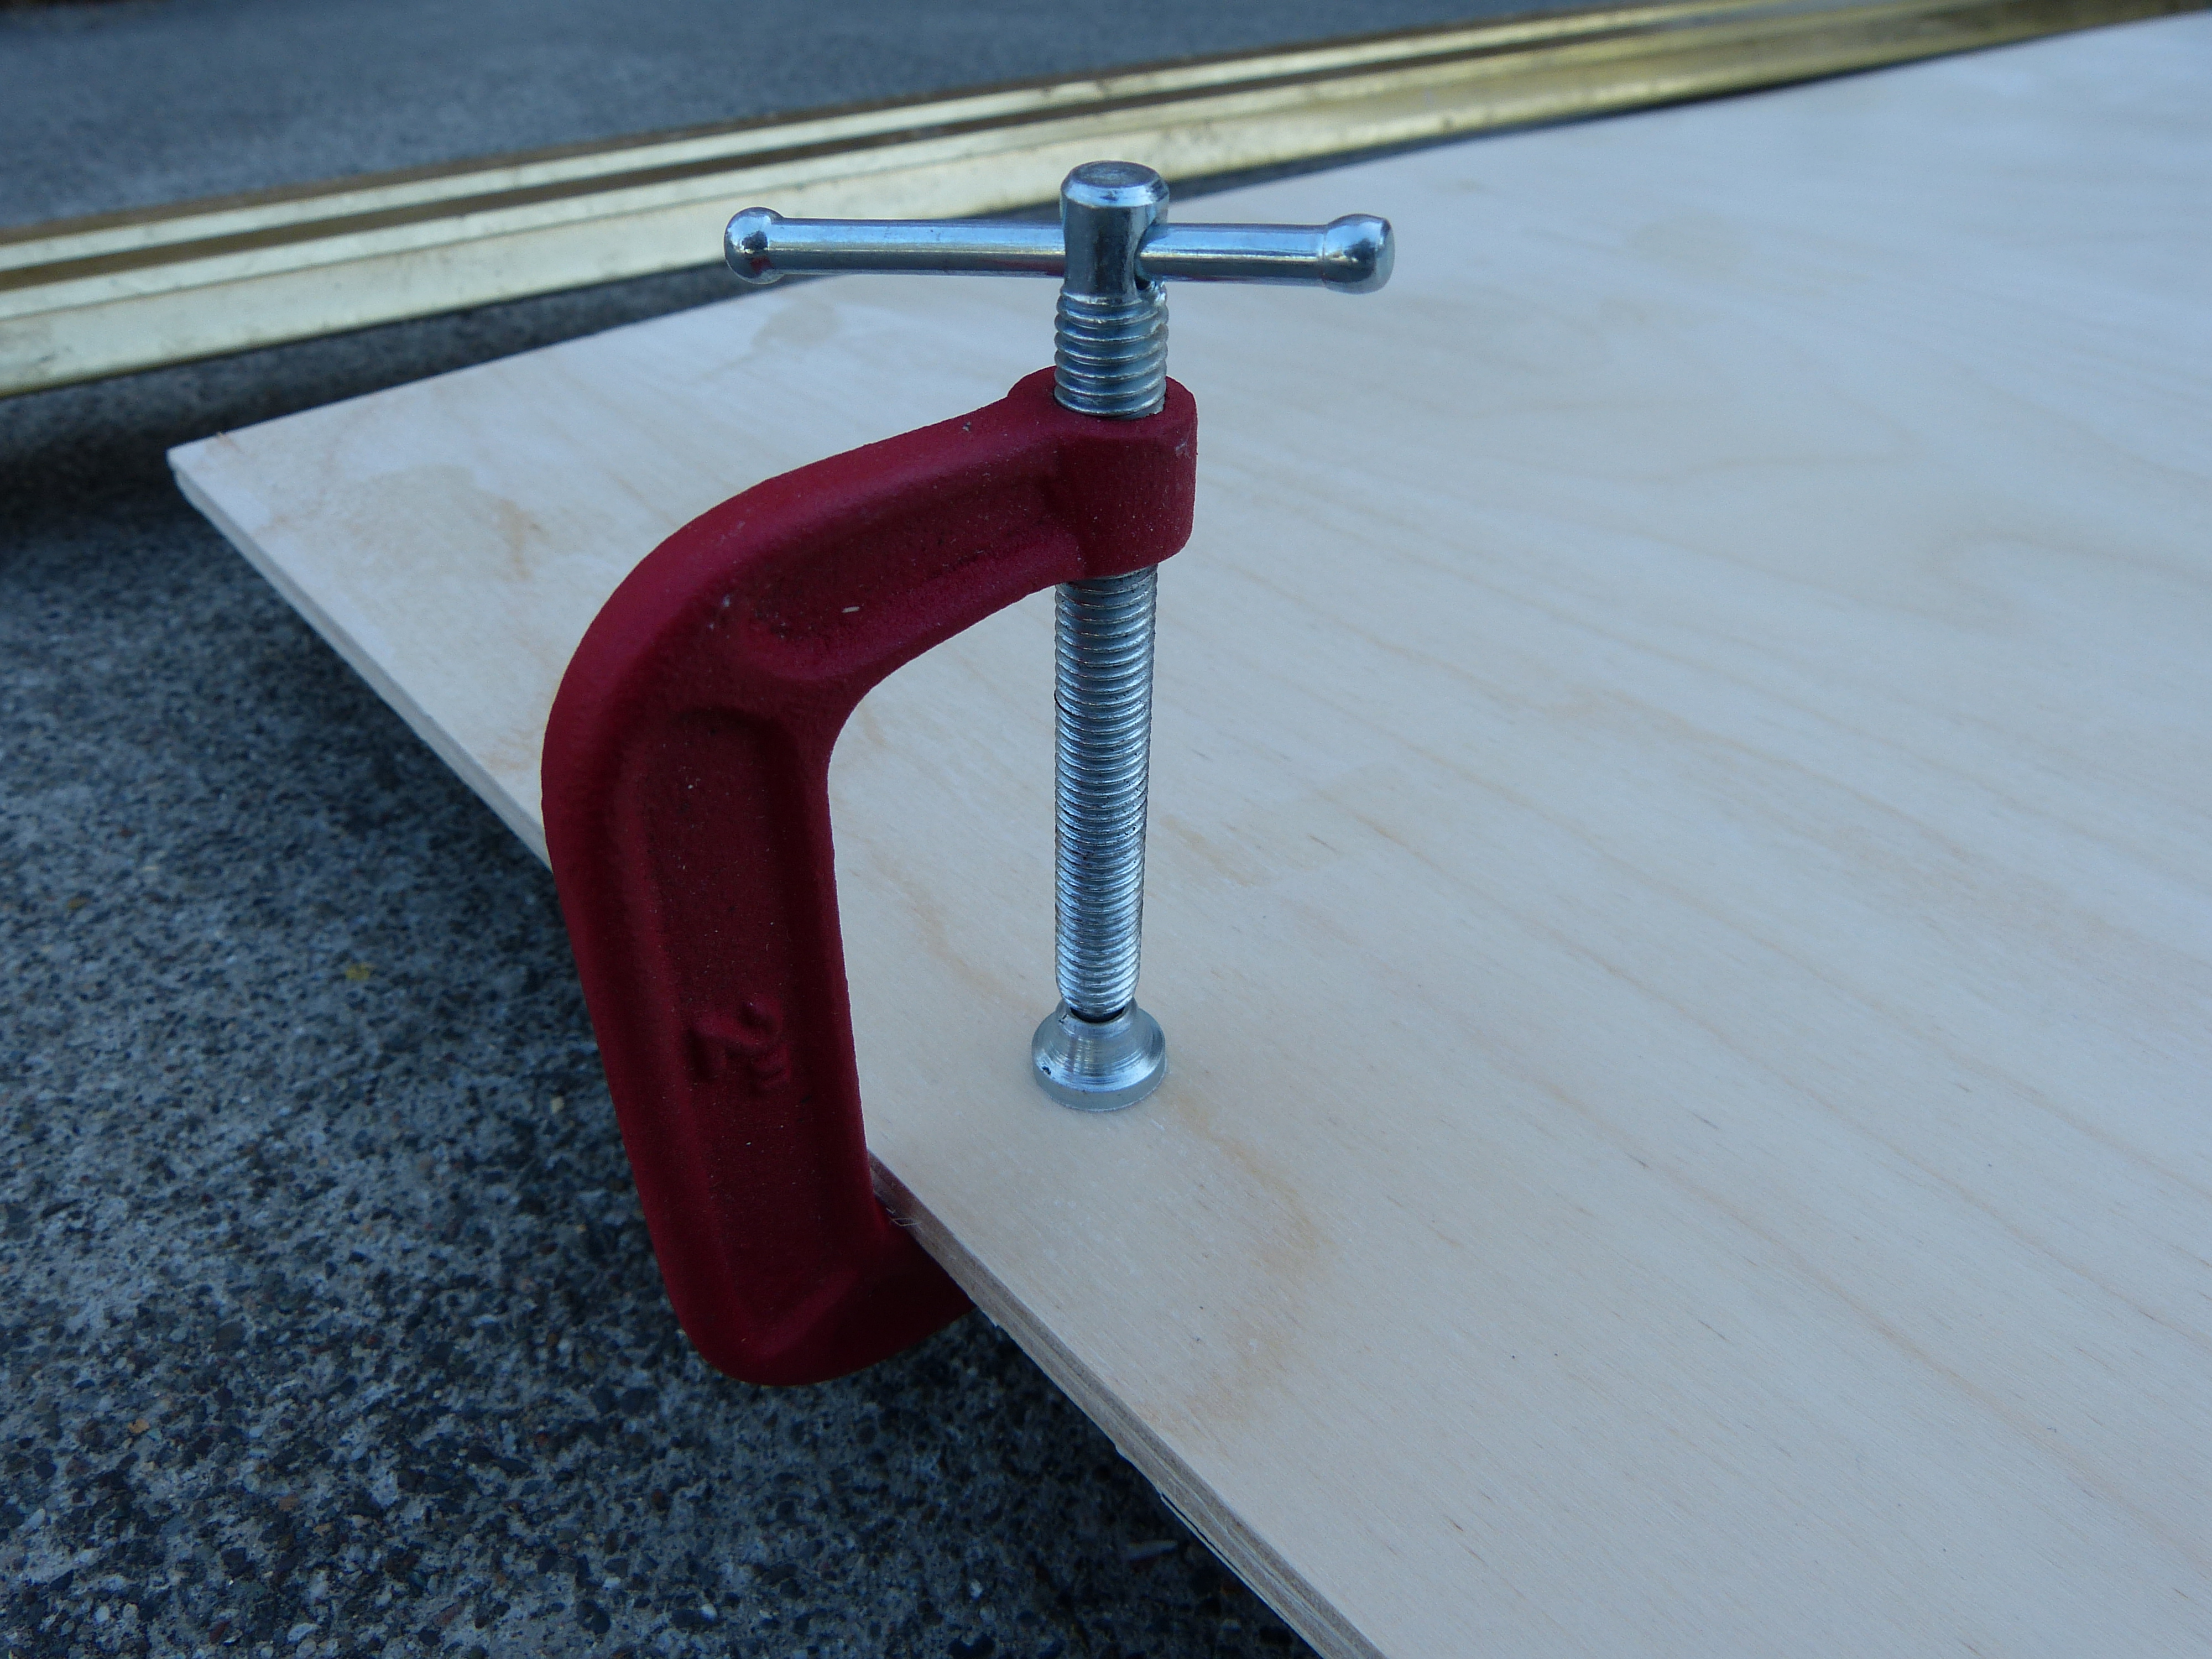
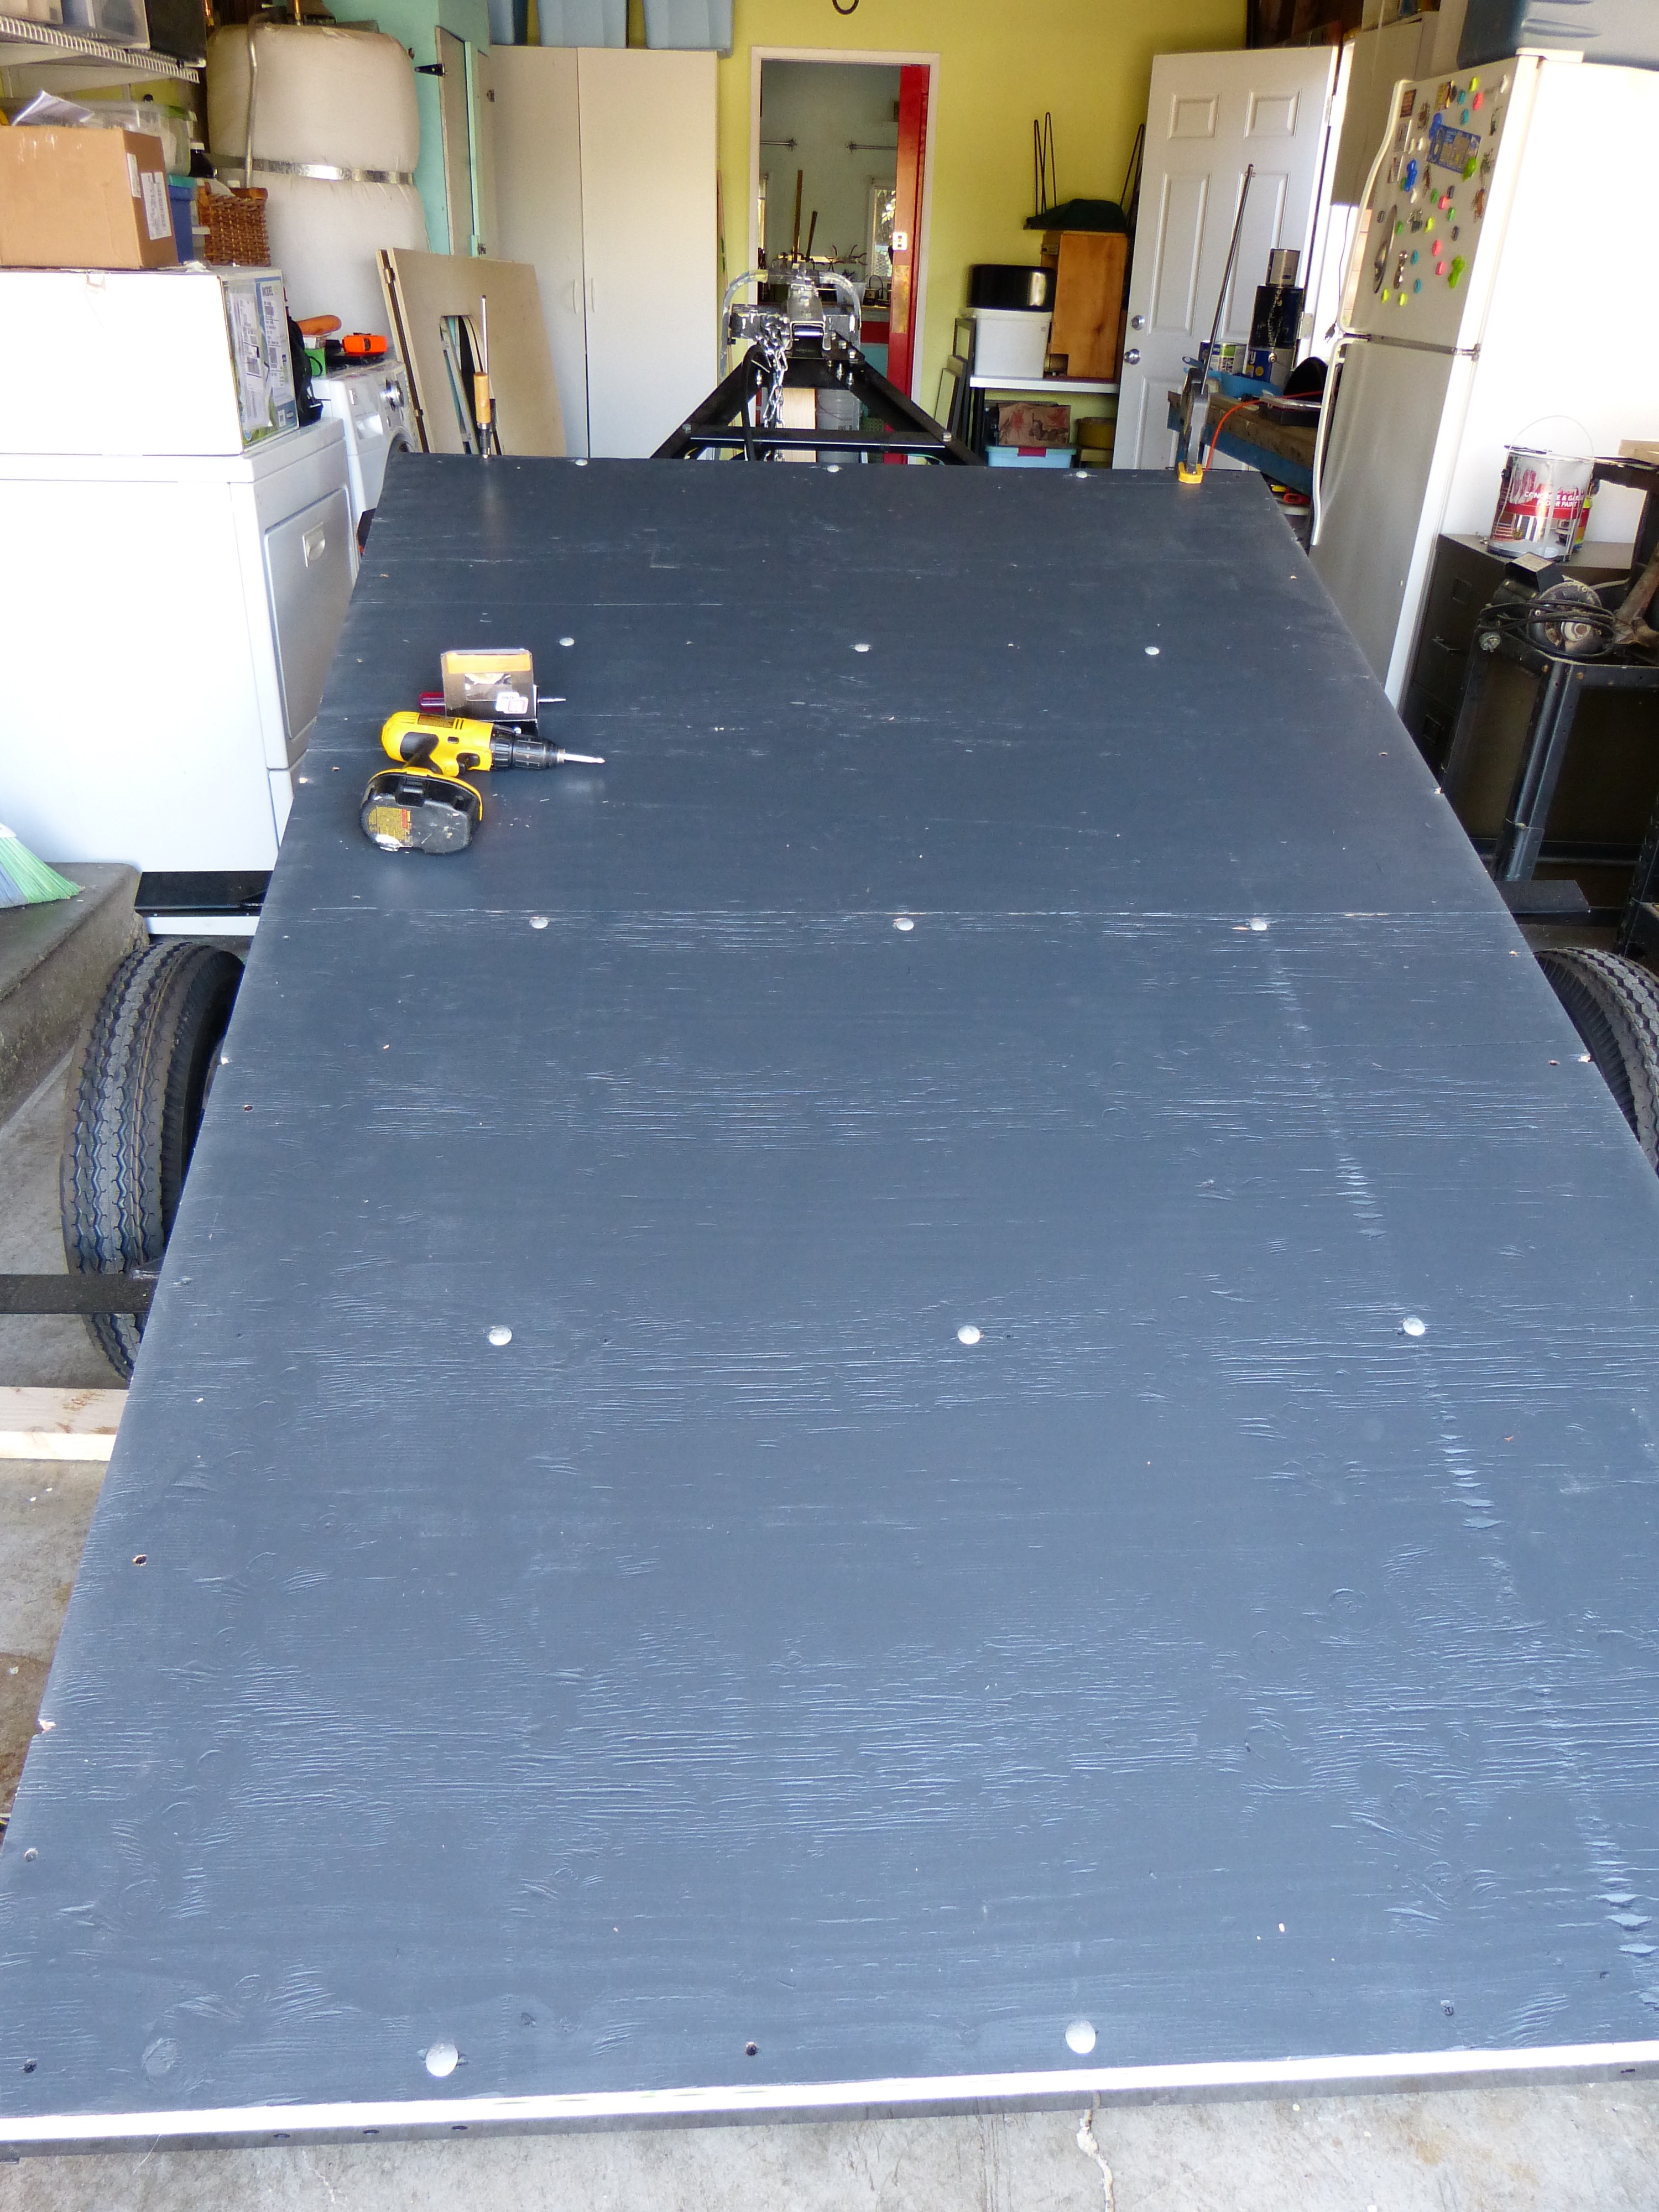
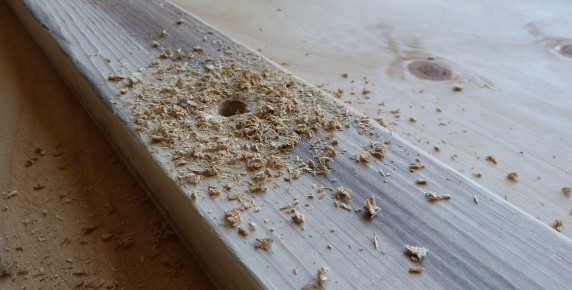
Before moving on to skin installation, we paused to drill through the skin so that our electrical that we ran through the ceiling can come through and eventually be attached to a battery.

P1080121

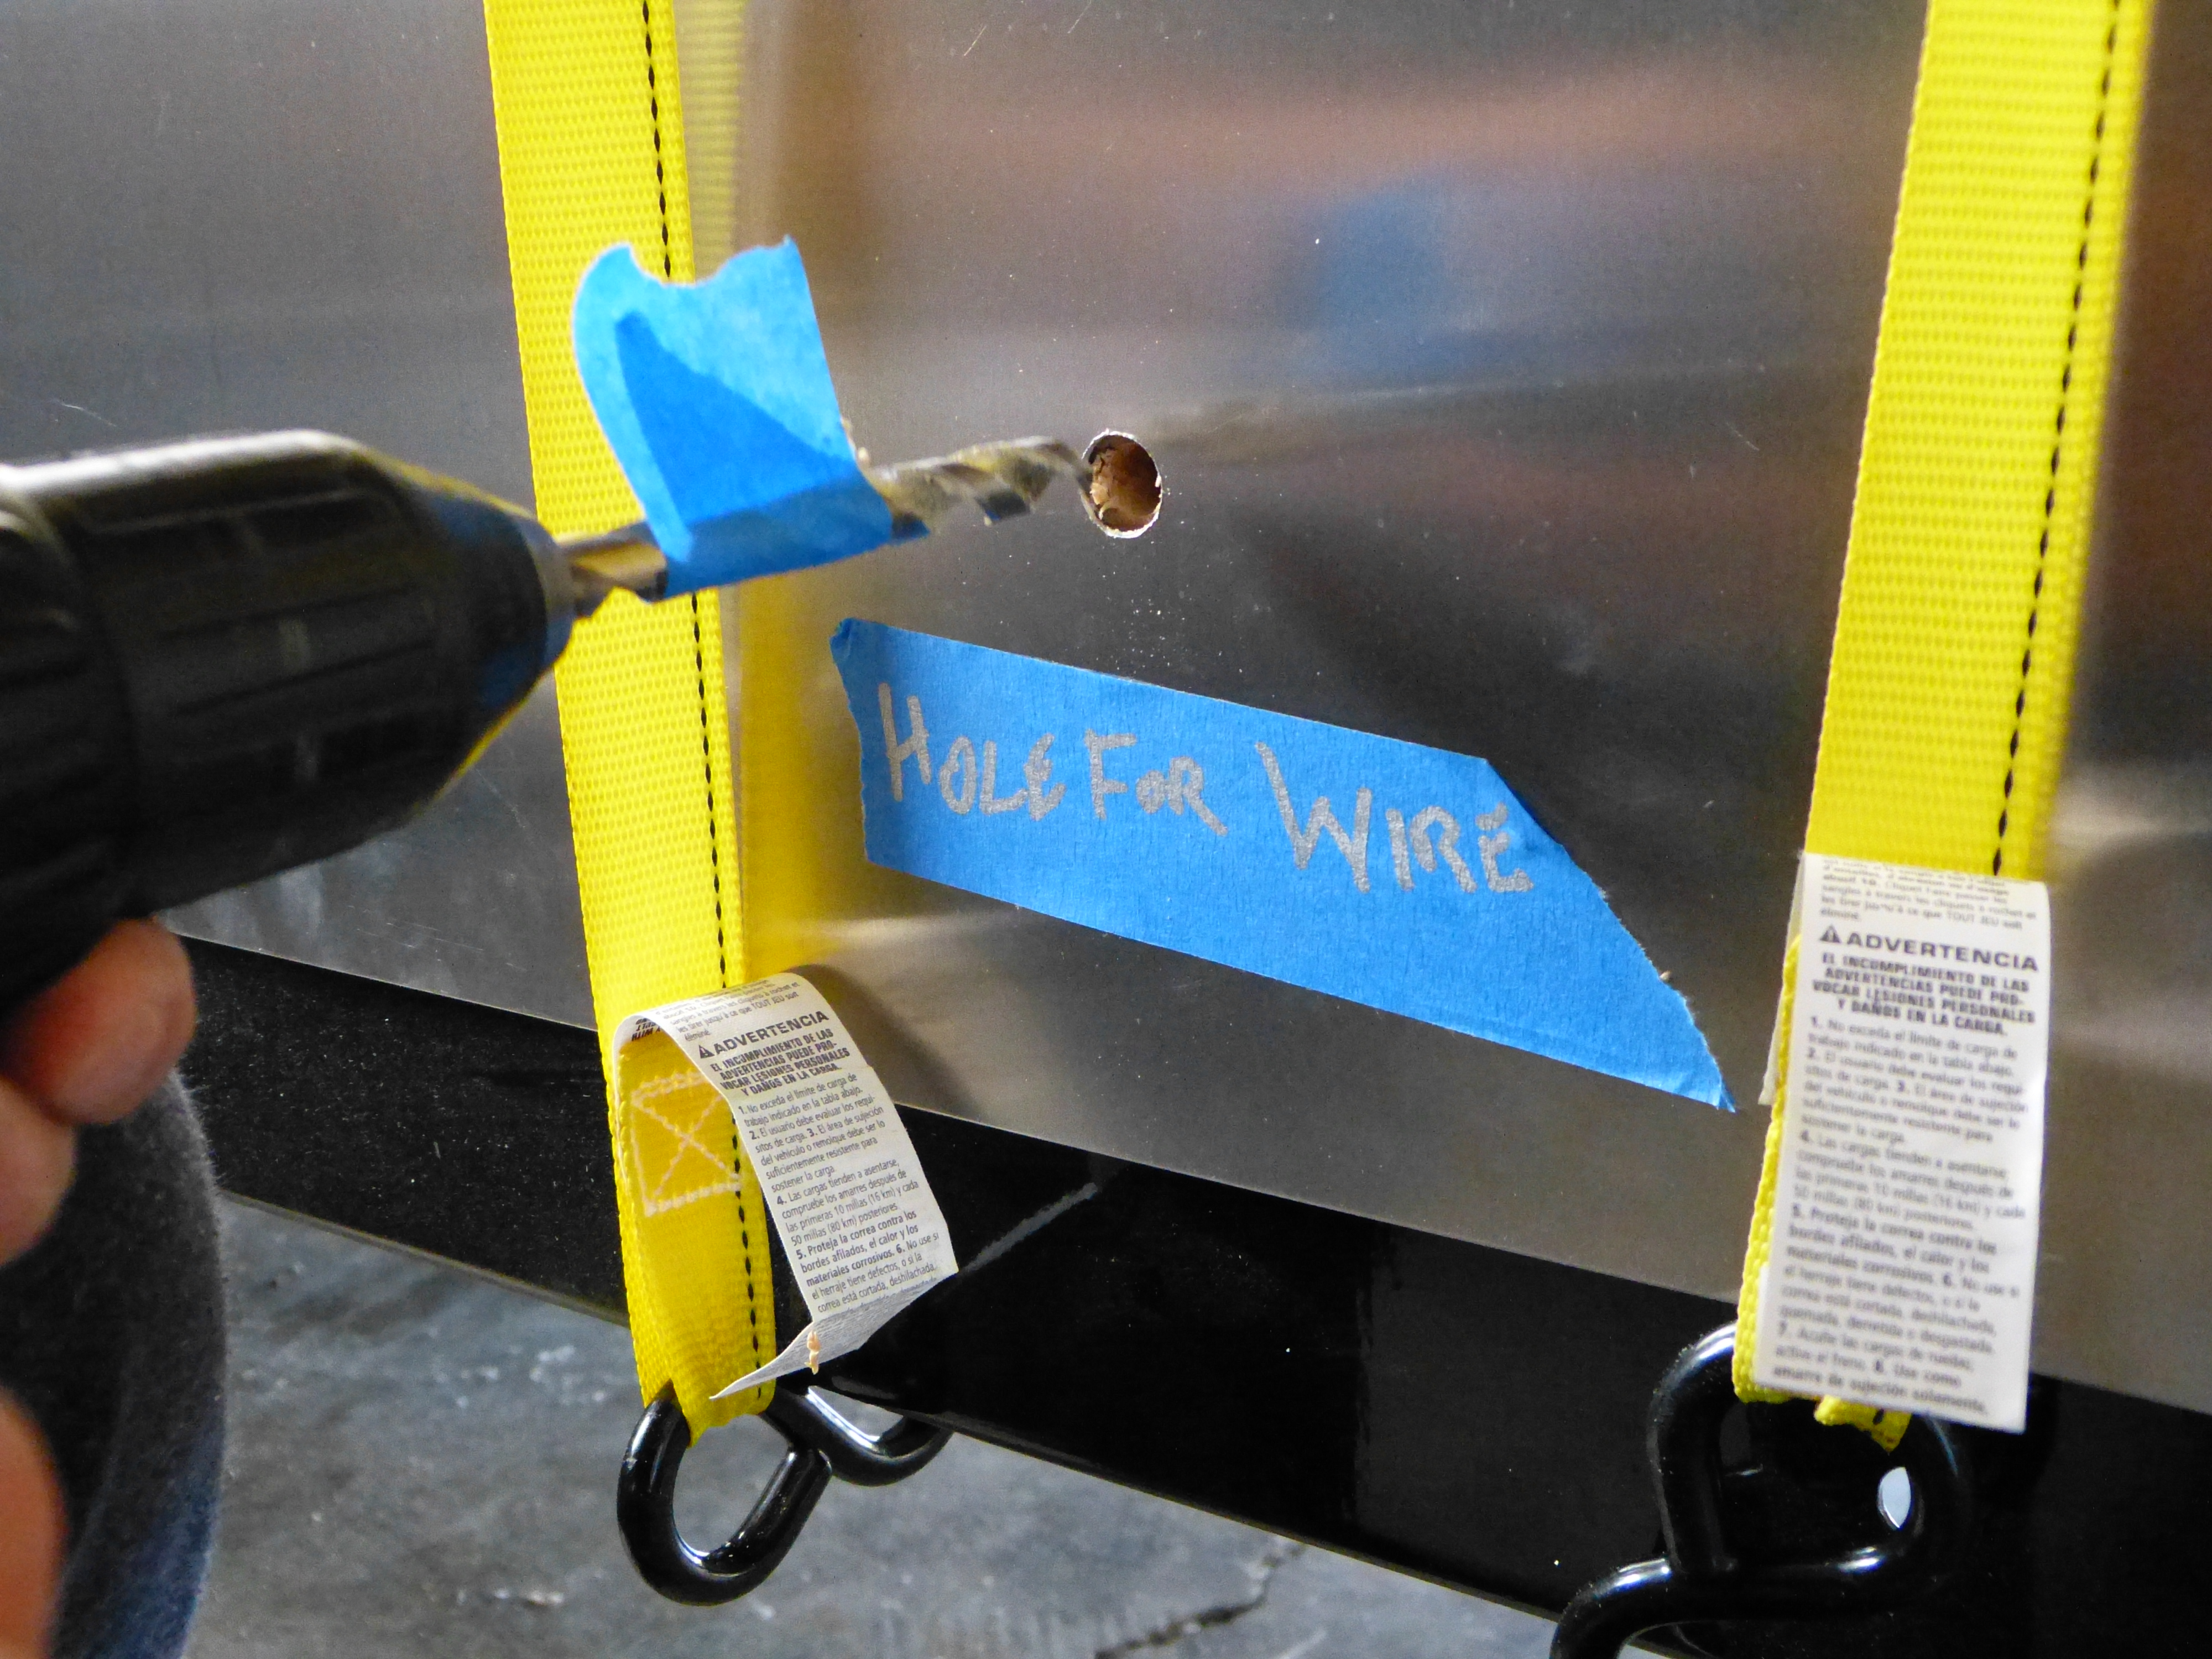
The tape on the drill bit was to ensure we didn’t drill through the interior Birch plywood.

As is the case when Frank and I start a new phase of the project, we spend a good deal of time discussing the game plan. On this particular day just figuring out which trim piece did what and how to affix each piece took a fair amount of time. It was practically coffee break when we really got going, causing us to stop for a LUNCH break even. This is highly irregular. Fortunately I had some quiche on hand.

P1080141

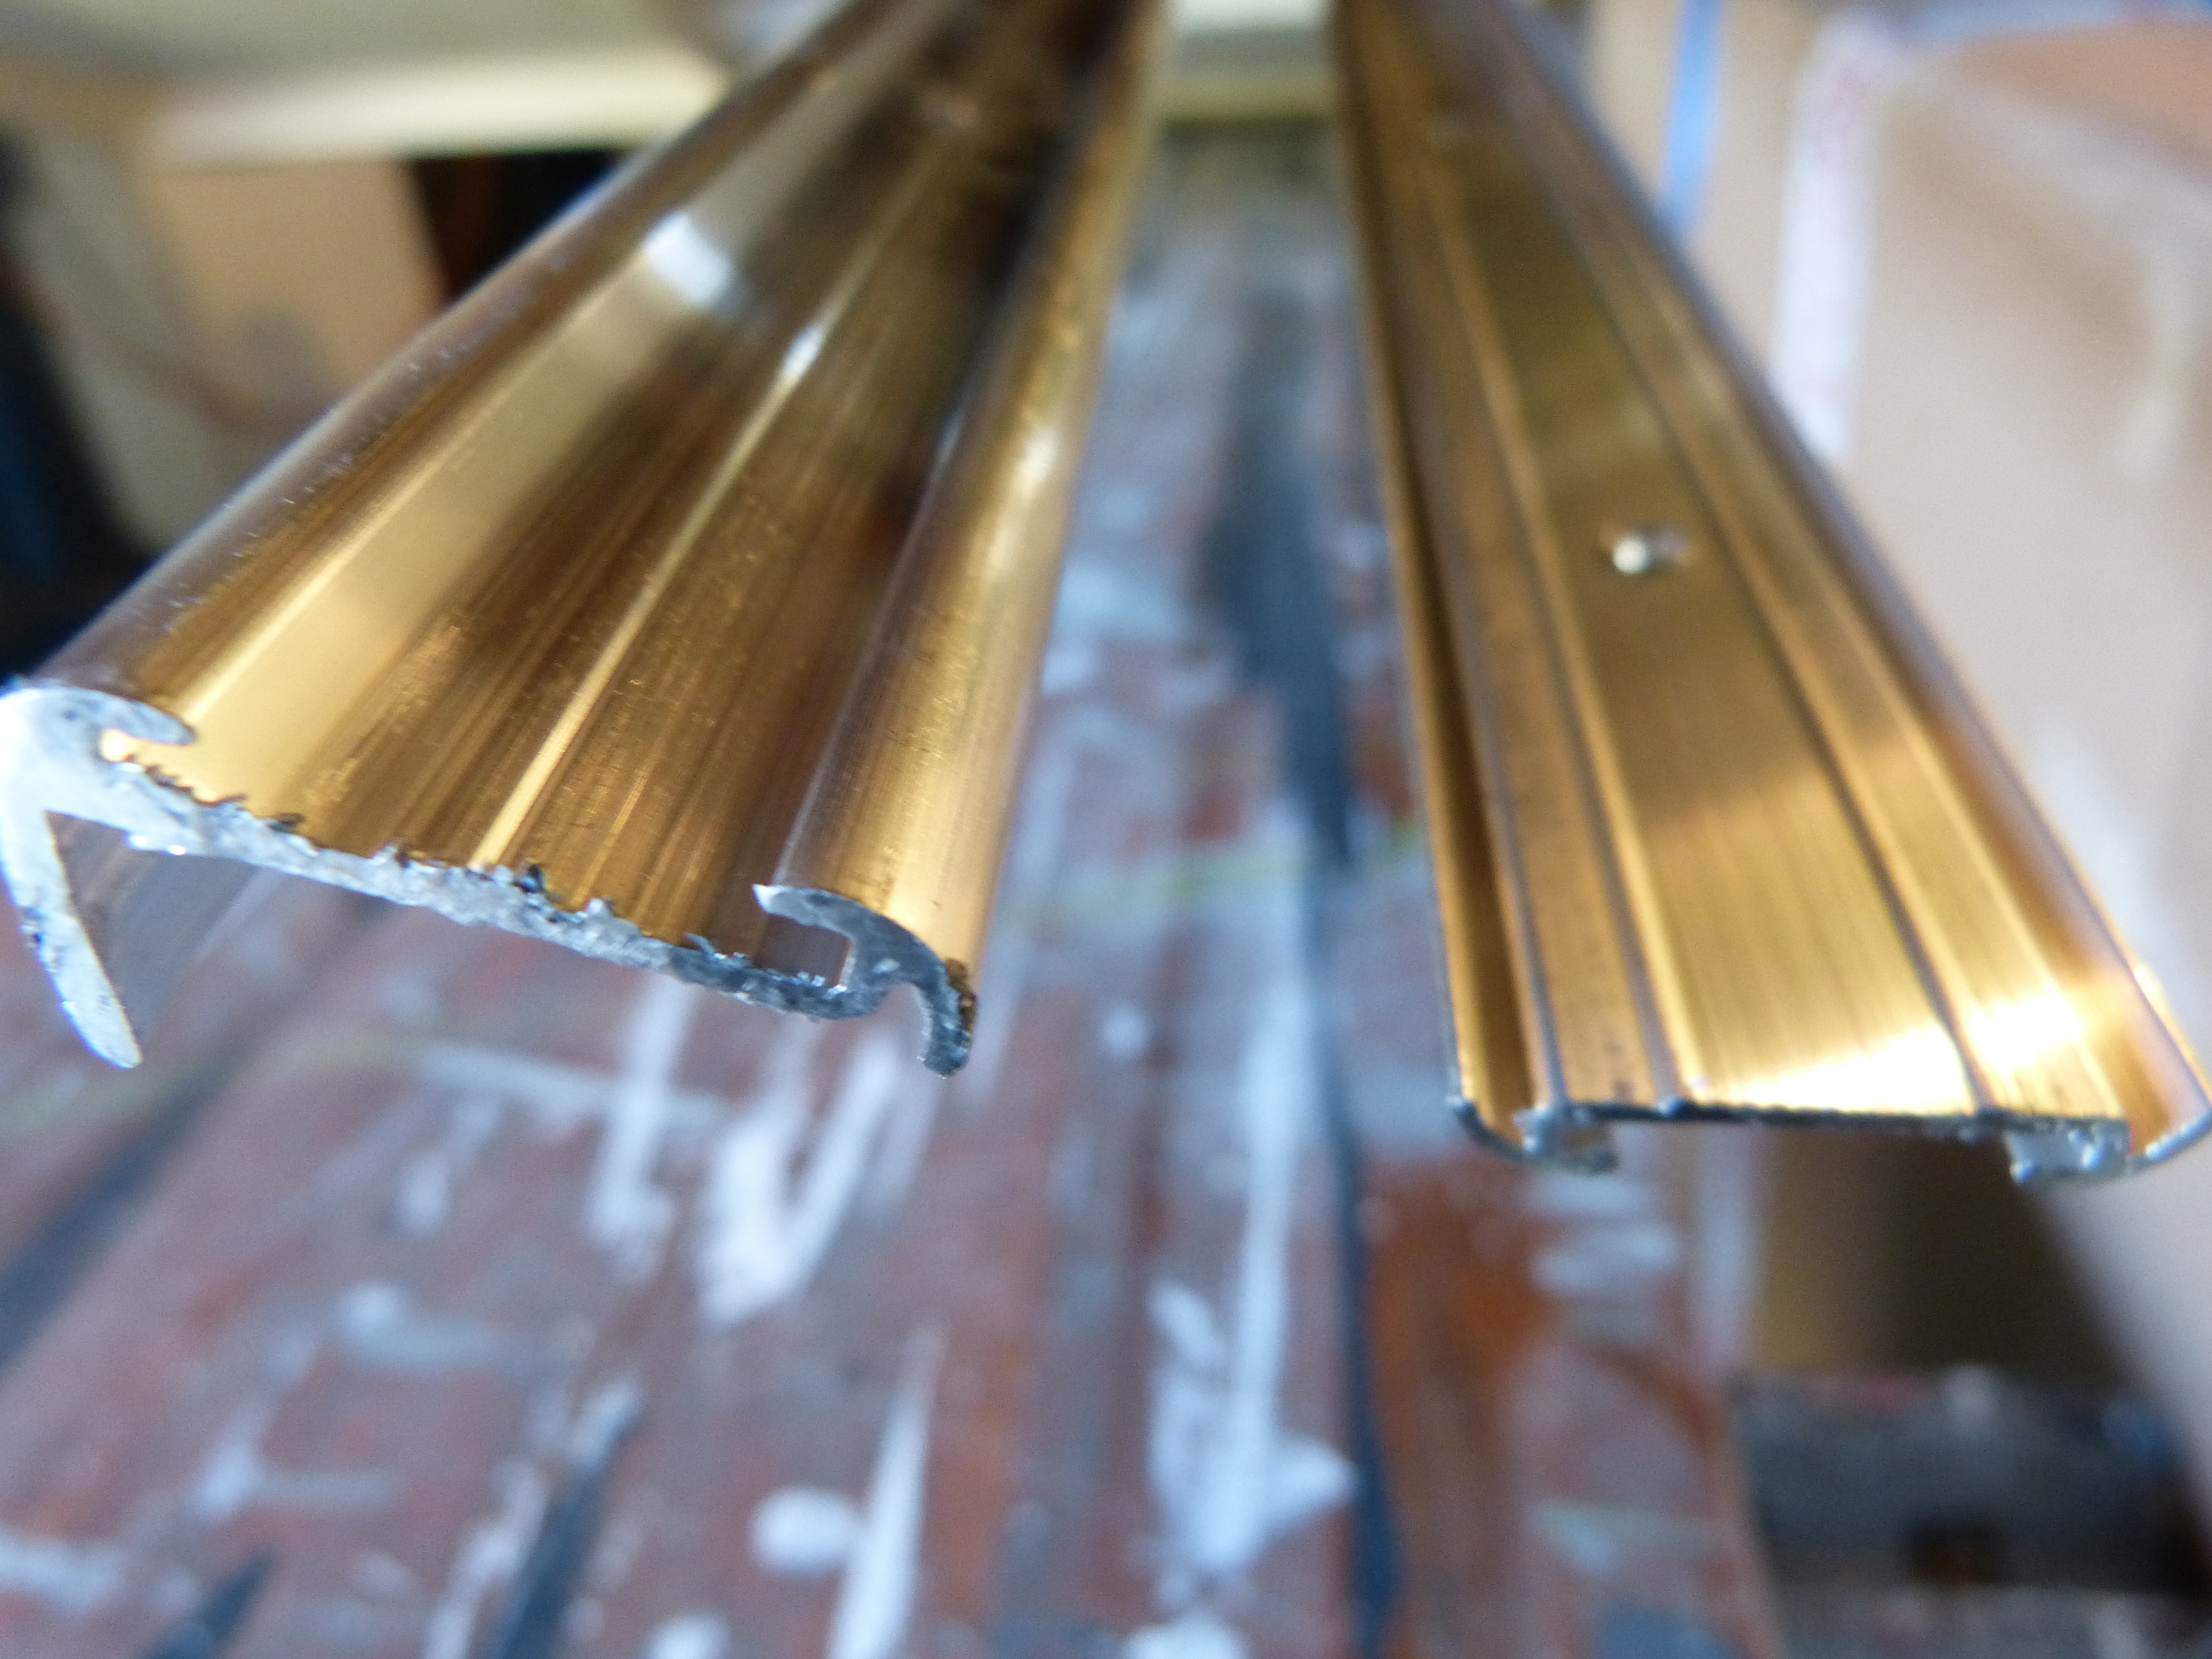
On the left is the trim for the corner, on the right is the trim that will go around the bottom of the trailer.

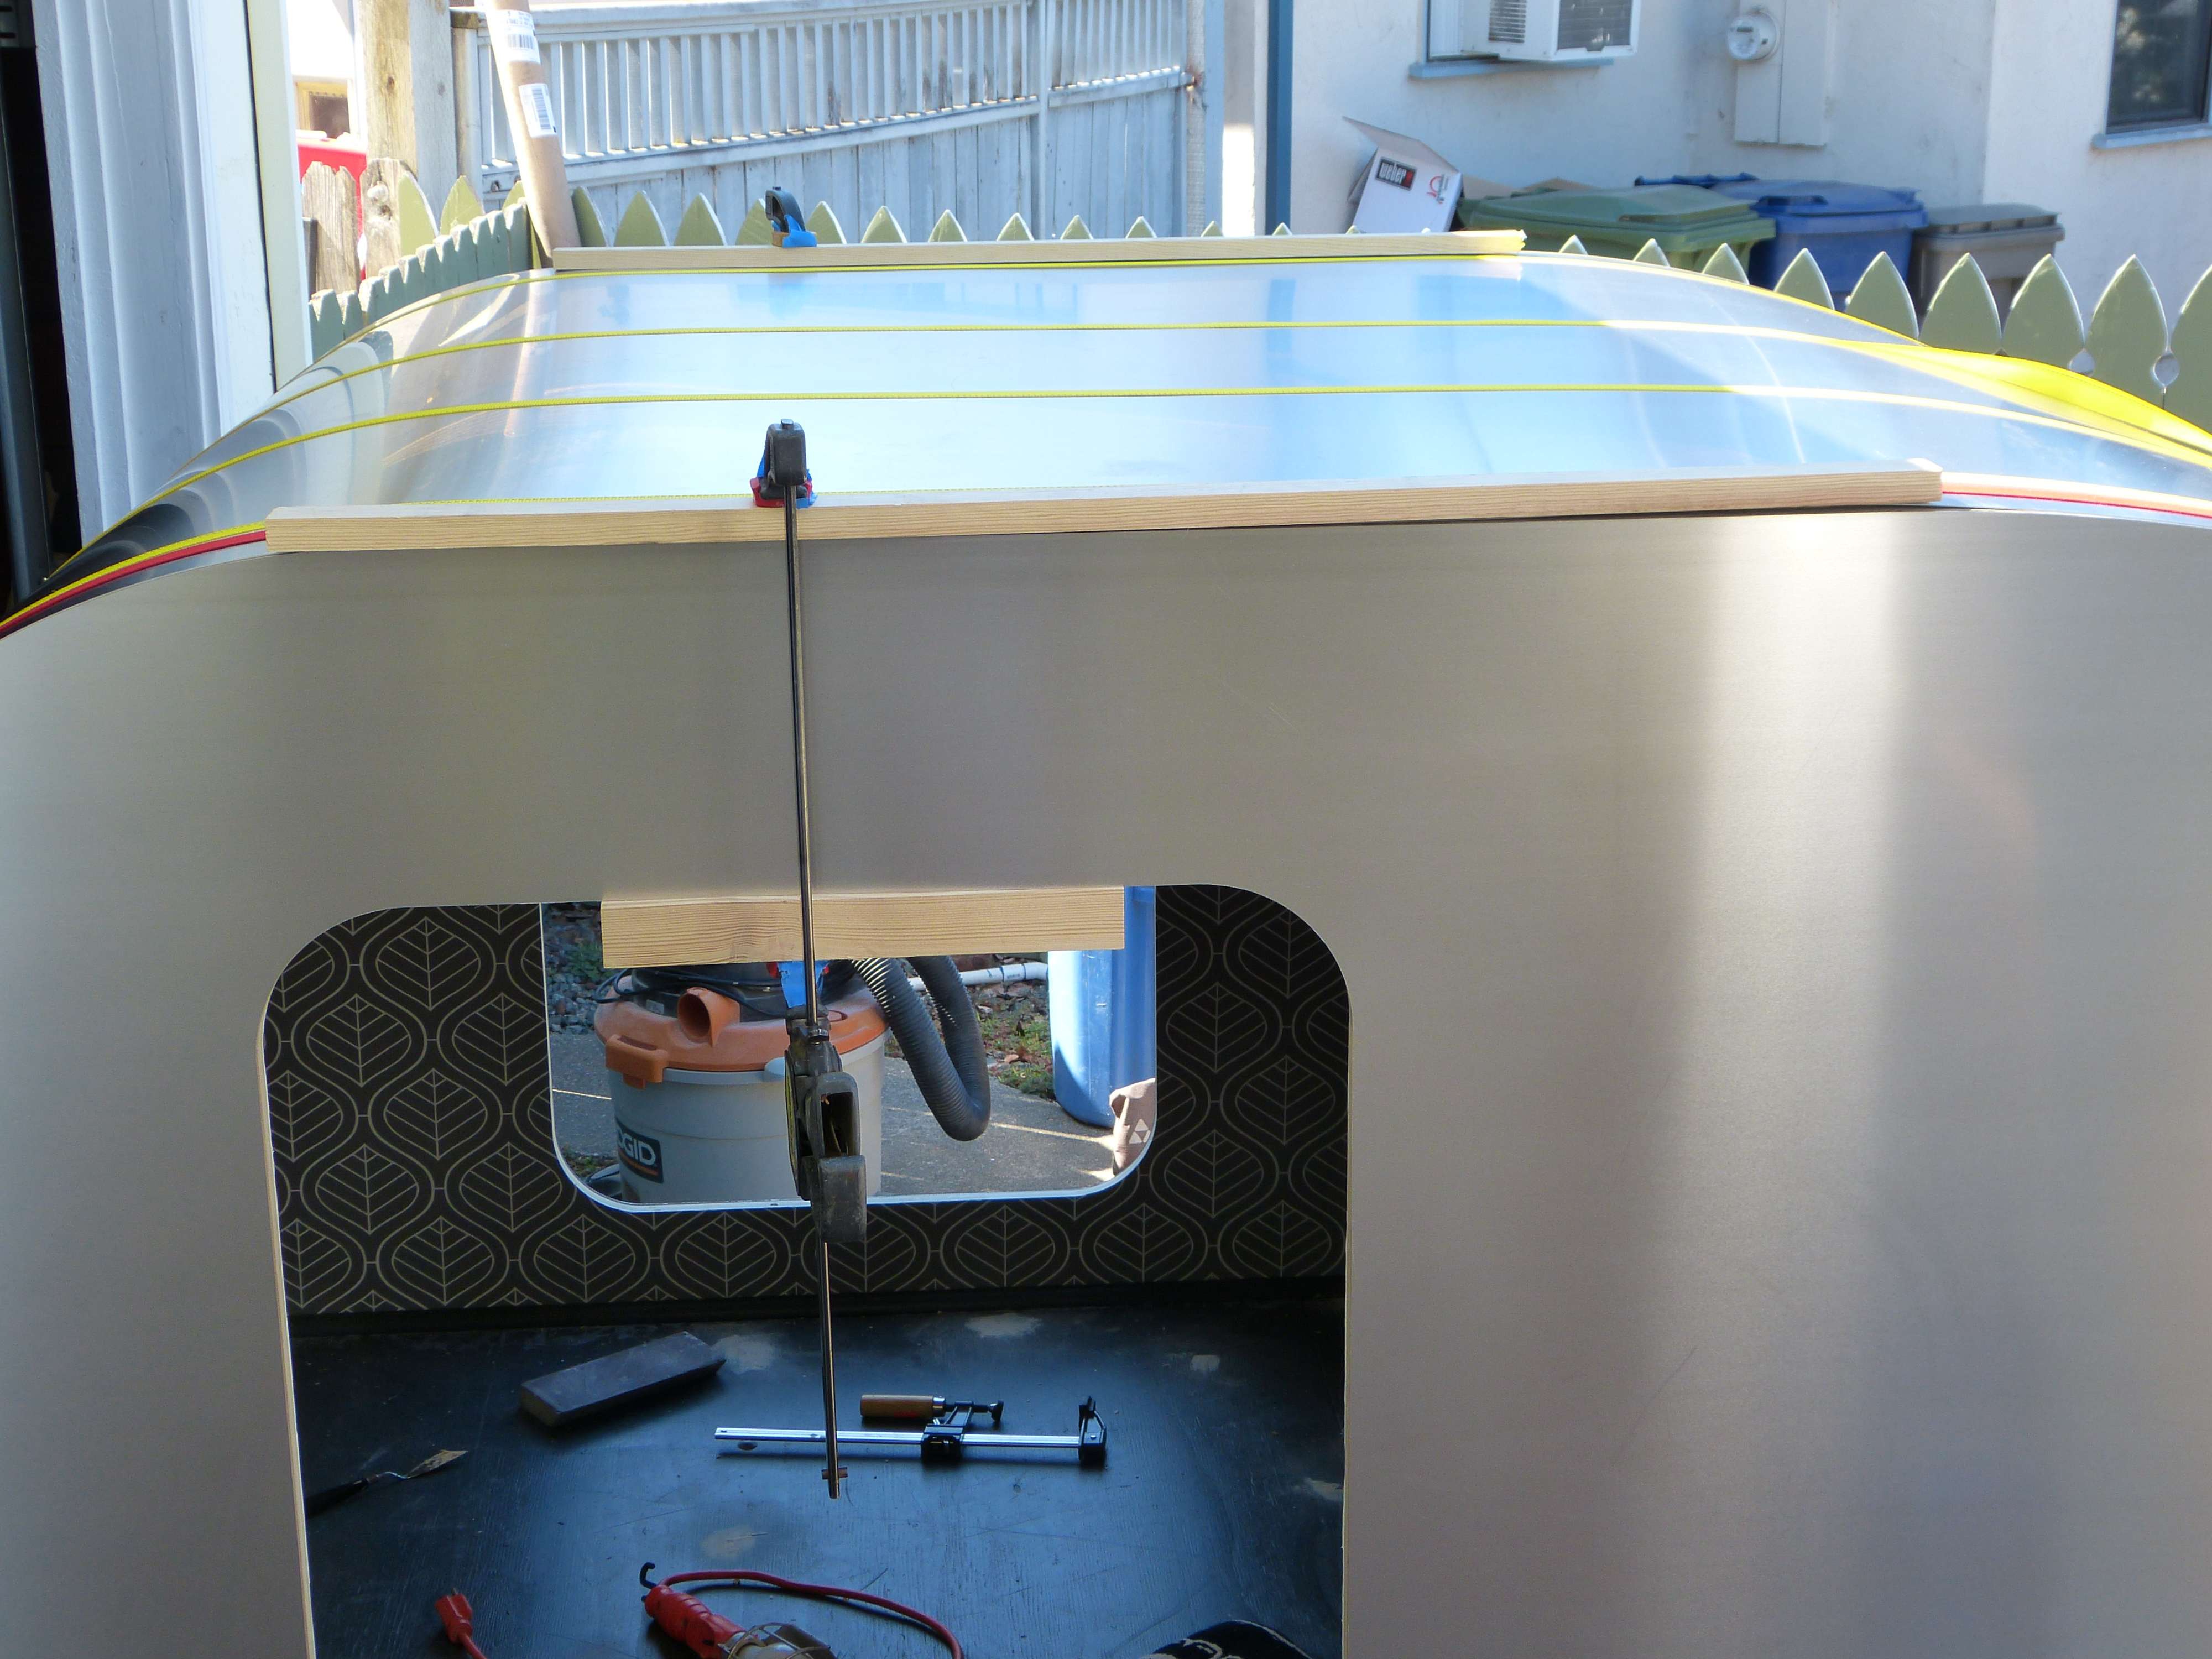
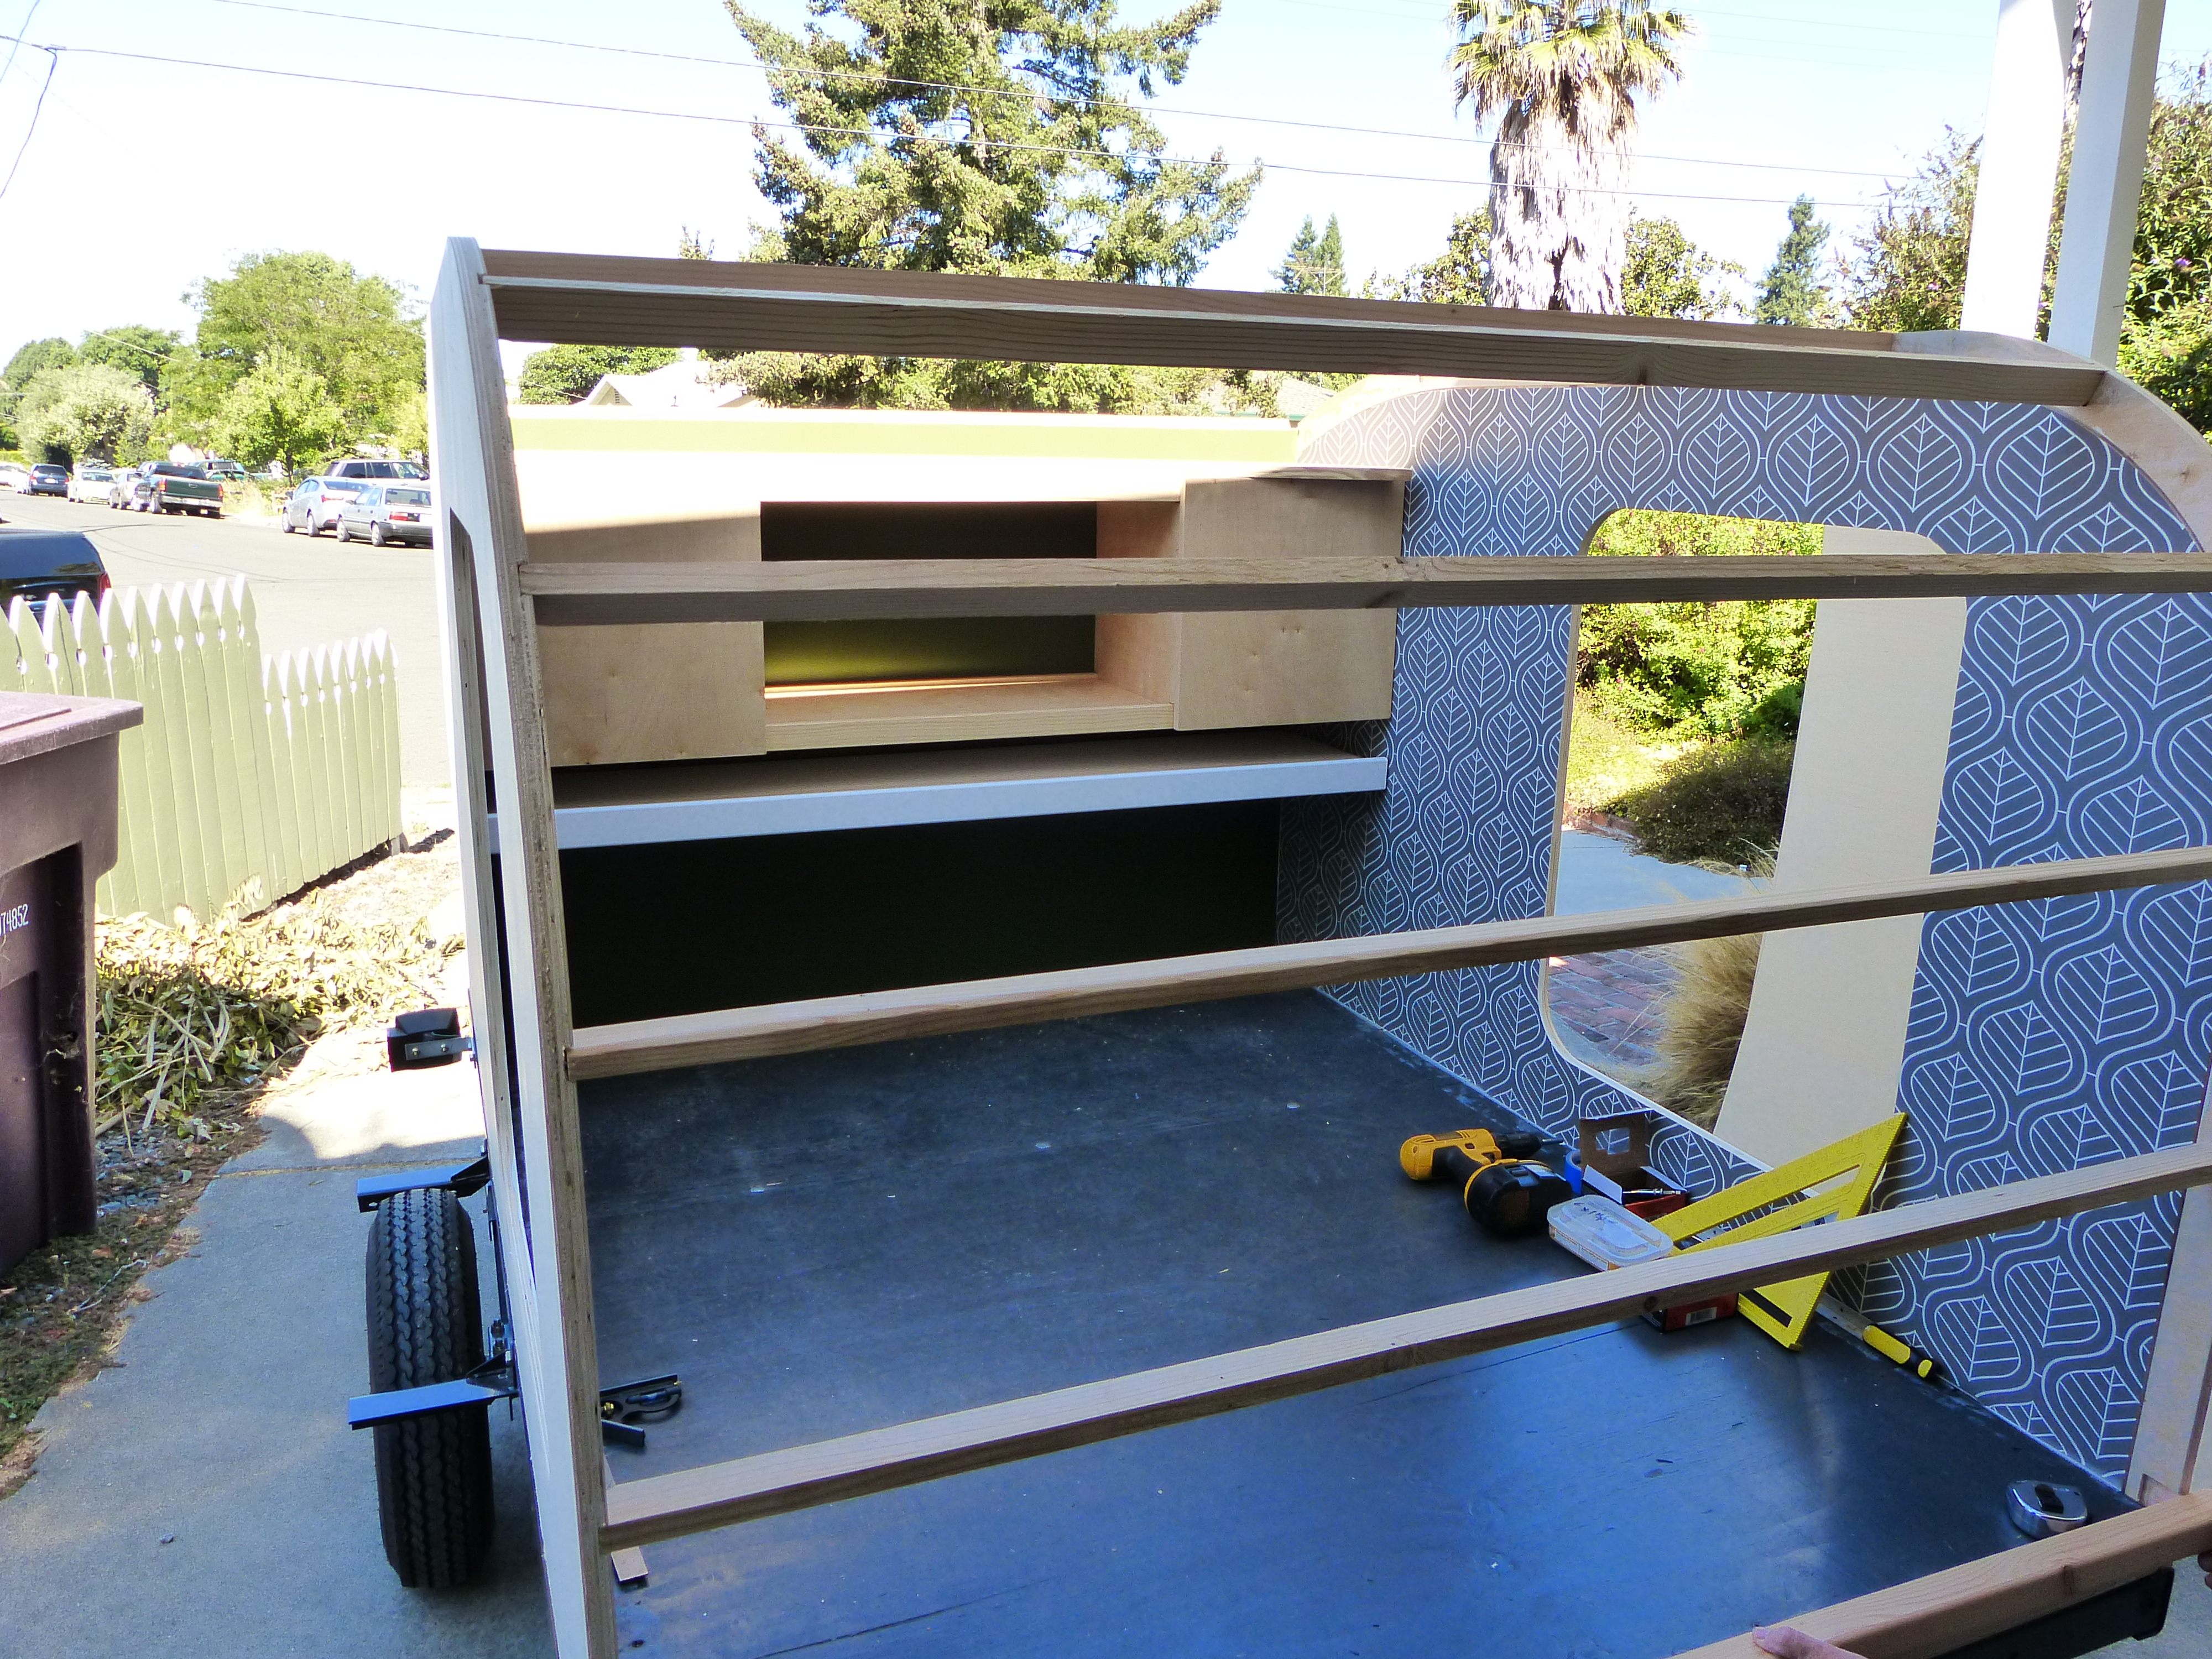
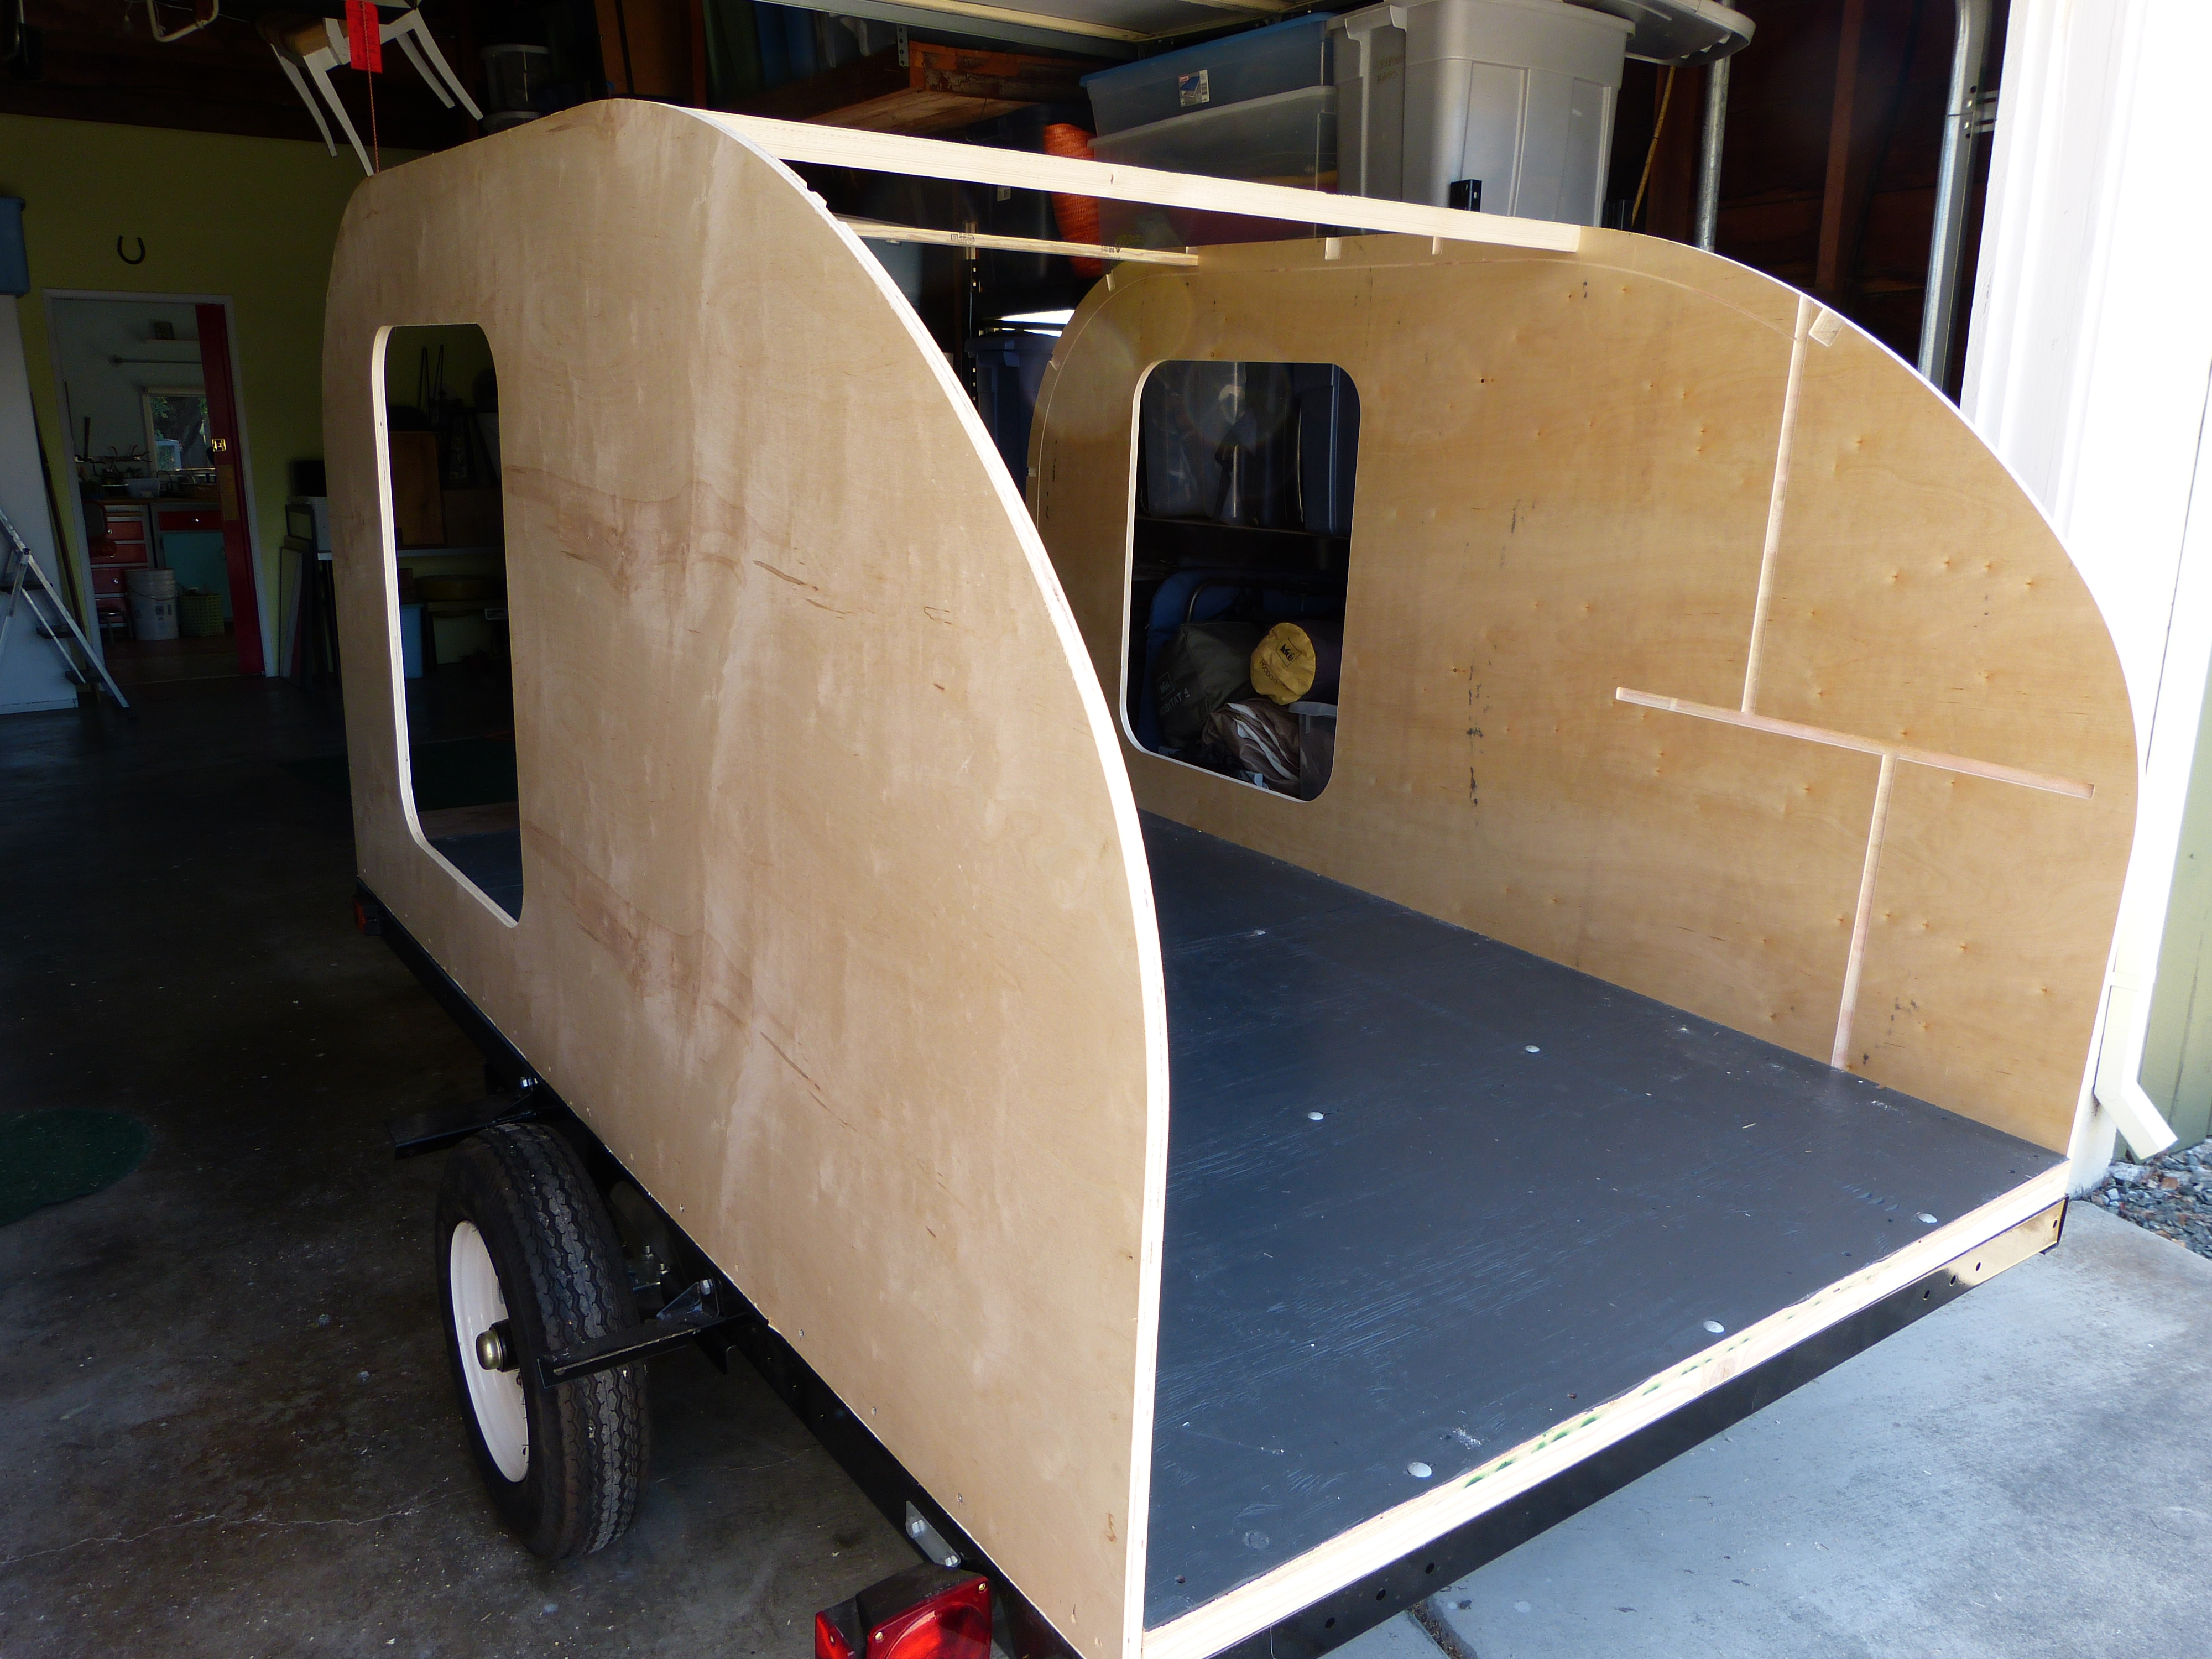
After much discussion and the application of a plethora of clamps, we began trim installation. You can see in the pictures that the roof is held in place by straps and the sides by clamps as we secured the trim that attaches the roof and aluminium (pronounced AL-OOOO-MIN-EEEE-UM if you are my father) sides to the wooden trailer structure. I know I mentioned in my last post that I ordered all of our trim from Vintage Technologies, but I just have to mention this again. Because Frank Bear was so helpful. I must have been on the phone for 30 minutes with him talking through our project. He made sure we had everything we needed down to fasteners and sealant. He’s based in Michigan and incredibly knowledge about Teardrop construction. Everything arrived quickly and in excellent condition.

P1080117

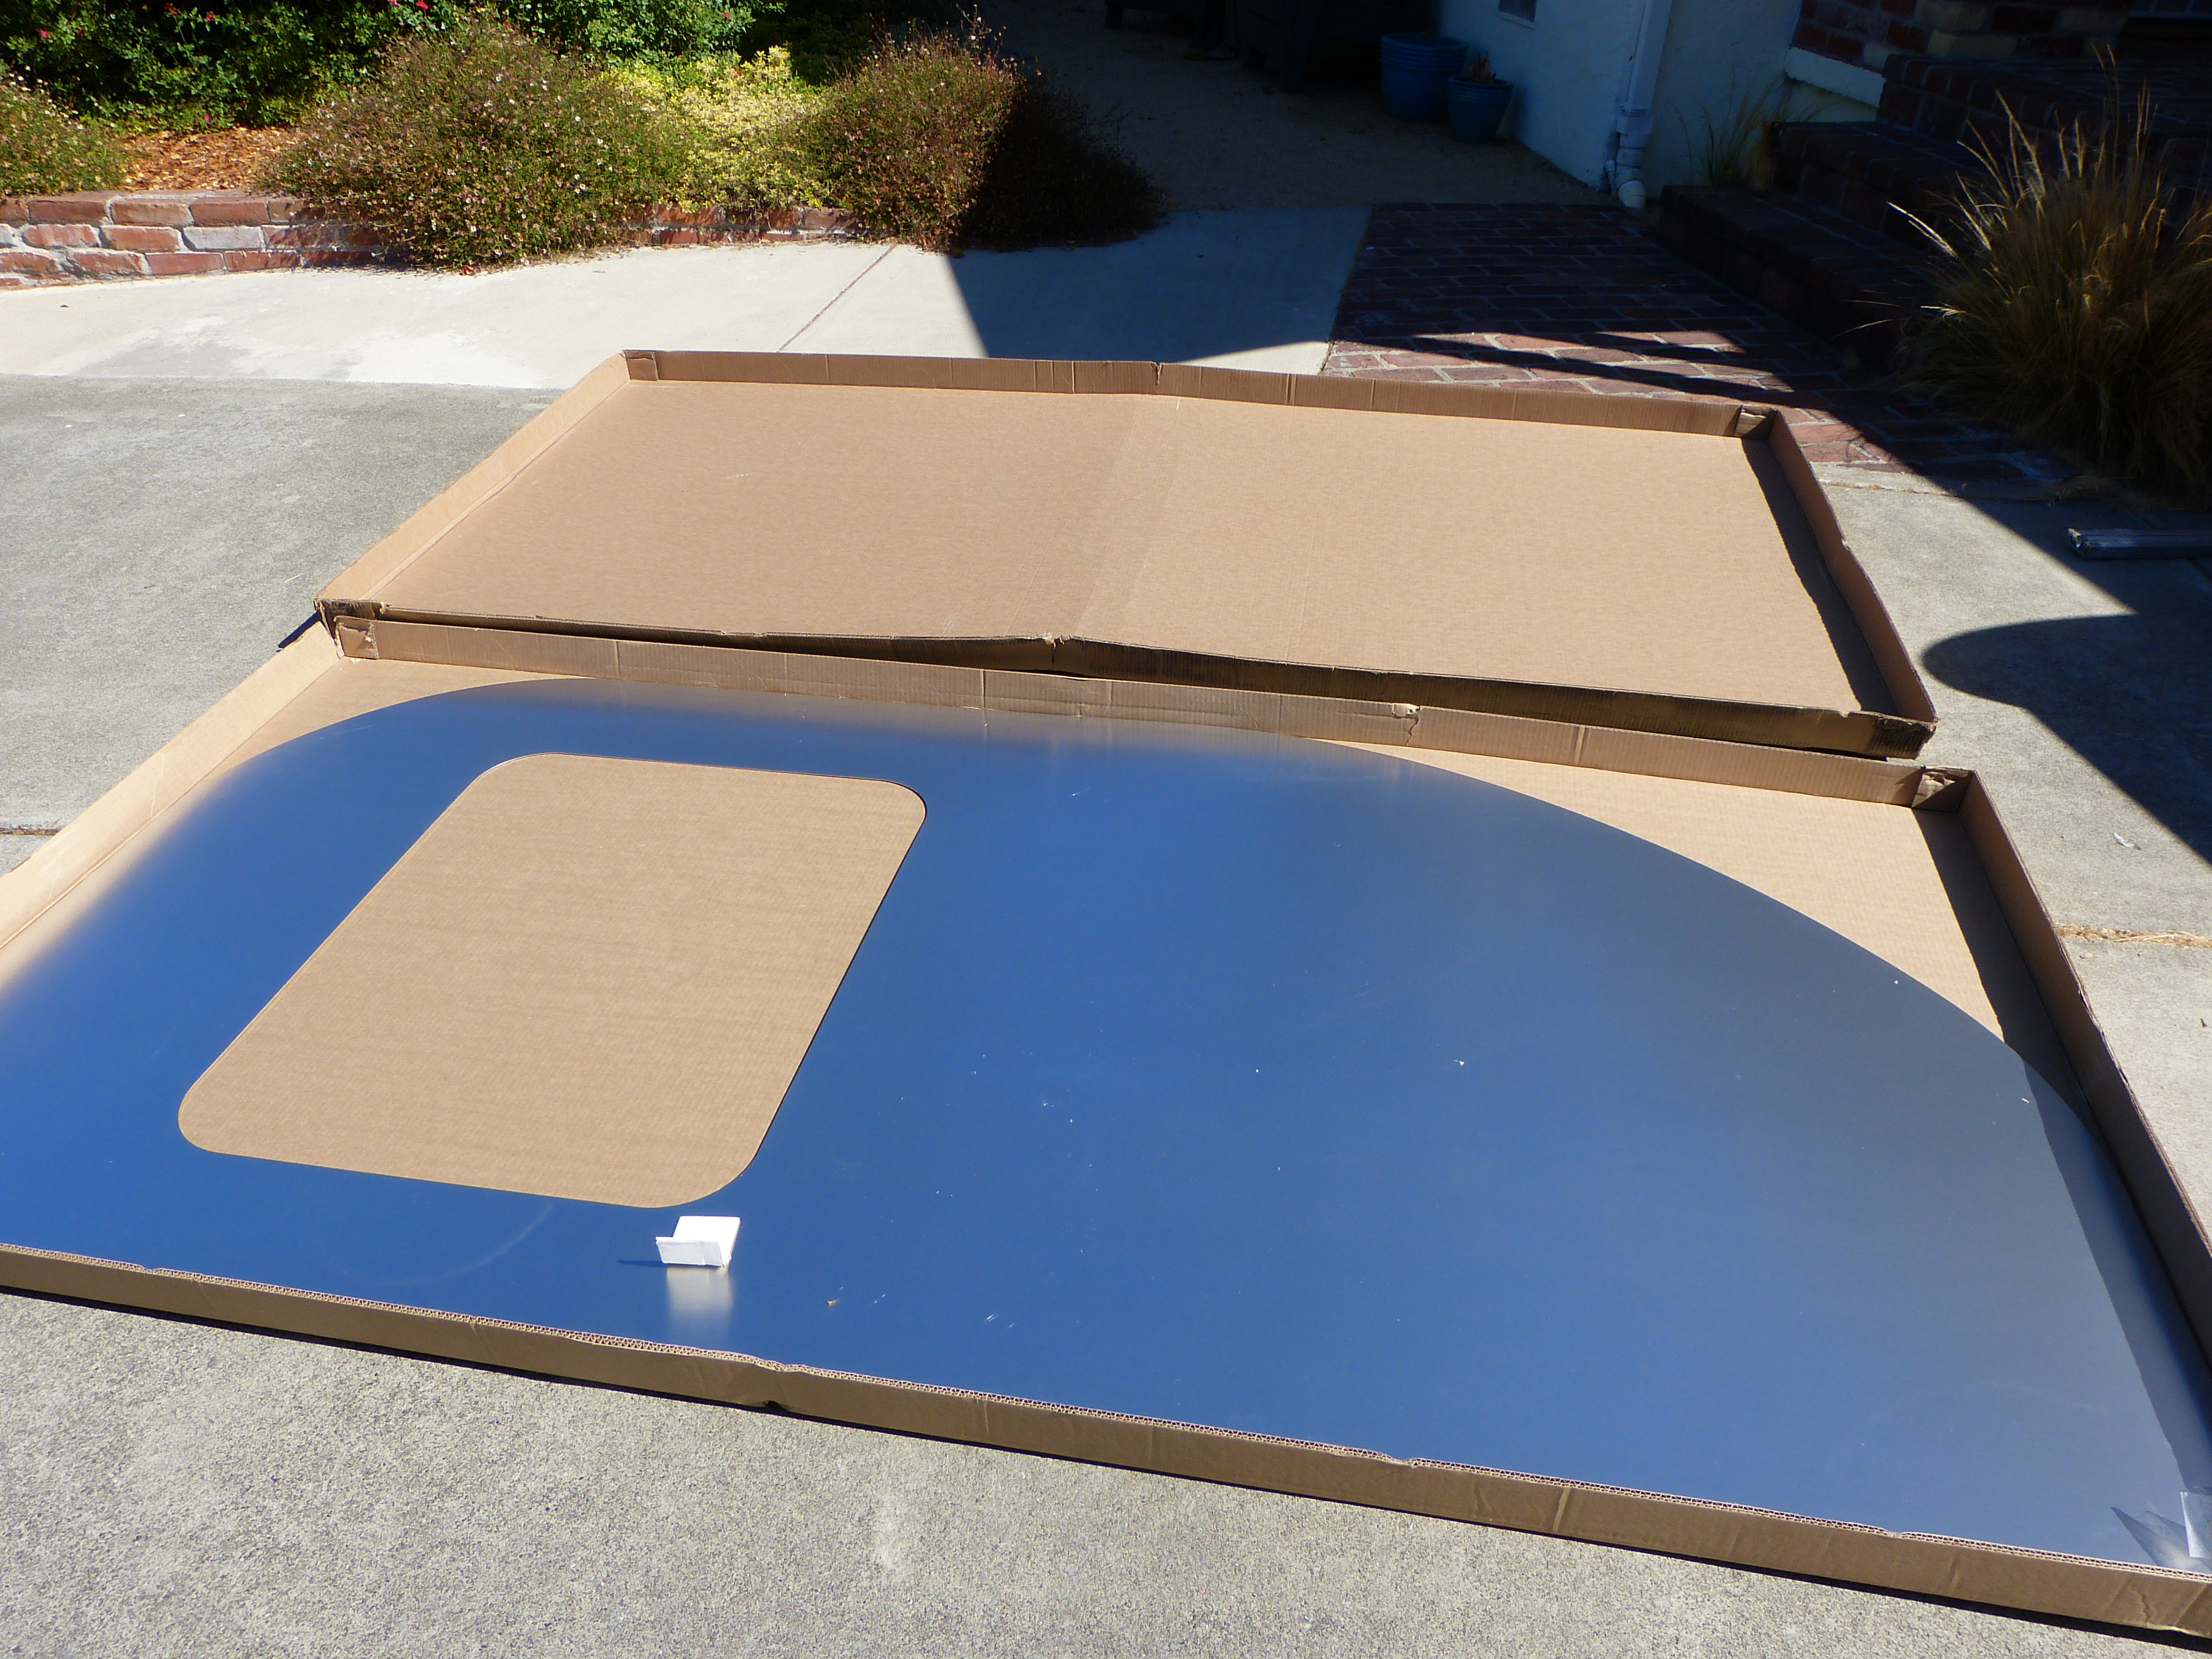
Aluminium side, still in the box.

P1080120


P1080119

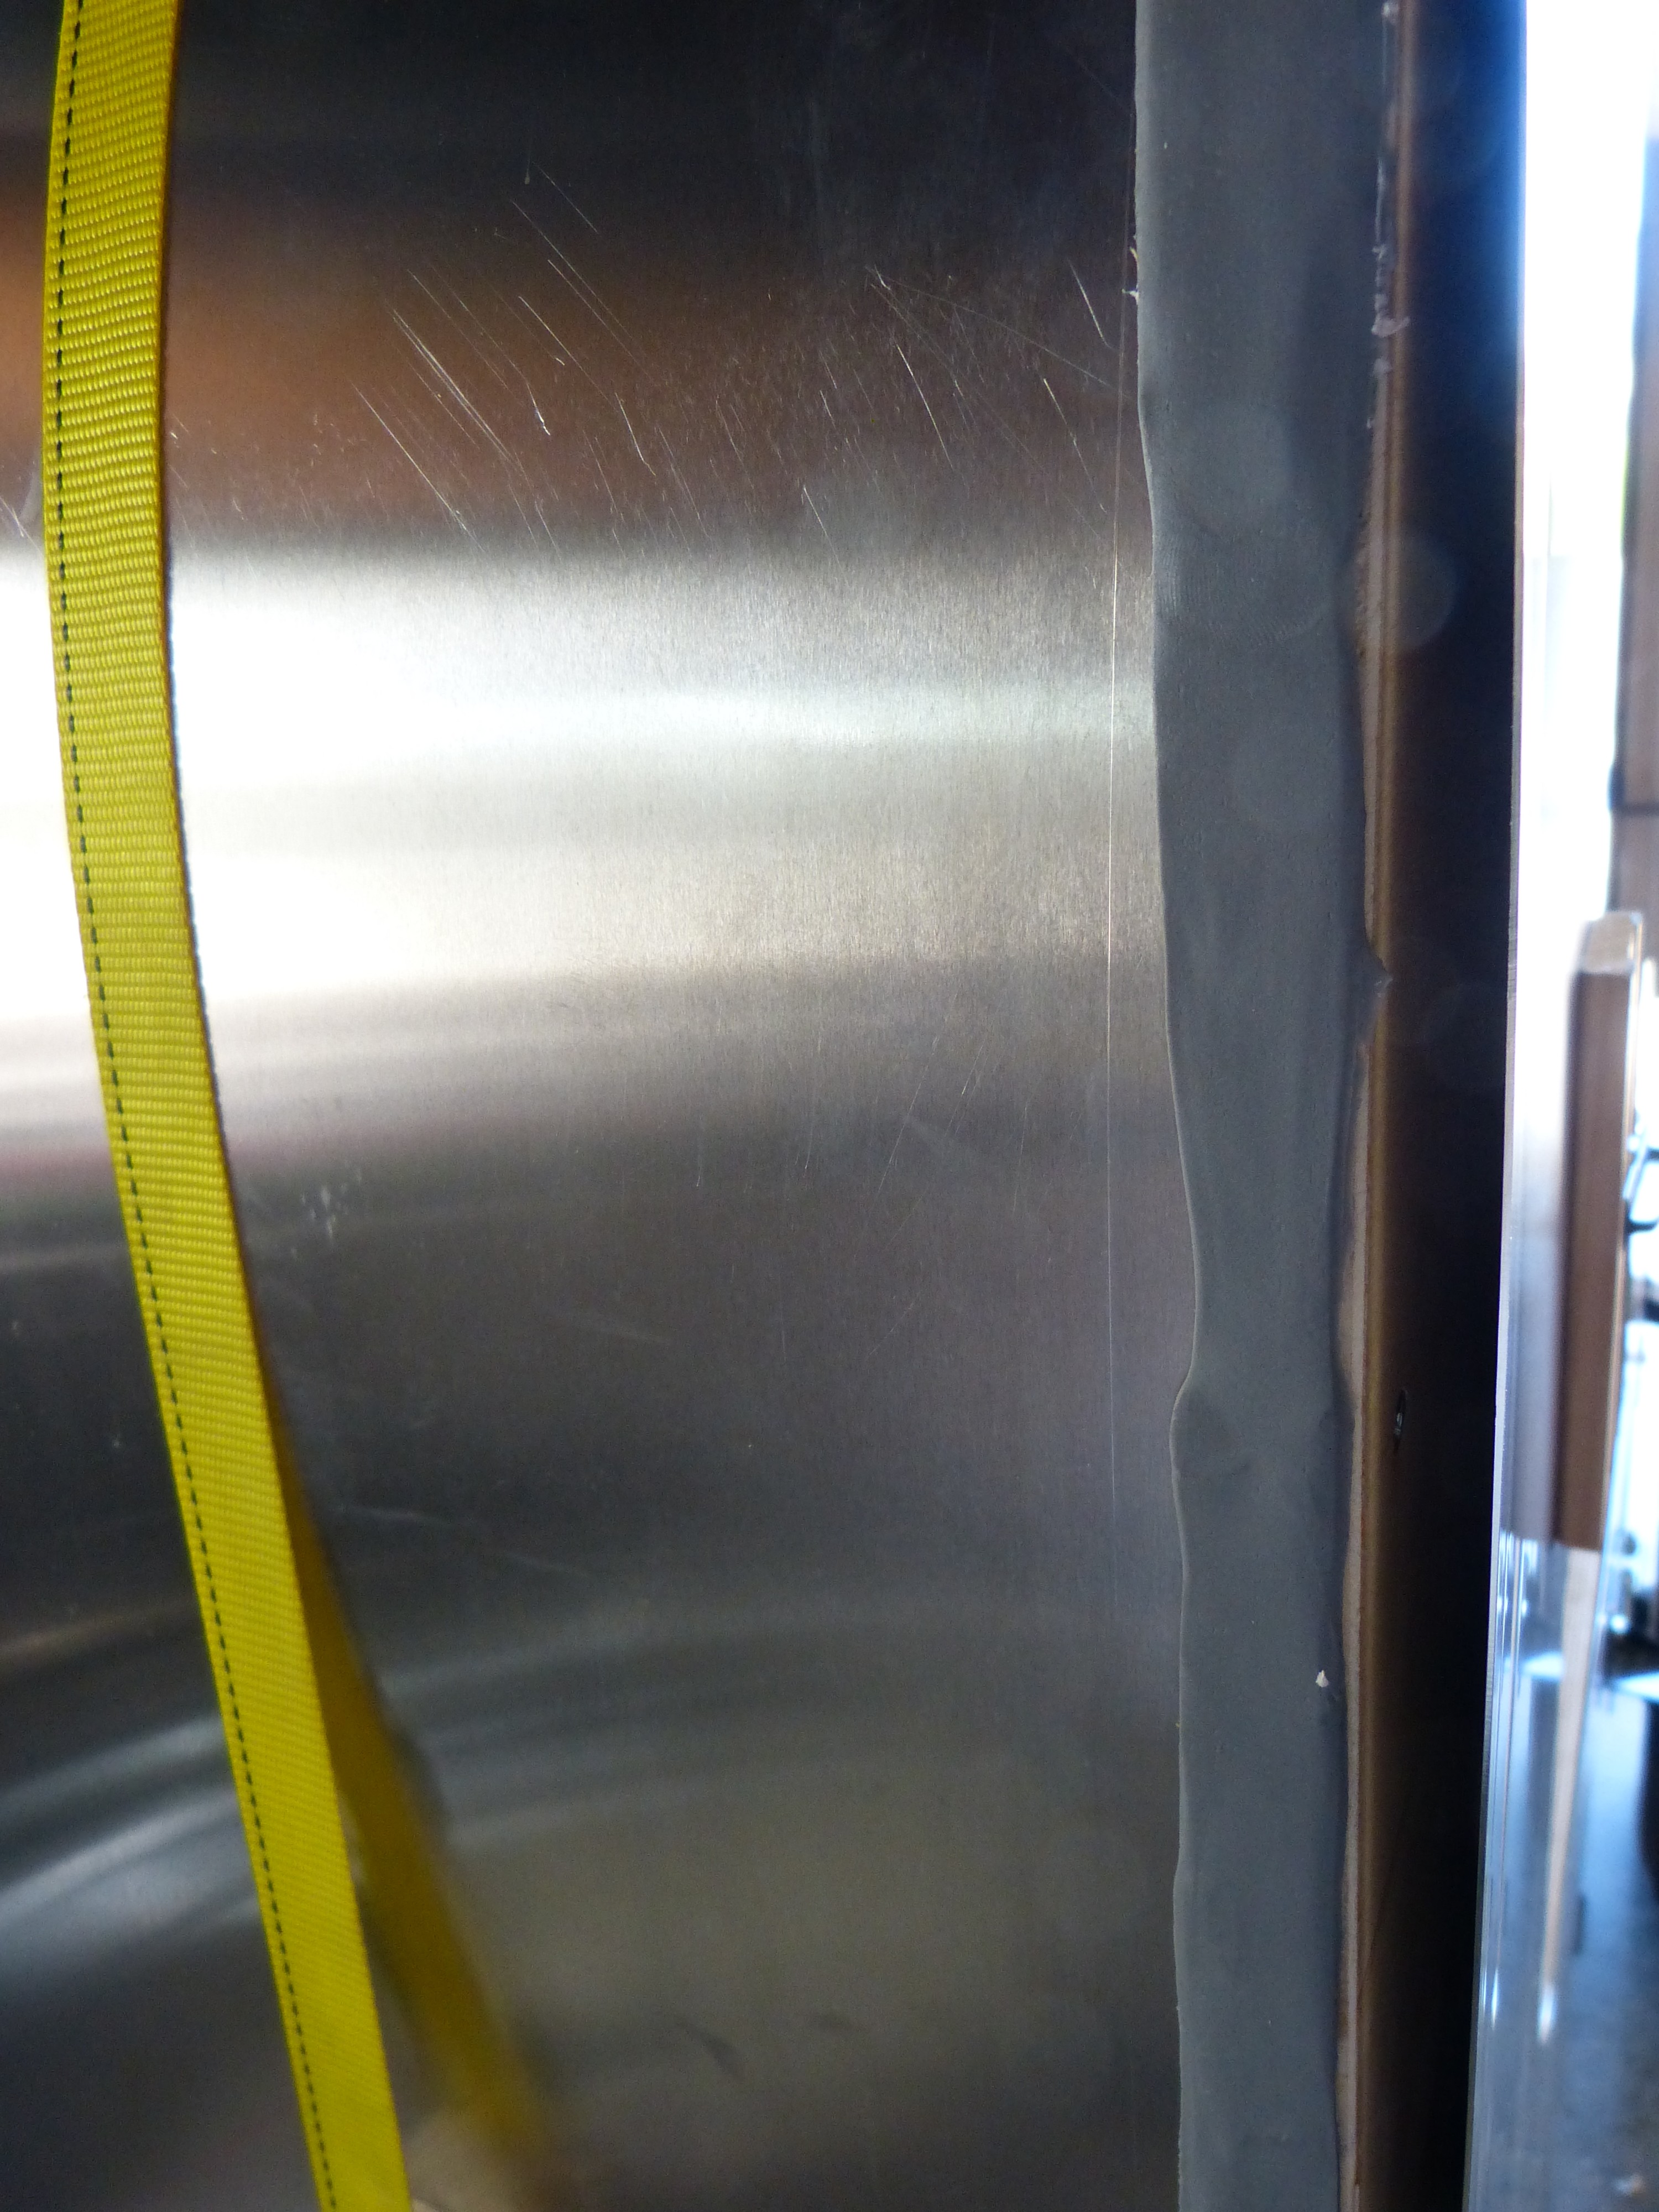
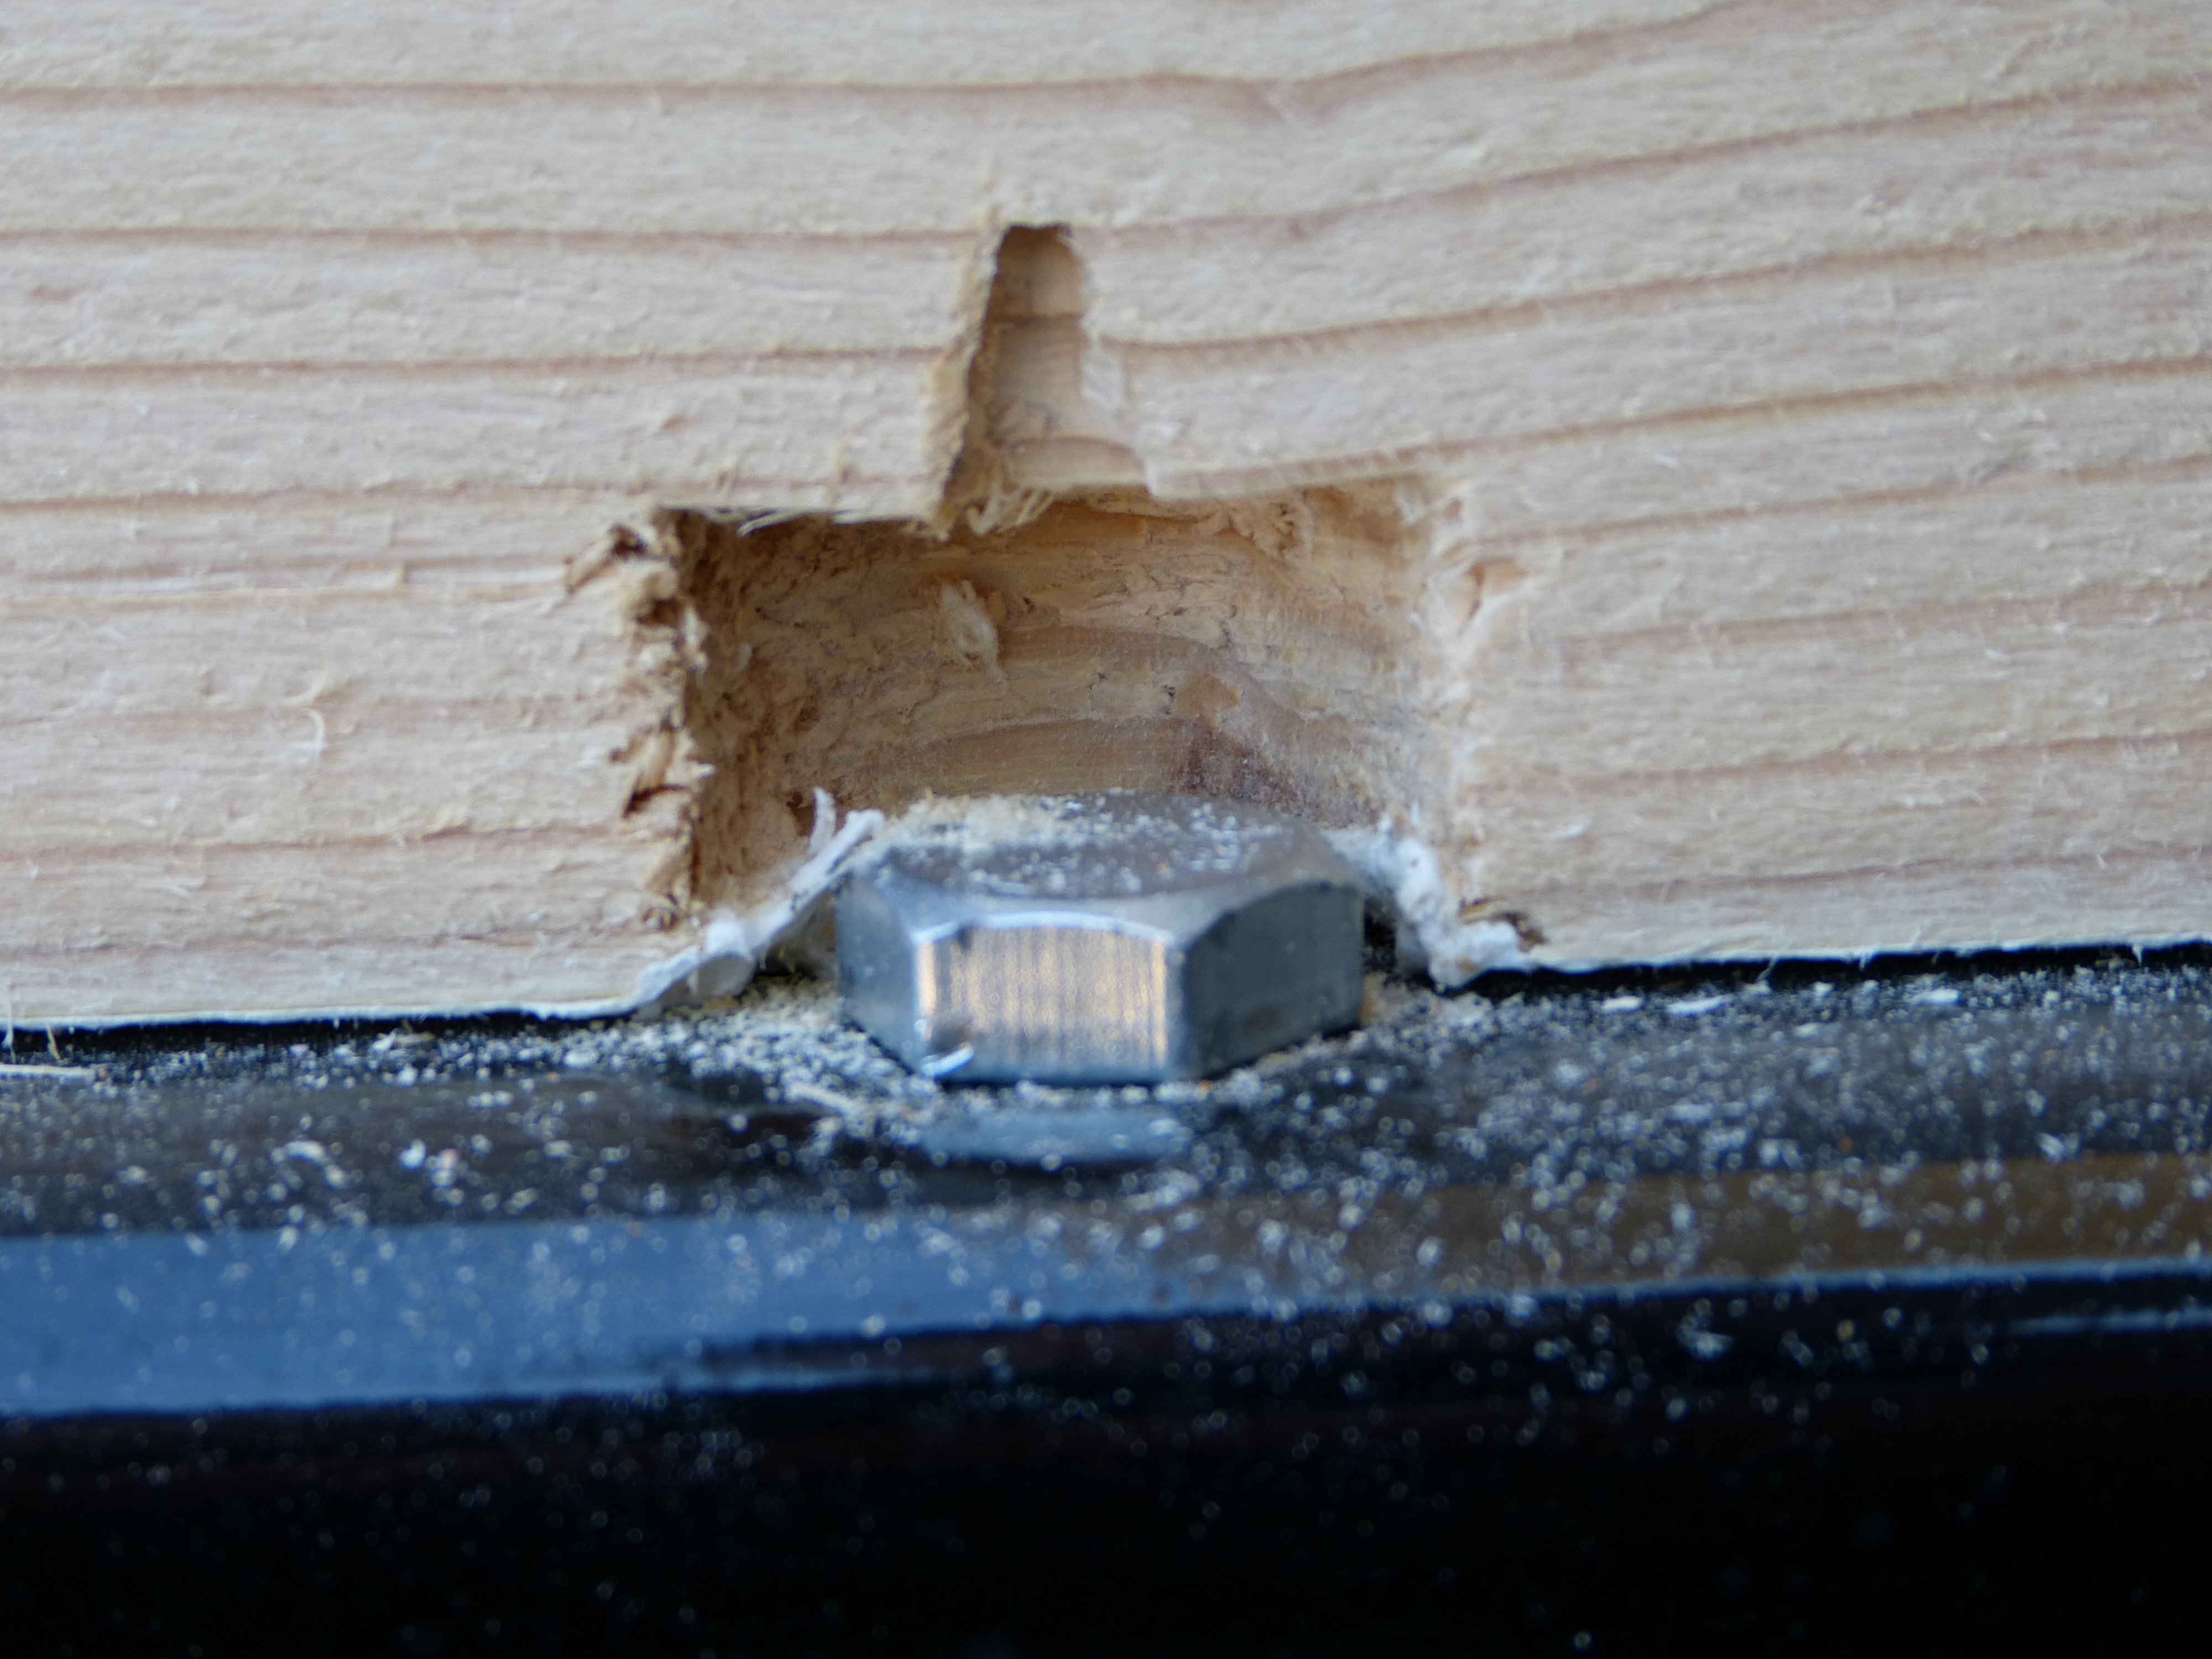
Before Screwing the trim to the frame, we applied this rubbery sticky tape like gasket underneath to prevent water leaking through.

P1080122

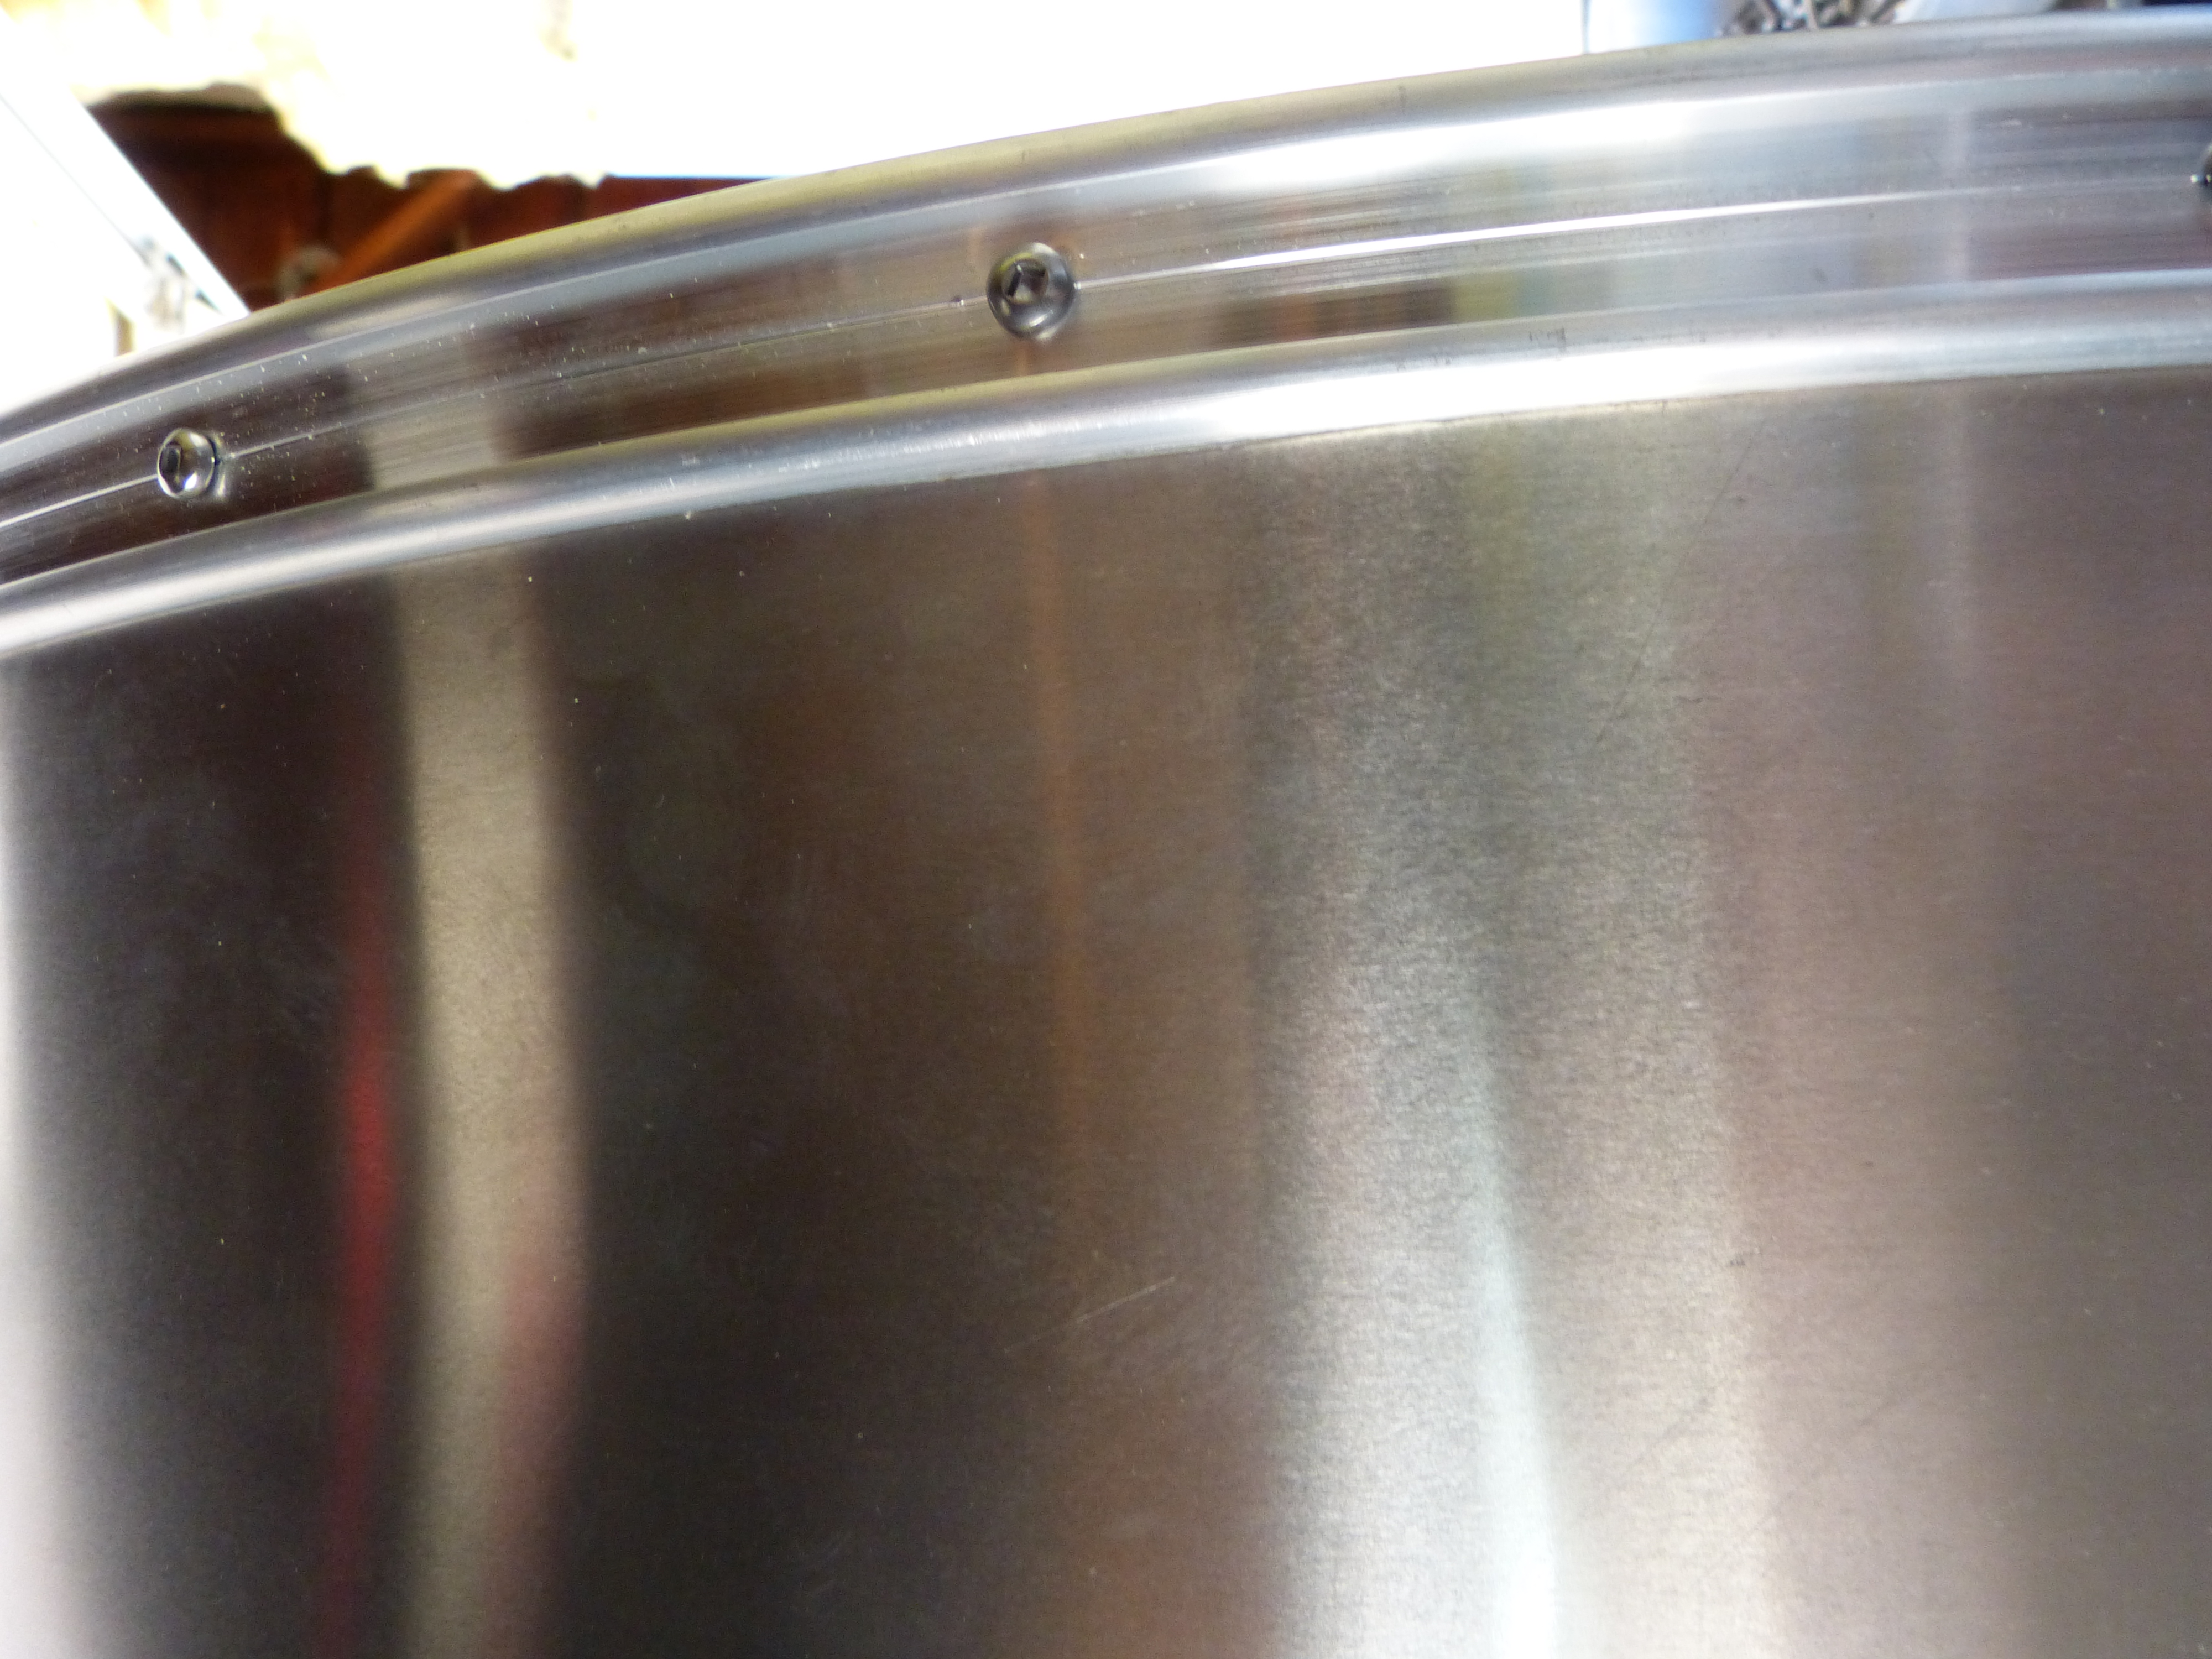
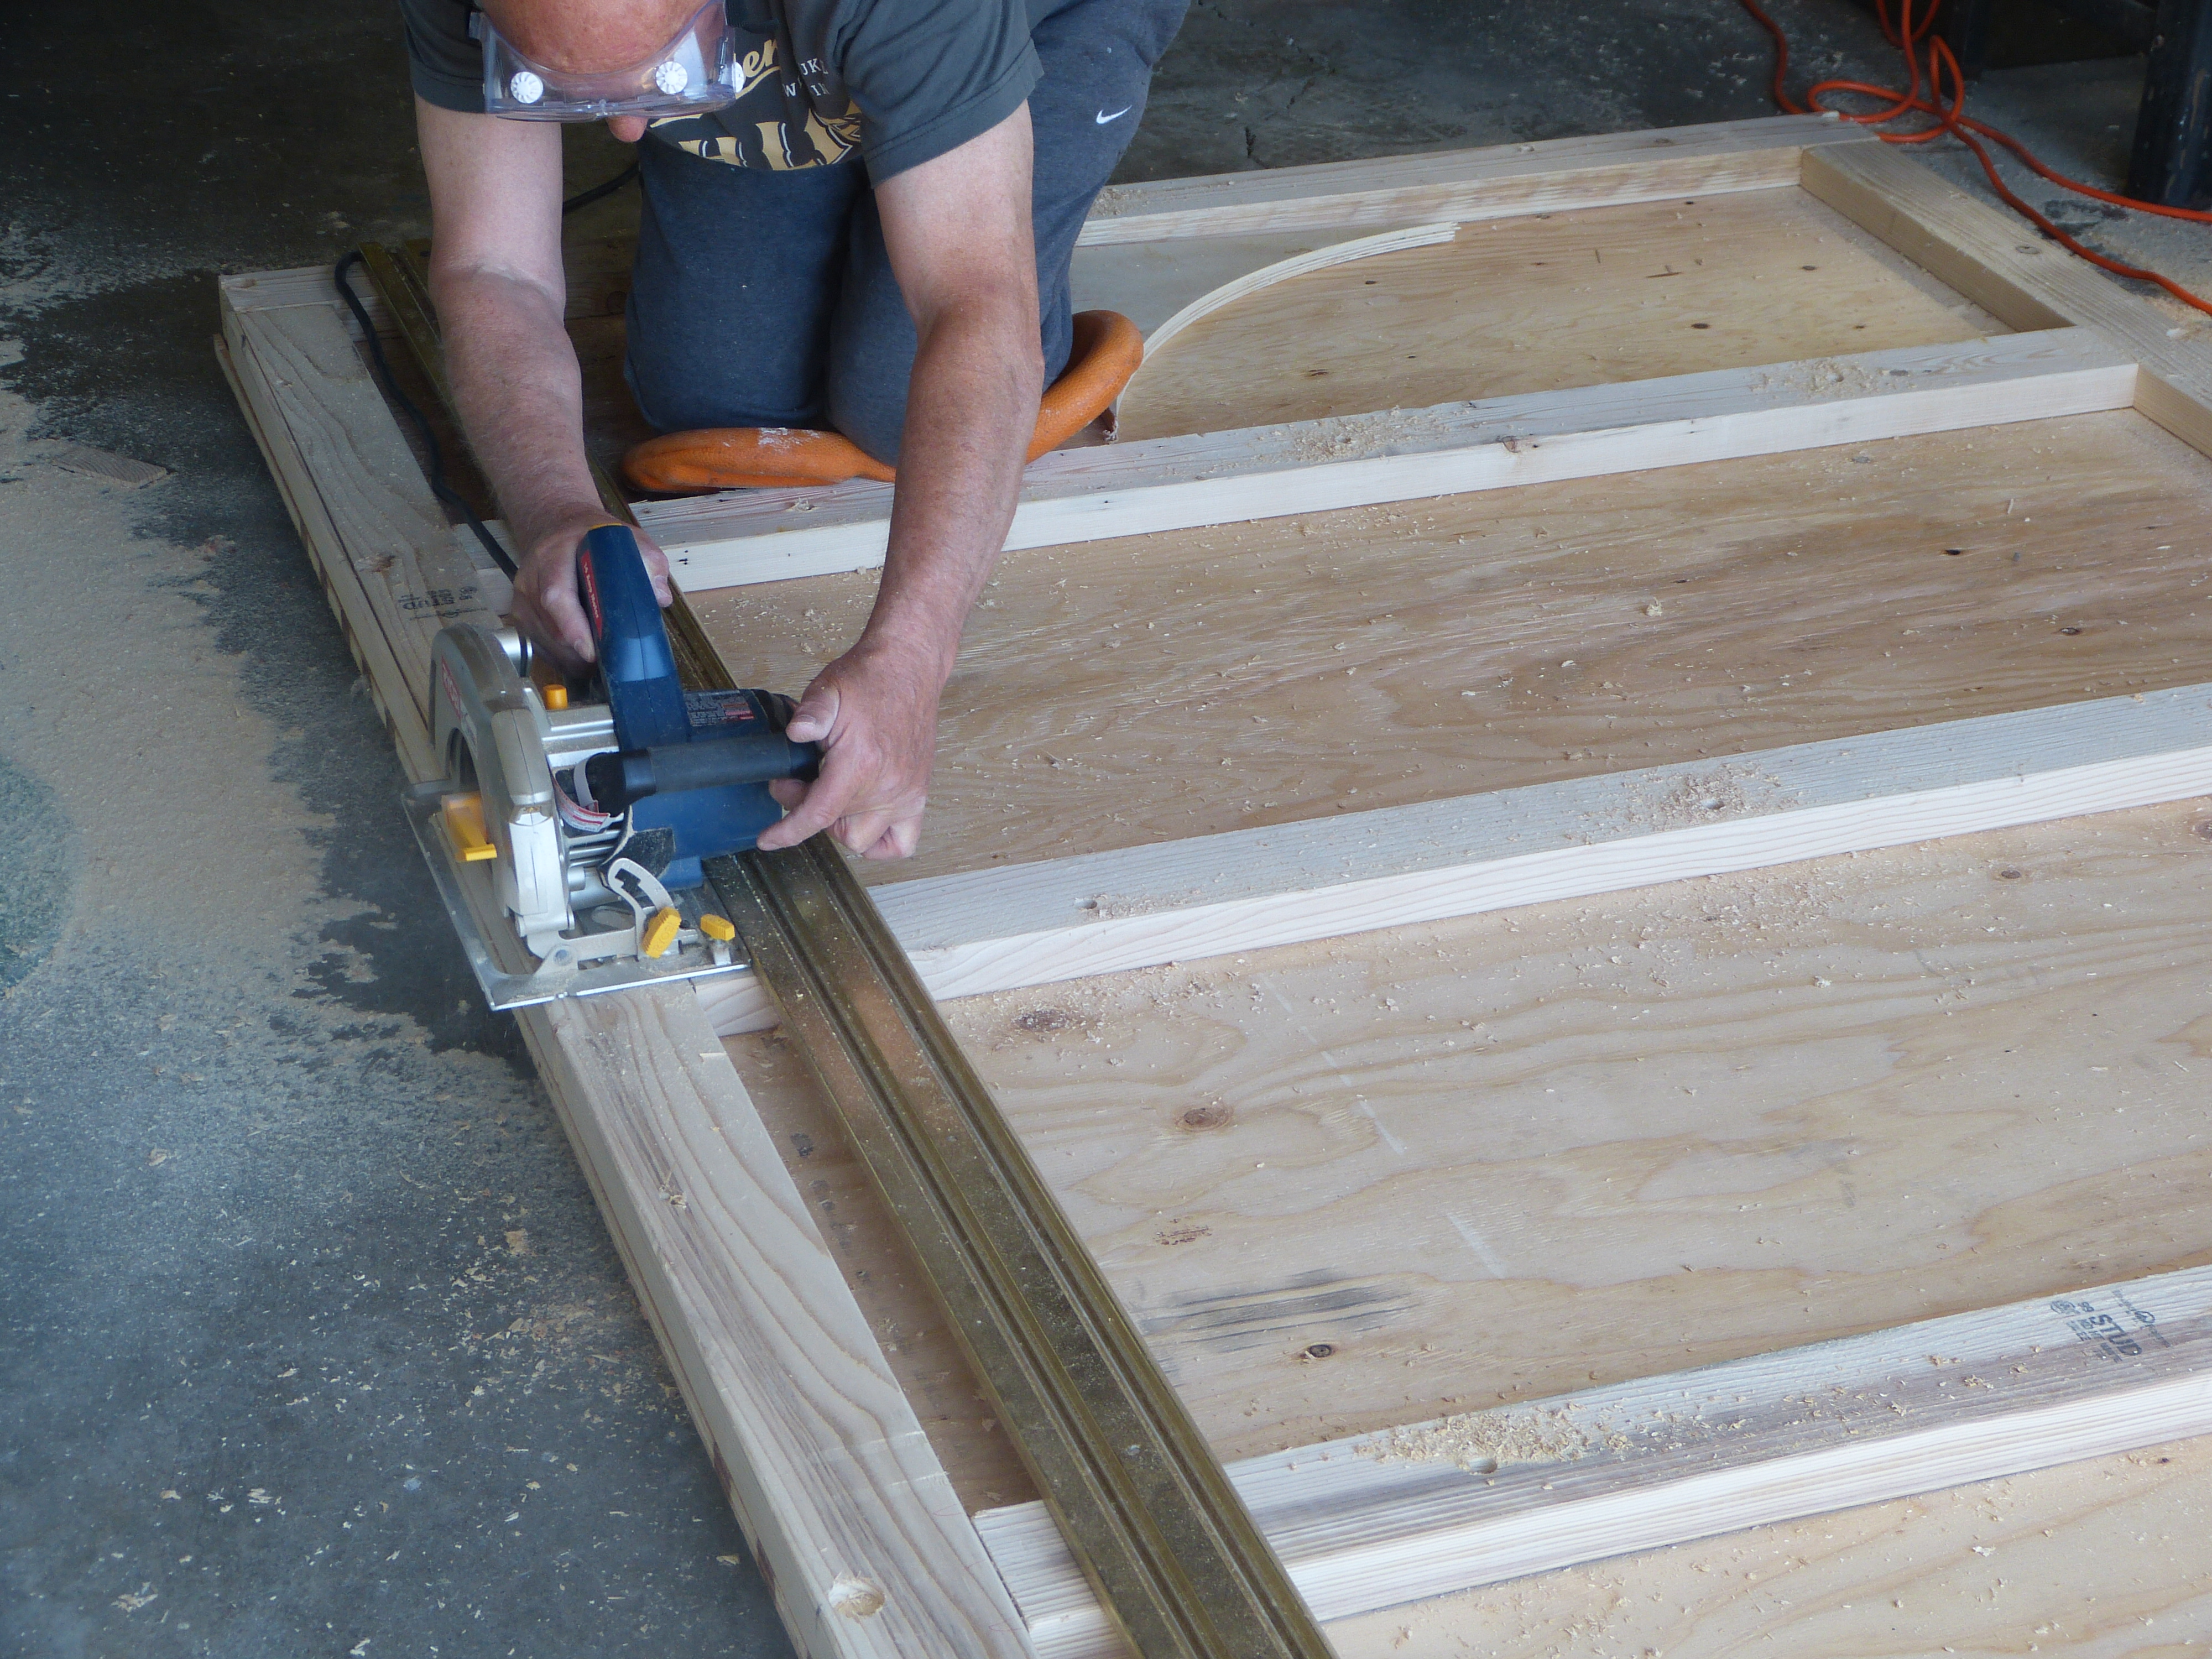
For the trim installation we started on the straight portion of the trailer and pre-drilled only through the aluminium before securing it in place with screws. We then gently bent the trim to follow the contour of the trailer as we went.

P1080125

I was  dreading this part of the project. I felt certain it was going to be finicky and difficult to get everything lined up. I’m happy to say I was worried for nothing, it was very straight forward and went quite quickly. Things went so smoothly in fact, Frank found some time to share a little wisdom with me; I asked him to look at something so that he could understood what I meant, he replied, ” We’ll understand the meaning of everything in the end. Even the chaos of the universe”. Wow. I don’t even have to pay extra for these kinds of revelations.

P1080127

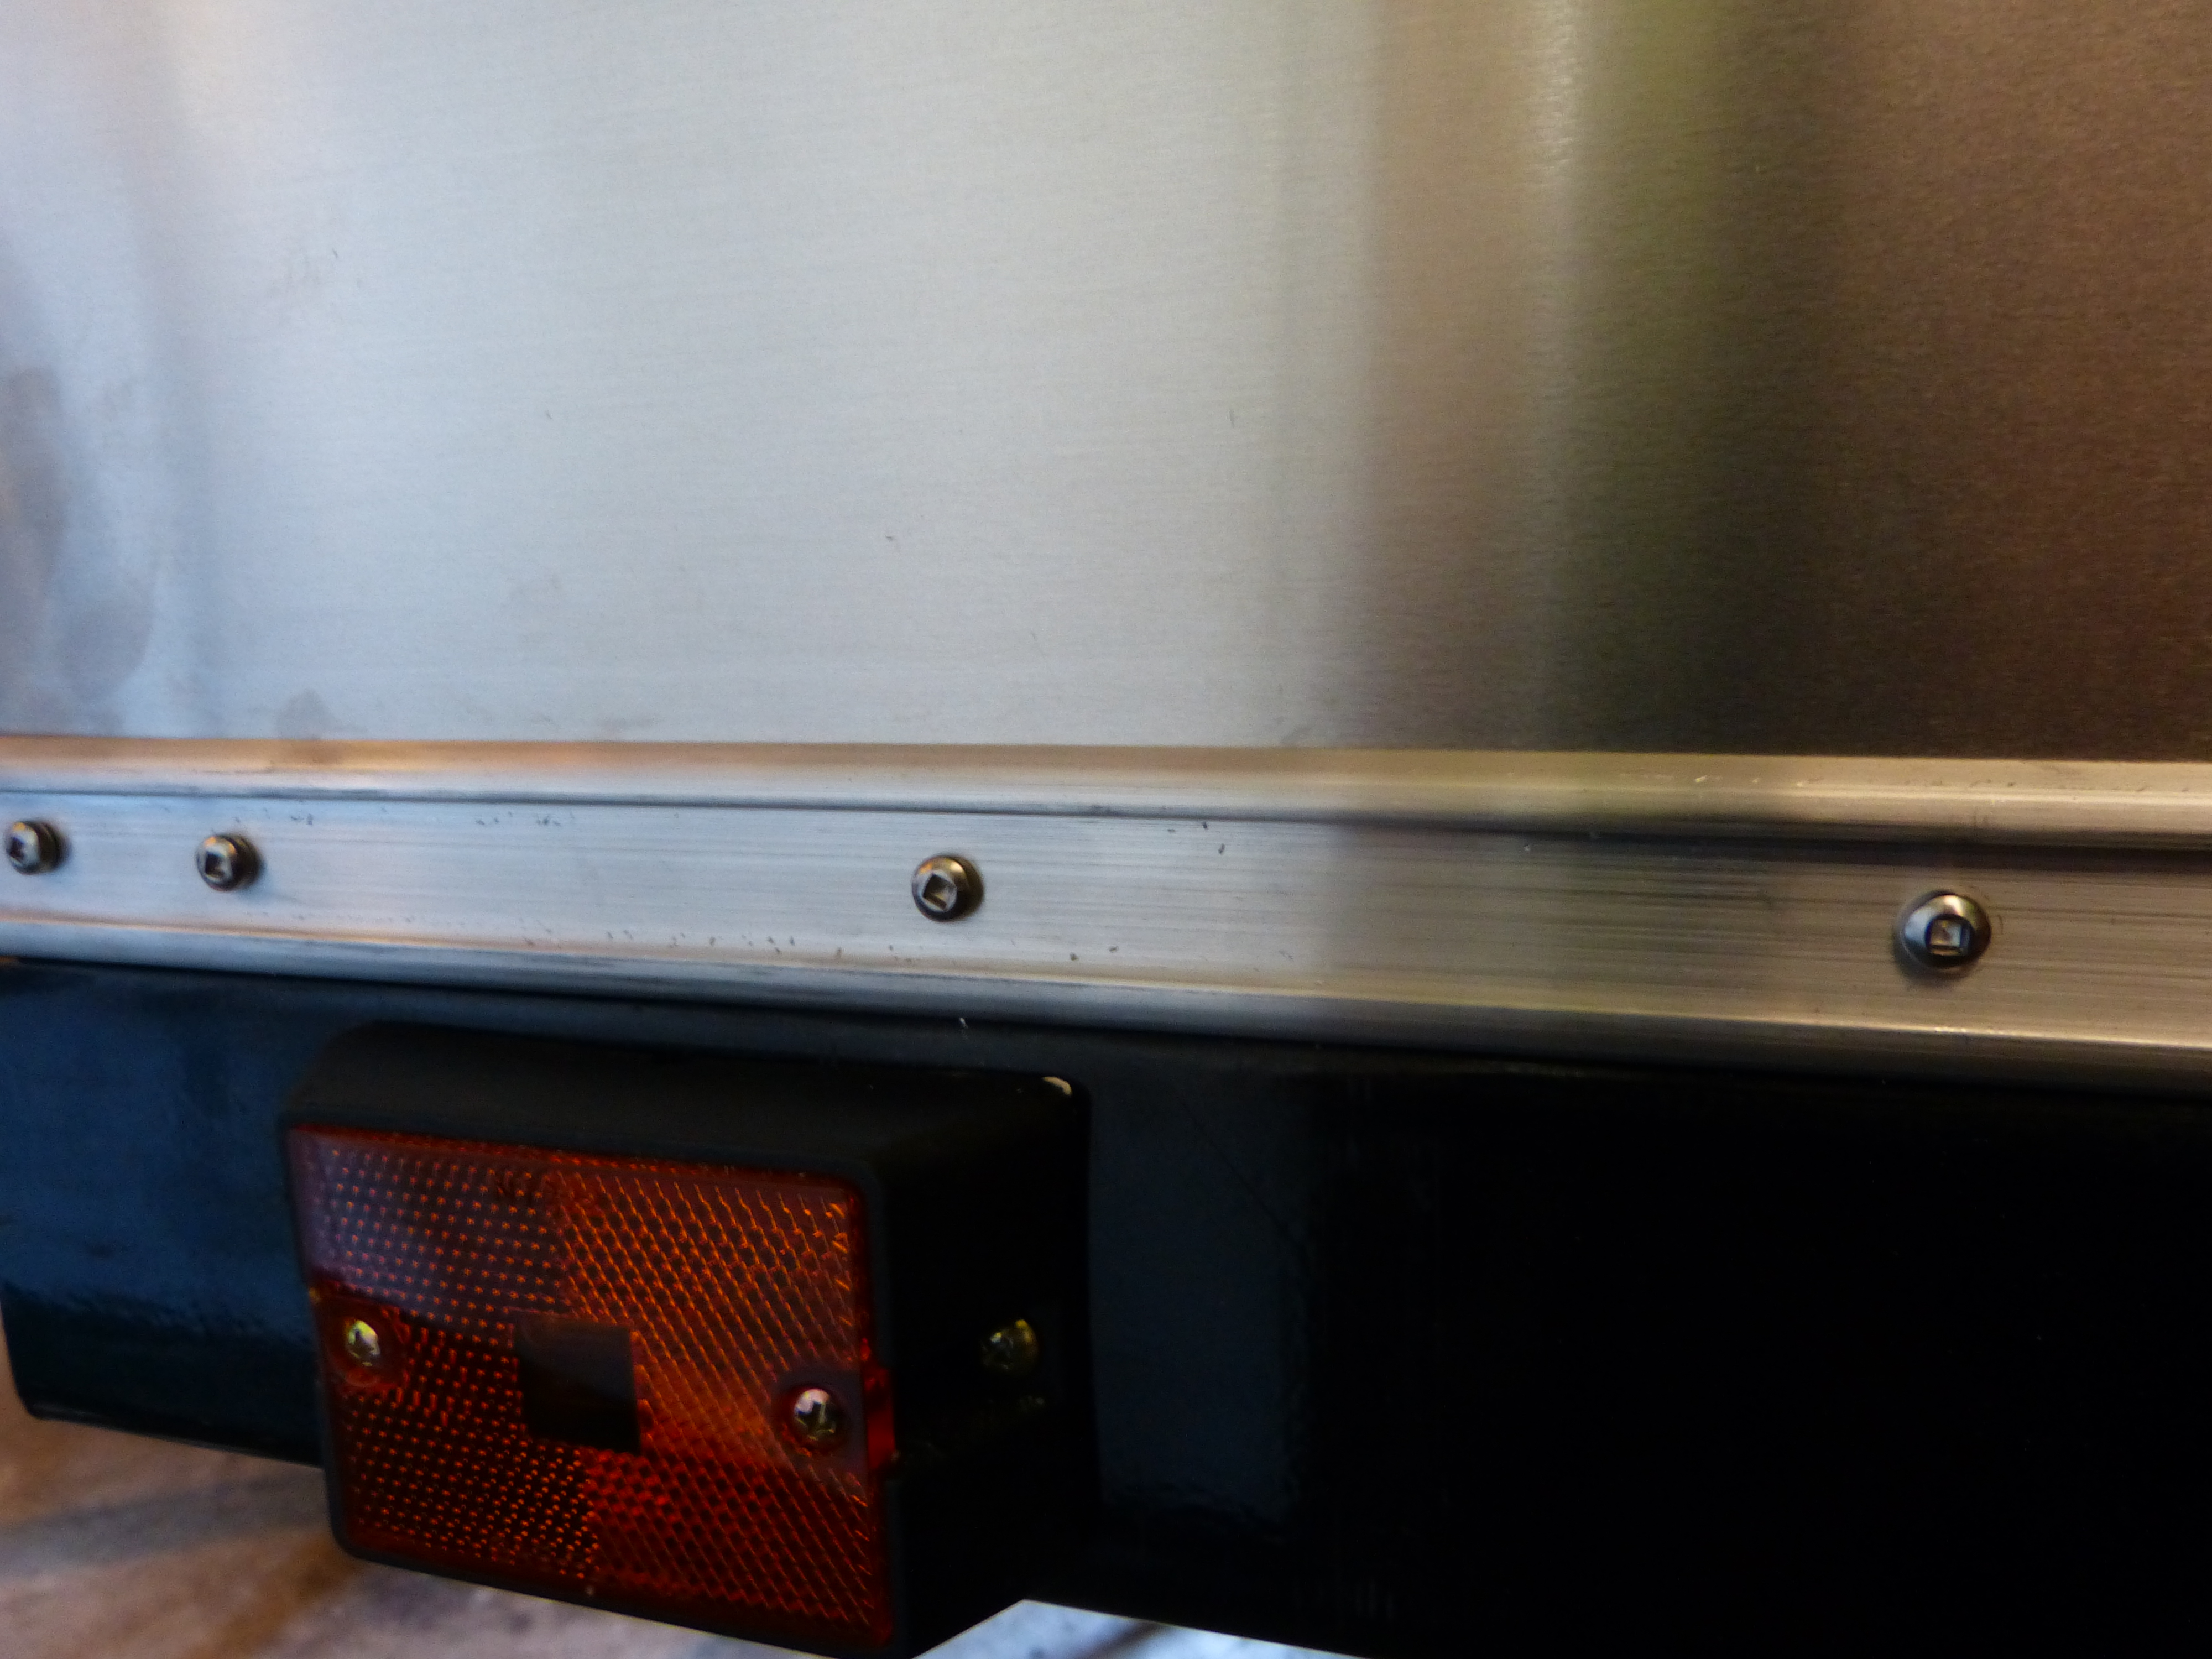
Around the bottom of the trailer we installed trim as well. The installation was very similar, except without the sticky gaskety thingy (don’t worry if you don’t know what this is- its a highly sophisticated and technical term). When all is said and done, there is a decorative piece that slides in the trim to hide the screws. I’m thinking we’ll wait to install this until we are a little further along.

P1080130

We did end up having to work on Sunday. Good thing when you’re not paying your foreman triple time isn’t such a big deal. There were pastries at coffee break though.

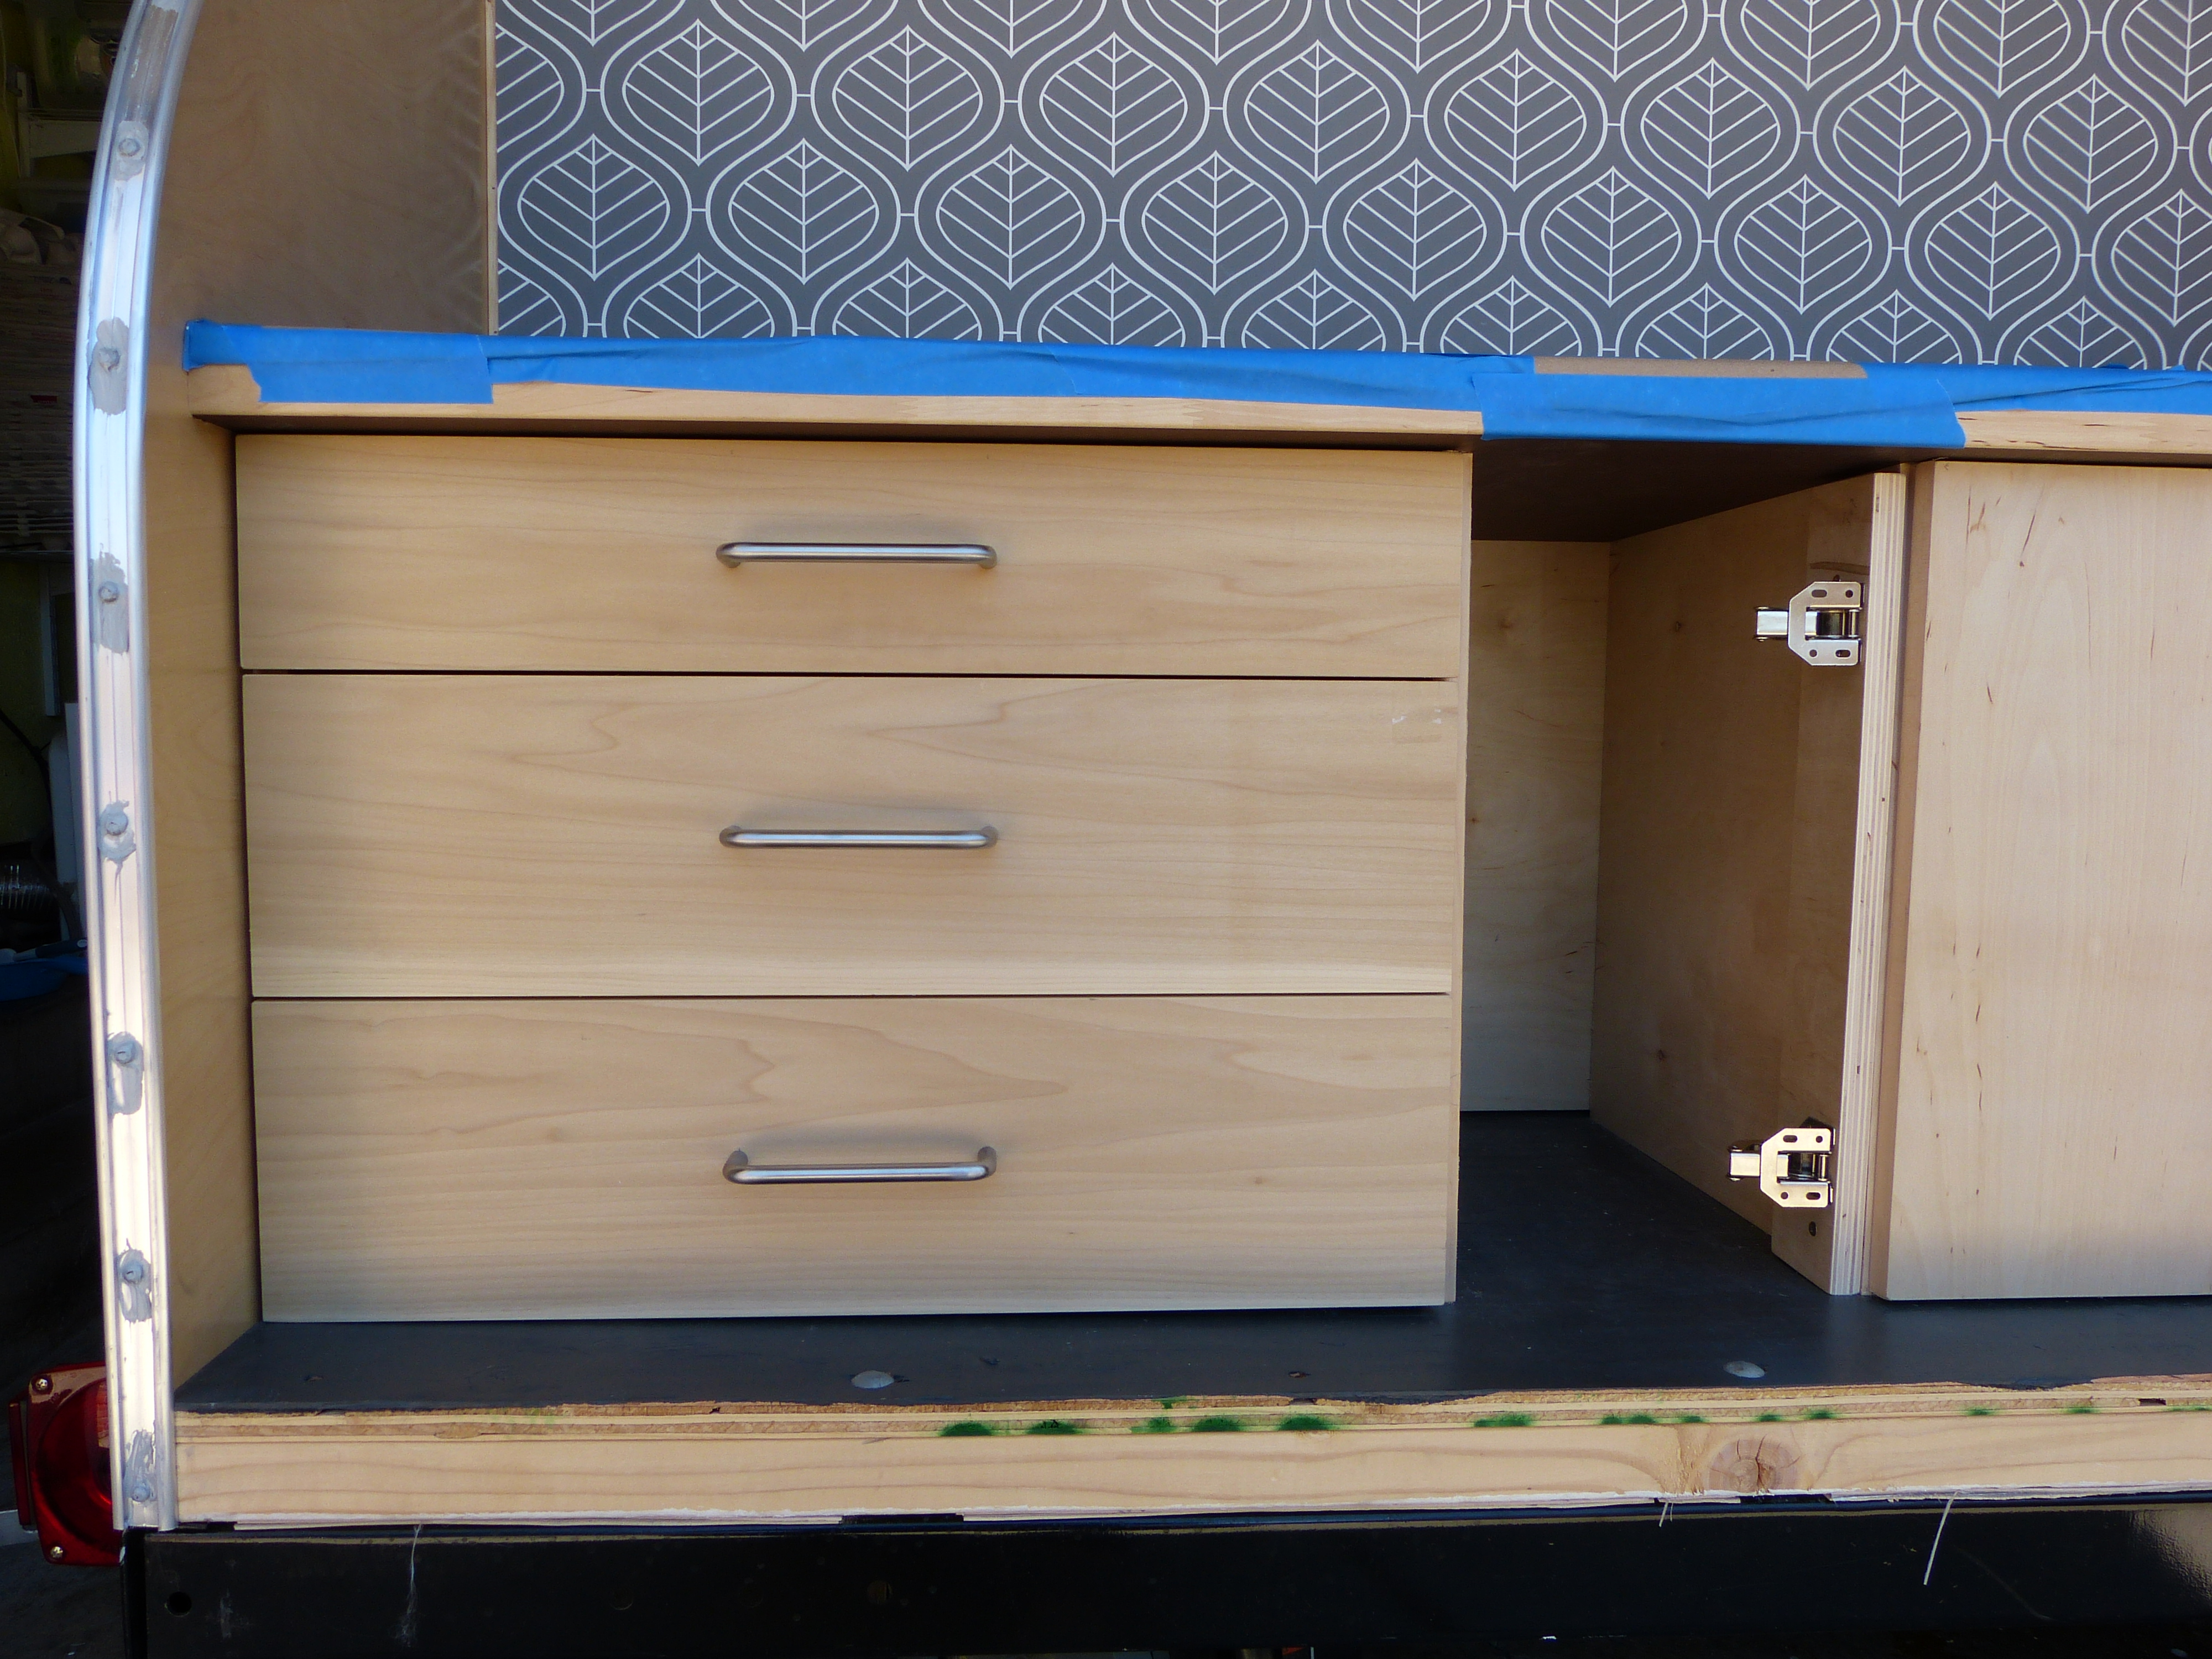
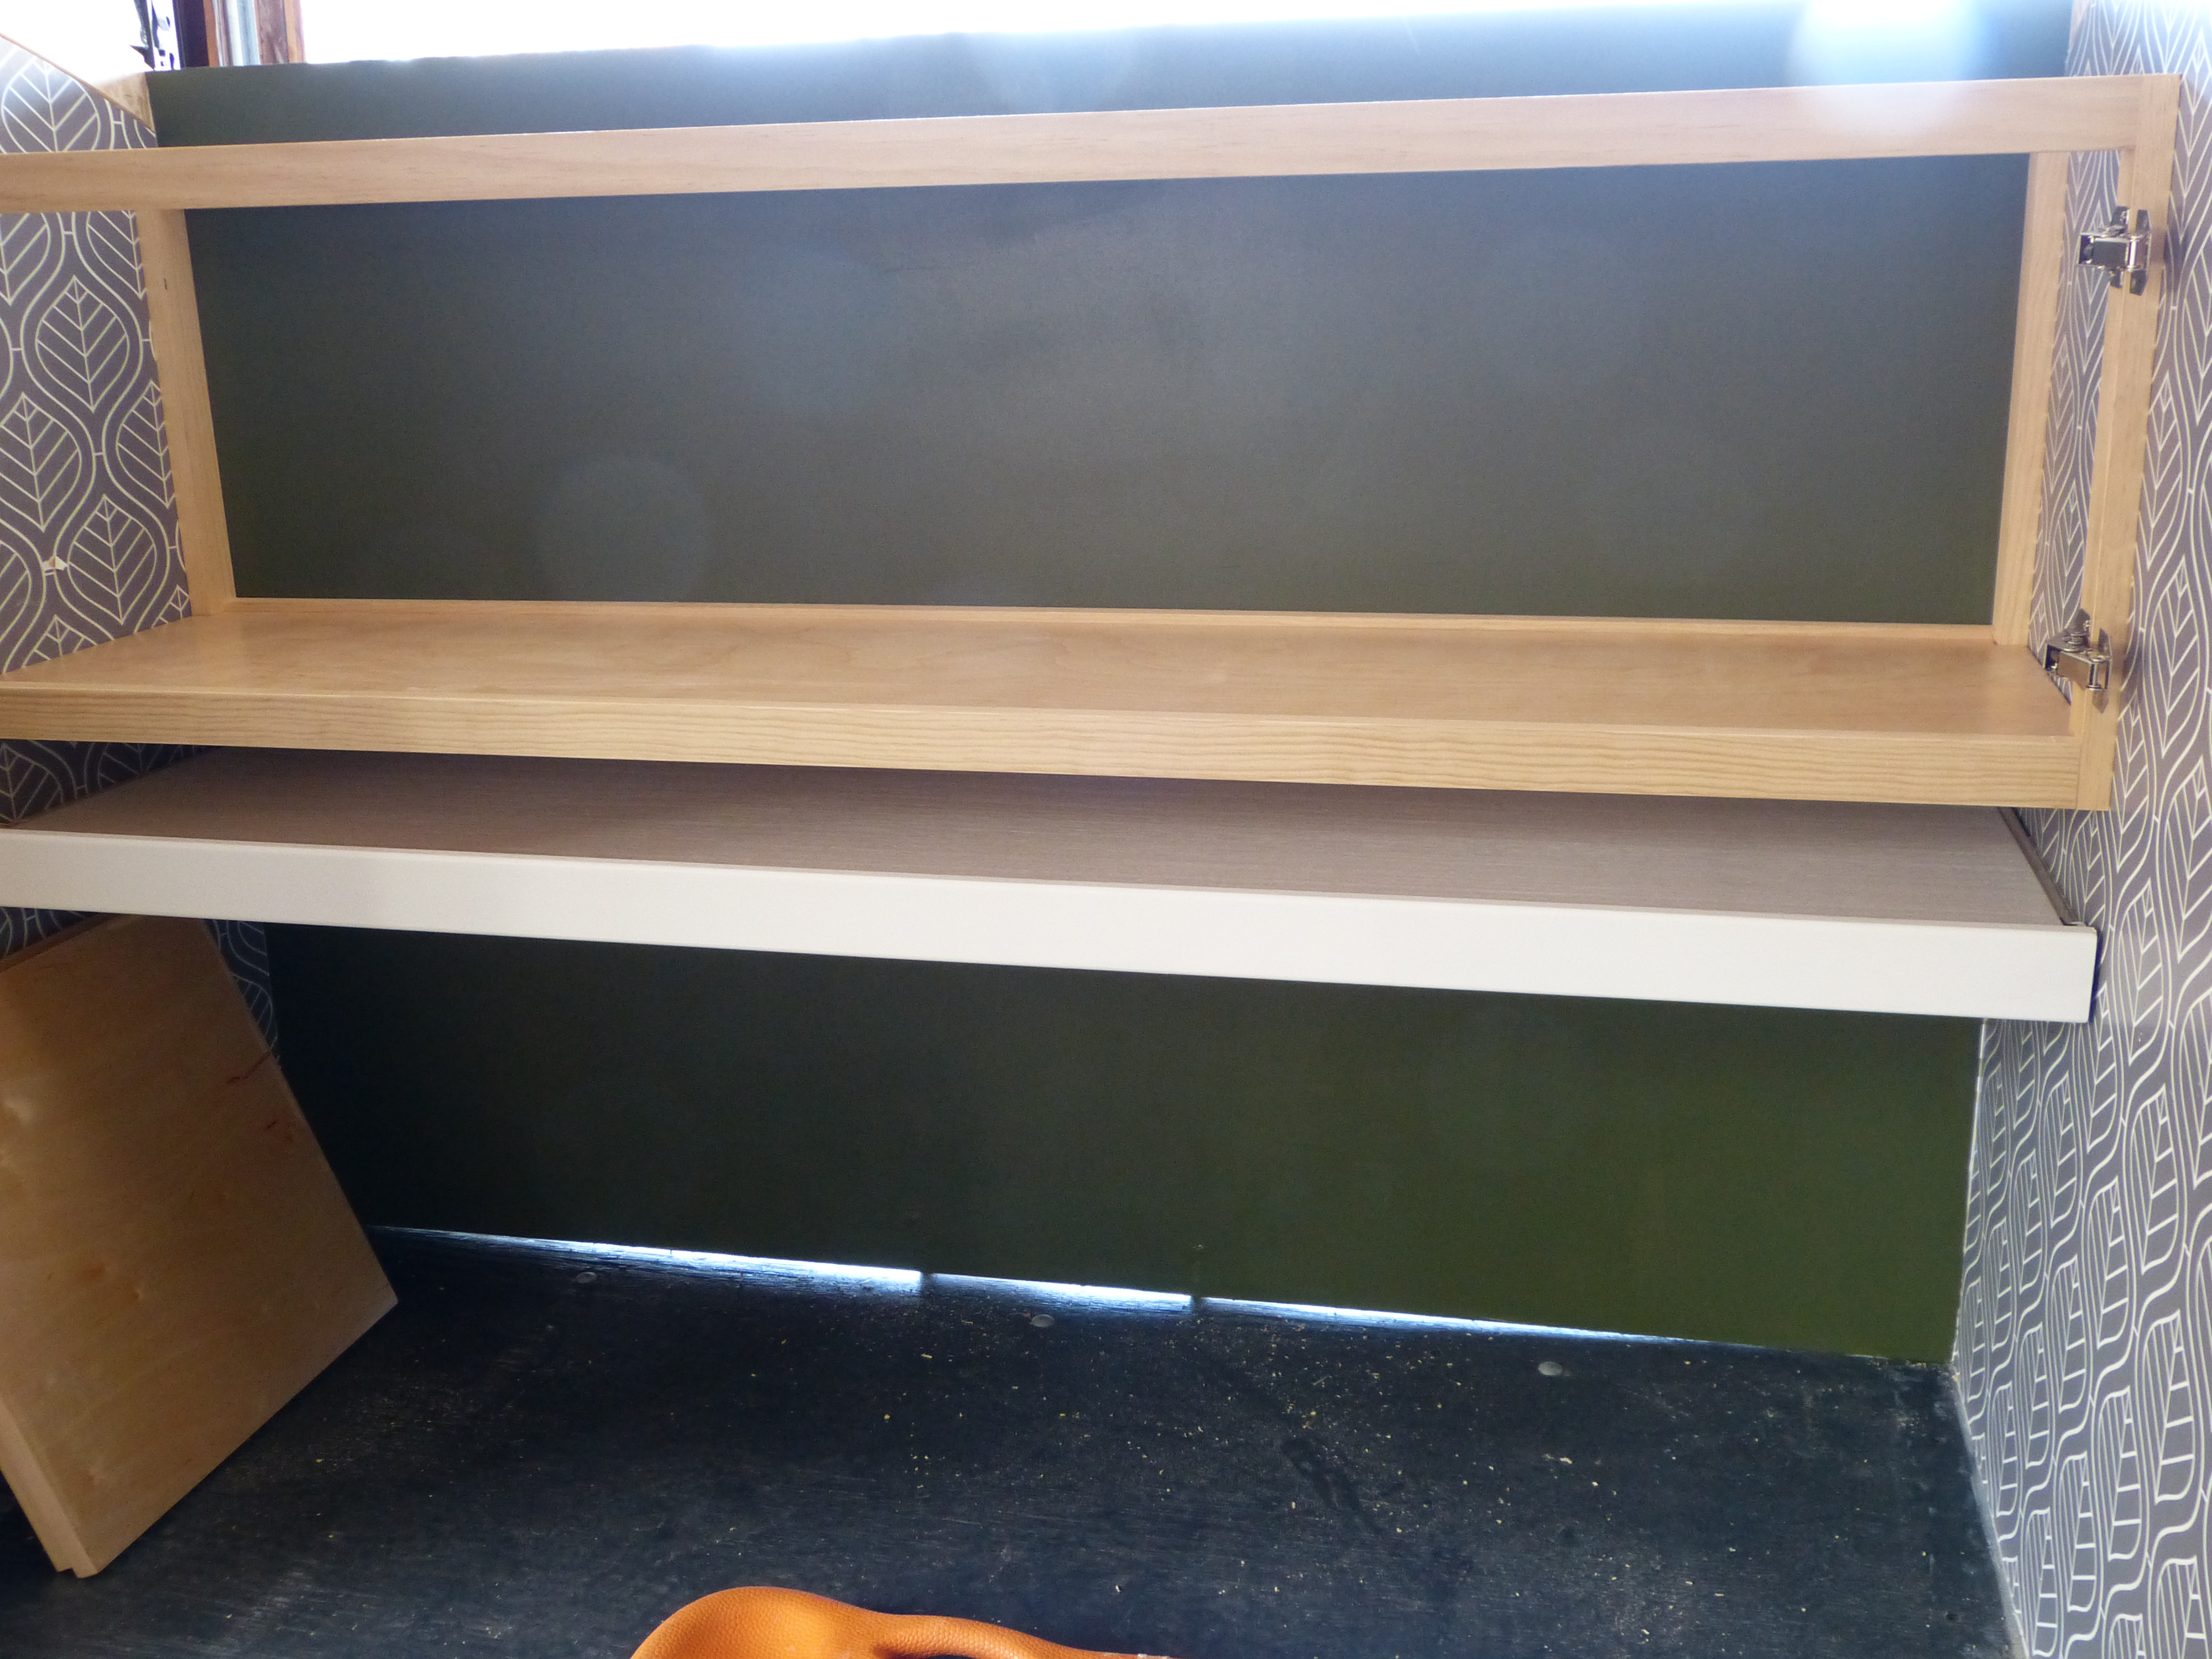
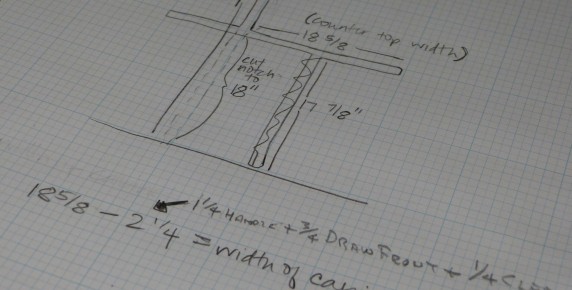
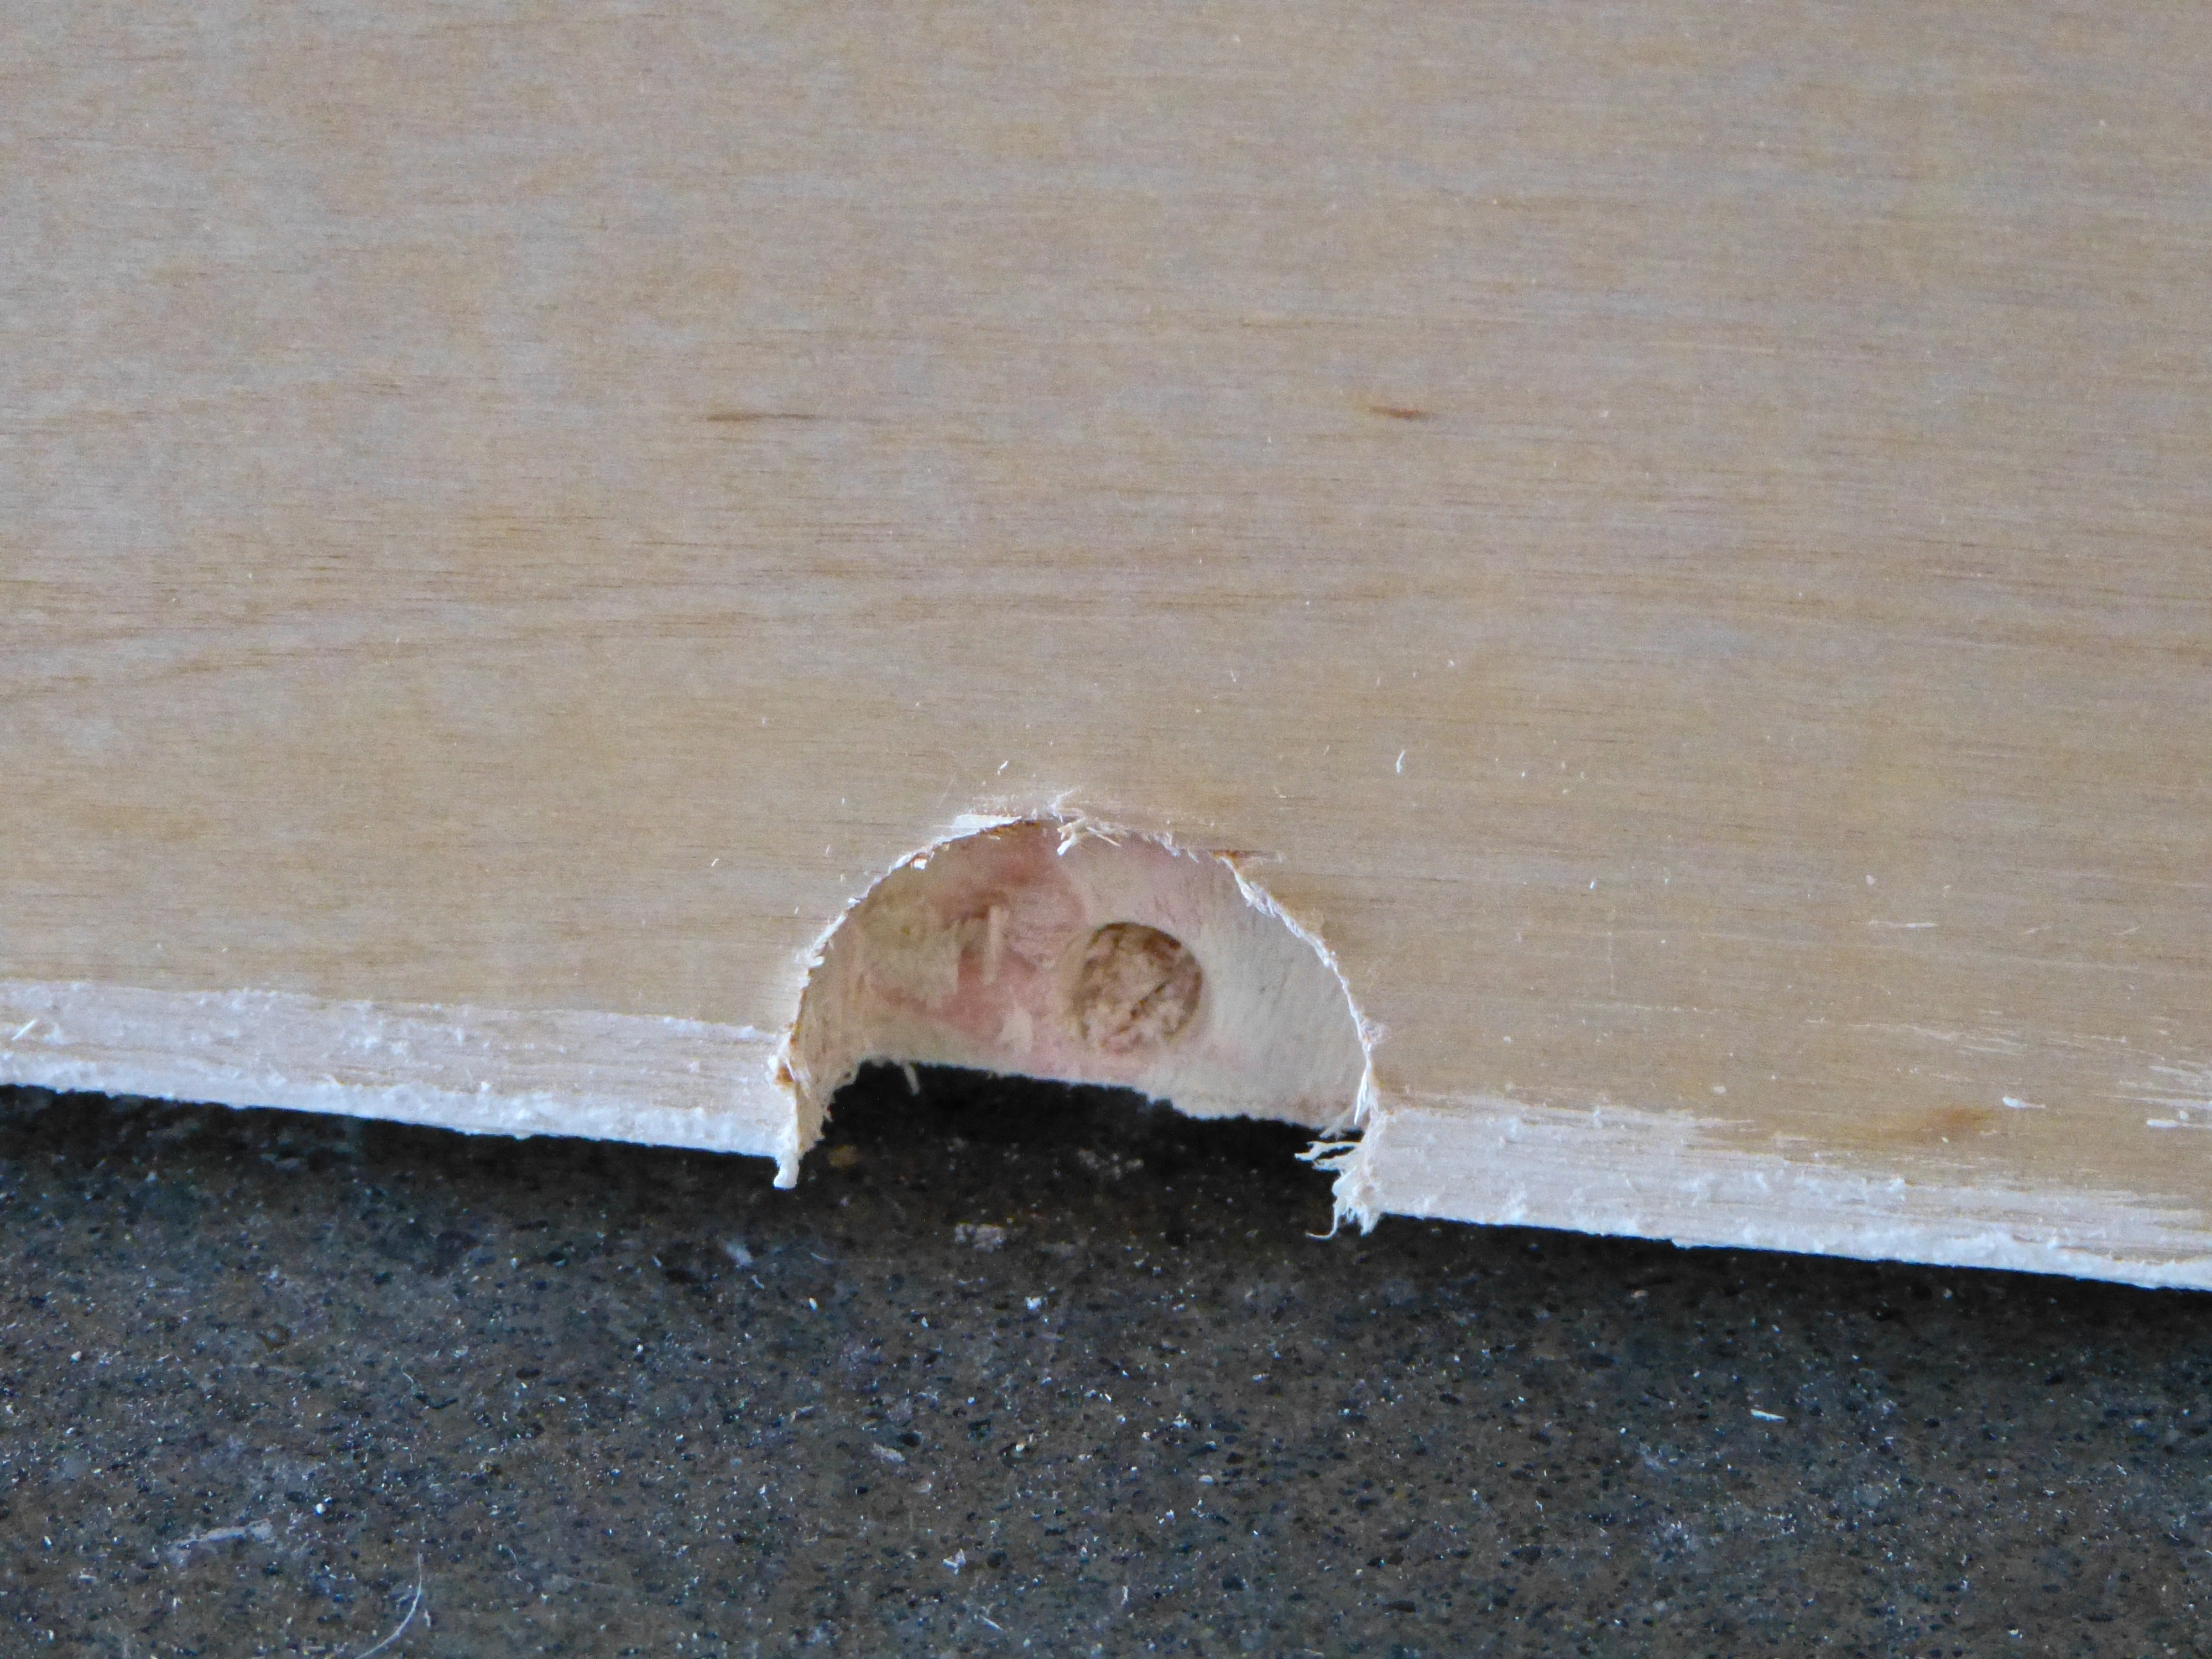
Such as it is often the case when one is feeling very pleased with oneself, at the end of Sunday’s work session we were dealt a teeny set back. Remember those pretty drawers from earlier? Well, after we installed the trim we realized this:

P1080129

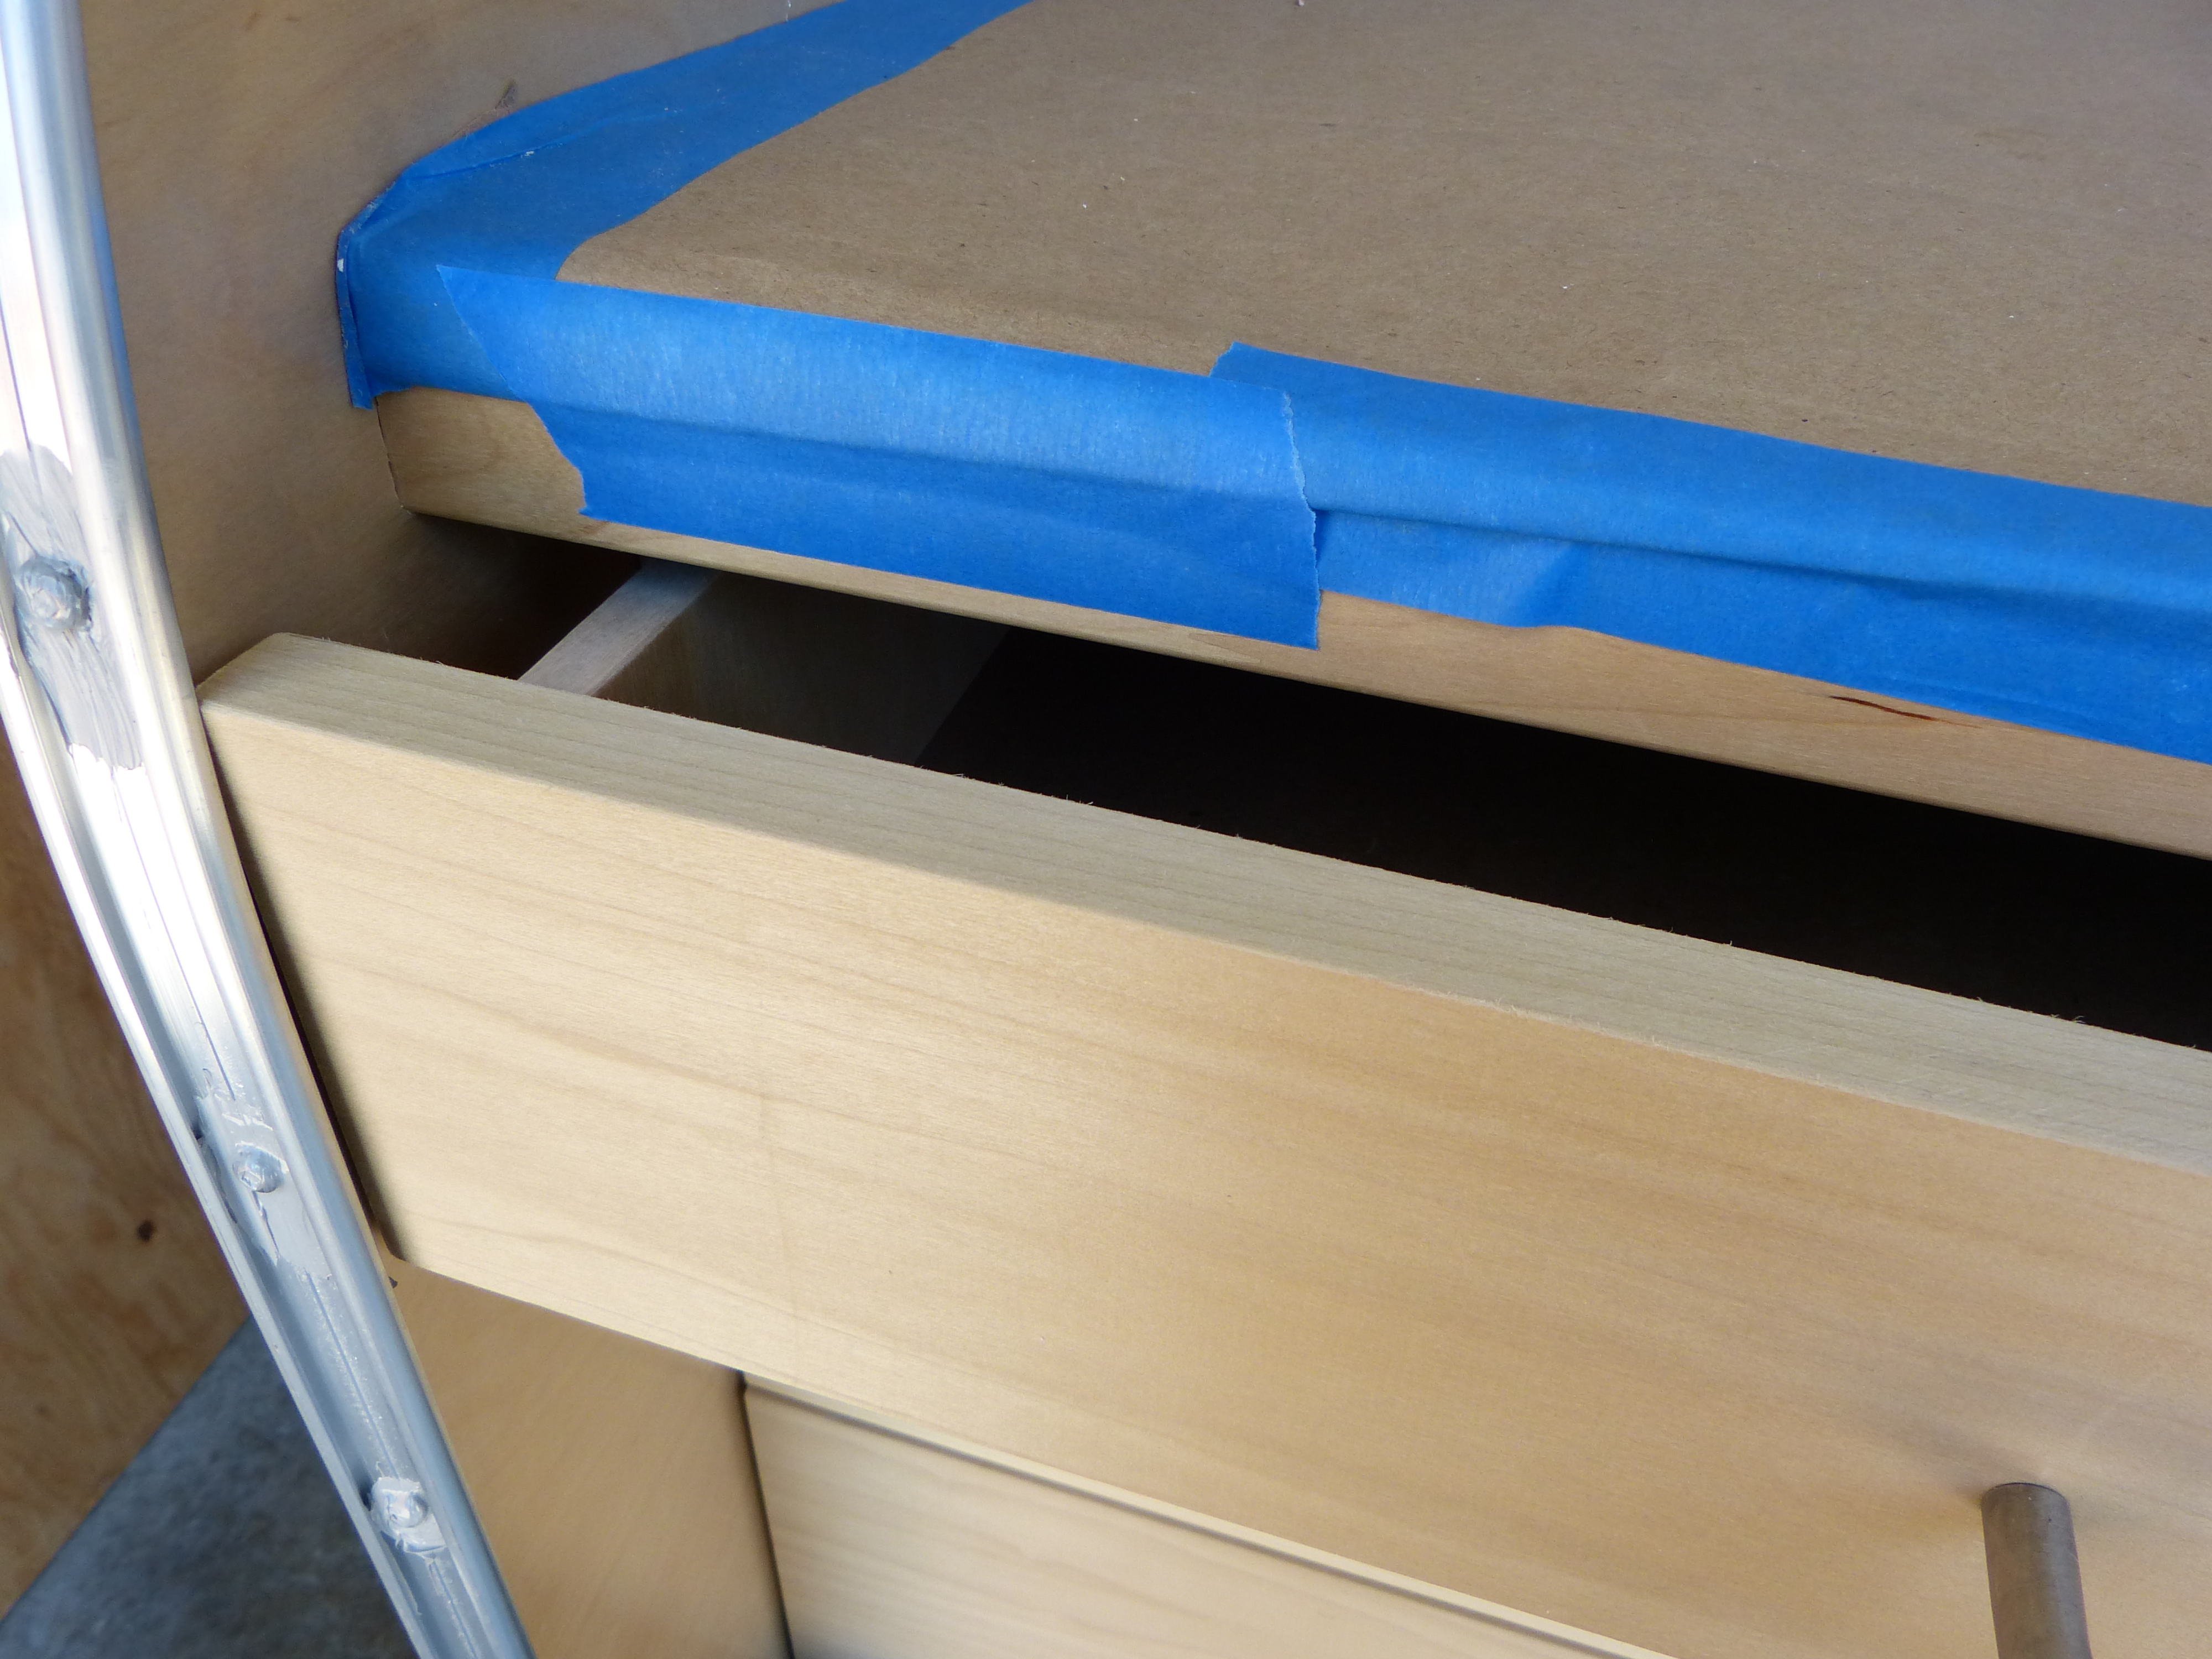
Too bad you can’t even get your hand in there to unscrew the drawer fronts. Well, retired people need to keep their brains stimulated by problem solving right? So much better than a crossword puzzle or Sudoku! Good luck Dad! I’m sure you’ll figure it out by the time I’m done with the work week. If not, no pastries for you next weekend.

Teardrop Chronicles #4: Building (and Re-Building) a Hatch

P1080040

One month into our build! And one week left before I go by to work- yikes! But let us not dwell on that. Instead, let me catch you up to speed on our progress.

Monday

We decided to install some supports for where our plywood ceiling pieces meet. This enabled us to then brad nail from the inside up into the supports, removing the unsightly sagging that was occurring at the seam. Later we’ll trim it out on the inside too, but this will be decorative, versus structural. Aspinall’s are all about the structure.

P1080016

P1080014

Before….

After!

After

Then we cut the hole in the ceiling for the fan with a jigsaw that I am pretty sure is at least as old as me.

P1080021

Last on the agenda for the day was ordering the aluminum for the trailer and hatch roofs. I found a place in Sacramento that carries the dimensions we need- this was trickier than I thought, lots of places have 48″ widths, but 60″ widths were harder to find. (Yet another moment in my life when I wondered what we ever did without the internet) Fortunately for me I have husband that works in Sacramento two days a week, so next week he’ll be making a stop at Cardo Industries for two 5x1o sheets of.04 thick mill finished 5052 aluminum.

Tuesday

Electrictricity was the name of the day. We wired the teardrop, and installed the interior lights, then that’s where the “we” ended. From here on Frank took over hooking up various wires to the fuse box. I made myself useful sweeping up sawdust. I did find these cool tap lights hidden in the garage that my brother gave me for Christmas a few years ago and “installed” them in our interior cabinets. I should clarify that installation involved putting in batteries and attaching double stick tape. My skills know no limit….

P1080033

I can take credit for the brilliant solution for the “invisible” wiring for the interior lights. We routed a channel between two holes  so that the wire will not show on either the inside or outside of the trailer. All of the wiring will be run between the ceiling and the aluminum roof.

P1080024

P1080057

Thursday

Day one of the hatch build. The kit comes with the spars that make up the frame for the hatch, pre-notched and ready to assemble. We had this together in no time.

P1080047

As recommended we added brackets for support.

P1080050

Then feeling rather pleased with ourselves we dry fit the hatch in the galley. Too bad it didn’t fit. Totally forgot to adjust for the height of the floor. So after some calculations, deconstruction and judicious sawing, we put it back together, and viola, a complete, correctly sized hatch frame.

P1080054

Friday

As is often the case with my dad, he shows up for work having worked over time the previous night thinking about the project. On this particular morning his late night musings led to the conclusion that our hatch was not so perfectly sized after all. We didn’t account for the hinge thickness or the trim on the sides. I got a hurricane hinge for my birthday, but in looking at it neither myself or my dad could figure out exactly how it worked.  So we did what any modern day teardrop builder does. We consulted the internet.

P1080060

After looking at a variety of sites we worked it out and agreed we needed to allow for a 1/4 of an inch between the trailer and the hatch. And roughly an additional 5/16’s of an inch needed to come off each side. Vintage Technologies sells all kinds of teardrop parts, accessories and trim online and was very helpful in our calculating. So we took it apart. Again. Hopefully for the last time as the next thing we did was apply the remaining birch plywood as the interior “skin” for the hatch. Further dismantling will be a real hassle.

P1080065

Sunday

I spent a relaxing afternoon filling and sanding the hatch listening to  Music Go Music. I primed it and now am contemplating what color to paint it. Feel free to send me suggestions!

The Teardrop Chronicles #3: Poly, paw prints, paint and plywood

20140721_110613

Correction to the correction: Frank Aspinall constructed the trailer chassis (“Give credit where credit is due, Laura”). Concern was also expressed regarding the placement of the correction at the bottom of my last post. Thus, I am placing the correction to the correction at the top this week. More corrections to come, I feel certain.

Another exciting week of progress! Here’s my weekly report out:

Monday

Deviated slightly from the directions today and started work on the interior cabinetry. The kit directions suggest installing the spars that run across the ceiling next, but we decided it would be best to get the cabinets up first (less chance of head bonking- still managed a few though). A few wee measuring issues that were quickly rectified and we had the frame installed. Then measuring for the hinges, partitions and top and bottom of the cabinet.

P1070978

A visit to Mead Clark for materials for constructing the roll out shelf that will be under the cabinet and we called it quits. Until the sun went down and then I began my polyurethane marathon. That night was only the cabinet frame and top and bottom, but there would be plenty more as week continued.

Tuesday

Frank worked tirelessly on putting the finishing touches on the cabinetry at home in his workshop. I have no pictures to prove this assertion this, but he assures me this was the case…..I did pick up from his house later in the day the cabinet doors and top and bottom so  I could continue me poly-fest.

Wednesday

Frank installed the cabinet doors, finalizing the hinges. I trimmed down the veneer that my dad had ironed on to the edges of the cabinet doors and partitions. We then measured to cut notches in the corner of the partitions so they will fit in the cabinet frame- my dad took these home to cut.

And more  polyurethane. Additional coats on the cabinet doors, cabinet top and bottom, and then the birch ply for the ceiling. And  painting the roll out shelf. Poly as far as the eye could see- I truly ran out of floor space. And just as I thought I was done I watched a small brown and white dog casually stroll right across the middle of the freshly poly-ed plywood. Thank you kind sir.

P1070982

Thursday

Today we measured and cut the baltic birch plywood we picked up last week to fit the ceiling. This involved the use of many clamps, one of my dad’s faaaaaaavorite things.

P1070993

Next was probably the most annoying part of our project we have yet to encounter. The roll out shelf. Sounds like not a big deal. That’s what we thought; but getting that thing situated so that it was square to the interior walls turned out to be ridiculously finicky and frustrating. Swear words were uttered. Wall paper was dinged. Shims were employed. And after the fourth or fifth go round it was done.

The partitions for the cabinets, the doors, and the top and bottom were installed and finally the interior cabinetry was complete.

P1070984

Friday

Besides being stinking hot, Friday was a vast improvement on Thursday. We started by building the frame for the fan and then cutting all the spars to length.

P1080001

P1070999

Then it was time to install the ceiling, something I had much trepidation about. If you look back to Teardrop Chronicles #1 you can see in the pictures that the sidewalls each have a groove about two inches down from the edge. This is where the ceiling gets slotted in. Sounds a little easier than it actually is, particularly as one is wielding a 5′ x 5′ sheet of ply. We had partially installed the spars and tightened them down as we got the ceiling it, this turned out to be a good strategy. And apart from cutting the second piece about 5 inches too short, we did a pretty good job. Fortunately this can be fixed by adding another small piece and won’t be visible once the mattress is in place.

P1080004

Mind the gap…


P1080008

You’ll note the center opening is larger than the cupboards. This is intentional and will accommodate two chihuahuas and their dog bed.


Teardrop Chronicles #2: Shopping, a planning commission meeting, and a great deal of math

P1070943

It was a big week here in Teardrop land. Its probably best if I break it down for you day by day. You are going to be so impressed. Unless you’ve met an Aspinall before and then you’ll think, “sounds about right”:

Monday

After last week’s measuring/direction reading debacle, Frank and I regrouped and corrected our error. The width of the floor is now officially a lovely 58 1/2″. Exactly what the directions call for. I got a lesson in how to properly use a socket wrench and we moved on to bolting the floor to the trailer chassis, we broke for coffee (with milk this time), and  tackled  attaching the sidewalls. Discussions began regarding the galley kitchen, and we each left the day with our homework assignments to source various materials.

We countersunk the trailer bolts so the floor would sit flush on the trailer.

We countersunk the trailer bolts so the floor would sit flush on the trailer.


P1070917

Showing off my new socket wrench skills.


P1070918

Floor secured to the trailer.


P1070920

More countersinking for the trailer bolts, this time on the sidewalls.


P1070931

Sidewalls secured to the trailer and floor. You can see the grooves the kit comes with for the galley kitchen.

Tuesday

To Ikea! I handled that place like the pro I am- in and out in 45 minutes with a 72″ long piece of butcher block counter top for the trailer’s galley kitchen, and a variety of wall hanging kitchen storage items. Oh, and a bathroom break. Not too shabby. I even squeezed in a CB2 driveby. Shopping with me is not for the faint of heart.

That evening I labored over drawings for the kitchen galley design. Much measuring and using of a ruler and a fancy mechanical pencil ensued. I was working on a deadline, as the next day I’d be going before the planning commission.

P1070940

My very professional kitchen drawings

Wednesday

Frank and I took a field trip over to Mountain Storm Forest Products in Windsor, purveyor of all things speciality lumber. My dad closely resembled a kid on Christmas morning. VERY excited. There was some hopping around  and talk of elicit self guided touring of the wherehouse. But I could see why, these guys really do have everything. On this particular day we were picking up Baltic Birch veneer 1/8 inch plywood which will serve as the interior ceiling of the trailer.

Broke for coffee early as the planning commission convened promptly at 9:45. My drawings were carefully reviewed by Frank and Carol Aspinall, more measurements were taken, drawings were revised, another round of measurements, a fair amount of math, and two hours later the plans were approved. Such a relief. Frank left with his cut list and we agreed to meet again on Friday to resume construction.

Friday

My dad arrived with the lumber cut to its specified measurements and we began installation. First was the counter top, followed by the divider between the kitchen and then on to the cupboard partitions. Apparently since last week we had learned a thing or two about measuring as they all fit nicely. Frank went home for lunch (and probably a nap) and I soldiered with sanding and priming of the walls in preparation for wallpapering.

P1070945

Counter top, in! We used the existing grooves to fit the countertop.


P1070949

We made a few adjustments to make the kitchen bigger than the kit called for.

Saturday

Carol left Frank at home in his shed cogitating hinges and drawer construction while she and I wallpapered the interior walls of the trailer. Again with the math and measuring. It was a slow start but in the end it paid off as we finished the project relatively pain free. And it looks great! So great in fact, it left me thinking about what else I could wallpaper…That, however is a blog for another day.

P1070964

Interior wallpaper- we cut out the door openings, trimmed the top and bottom after it had dried. Also, any bubbles that were present while it was wet disappeared as the paper dried.


P1070972

Kitchen all papered up and waiting for cabinetry.

Correction for last week’s post:

A certain person pointed out that the trailer chassis “didn’t just show up assembled”. This person thought my readers should know that the trailer chassis purchased from Northern Tool requires assembly. Now you know.


The Teardrop Chronicles #1: Read the directions once, cut twice (maybe three times)

P1070907

I know. Make Room….What is that again? Its been a long long time since I’ve visited this place. I guess you could say I took a little inspiration hiatus, lost my creative way for a minute.  If I’m truly honest, it’s been a hard year. Struggles with anxiety and depression took much of my energy and things I normally love became heavy, weighted chores. Things as simple as deciding on what to eat for dinner, feeding the dogs and chickens, and getting the mail, became major accomplishments. Work. Sleep. Eat. That was about it for quite awhile there. So blogging was certainly not on the table. I’d like to say I’m back, 100%, totally myself, but that is not the truth. I’m working on it though, and I feel very optimistic (this alone is a major turn of events). I learned a few things along my journey too, or perhaps was reminded is more accurate; I have amazing family and friends. People that love me no matter what, would do just about anything for me, people that value you me, that are willing to do the heavy lifting when I can’t. A few months ago I would have said I’m lucky to have these people, now I’d say I’m worth it.

Alright, enough of that. Let’s get on to more interesting things. No, The Teardrop Chronicles is not the diary of my return to mental health. It is actually a far more exciting project: the building of my very own (okay, and Bryan’s) Teardrop Trailer! Avid Make Room fans may remember last summer we rented one and I threatened to coerce Frank Aspinall into building me one. Well, we compromised. I purchased a kit and we are building it together. After months of discussion, internet research and shopping, yesterday was day one of construction. All in all it went very well with only two issues (one minor, one major):

1. We overlooked in the directions the finish dimension of the trailer floor, so that after we had it all assembled it has to be cut down a 1/4 of an inch on each side. Then, this morning, I received a call that went a little like, “Laura, I had a nightmare last night”. In a nutshell after a night of numbers running through Frank’s head he had determined that we yet again had the finish dimensions wrong. Another half inch on each side needs to come off. It could be worse though, at least we didn’t cut it too small. Lesson learned: READ THE DIRECTIONS. Over and over and over and over……

2. Far more devastating was the lack of milk for coffee at our 11:00  break. Anyone who has worked with my dad knows that at 11:00 sharp it is break time and coffee (instant) must be served with milk and half a teaspoon of sugar. We soldiered on, but it was touch and go for a minute there…. Bryan is at the store right now purchasing milk in preparation for the coming work week. Once this might be forgiven, but twice, well, that could be the end of me and my teardrop.

Today’s goal was to complete the construction of the floor and then coat the bottom with roofing sealer. Check and check. Monday we will commence with the sidewalls (one day off for the sealer to cure and one day off because Sunday is the World Cup Final-duh). And in the meantime I’ll be reviewing the directions at nauseum.

For those also interested in constructing the Teardrop Trailer of their dreams, here are a few sites I would recommend:

And now, pictures of today’s progress!


P1070890

P1070903

P1070900

P1070913

P1070898