04
Teardrop Chronicles #4: Building (and Re-Building) a Hatch
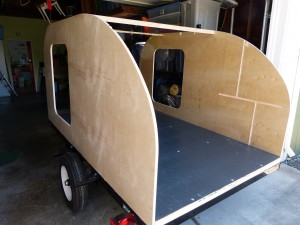
One month into our build! And one week left before I go by to work- yikes! But let us not dwell on that. Instead, let me catch you up to speed on our progress.
Monday
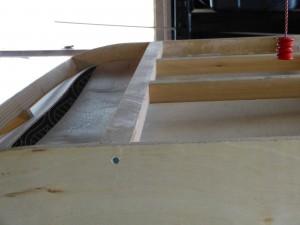
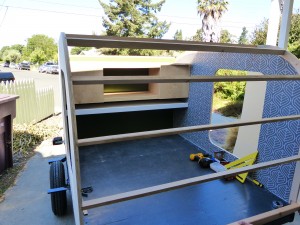
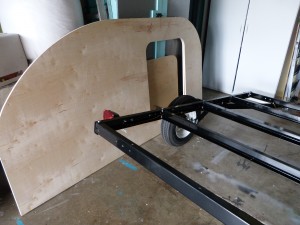
We decided to install some supports for where our plywood ceiling pieces meet. This enabled us to then brad nail from the inside up into the supports, removing the unsightly sagging that was occurring at the seam. Later we’ll trim it out on the inside too, but this will be decorative, versus structural. Aspinall’s are all about the structure.
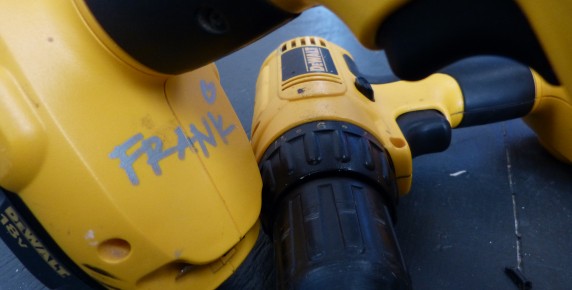
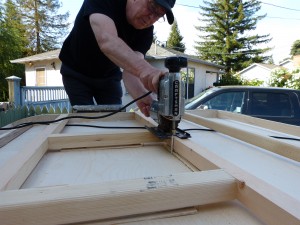
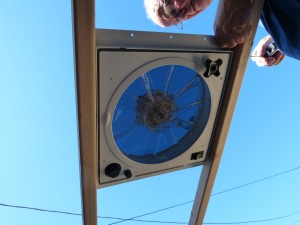
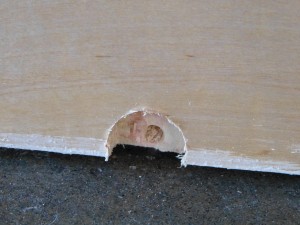
Then we cut the hole in the ceiling for the fan with a jigsaw that I am pretty sure is at least as old as me.
Last on the agenda for the day was ordering the aluminum for the trailer and hatch roofs. I found a place in Sacramento that carries the dimensions we need- this was trickier than I thought, lots of places have 48″ widths, but 60″ widths were harder to find. (Yet another moment in my life when I wondered what we ever did without the internet) Fortunately for me I have husband that works in Sacramento two days a week, so next week he’ll be making a stop at Cardo Industries for two 5x1o sheets of.04 thick mill finished 5052 aluminum.
Tuesday
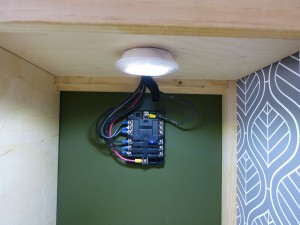
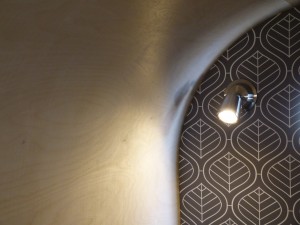
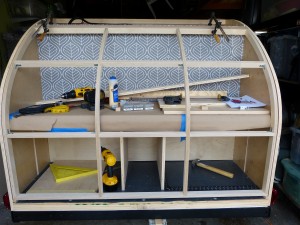
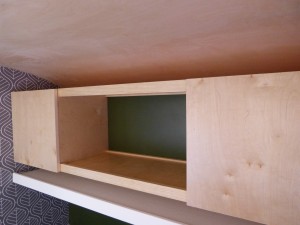
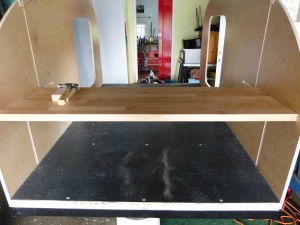
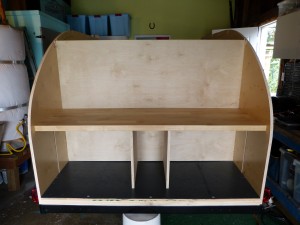
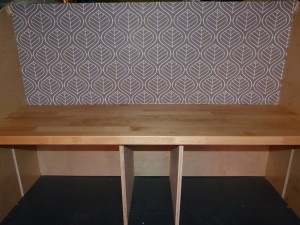
Electrictricity was the name of the day. We wired the teardrop, and installed the interior lights, then that’s where the “we” ended. From here on Frank took over hooking up various wires to the fuse box. I made myself useful sweeping up sawdust. I did find these cool tap lights hidden in the garage that my brother gave me for Christmas a few years ago and “installed” them in our interior cabinets. I should clarify that installation involved putting in batteries and attaching double stick tape. My skills know no limit….
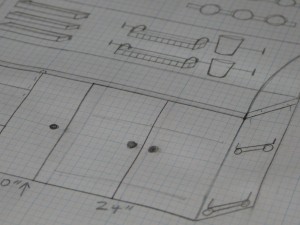
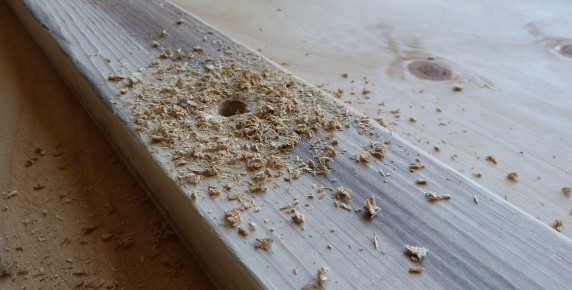
I can take credit for the brilliant solution for the “invisible” wiring for the interior lights. We routed a channel between two holes so that the wire will not show on either the inside or outside of the trailer. All of the wiring will be run between the ceiling and the aluminum roof.
Thursday
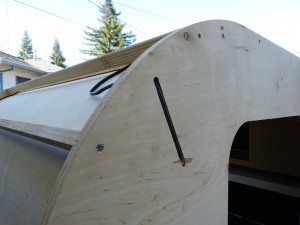
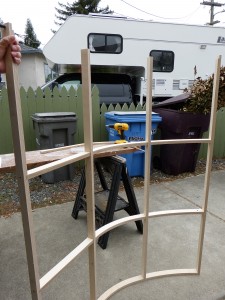
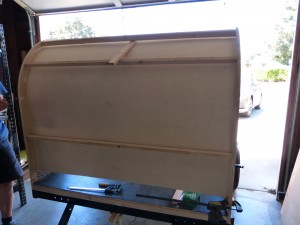
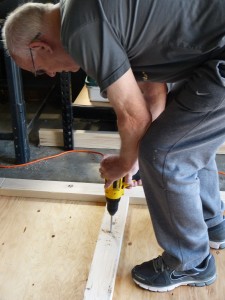
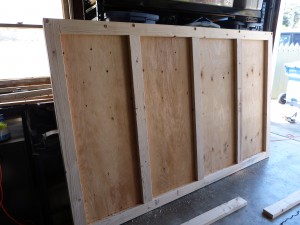
Day one of the hatch build. The kit comes with the spars that make up the frame for the hatch, pre-notched and ready to assemble. We had this together in no time.
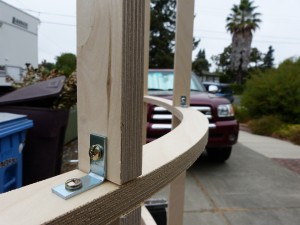
As recommended we added brackets for support.
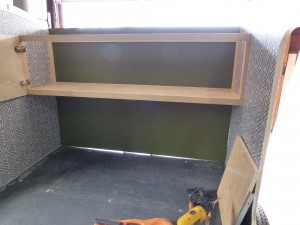
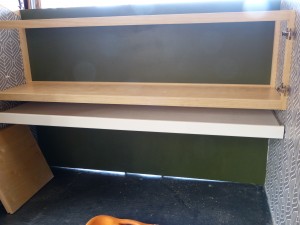
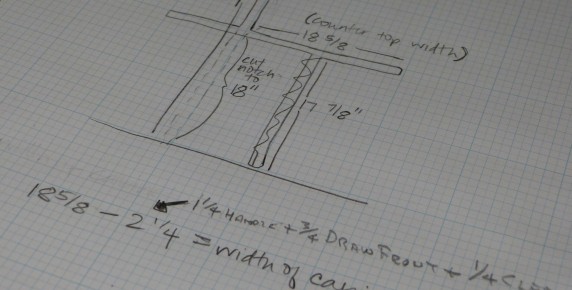
Then feeling rather pleased with ourselves we dry fit the hatch in the galley. Too bad it didn’t fit. Totally forgot to adjust for the height of the floor. So after some calculations, deconstruction and judicious sawing, we put it back together, and viola, a complete, correctly sized hatch frame.
Friday
As is often the case with my dad, he shows up for work having worked over time the previous night thinking about the project. On this particular morning his late night musings led to the conclusion that our hatch was not so perfectly sized after all. We didn’t account for the hinge thickness or the trim on the sides. I got a hurricane hinge for my birthday, but in looking at it neither myself or my dad could figure out exactly how it worked. So we did what any modern day teardrop builder does. We consulted the internet.
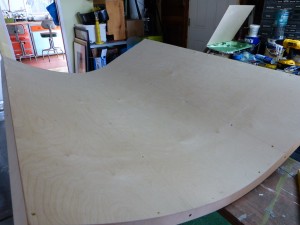
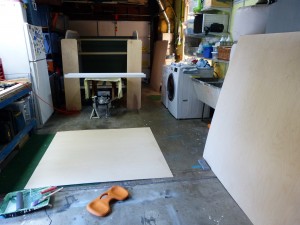
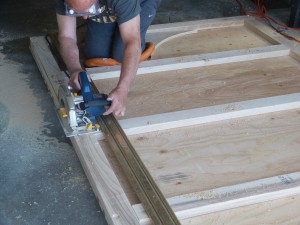
After looking at a variety of sites we worked it out and agreed we needed to allow for a 1/4 of an inch between the trailer and the hatch. And roughly an additional 5/16’s of an inch needed to come off each side. Vintage Technologies sells all kinds of teardrop parts, accessories and trim online and was very helpful in our calculating. So we took it apart. Again. Hopefully for the last time as the next thing we did was apply the remaining birch plywood as the interior “skin” for the hatch. Further dismantling will be a real hassle.
Sunday
I spent a relaxing afternoon filling and sanding the hatch listening to Music Go Music. I primed it and now am contemplating what color to paint it. Feel free to send me suggestions!




Recent Comments