18
Teardrop Chronicle #5: Trim Installation and a Few Words of Wisdom
Two weeks since my last post, largely because much of the past two weeks were spent waiting on the arrival of supplies. And I had to go to work. Work can really get in the way of progress.
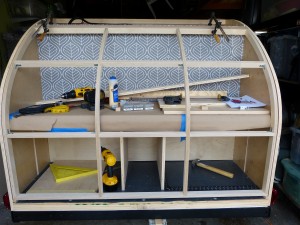
While we were waiting though we did manage to finish trimming out the interior and the galley. My dad also made some great progress on the galley cabinetry.
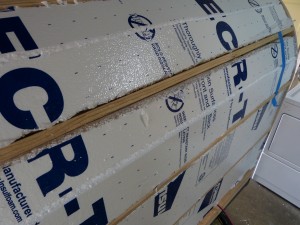
But first we cut and glued the insulation into place. For this we used 1 1/2″ R TEC for the trailer an 1″ for the hatch, and an adhesive safe for use with polystyrene. Other than covering every surface of the garage with a fine coating of this stuff this portion of the project was fairly hassle free.
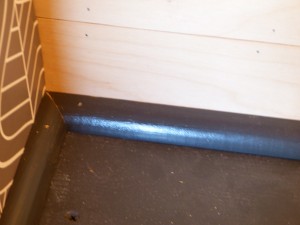
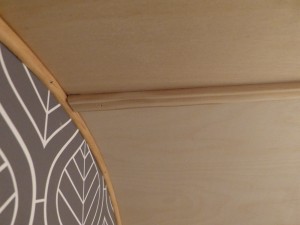
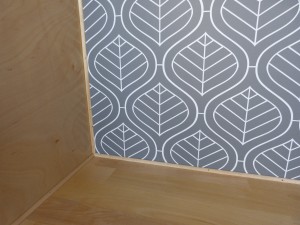
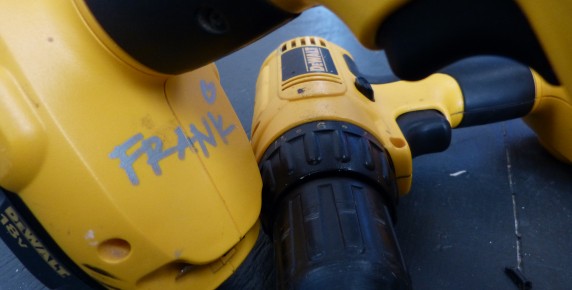
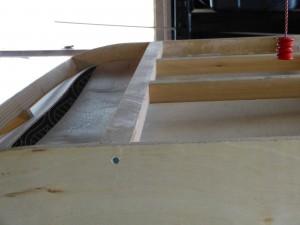
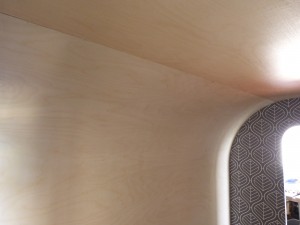
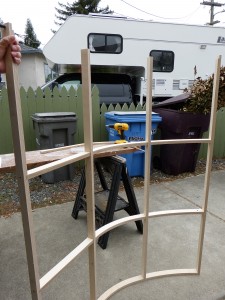
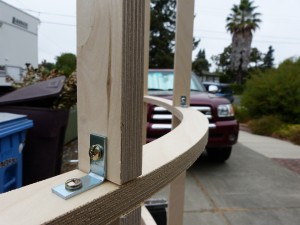
Then we used 1/2″ quarter round to trim the around the bottom of the interior walls, and this really tiny, bendy (and easily broken) quarter round at the top, as well as to frame out the galley corners and counter top. I think maybe we should have soaked it to make it more bendy as it snapped several times while we were installing it, eliciting some “colorful” language from Frank. Fortunately wood filler can hide just about anything. Just don’t look to close.
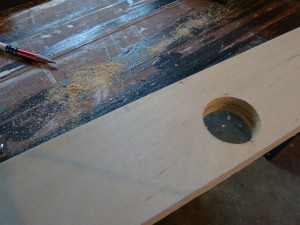
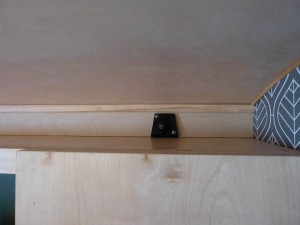
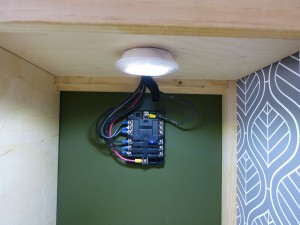
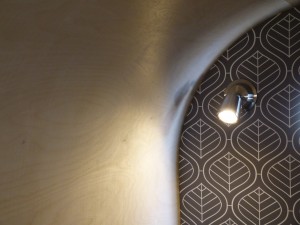
Last interior project was installing our phone charger. Yes, that is correct, our phone charger! We are super high tech and modern over here. We used a hole saw to drill through a piece of wood that runs across the top of the interior cabinets, about 5 inches out from the back wall, this little hidden compartment hides the wires that we ran through the ceiling and the top of the cabinets to the fuse box inside the cabinet, as well as the back of the charger.
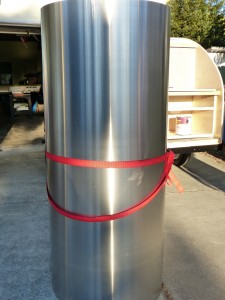
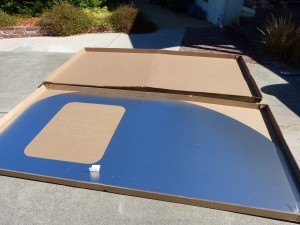
Then the weekend was over. While I went off to work on Monday and Tuesday, my dad finished the drawers for the galley and installed the rollers. On Wednesday night Bryan came home from Sacramento with two rolls of this:
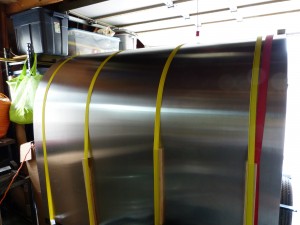
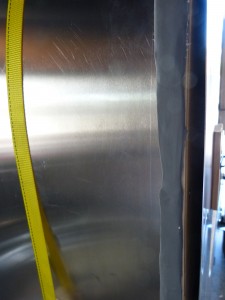
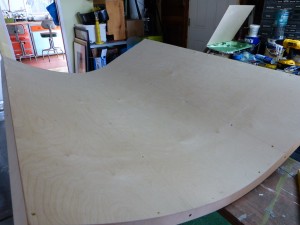
The next day I again went to work and the ever industrious Frank and Carol Aspinall came over and secured one sheet of the aluminum over the trailer. The directions that came with our kit state that you should secure it with straps on the trailer and leave it to set for at least 24 hours before securing it permanently. Ever the ones to follow directions (ha!) this is what we did.
This left us ready to install the aluminium skins on Saturday. While researching methods for how to install the skin there are varying methods suggested. Some sites recommend gluing the aluminum to the sides and some do not. The concern that the glue creates is as the trailer heats and cools it will contract and expand, causing the glue to pop off of the wood. After talking to Frank Bear (not to be confused with Frank Aspinall) at Vintage Technologies and also with Teardroppers, our kit manufacturer, the consensus was no glue. Instead, they recommended that you “float” the aluminum on the sides.
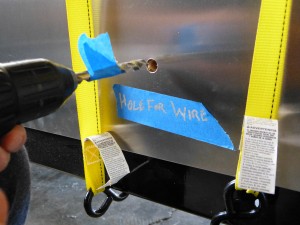
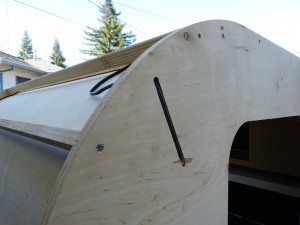
Before moving on to skin installation, we paused to drill through the skin so that our electrical that we ran through the ceiling can come through and eventually be attached to a battery.
As is the case when Frank and I start a new phase of the project, we spend a good deal of time discussing the game plan. On this particular day just figuring out which trim piece did what and how to affix each piece took a fair amount of time. It was practically coffee break when we really got going, causing us to stop for a LUNCH break even. This is highly irregular. Fortunately I had some quiche on hand.
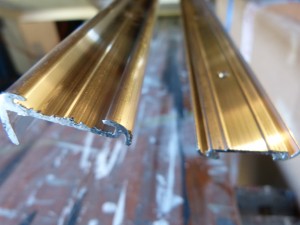
On the left is the trim for the corner, on the right is the trim that will go around the bottom of the trailer.
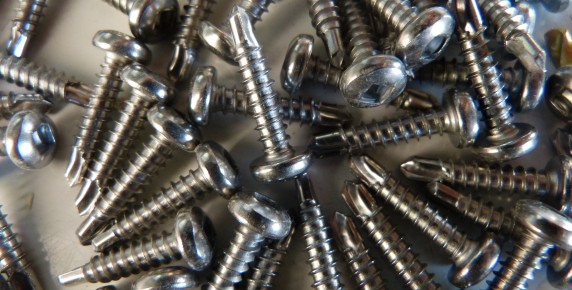
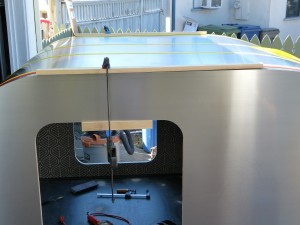
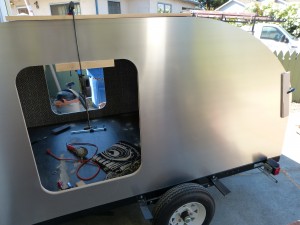
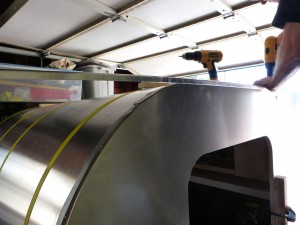
After much discussion and the application of a plethora of clamps, we began trim installation. You can see in the pictures that the roof is held in place by straps and the sides by clamps as we secured the trim that attaches the roof and aluminium (pronounced AL-OOOO-MIN-EEEE-UM if you are my father) sides to the wooden trailer structure. I know I mentioned in my last post that I ordered all of our trim from Vintage Technologies, but I just have to mention this again. Because Frank Bear was so helpful. I must have been on the phone for 30 minutes with him talking through our project. He made sure we had everything we needed down to fasteners and sealant. He’s based in Michigan and incredibly knowledge about Teardrop construction. Everything arrived quickly and in excellent condition.
Before Screwing the trim to the frame, we applied this rubbery sticky tape like gasket underneath to prevent water leaking through.
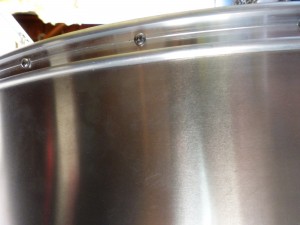
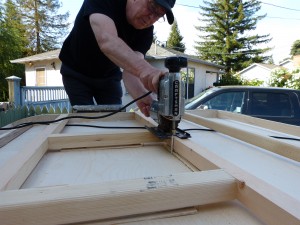
For the trim installation we started on the straight portion of the trailer and pre-drilled only through the aluminium before securing it in place with screws. We then gently bent the trim to follow the contour of the trailer as we went.
I was dreading this part of the project. I felt certain it was going to be finicky and difficult to get everything lined up. I’m happy to say I was worried for nothing, it was very straight forward and went quite quickly. Things went so smoothly in fact, Frank found some time to share a little wisdom with me; I asked him to look at something so that he could understood what I meant, he replied, ” We’ll understand the meaning of everything in the end. Even the chaos of the universe”. Wow. I don’t even have to pay extra for these kinds of revelations.
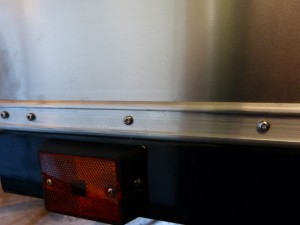
Around the bottom of the trailer we installed trim as well. The installation was very similar, except without the sticky gaskety thingy (don’t worry if you don’t know what this is- its a highly sophisticated and technical term). When all is said and done, there is a decorative piece that slides in the trim to hide the screws. I’m thinking we’ll wait to install this until we are a little further along.
We did end up having to work on Sunday. Good thing when you’re not paying your foreman triple time isn’t such a big deal. There were pastries at coffee break though.
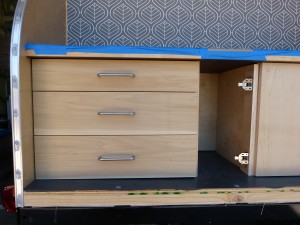
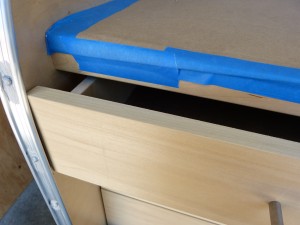
Such as it is often the case when one is feeling very pleased with oneself, at the end of Sunday’s work session we were dealt a teeny set back. Remember those pretty drawers from earlier? Well, after we installed the trim we realized this:
Too bad you can’t even get your hand in there to unscrew the drawer fronts. Well, retired people need to keep their brains stimulated by problem solving right? So much better than a crossword puzzle or Sudoku! Good luck Dad! I’m sure you’ll figure it out by the time I’m done with the work week. If not, no pastries for you next weekend.

Recent Comments